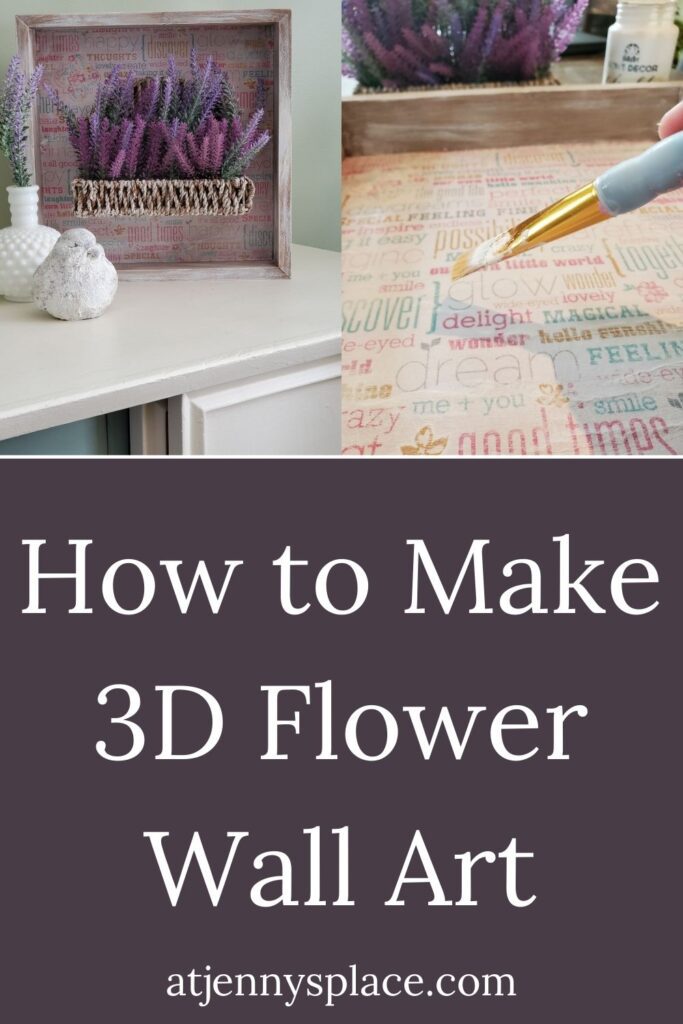
3D Wall Art DIY
Let’s makes some super fun 3D wall art piece that I think you are going to enjoy. This is a really easy decor DIY that is as unique as it is delightful.
3D Floral Wall Art
Truthfully I am not really one to switch up my wall decor with the seasons. There are a couple of framed Ikea pictures hanging in my kitchen whose contents I’ll switch up from time to time and there’s a framed chalk board piece whose message I’ll change to fit the season but other than that – *K.I.S.S. rule for me.
That being said, awhile back I came across a bunch of wooden framed art at Super Store. I was able to buy them all for next to nothing and I was dying to make some unique wall art them. I just wasn’t a fan of the actual art.
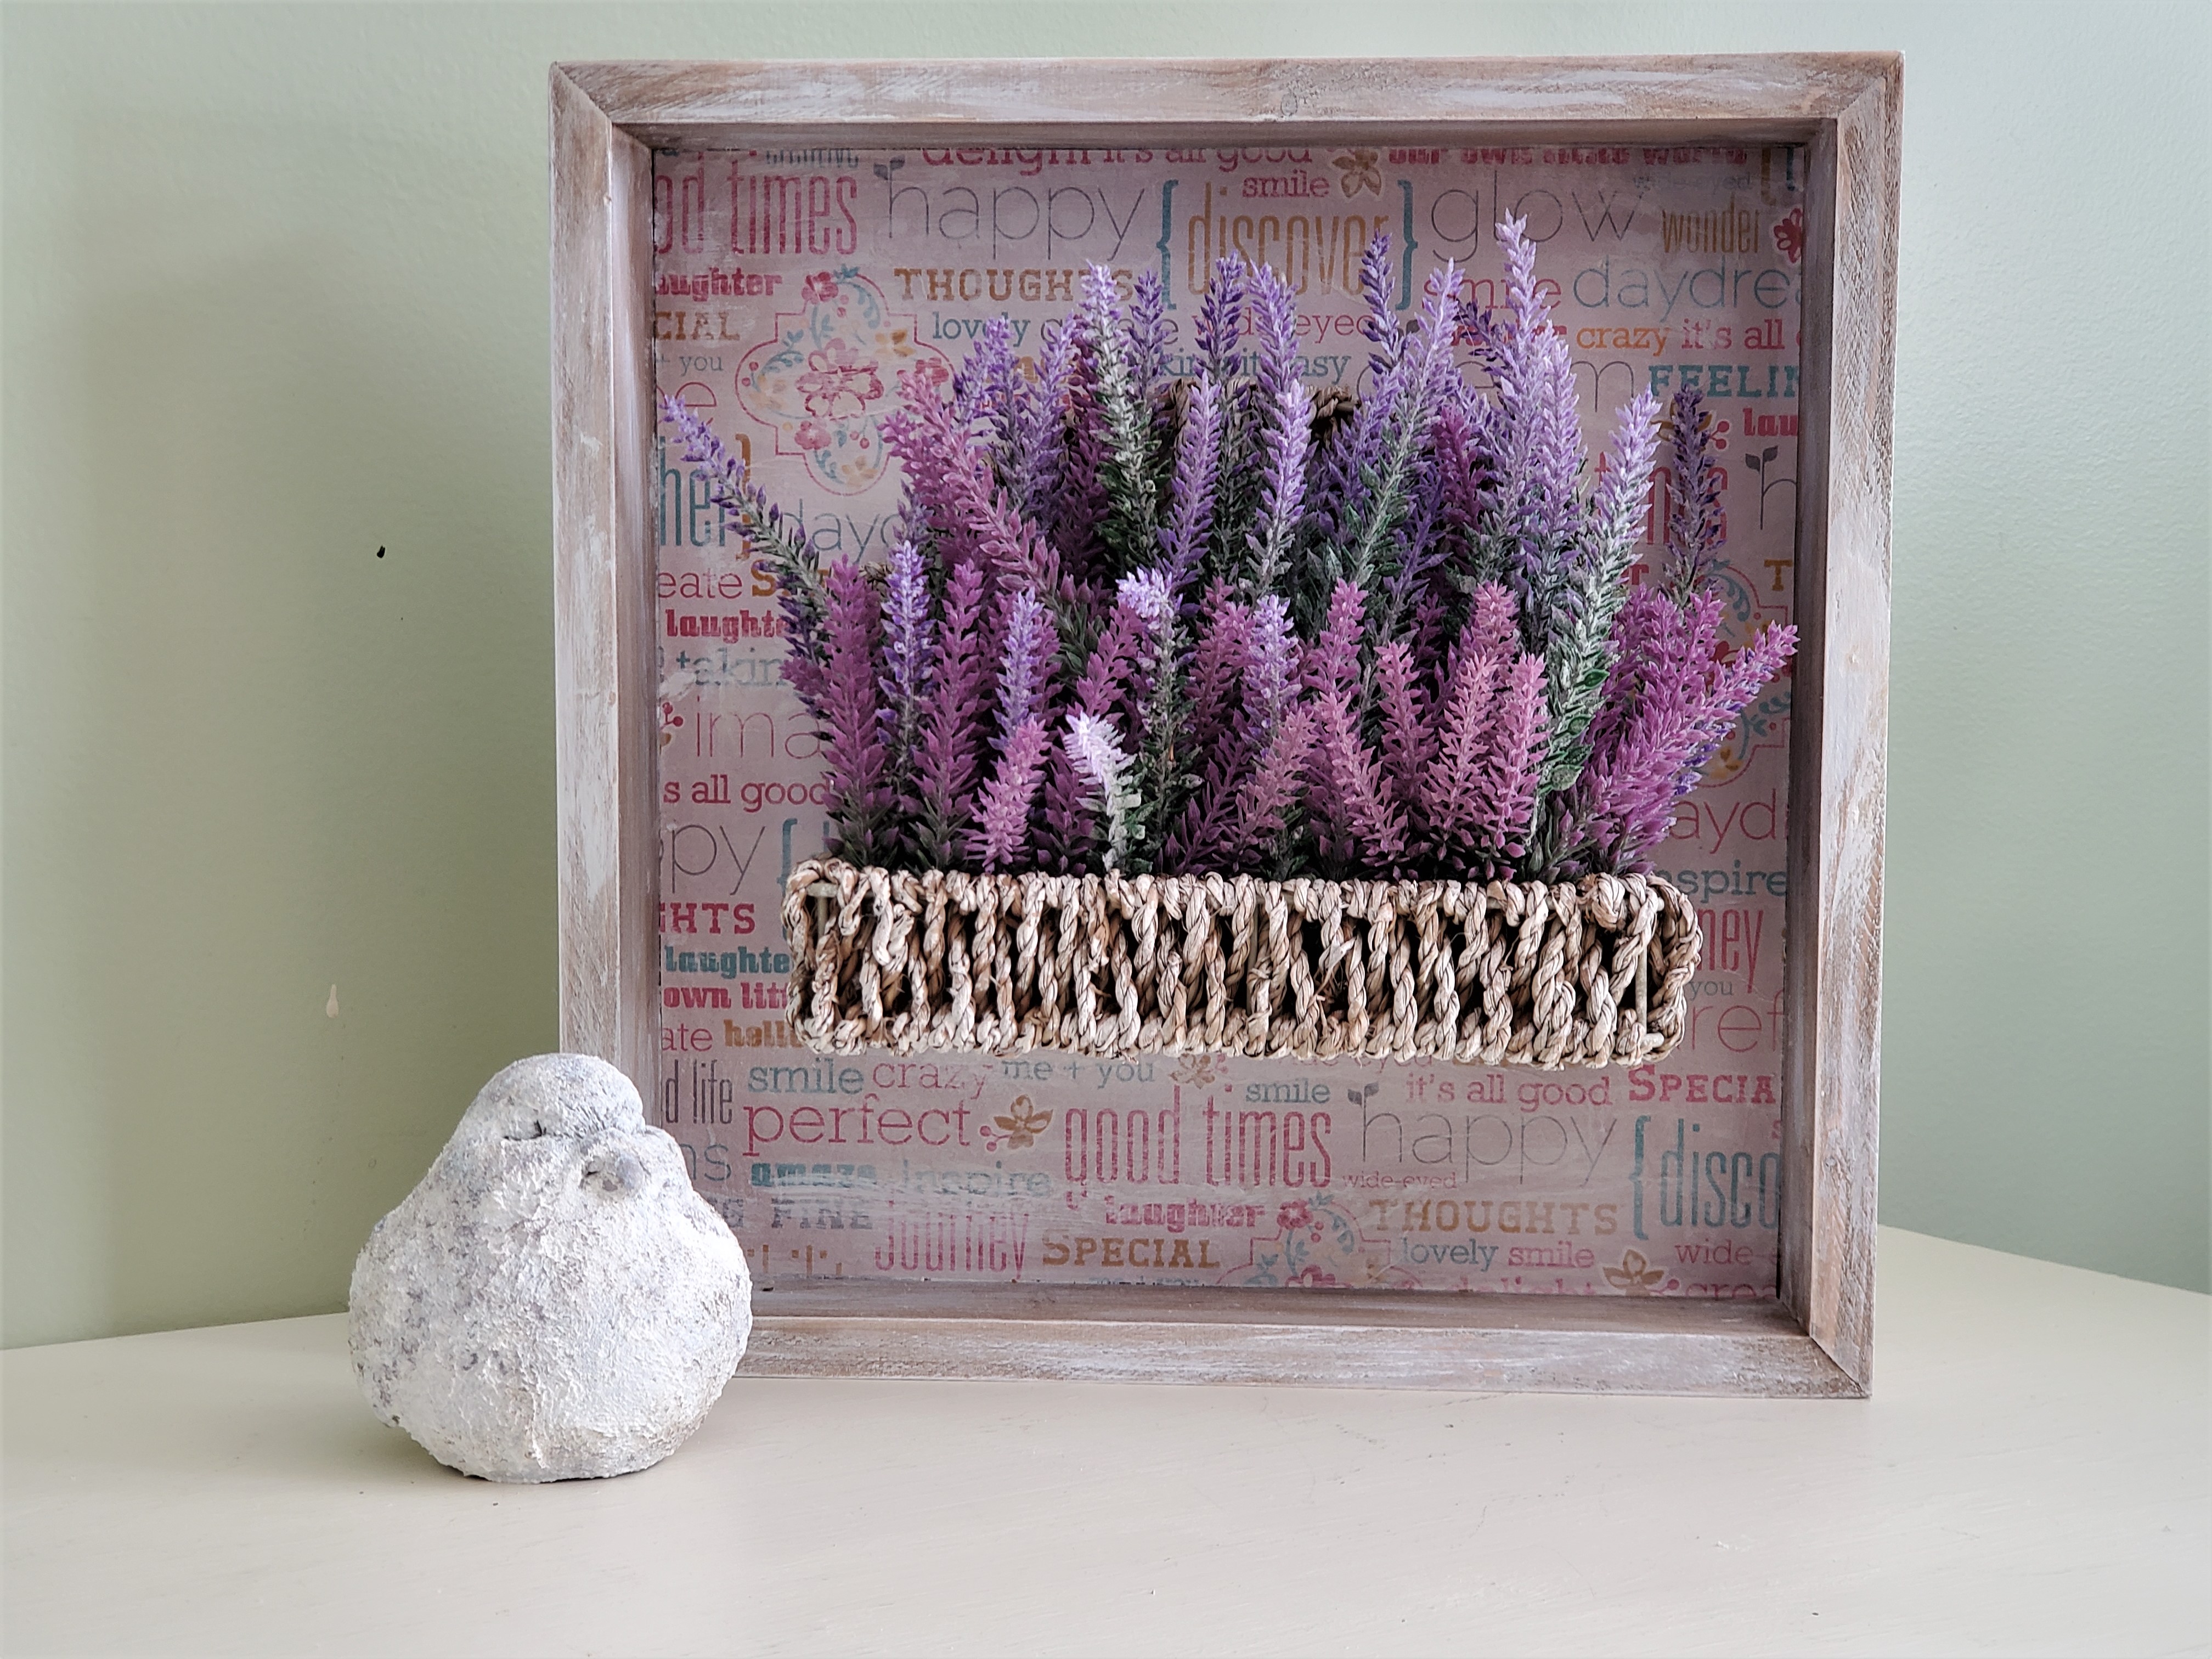
So I came up with this piece of DIY 3D floral wall art that you can switch up. For the longest time I had no clue where to put this particular piece but I knew that somehow the perfect place would present its self. And it did. It looks fabulous above the toilet.
K.I.S.S. Rule: Keep It Simple Silly
How to Make 3D Wall Art
This 3D Floral Wall Art DIY is beautiful, and it’s so easy to make! With just a few materials and some basic crafting skills, you can create this stunning wall art for your home. So why not give it a try? You won’t regret it!
Supplies You Will Need to Make 3D Wall Art
- Square Wooden Box Picture Frame
- Craft Paper
- *Container with a Flat Back
- Mod Podge
- Foam Brush
- Hot Glue Gun and glue sticks
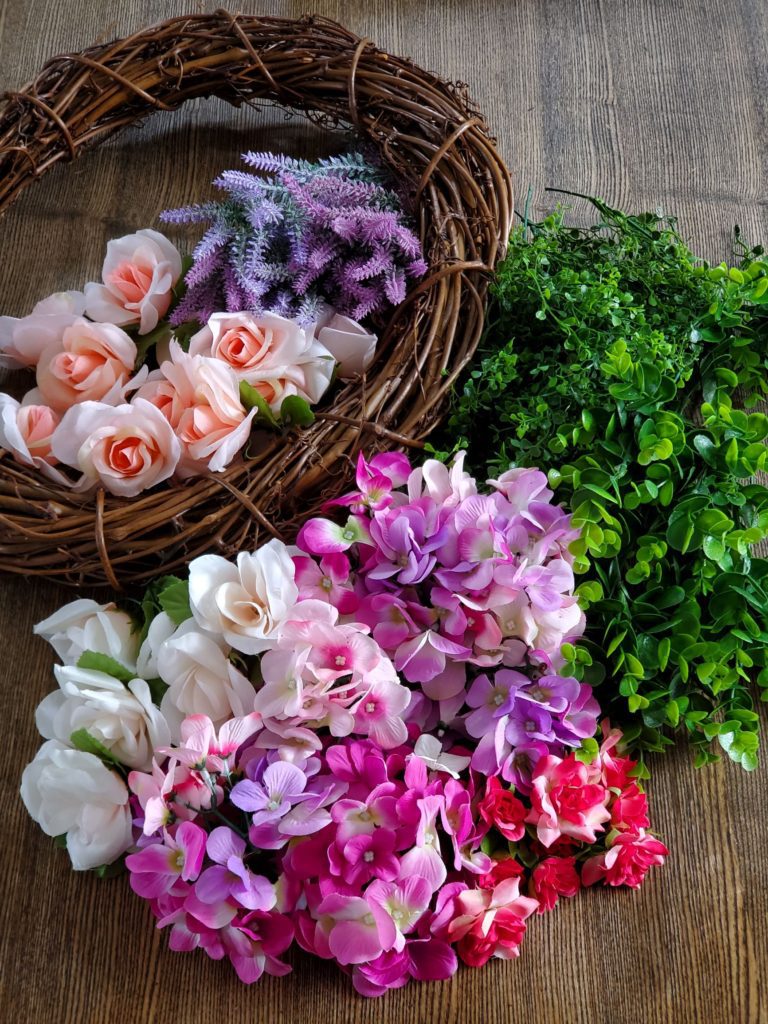
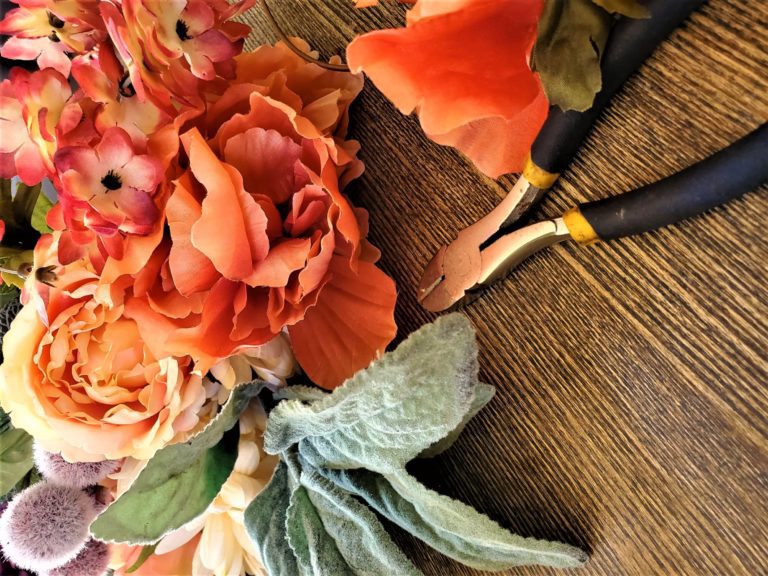
- Faux Lavender Stems
- Elmer’s Carpenter’s Wood Filler
- FolkArt Chalk Paint in Milk Jug
- Stencil or chippy brush
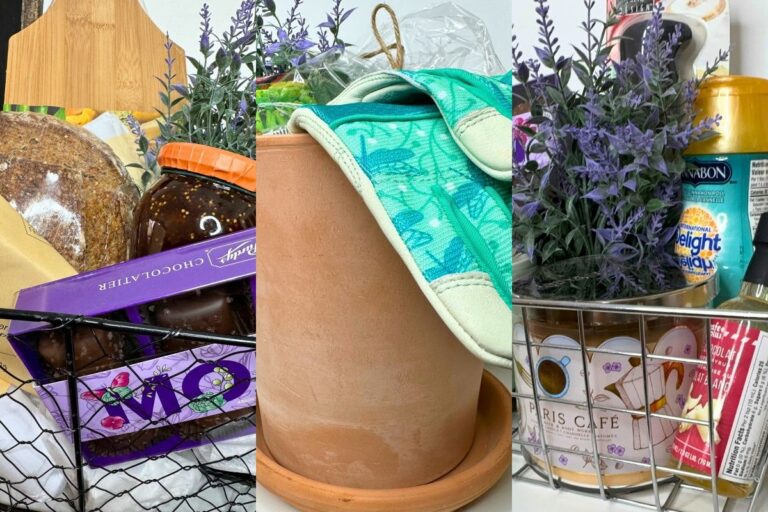
The Basket Case
I had a wicker basket that had once held bath products. It had been a Christmas gift from a co-worker. I knew it would work perfectly in this DIY wall art.
However, I realize that you’re likely not going to have the exact same wicker basket. Don’t fret .
Here are some other options:
- You may be able to find a similar wicker basket with a flat back at the thrift store or at garage sales.
- You may also be able to find a similar bath product set and then you too can use the basket the products came in and enjoy the bath products. Mine came with grapefruit scented products. Divine!
- You could also use a small Dollar Tree wooden crate. Sometimes they even have those wooden recipe boxes with a plaque attached.
- You could even cut off the end off of a Kleenex box and wrap it in craft paper.
Basically, any vessel that will hold the flowes and has a flat back will work.
The Frame
Begin by getting the wood frame prepared. In this case, I was using the backside of a picture so that I would have a box frame to work with. Preparing consisted of removing the hanging hardware and filling the holes it left with Elmer’s Carpenter’s Wood Filler. Then I let the wood putty dry completely.
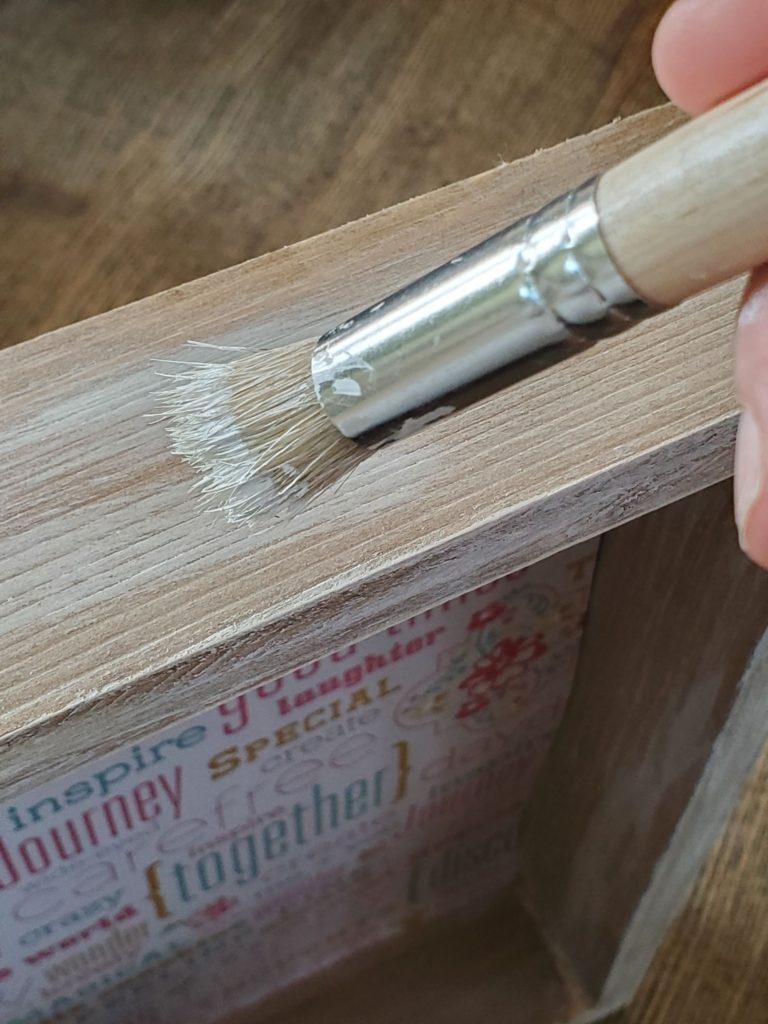
Using a dry paint brush and FolkArt Chalk Paint in Milk Jug I distressed the wood frame inside and out. I did this by randomly applying strokes of white chalk paint and then I wiping some of it away.
Now this is a step that is completely up to you. Other options could be to paint the frame a solid colour or you could stain the wood
Get the Look
Measure out a piece of the craft paper so that it will fit into the inside of the box frame. Cut it out.
Using Mod Podge and the foam brush apply a thin layer to the back of the sized, craft paper. Using a bone folder or your fingers smooth out the paper so that all the creases and air bubbles are removed. Let dry overnight.
Add another thin layer of Mod Podge on top of the dried craft paper. Let dry.
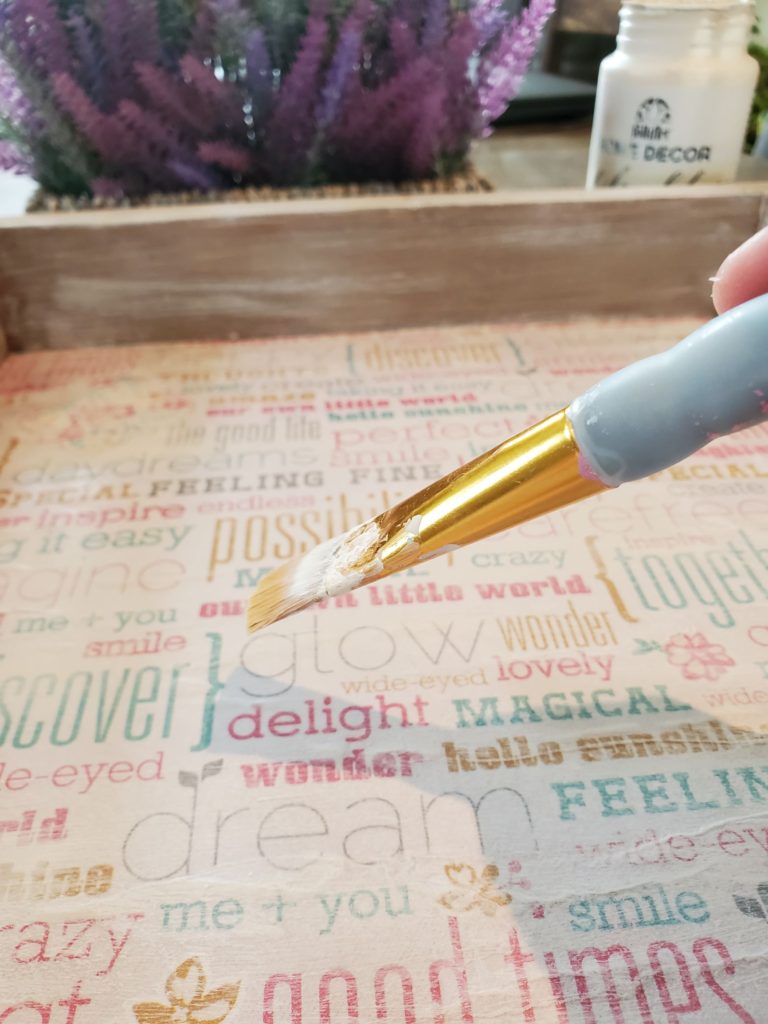
Now this step is completely optional. The craft paper I had selected as the backdrop was too bright next to the distressed picture frame. So I used a dry fan brush and made sweeping strokes across the craft page.

The Basket
The wicker basket was a bit dark when it was held next to the picture frame. I decided to use a dry stenciling brush and apply a small amount of white chalk paint and with a dry rag in order to also distress it.
Next, apply hot glue to the back of the wicker/wooden/cardboard container and then quickly attach it to the picture backing 1/3 of the way up.
NOTE: You want to ensure that you are leaving room for the flowers and that when all put together it is aesthetically pleasing to the eye. You may find that you have to change up my 1/3 placement suggestion. That is fine. The final look with all depend on the container you chose and what you think looks best.
Join At Jenny’s Place Free Printable Library!
The Final Touch
A few faux lavender stems worked well with the soft purple of the craft paper. Fortunately, the craft paper goes well with several colours so I plan to switch the flowers up as the mood strikes.
For a more permanent solution hot glue the stems in place.
How to Attach Faux Flower Stems to Wall Art:
- If using a wicker basket bend the bottom of the lavender stems so that you can hook them onto the bottom of the wicker basket. (As shown above)
- Wooden containers that you can either hot glue the stems to the bottom of the container or you could insert some floral foam and stick the stem into that.
- Using a wooden crate with open sides you may also want to add moss so that the floral foam or hot glued stems are camouflaged.
- If using a cardboard box hot glue the stems in place. Or hot glue a piece of floral foam to the bottom and stick the stems into the floral foam. Cover the top with moss so that you can’t see the floral foam.
And voila! You have a delightful piece of 3D wall art that is both charming and good looking.
Jenny’s Finishing Thoughts on 3D Floral Wall Art
Making your wall art literally stand out is fun. 3D wall art brings a piece alive. It allows you to decorate for inexpensively. The basket adds dimension while the flowers soften the whole look while adding additional interest.
Are you one to switch up your pictures and/or wall art with the seasons or are you more like me and you like to keep at least this part of home decorating a bit simpler? Let me know in the comments below. Cheers!
Did you find this post helpful or inspirational? Save This Pin to your Wall Art board on Pinterest