
How to Decorate an Old Wooden Tray
I have had these three simple wooden trays for a long time and today we are going to look at three different ways that you too can decorate an old wooden tray.
NOTE: These trays have not been prepared with food safety in mind. Please use serving plates, bowls, or napkins when serving food on these trays. Or use to display non food items and as the base to table decor.
To Decorate an Old Wooden Tray
You can easily find wooden trays for next to nothing at thrift stores or at garage sales. I found this set at a garage sale years ago. They had been painted black and had a tacky and textured floral pattern painted on the inside of each. I hated the way they looked but knew they would come in handy and that it would be really simple to change them up.
A few years ago I needed white serving trays for a navy blue, lime green, and white baby shower I was throwing so I decided to skip the prep and I simply schlepped some white paint on each of them and used that.
This ended up being a great fix in the moment but in the long run the texture from the original paint motif showing through annoyed me and so I put them on the top shelf of my craft closet and forgot about them. That is until a few weeks ago when rummaging through my DIY stash I came upon them and thought to myself, ‘What can I do to decorate an old wooden tray?’
I hope you enjoy what I came up with.
PRO TIP: If you are unable to find the trays at a thrift store or a garage sale you can purchase paintable wooden trays at Michaels, Walmart, or Amazon. This is a more expensive option but you get 5 trays instead of 3.
How To Decorate An Old Wooden Tray 3 Ways
All three trays start with the same basic materials. If you are making all 3 trays you can simply follow the instructions for each outlined below. If you are choosing to make only 1 tray then just choose your favourite option, collect the needed materials, and follow the instructions written for that particular tray.
Supplies You Will Need to Decorate an Old Wooden Tray
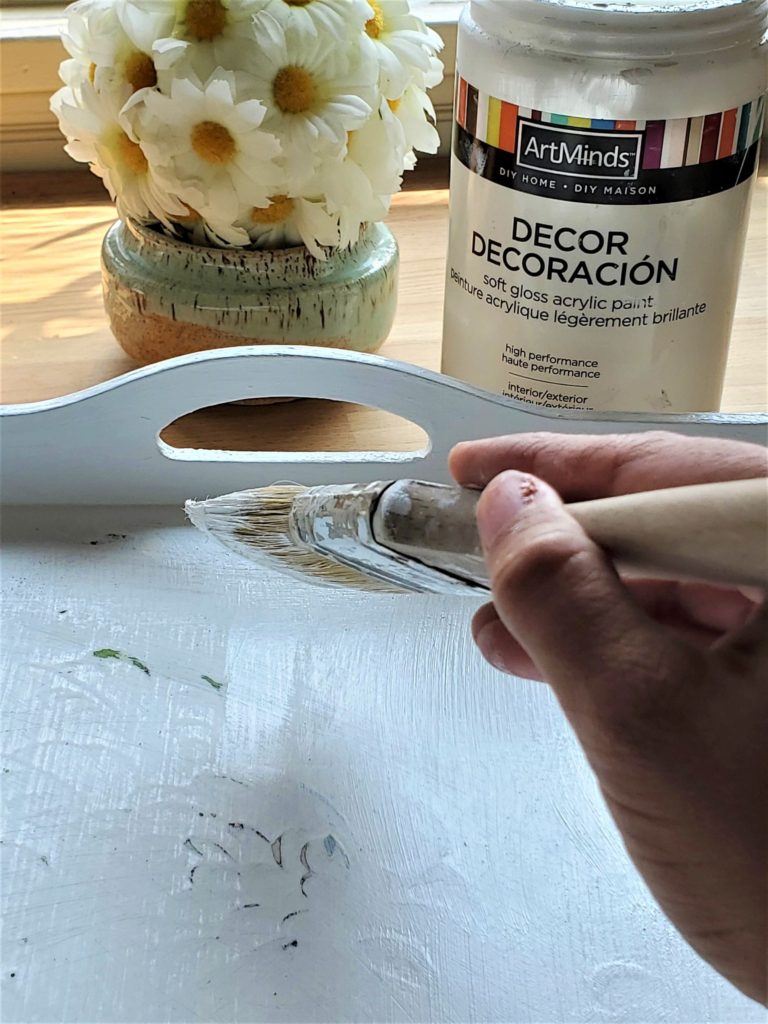
(Note: I used ArtMinds because I had it on hand but FolkArt is the same and easier to find.)
- An Old Tray, or Wooden Craft Trays, or a Set of New Nestling Wooden Trays
- FolkArt Chalk Paint in White Adirondack
- Paint Brush
- Sand paper (*optional)
- Measuring Tape
- Pencil
- Scissors
- Hot Glue Gun and Hot Glue
- Decorative Jute Roll
Burlap and Lace Tray
- Wooden Skewers
- Clear Varnish
The Personalized Tray
- FolkArt Chalk Paint in Rich Black
- Paint Brush
- Large Circle Template or Traceable Object
- Smaller Circle Template (should be 1″ – 1.5″ smaller than the larger circle) or Traceable Object
- Printer Paper
- Printer
Bamboo Tray
- Decorative Jute Roll
- Mod Podge
- Foam Paint Brush
How to Decorate an Old Wooden Tray the Basics
This first part will walk you through the basics for preparing each of the 3 trays. Once the basic steps are completed you can move on to one of the 3 decorating options. All 3 options are outlined below the basic steps. Have fun!
Prep
- If needed, like in my case, sand down any rough or painted spots so that your work surface is smooth.
- Then wipe down the trays with a damp cloth so that they are clean and ready to paint.
- Using the white chalk paint (or any other colour of your choice) paint the entire tray with at least 2 coats of paint. Let dry thoroughly in between coats.
Edging
Cut the jute roll into thin strips that will fit the edging on the trays… or trays if you are decorating more than one. The length and width will depend on which size of tray that you are working on.
Burlap and Lace Tray
The tray I choose to start with was the larger of the 3.
Start by following the directions above in How to Decorate an Old Wooden Tray the Basics.
Once the tray is prepped and painted, it’s time to decorate it. Start by measuring out the inside of the tray.
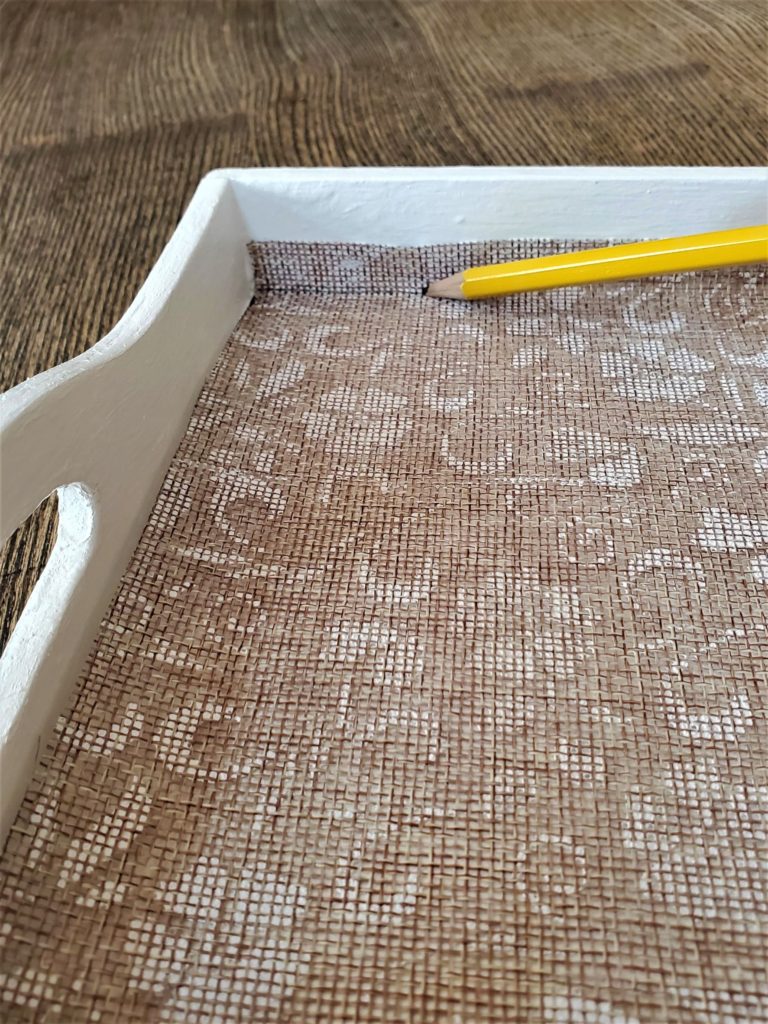
Cut out the jute roll so that it fits inside the tray but has a bit of extra material.
Using a pencil and your fingers press the jute roll up against the inside edges of the tray and traced the pencil along it. This will let you know exactly where you need to cut the roll. Do this one side at a time.
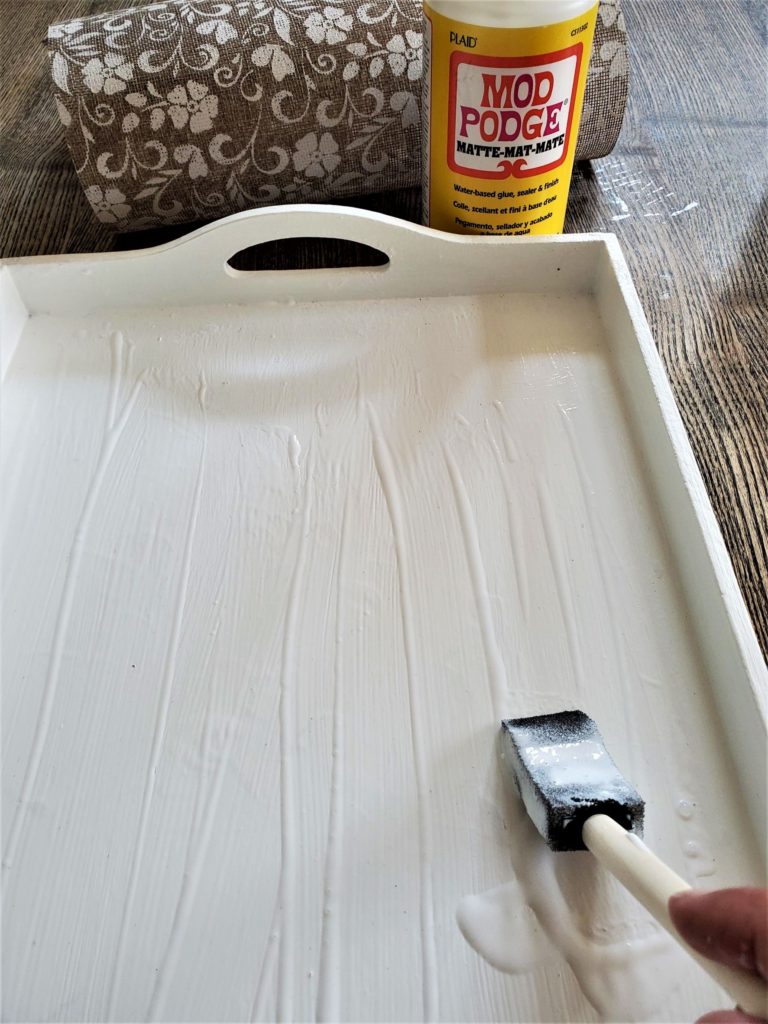
Once you have the jute roll cut out perfectly, smear a nice thick coat of the Mod Podge onto the inside surface of the tray. Don’t be shy with this step. The jute roll is thick and you want it to stay in place so apply it thickly.
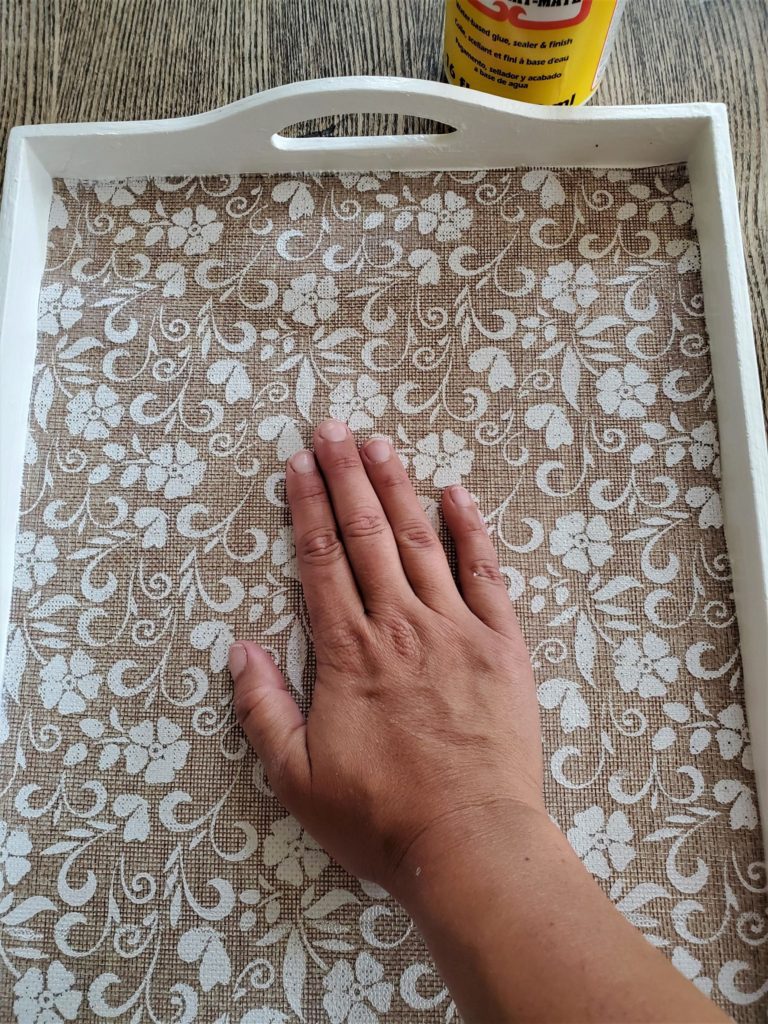
Using your hands, press the jute material down so that it lies smoothly on the surface. You could use a bone folder or something similar to do this step but honestly I didn’t find it necessary. The jute twine is thick and as long as you have cut it properly to size and are using a generous amount of Mod Podge it should easily lay flat.
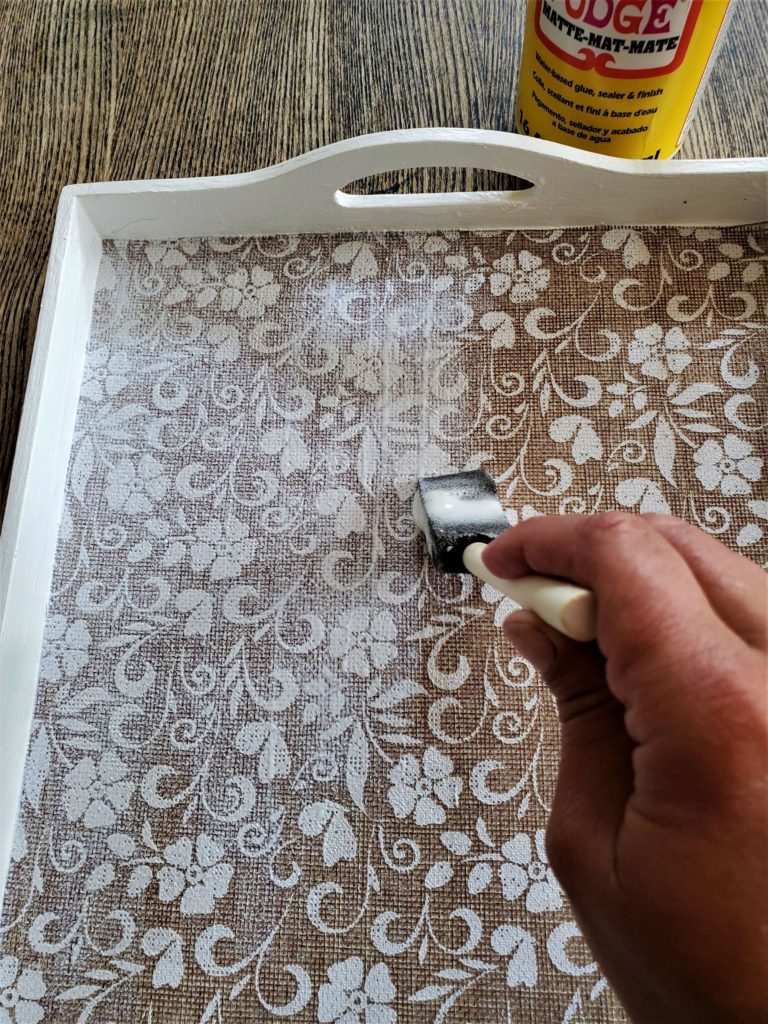
Now, again using the foam brush and Mod Podge, apply a thick but smooth layer of Mod Podge all over the surface of the jute roll.
Allow this to dry and then apply a second coat of Mod Podge to the jute roll. This will help ensure that the jute roll will stay affixed to the wooden tray and that it will be easy to wipe down if needed.
If you get a little Mod Podge on the sides of the tray just wipe it clean with a damp cloth while the glue is still wet.
NOTE: I decided to use my basic matte Mod Podge because I’m not planning on leaving these outside. If you are thinking of leaving these trays out on a front porch or in a screened-in-space you may want to opt for Outdoors Mod Podge.
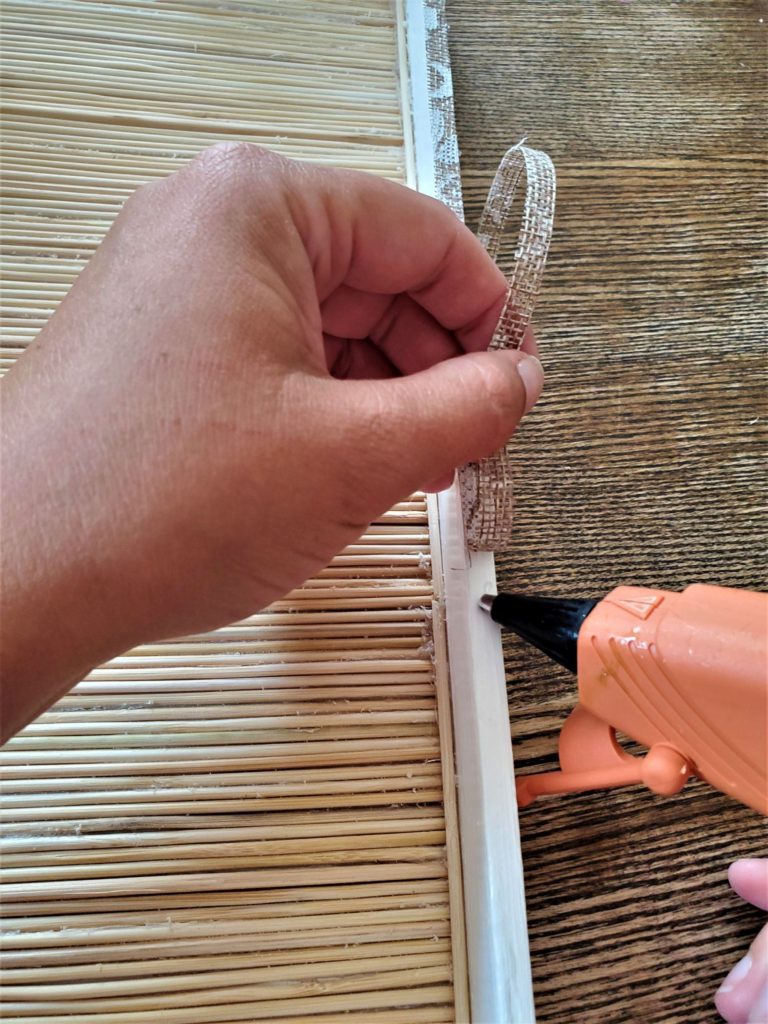
Now using the jute strips that you have cut to length during the How to Decorate an Old Wooden Tray the Basics portion of the project and hot glue, glue the strips of jute to the top edge of the tray.
Do this by dabbing several dots of hot glue along the edge and then pressing the jute strips down to affix and smooth out. Trim away any excess at the ends.
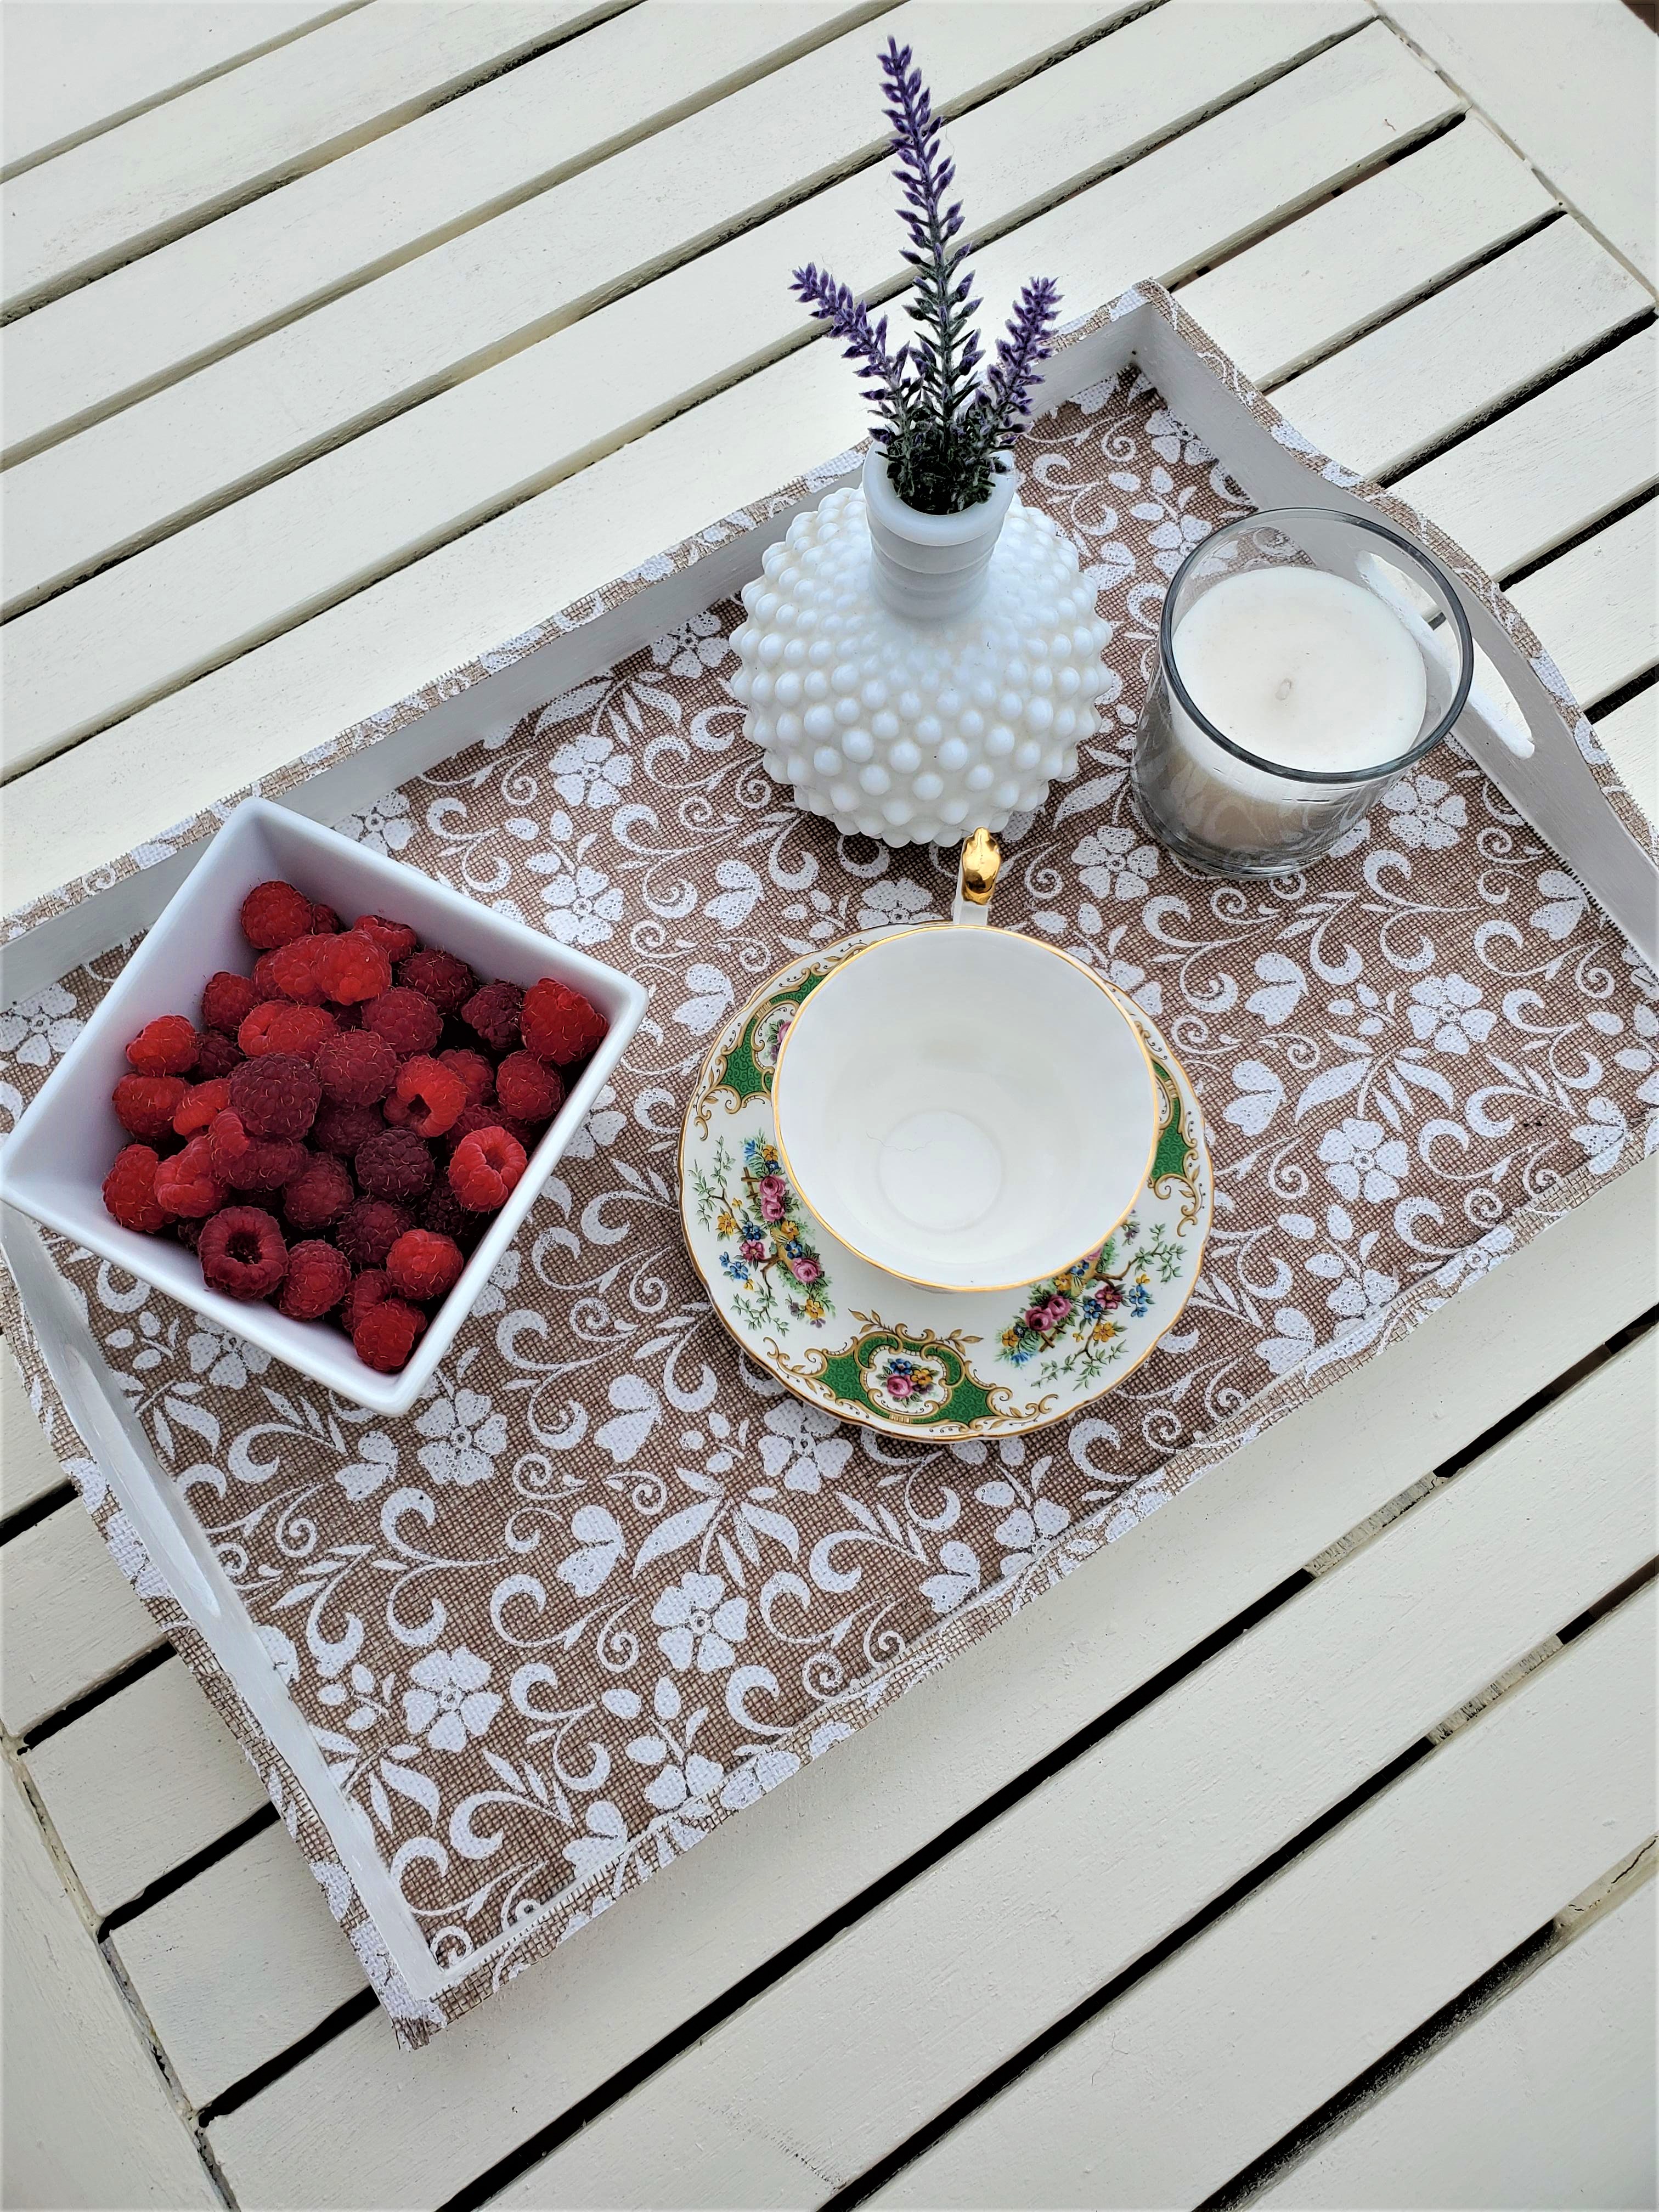
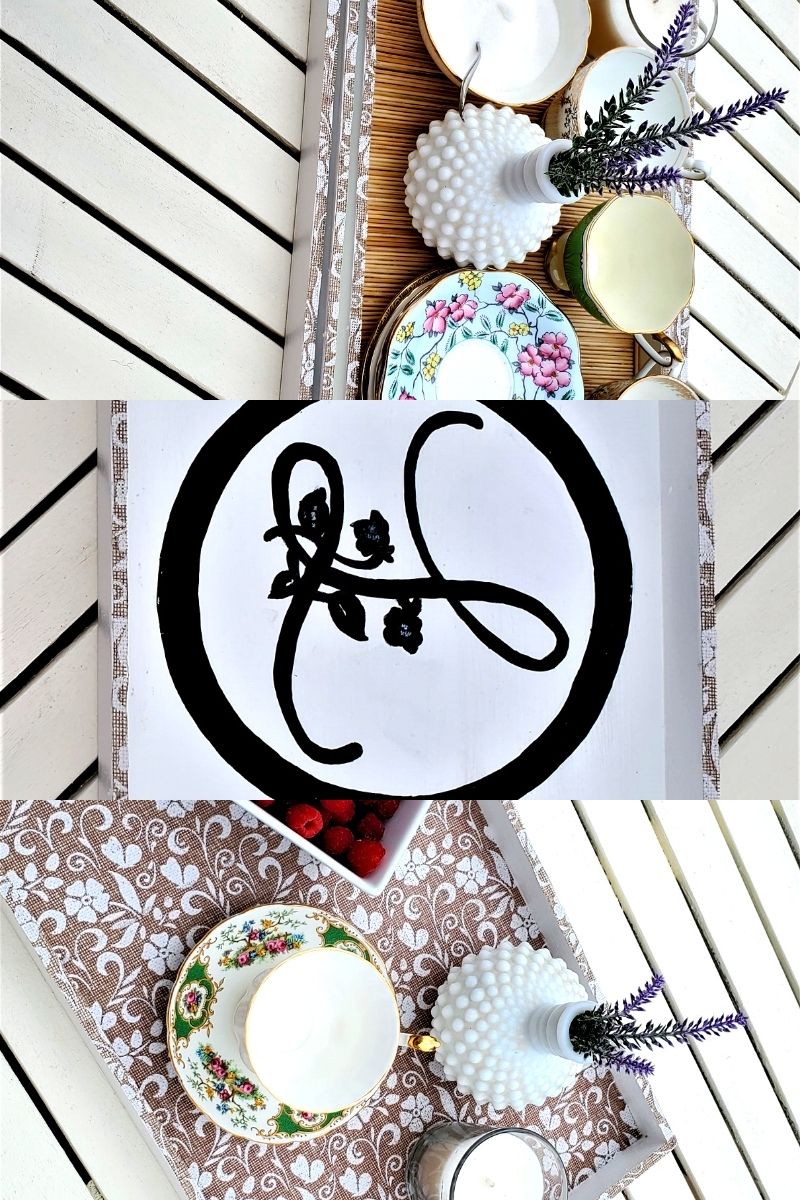
And Voila! How to decorate an old wooden tray with simple burlap is complete. So easy and yet so elegant. This piece can totally stand on it’s own or you can use it as a beautiful base to any table top display.
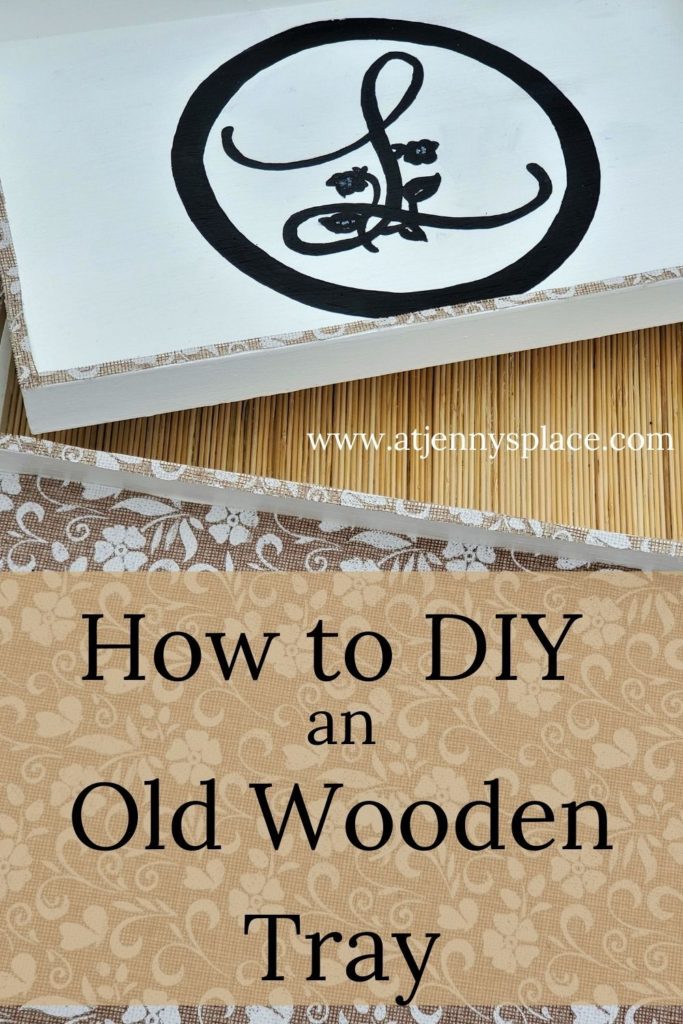
The Personalized Tray
I decided to forgo the Cricut and instead do this the old fashioned way. It was important to me to show you that anyone can do this project. This is also a good DIY for those of you who hate doing free hand lettering. I too am awful at lettering.
If you want to check out a DIY blogger who is the master of free hand lettering check out Colleen at Lemon Thistle. She owns it!
All that being said, if you want to free hand the lettering or use a Cricut by all means to do so.
The tray I choose to personalize was the medium sized tray.
Start by following the directions above in How to Decorate an Old Wooden Tray the Basics.
Once the tray is prepped and painted, it’s again time to decorate.
Start by finding the center of the tray.
You want two circles. The outer circle needs to be about an inch wider than the inner circle. Find the center of the tray and using a pencil first trace out the larger circle followed by the smaller circle.
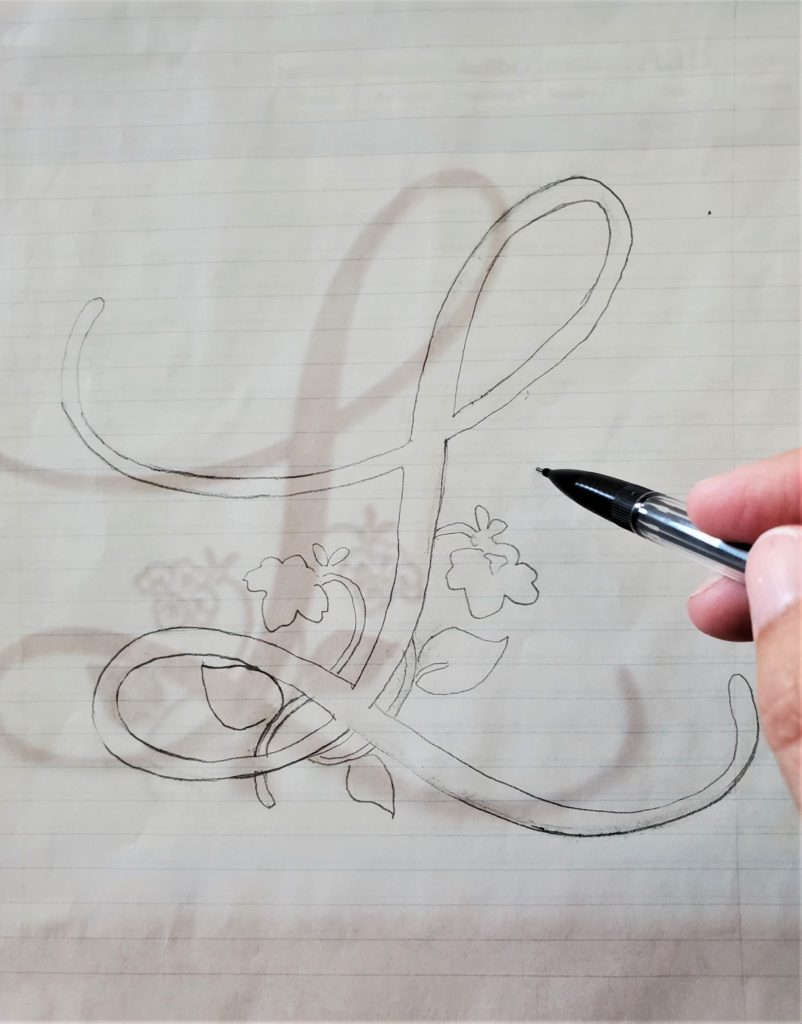
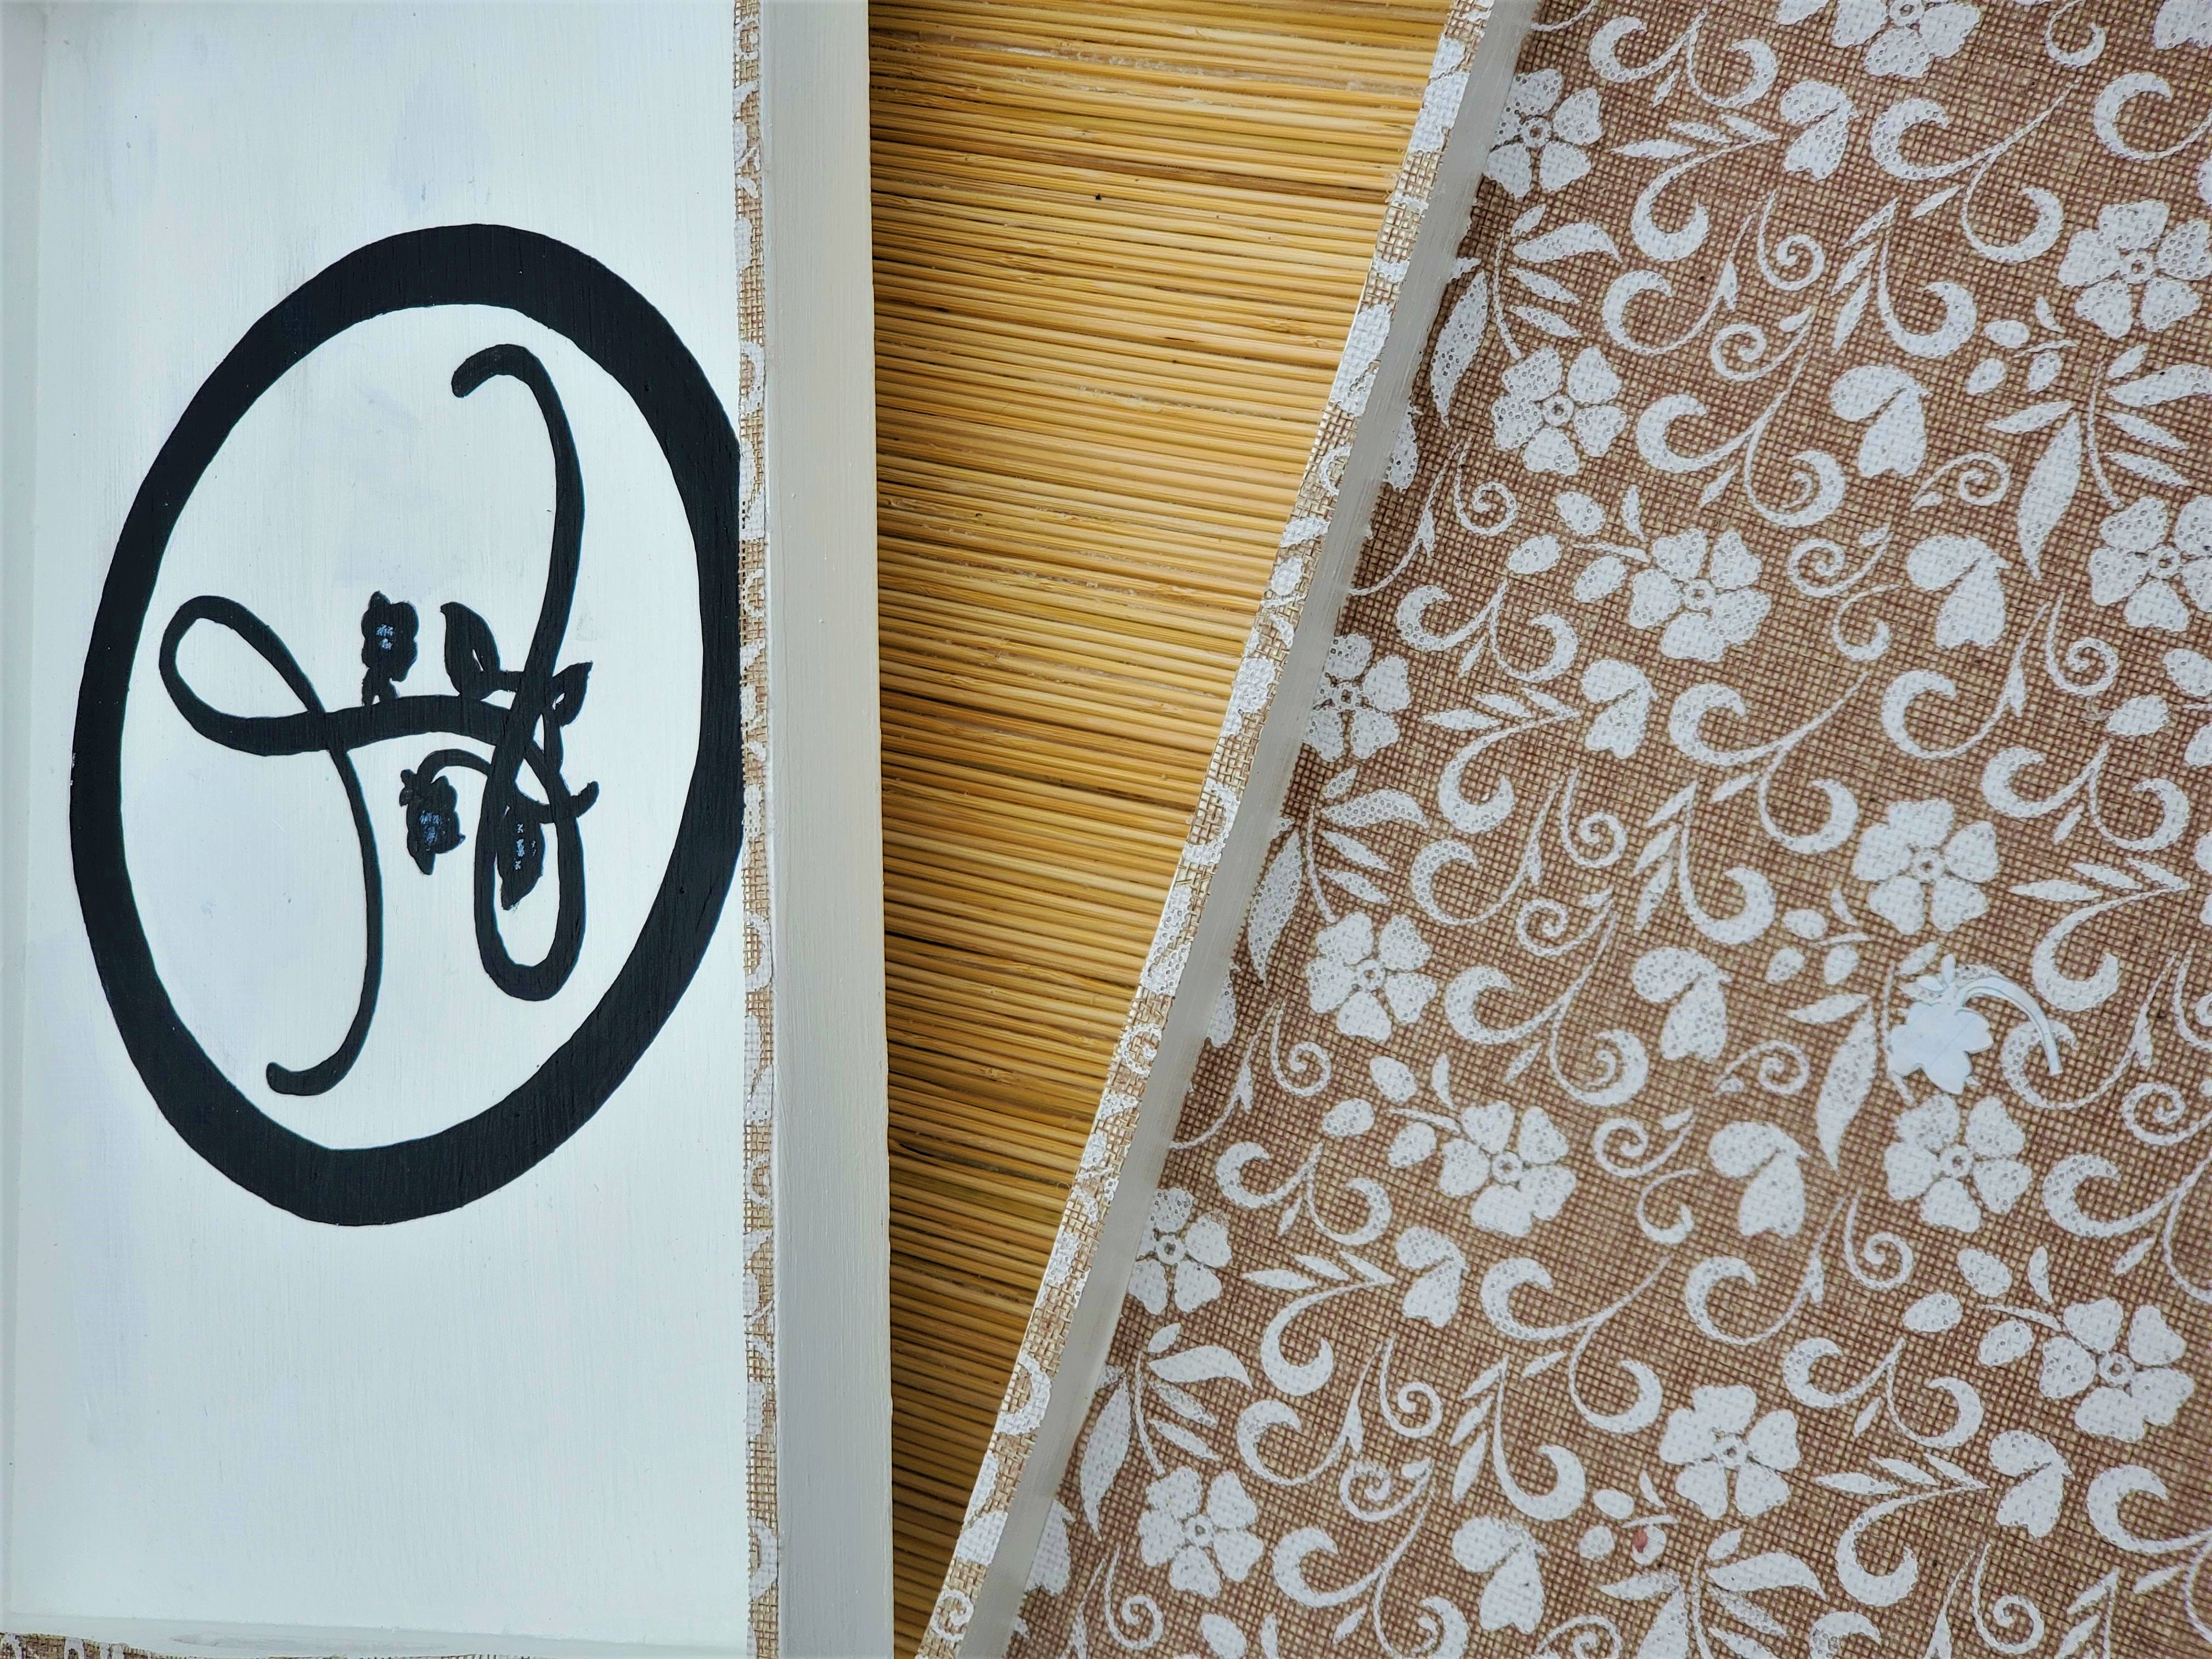
Go on line and find a beautiful letter. Although, I did contemplate using a J for At Jenny’s place in the end I decide on L for our family name.
Using a piece of lined paper and a pencil, place the paper over the computer screen and lightly trace out the letter.
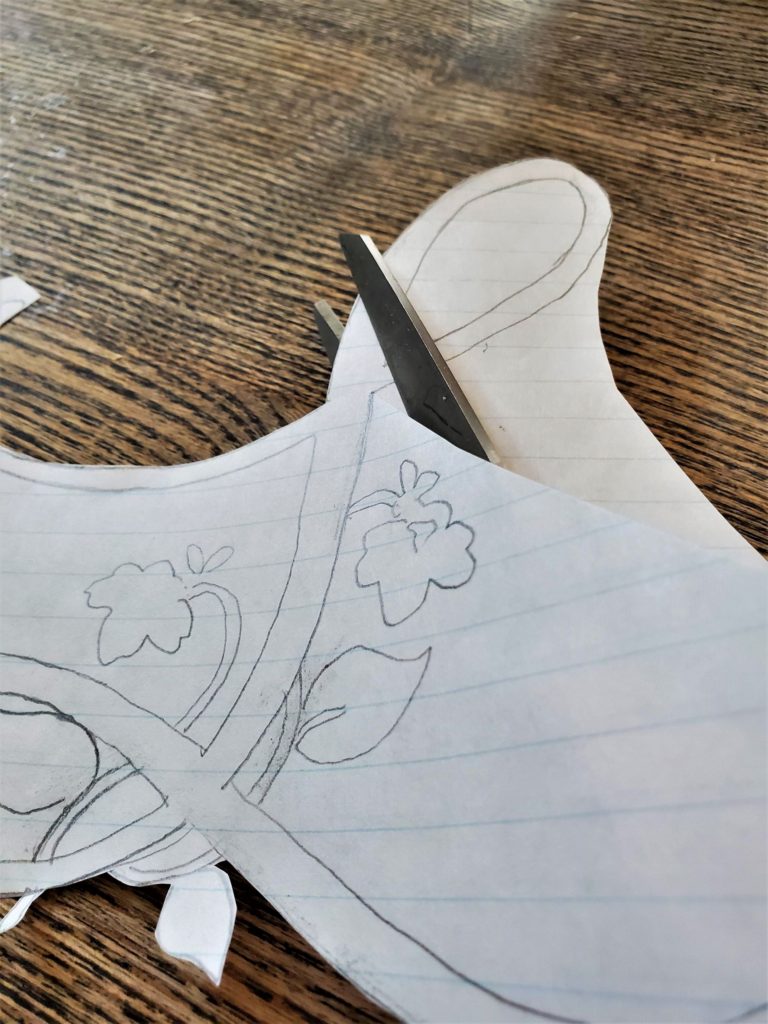
Cut out the letter. The letter I choose had some vines, leaves, and flowers coming out from around it. I decided to cut these away from the letter and place them aside for later.
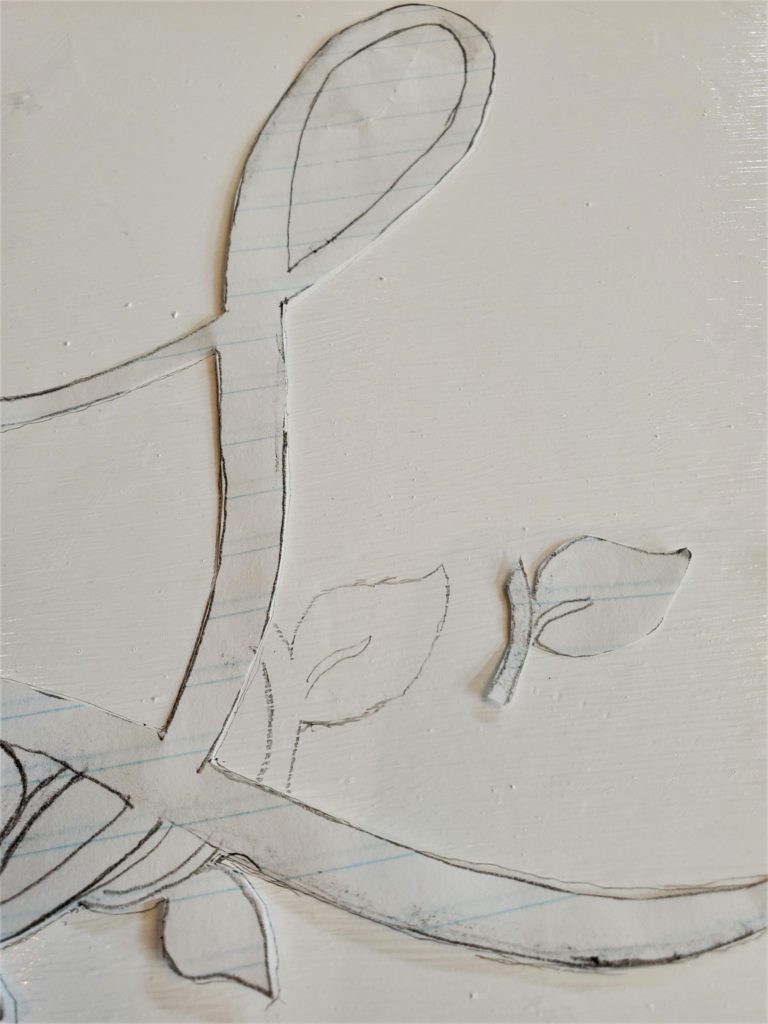
Using your homemade letter template, and a pencil, lightly trace the letter out into the center of the inner circle.
Then place any details, such as the cut out leaves, vines, and flowers, where they’re supposed to go. Again, use the pencil to trace these onto the tray.
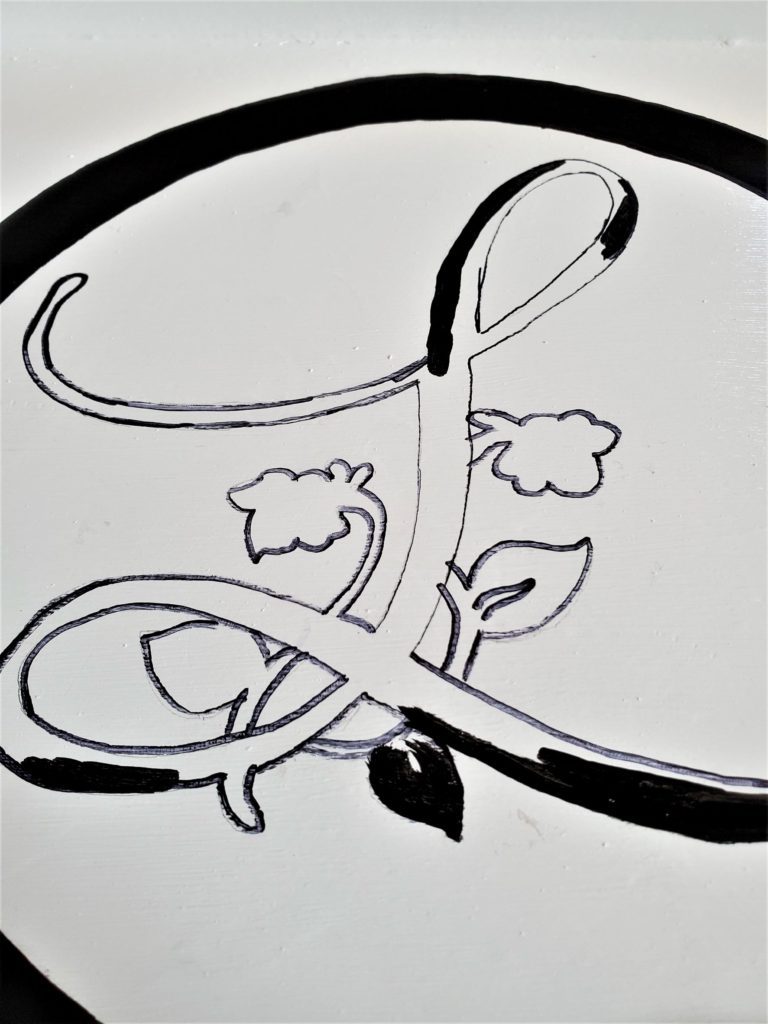
Using a black sharpie marker, trace out the letter L and all the detailing.
Then with the ArtsMinds chalk paint in black paint inside the lines. You’ll want to fill in the circle, the latter and any detailing. Let this dry.
Using the jute roll strips that you cut earlier in the How to Decorate an Old Wooden Tray the Basics portion of the project and hot glue, affix the jute strips to all four edges of the tray.
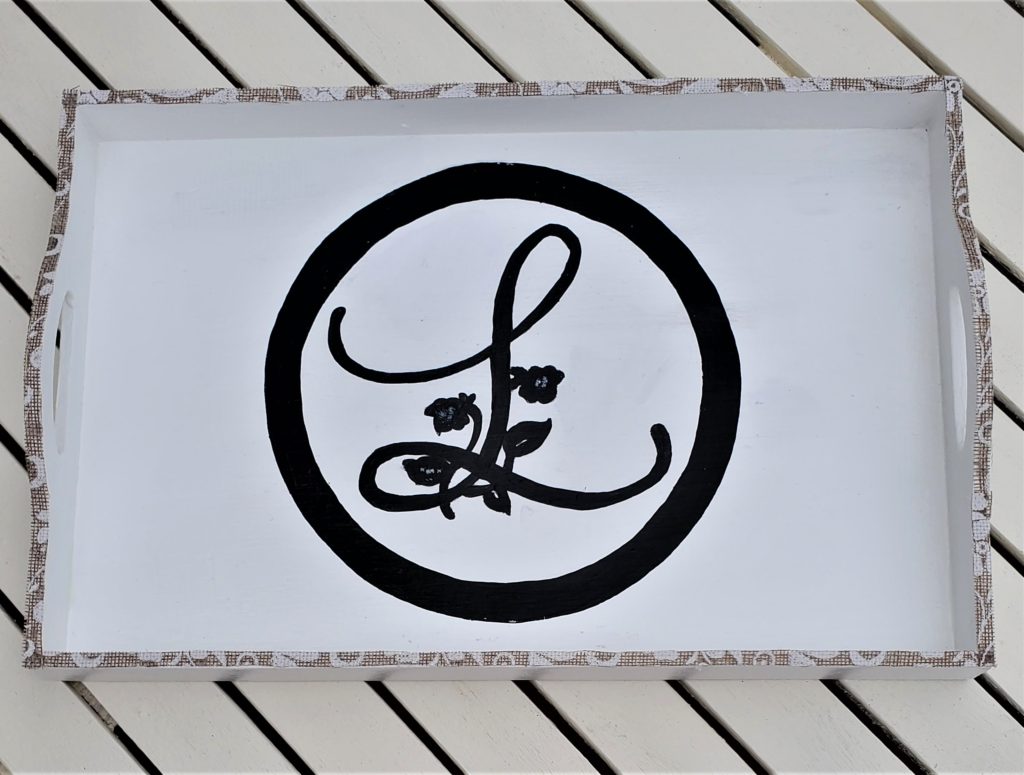
And Voila! Another awesome way to decorate an old wooden tray that looks beautiful and is completely unique and personalized. And like the first tray option this too can stand completely on it’s own.
Bamboo Tray
I absolutely love, love, love how this tray turned out! It just looks so natural and interesting. The texture provides the perfect accompaniment to the other simpler trays.
Now full disclosure, out of all of the trays this one is by far the most tedious to create but the efforts are well worth it. Just find a comfy spot on the couch, turn on the TV or some music, and enjoy the process.
Start by following the directions above in How to Decorate an Old Wooden Tray the Basics.
Once the tray was prepped and painted, it was again time to decorate.
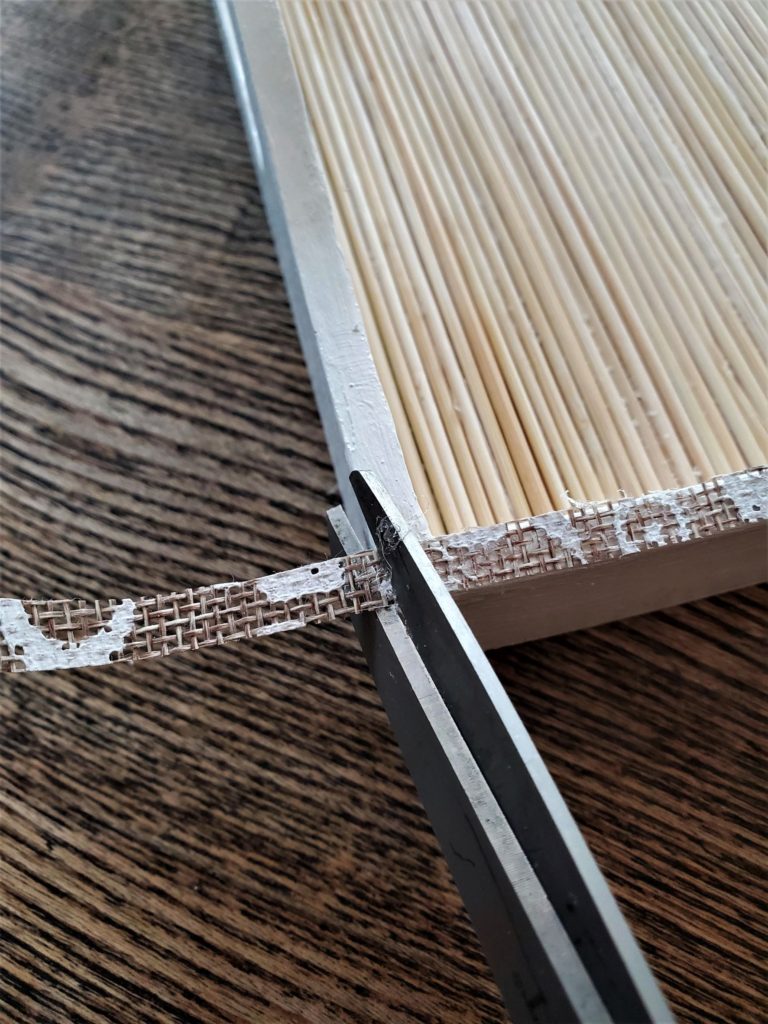
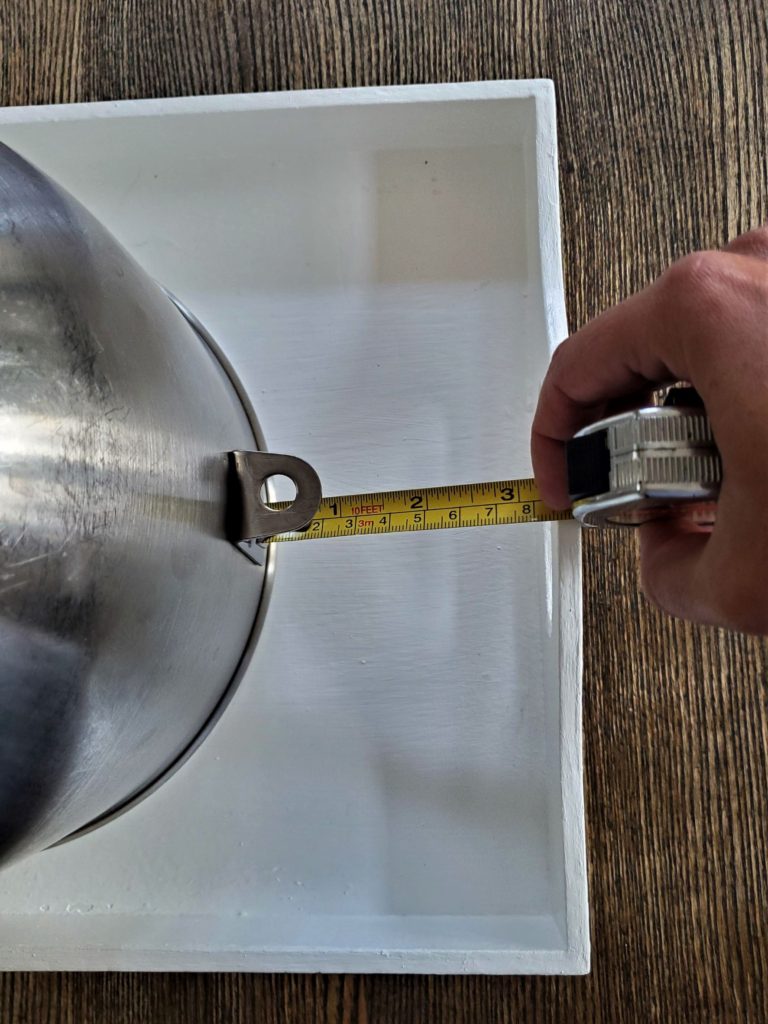
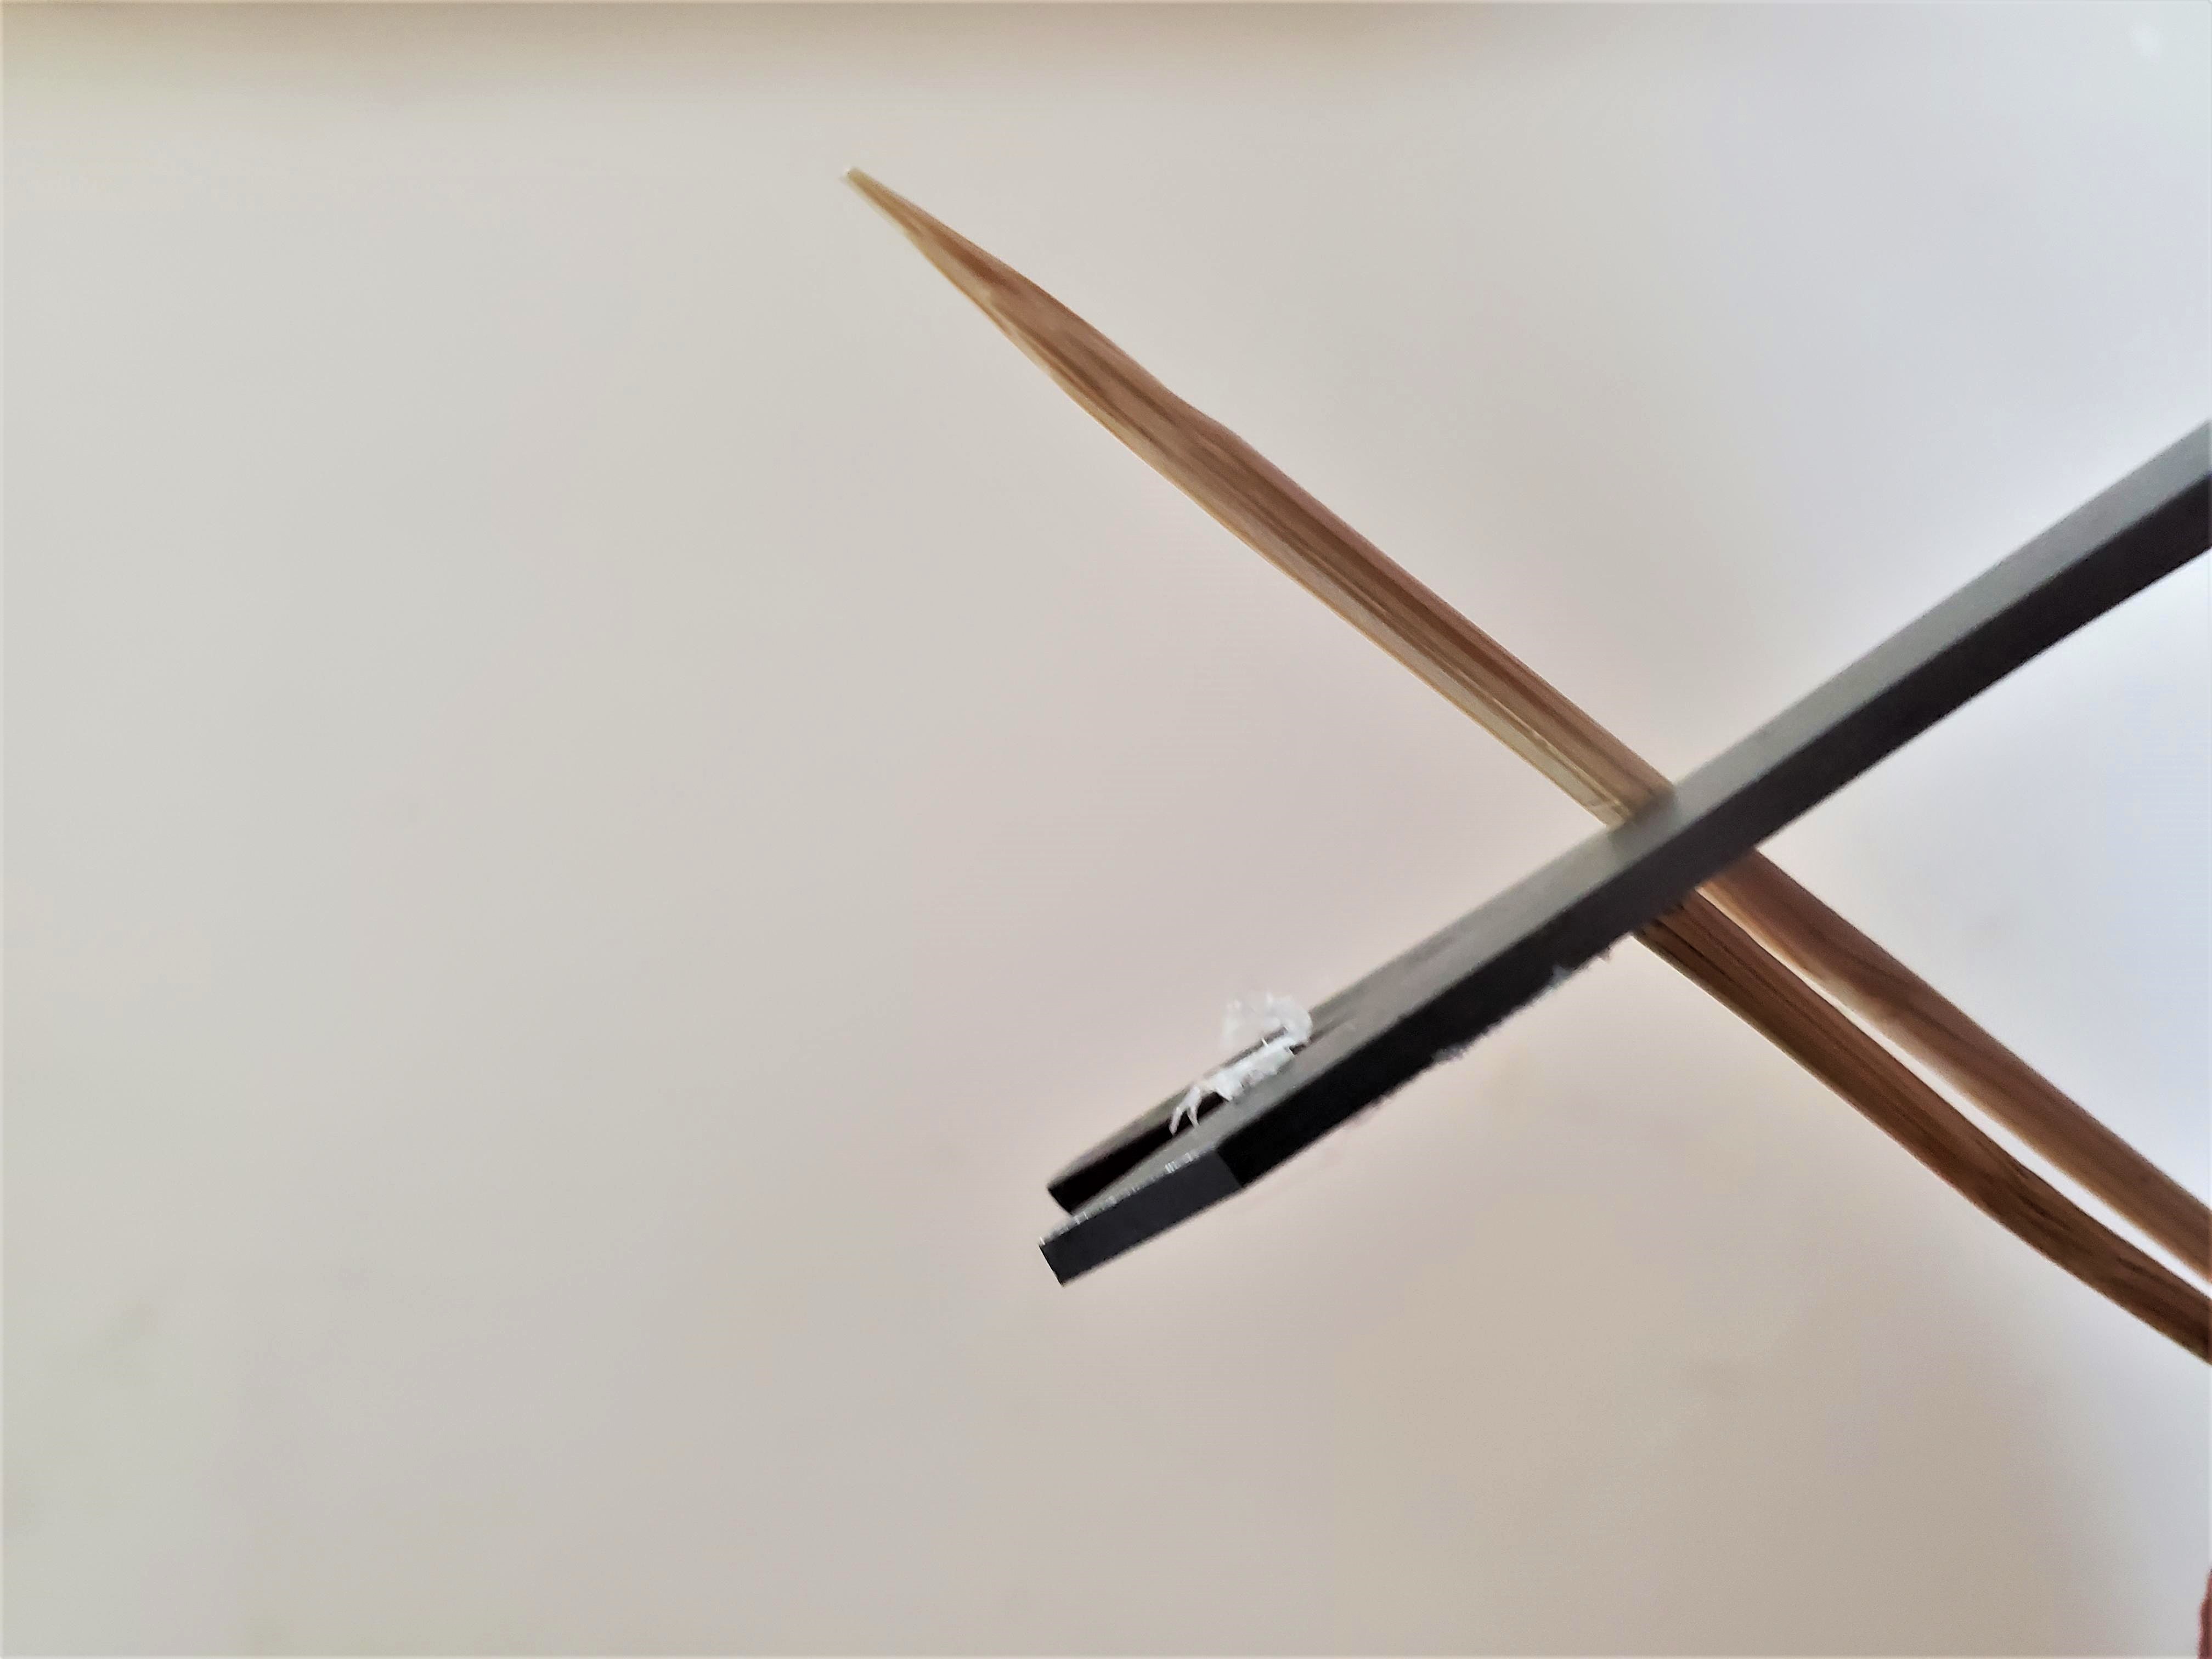
Start by measuring the width of the tray. Next, cut the wooden skewers down so that they are each the length of the width of the interior of the tray.
PRO TIP: I found it the easiest to measure out one of the skewers and then double check that it fits perfectly inside the tray. I then used this skewer to measure and cut all of the other skewers. That way I knew that they would all fit exactly.
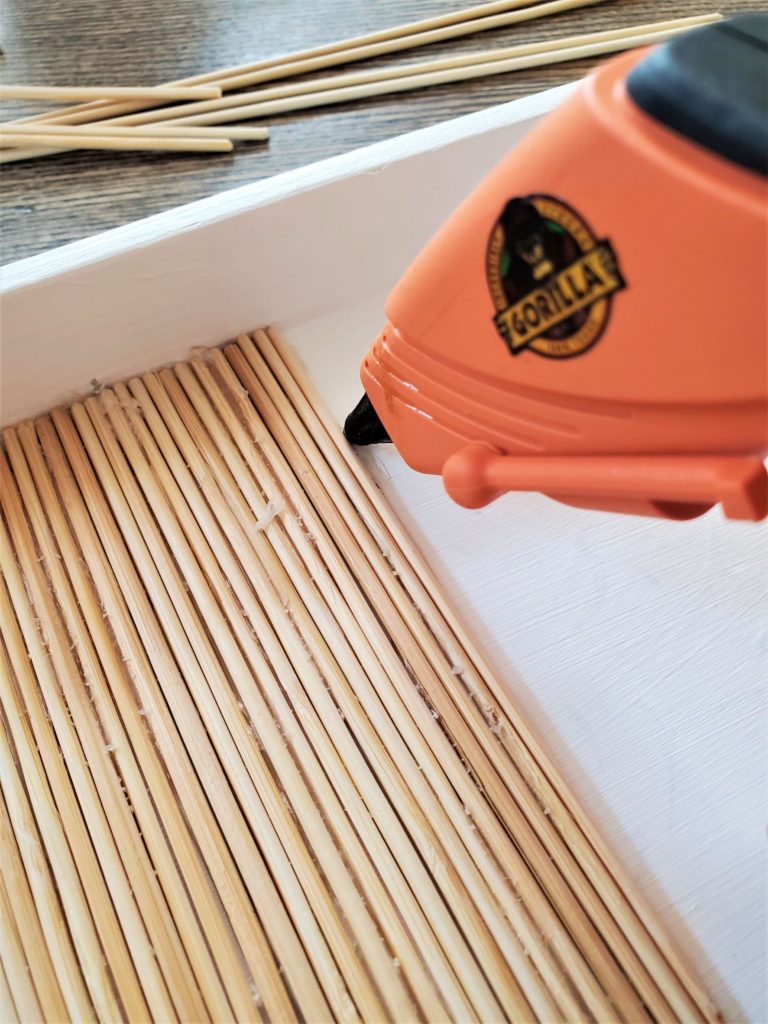
Start at one end of they tray and using dabs of hot glue affix each of the wooden skewers to the tray base.
Use your finger to wipe away an excess and later on we will clean this up a bit more. Let dry.
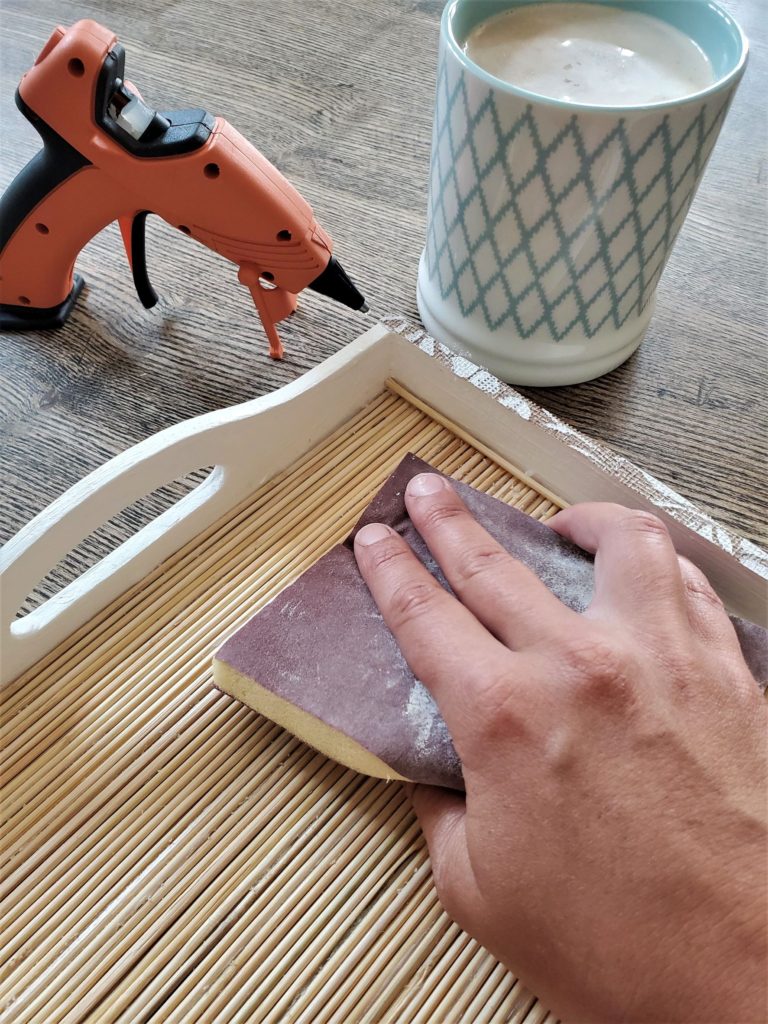
Using a fine grade sand paper, sand away any of the access glue found on top of the skewers.
I also found it handy to use another one of the skewers to scrape away any of the hot glue that was showing in between the skewers. Wipe this down with a slightly damp cloth.
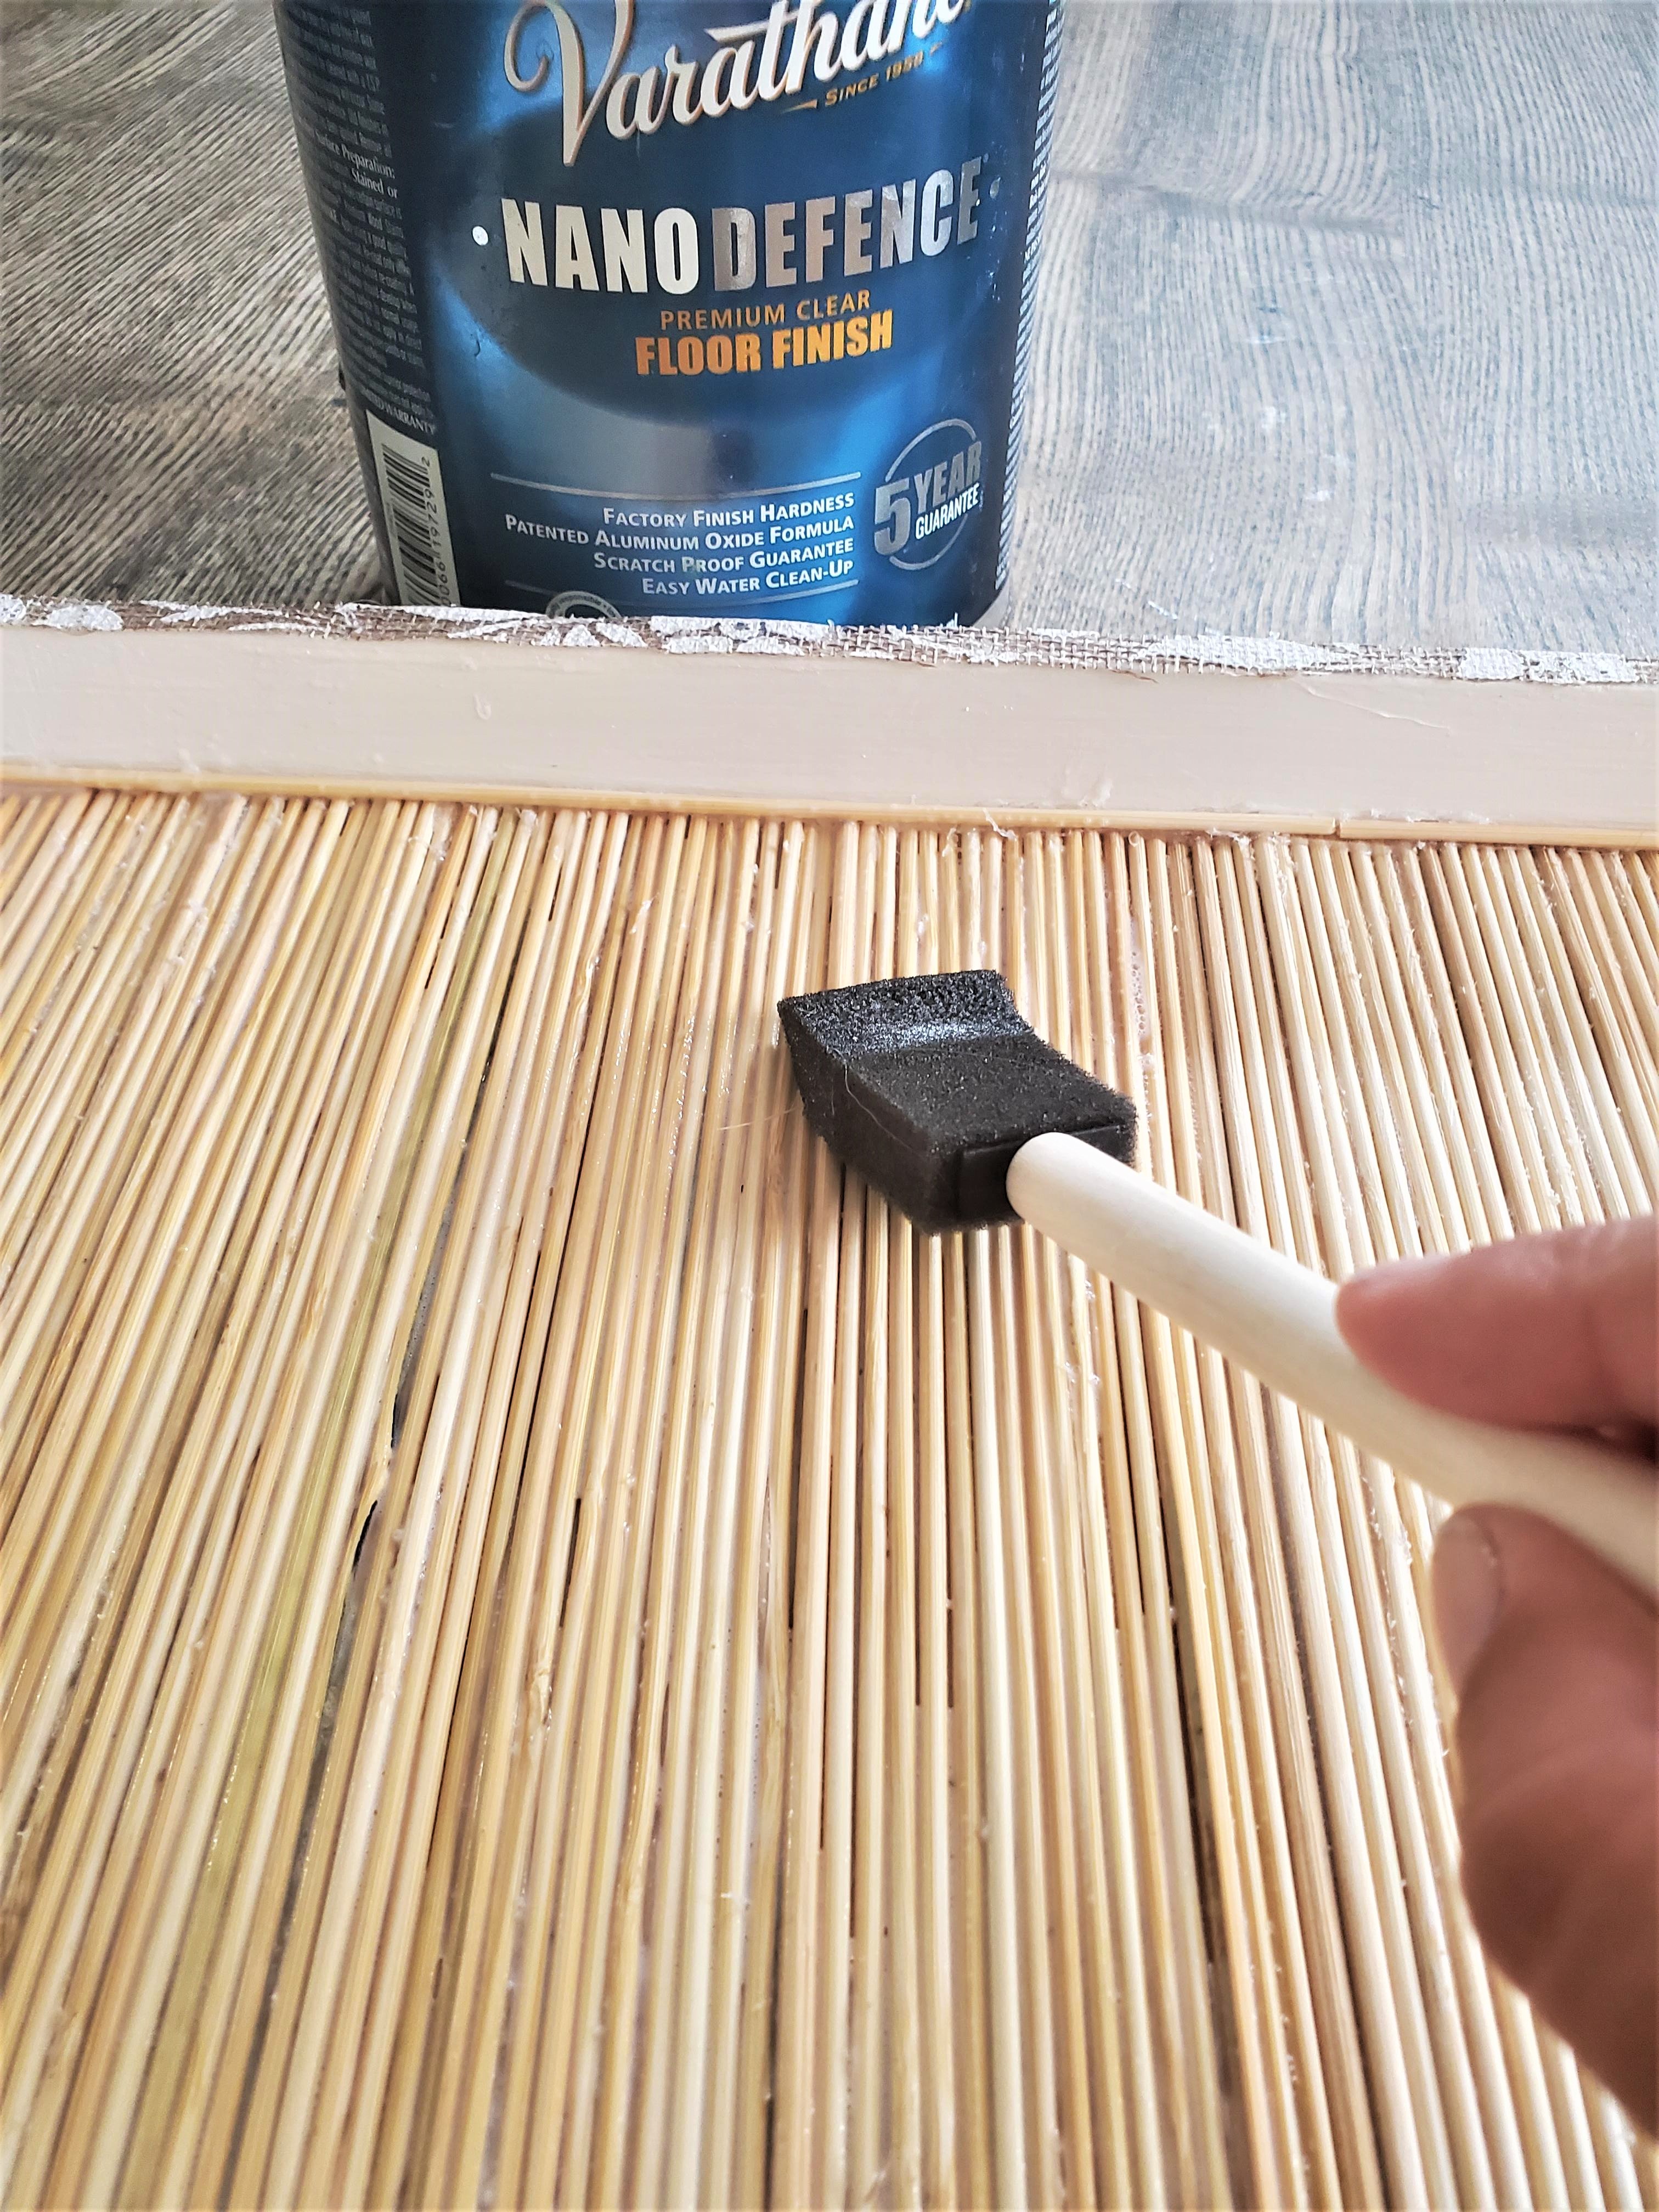
Using varnish paint on a layer of protection over all of the wooden skewers.
Now, using the strips of jute roll that you prepared in How to Decorate an Old Tray the Basics and hot glue affix the strips of jute to the edging of the wooden tray.
PRO TIP: I went with clear varnish and no stain because I liked the natural look of the wooden skewers but feel free to stain in you prefer.
NOTE: I decided to use a floor varnish because that is what I had on hand but any varnish will do.
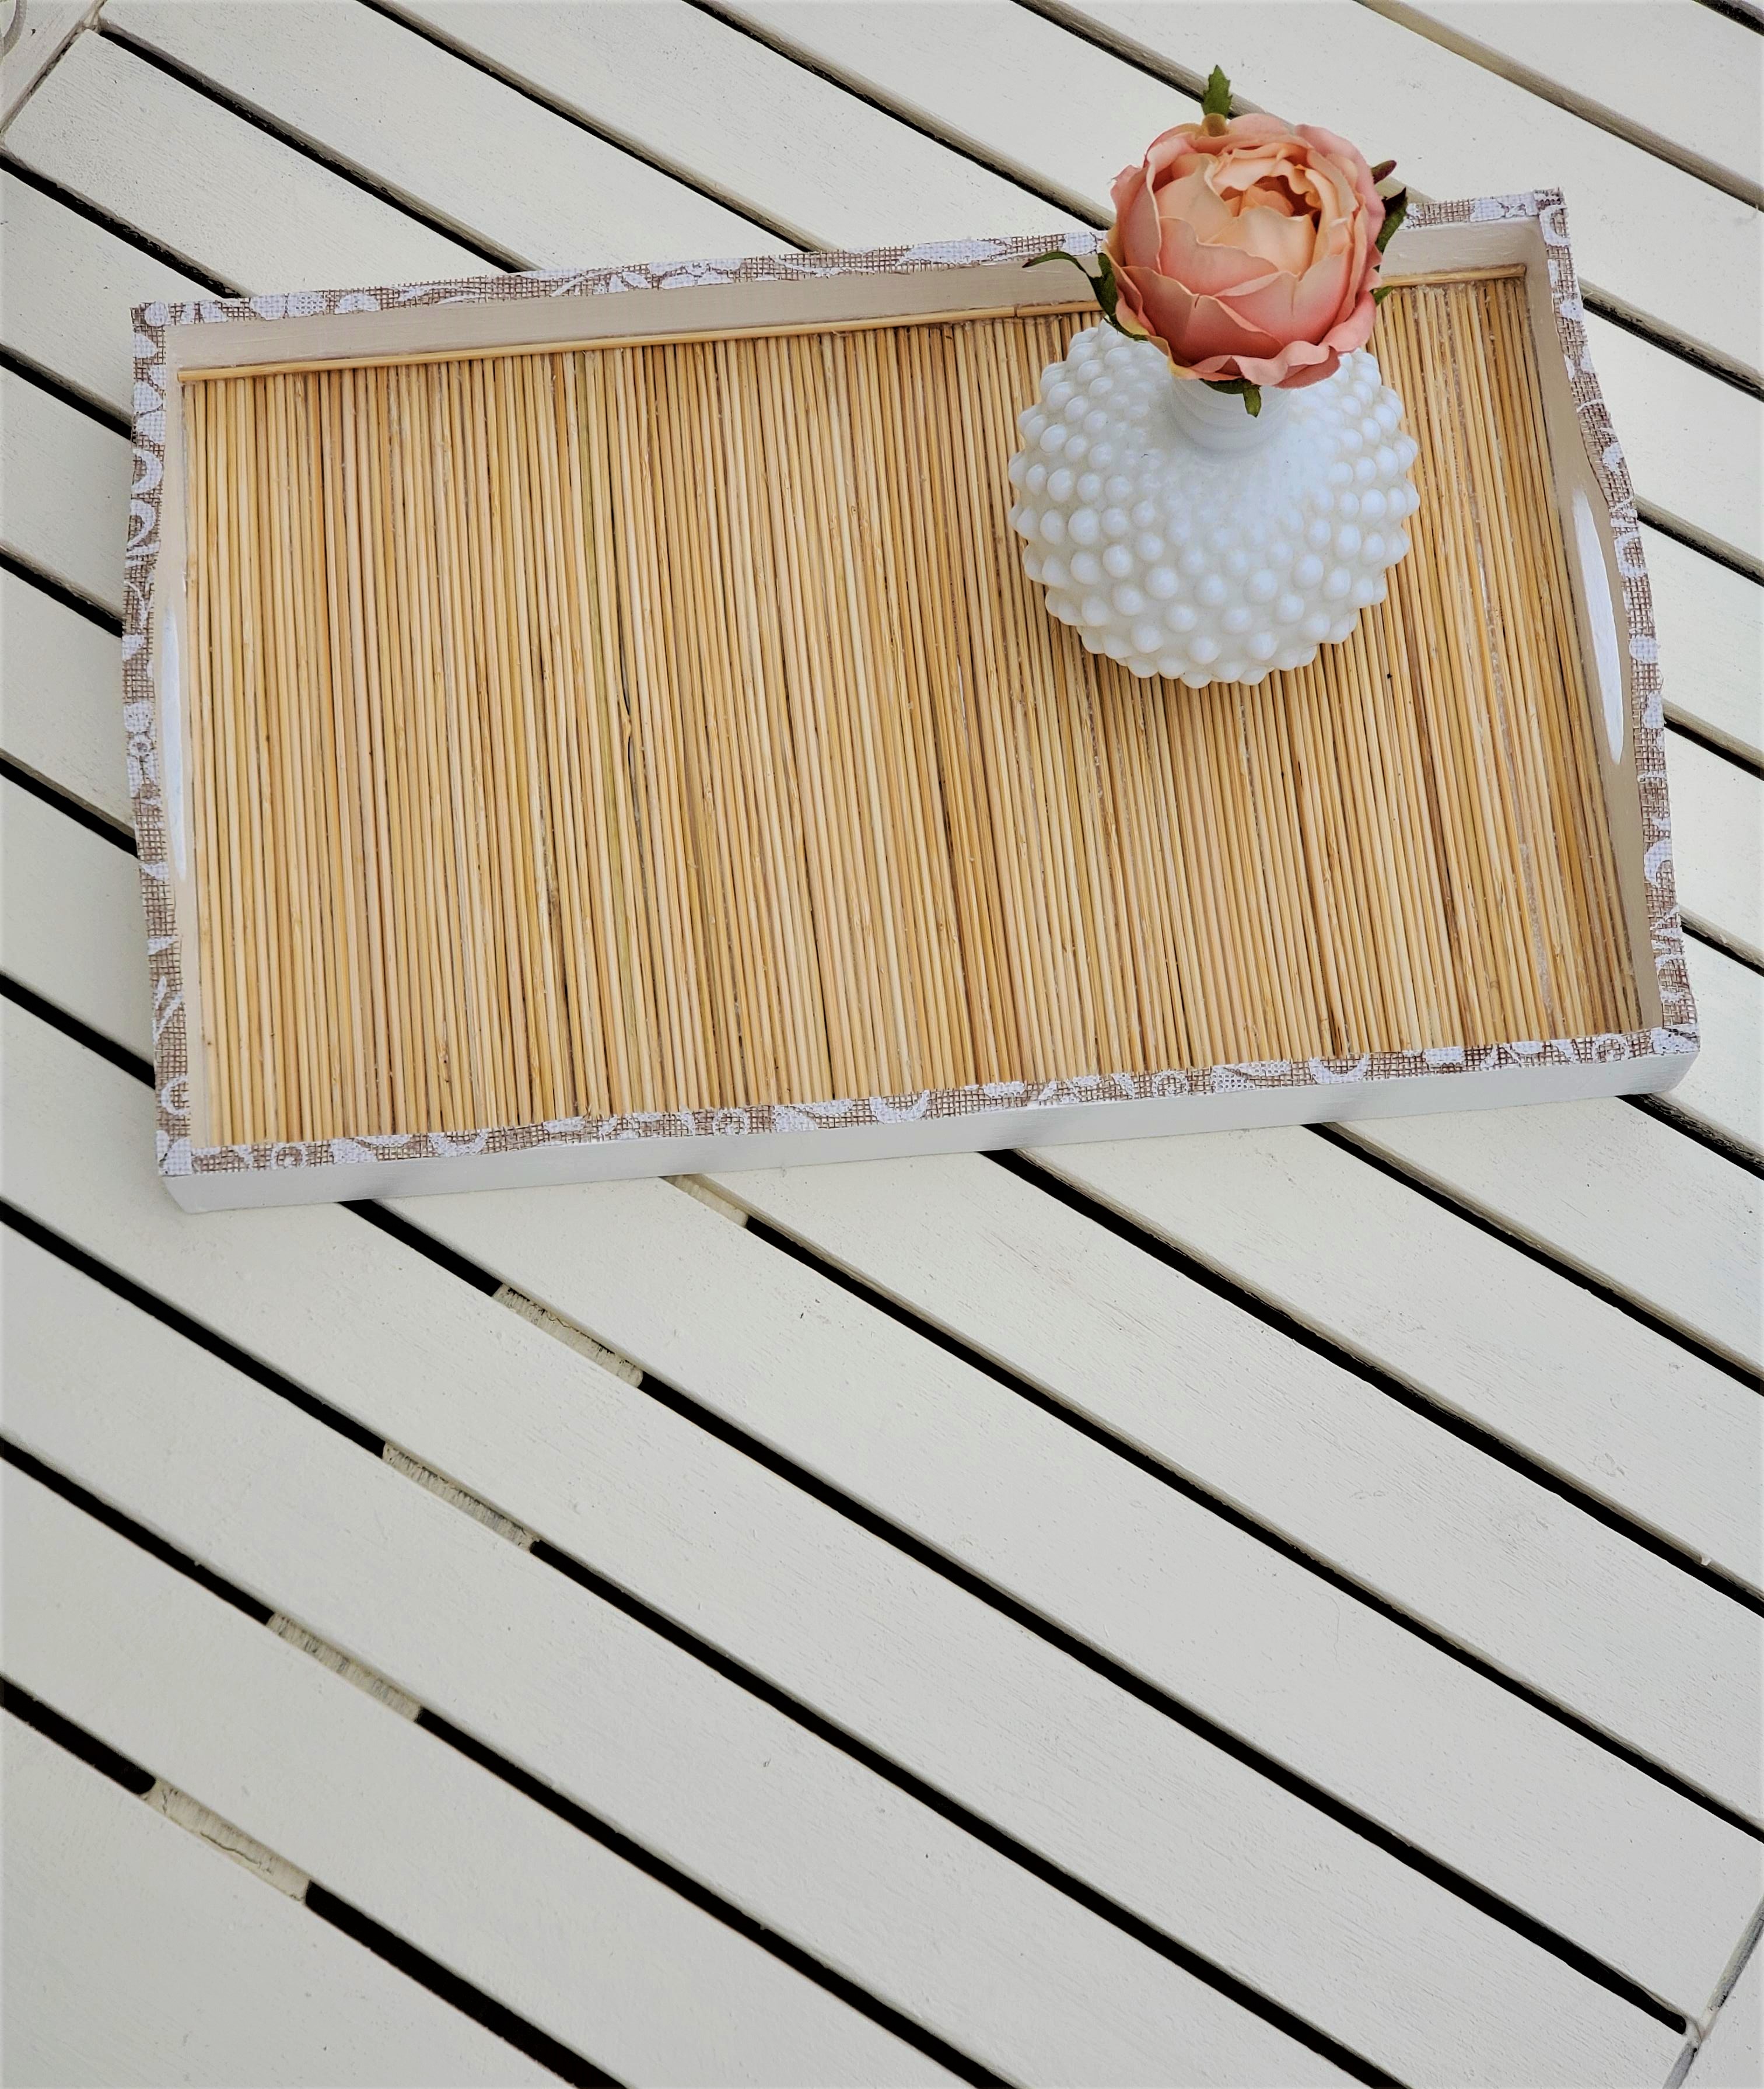
And Voila! A third way to decorate an old wooden tray. And now you have a beautiful tray that adds that extra oomph to the tray trio or like the first two is totally stunning enough to stand on it’s own.
Jenny’s Finishing Thoughts On Why You Should Decorate An Old Wooden Tray
You can always find these wooden trays inexpensively at garage sales, thrift stores, or if you need at Walmart, Michael’s, or Amazon. As is they are truly boring. But with a little bit of imagination, some cheap supplies at the dollar store, and a little bit of time you can decorate an old wooden tray and turn it into something really spectacular.
I am excited to share with you my latest free printable! It is my At Jenny’s Place Master Decor Planning Guide. It will help make any DIY decorating project easier by assisting you in breaking down your ideas, organizing your materials, budgeting, project breakdown and so much more.
Did you find this post helpful or inspirational? Save This Pin to your Serving Trays board on Pinterest.
If you liked this post you may also enjoy:
21 Easy Beach Cottage Decor Ideas on a Budget
I love what you did with the old trays! I have an old wooden tray that needs to be refinished. Your tips are just what I needed!
Thank you Jenny!
Wonderful! So glad you got some ideas that you can try. Let me know how your tray makeovers go. I’d love to see the end result.