Dollar Tree Skull DIY Ideas for Halloween
You will love these easy and creative Halloween dollar tree skull DIY decor ideas. Perfect for your haunted house or party!
Cheap And Creative Halloween Party Decorations
Looking for some easy and affordable skull DIY ideas for Halloween?
Look no further than the Dollar Tree! With a little bit of creativity, you can create some spooky skulls that will add to the fun of your Halloween festivities. So get ready to put your crafting skills to work and check out these simple ideas below. Happy Halloween!
What Do You Do With The Dollar Tree Skulls?
When it comes to decorating for Halloween, there are endless possibilities. One of the most popular choices is the skull. Whether it’s hanging on the front door or nestled among a display of pumpkins, a skull can add a touch of spooky fun to any decor.
But what if you don’t want to spend a lot of money on a store-bought skull? That’s where the dollar tree skull DIY comes in. With a little bit of creativity, you can turn a cheap plastic skull into a work of art. Decorating a skull for Halloween is a great way to add a bit of spooky flair to your decor. And while you can certainly buy skulls that are already decorated, it’s also easy to decorate your own.
How Do You Decorate A Skull?
One of the best things about dollar store skulls is that they are so versatile. You can use them to create a variety of different Halloween DIY projects. Now the following DIYs shared below are much more impressive as far as home decor goes but if you want a few quick ideas for how to easily decorate a skull try:
- Going for a more modern look by painting them in matte white
- Adding some glitter or gems for a bedazzled look
- Using them to make a garland, wreath, or wall hanging
- Gluing them to a Mason jar to create a festive candle holder
- Painting simple stripes or dots to more elaborate patterns
- Turning a skull into a vase or pen holder by adding some paint and embellishments
- Using different sized skulls to create a cohesive display on a tray or shelf
- Adding feathers, flowers, or succulents for a unique and natural look
The possibilities are endless! So get creative and have fun with your Dollar Tree skulls this Halloween season. The ideas below will definitely provide even more detailed inspiration.
Easy Dollar Tree Skull DIY Ideas
Who says dollar store finds can’t be chic? With a little bit of creativity, you can transform inexpensive items into stylish home decor. Case in point: these five dollar store skull DIYs.
So what are you waiting for? Get crafty and give these DIYs a try!
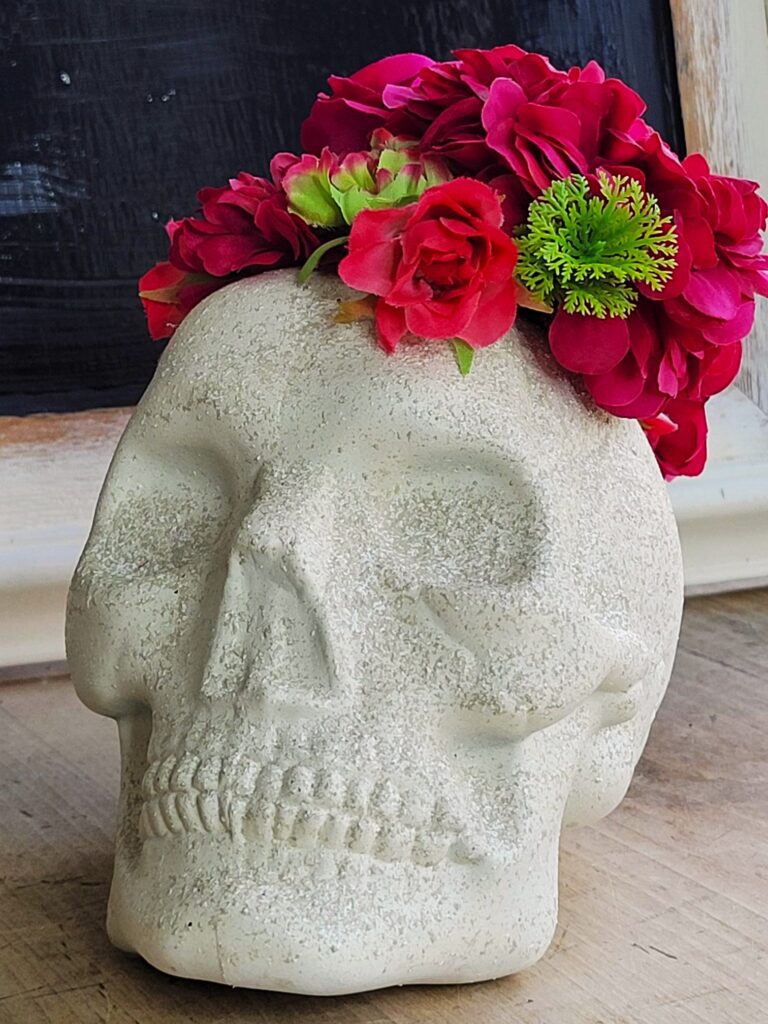
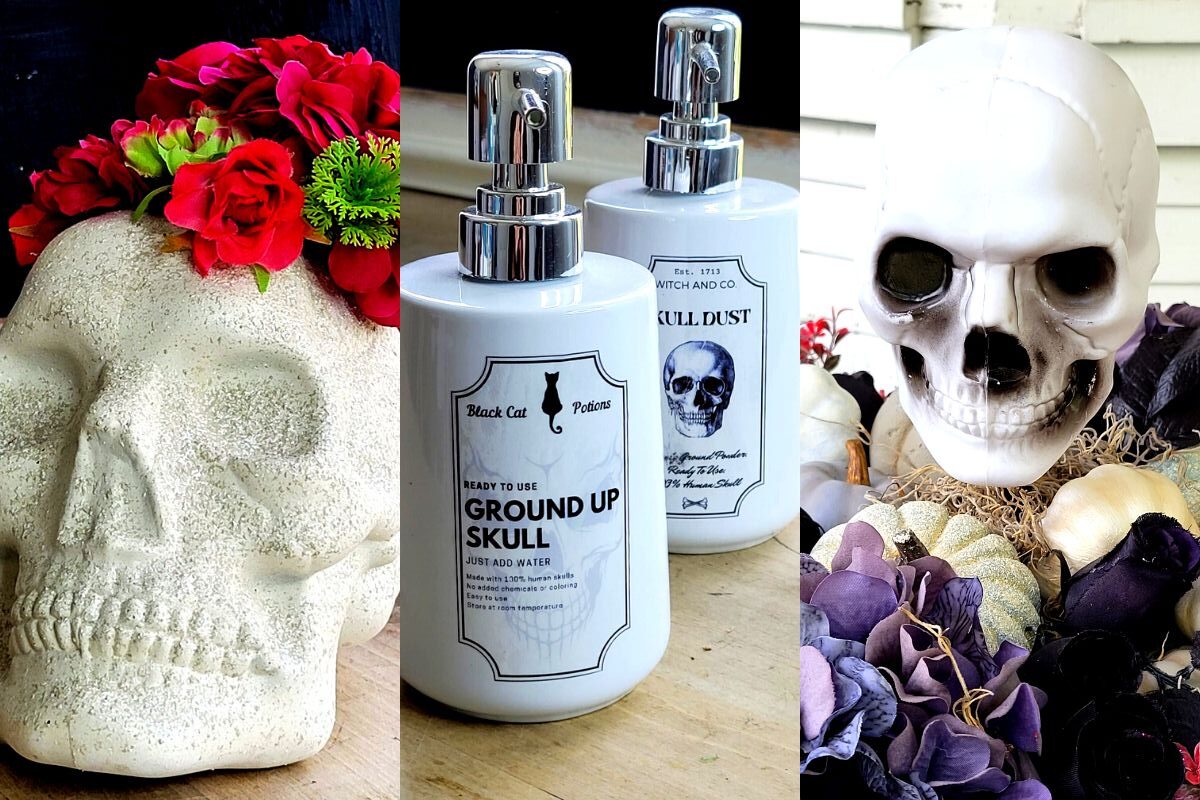
Skull and Roses
This skull decor is the perfect combination of creepy elegance. To make this easy Halloween DIY simply:
- Spray the skull with Rustoleum Stone Spray Paint in Bleached Stone.
- Cut the bright fuchsia roses stem down so that you’re left with a couple of inches.
- Next, cut a wide hole in the top off of the skull.
- Stick some flower foam into the skull and then carefully arrange the flowers and a few springs of bright greenery. Hot glue into place.
For an added twist, use real flowers instead of the faux.
PRO TIP: Have the flower stems in the middle stand higher and then shorten as you work down. This will add height to the arrangement.
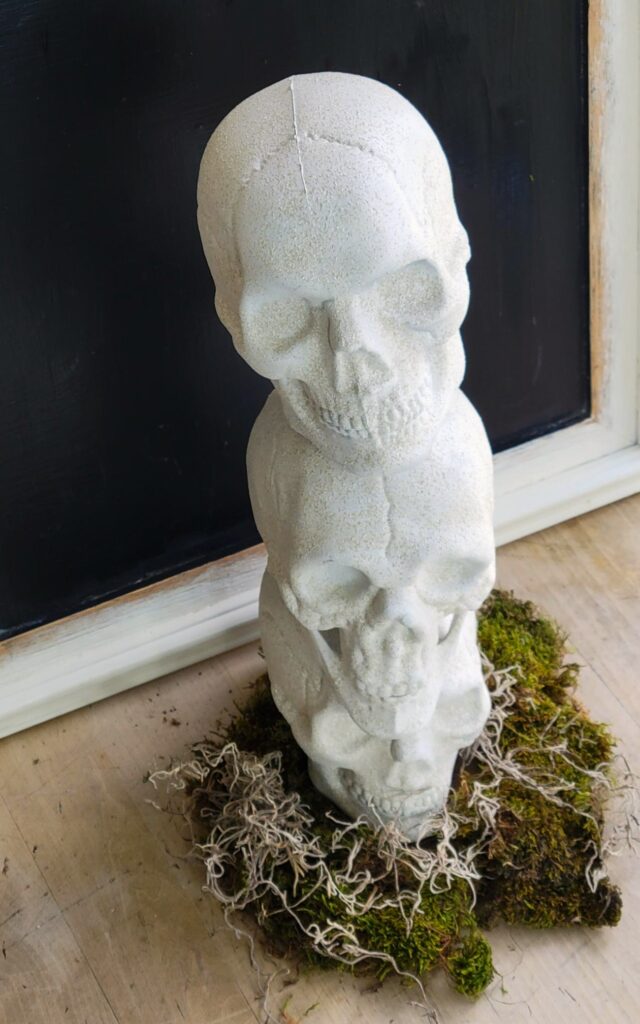
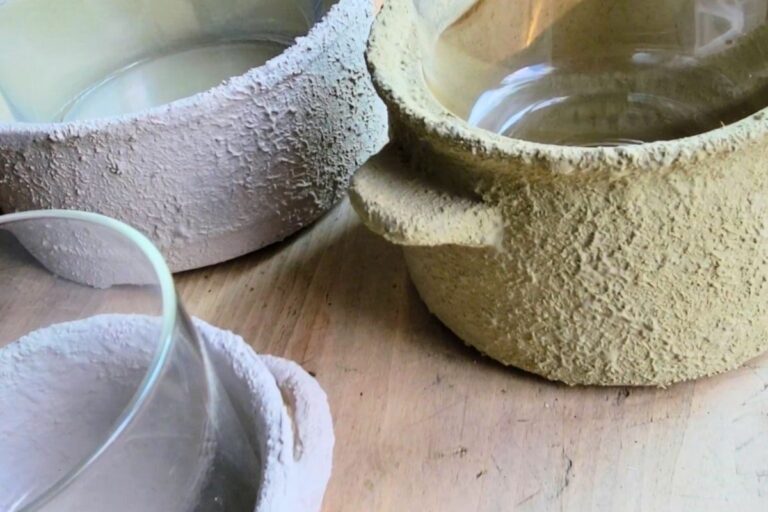
Stack of Stone Skulls
These stack of stone skulls are spectacular! Head to the dollar store, pick up 3 plastic skulls, and metal paper towel stand. Then head on over to the hardware store and pick up a bottle of faux stone spray paint.
- Cut a slit in the top and bottom in 2 of the 3 skulls.
- For the 3rd skull, cut a slit into the bottom but not the top
- Paint the 3 plastic skulls with the Rustoleum Stone Spray Paint in Bleached Stone. This will take a few coats. Let dry in between coats.
- Slide the first 2 skulls onto the paper towel stand
- Then slide the 3rd skull onto the top
- Cover the base with moss or fabric
And Voila! spooktacular stone skull decor.
This Halloween I’m all about the faux stone look but last year it was all about faux copper. I made a similar stack of of skulls but in black and copper. They came out way beyond cool!
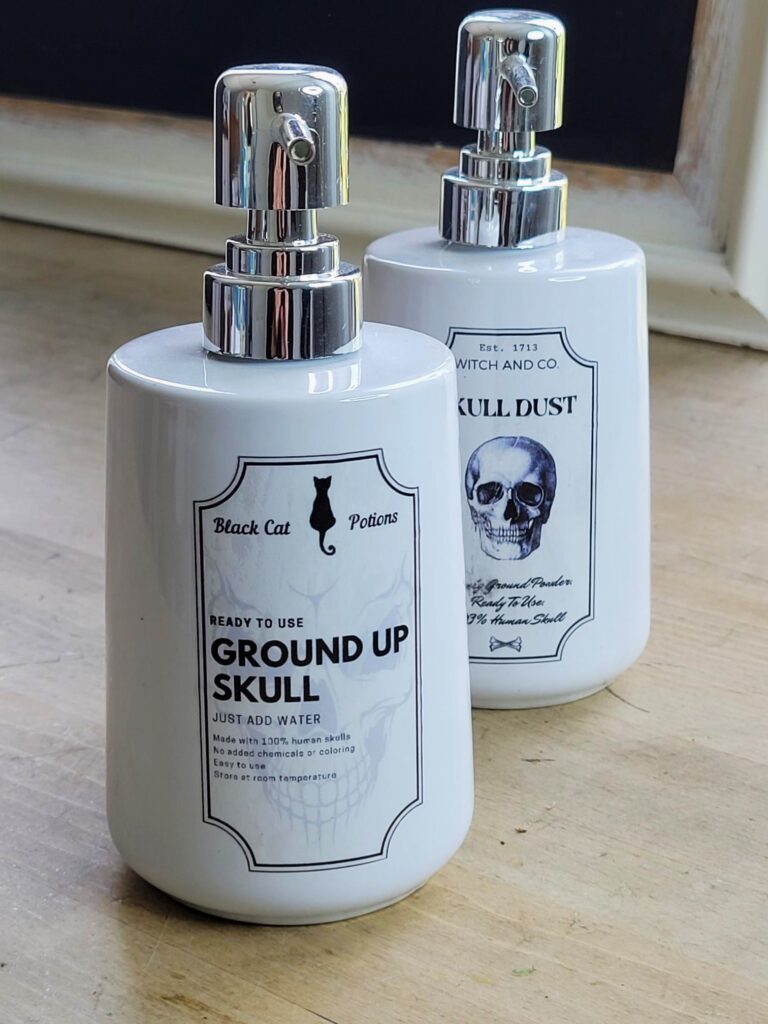
Easiest Dollar Tree Skull DIY – Soap N’ Skulls
No Cricut needed!
Don’t get me wrong. I love a Cricut DIY as much as the next DIYer but sometimes we want a quick, easy, non Cricut DIY and this one is just awesome.
Head to the dollar store and pick up a white ceramic soap dispenser. Download At Jenny’s Place free 21 Halloween Potion Labels. Pick your favourite decal and print it out onto Avery Clear Full Sheet Printing Labels. Cut the image out and adhere onto the clean, soap dispenser.
And there you have it. The perfect way to wash your hands during the month of October.
PRO TIP: Purchase red hand soap and dispense it into the skull soap dispenser. Then when someone washes their hands bloody, red soap will come out. Now that’s spooky!
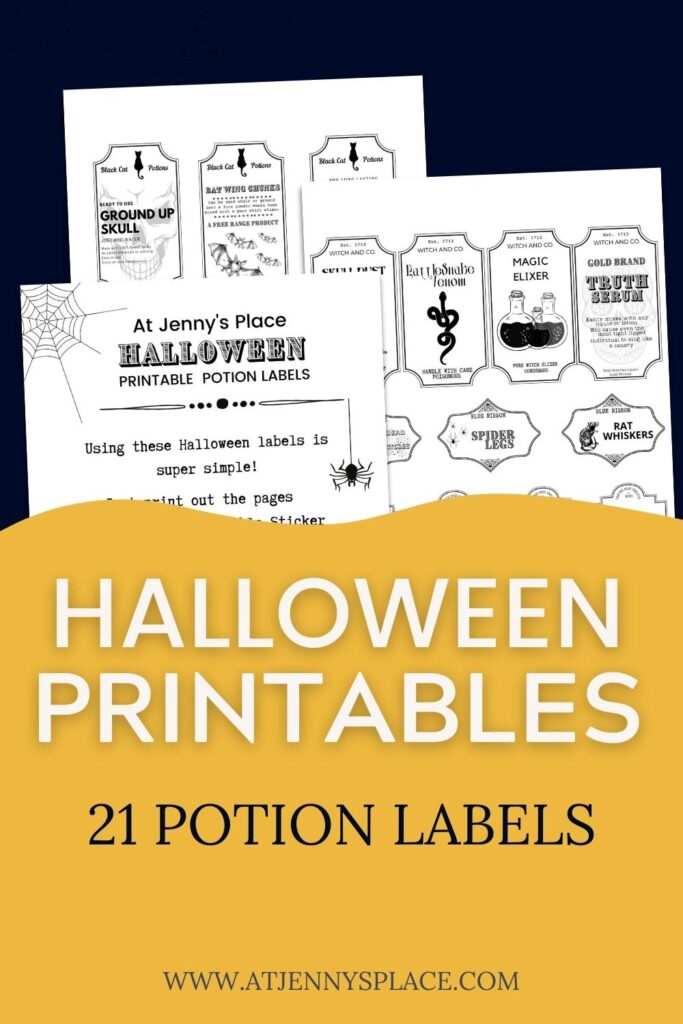
SPOOK-tacular Free Printable!
Looking for a spooky way to decorate your home for Halloween? These 21 free, downloadable potion labels are perfect for creating spooky DIY decor.
No Cricut needed! Just print them out and you’re ready to go!
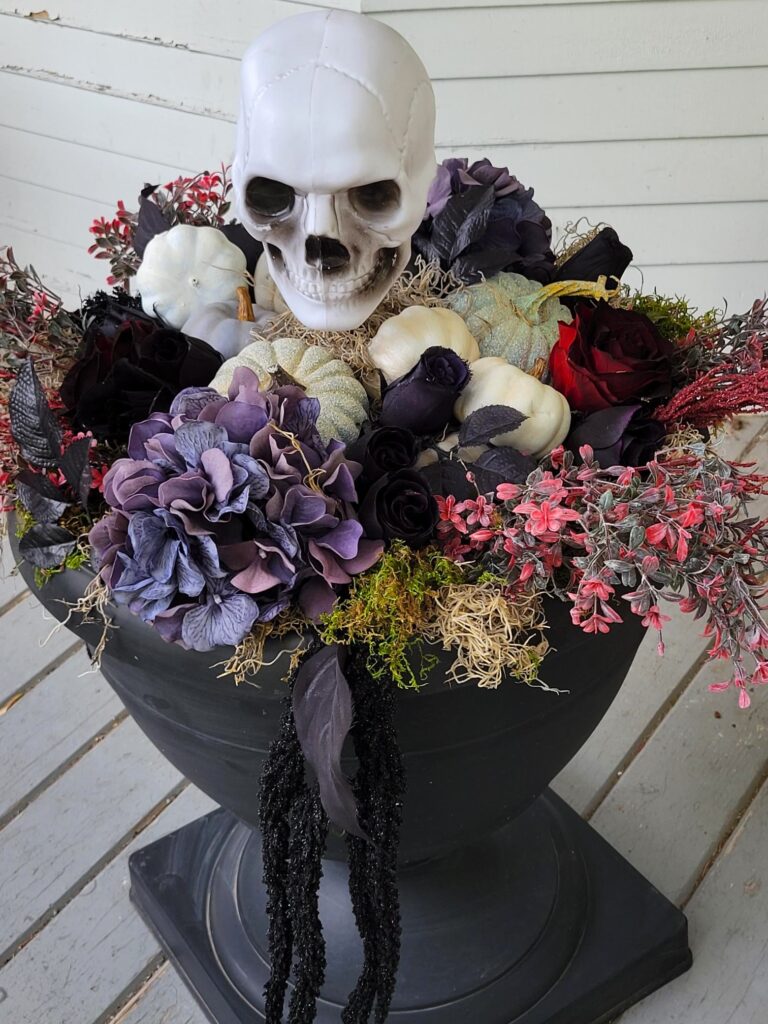
Skull Porch Arrangement
Amp up a simple flower arrangement with this horrifyingly easy Halloween Dollar Tree skull DIY hack. You can paint the skull any colour you want. I decided to go with the original look.
Arrange real and/or faux flowers, pumpkins, and moss into a black urn flower pot. (I used faux hydrangeas, faux roses, and trailing flowers. The pumpkins used were from the dollar store and had been given a faux stone look.)
Insert the skull on a spike into the center of the arrangement.
That’s it! The final product is an elegant and unique skull flower arrangement that is sure to impress.
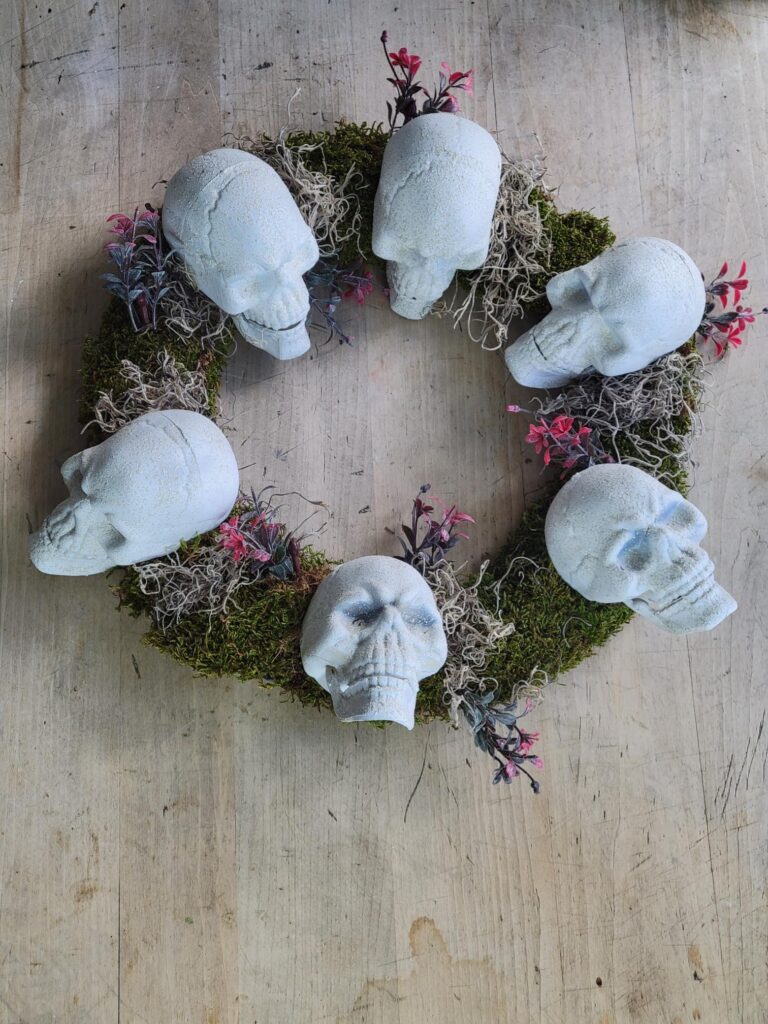
Final Dollar Tree Skull DIY… Mossy Skull Wreath
This wreath is awesome! It has just the right amount of terrifying and looks so high end. I can’t wait to hang this beauty on the front door!
- Using Rustoleum’s Spray Paint in Flat White, coat each of the skulls in a layer of paint. Let dry. You don’t need to be too picky with this step. Just get the paint on.
- Next, spray a couple coats of Rustoleum Spray Paint in Bleached Stone and let this dry.
- Grab a pool noodle and slice it in half length wise.
- Flip a wire wreath form around. You want to work with the concave part of the wreath form.
- Cut the pool noodle into smaller pieces and arrange them around the wreath form with hot glue. Gluing the noodle to the wire frame.
- Optional: cover the back of the frame with a black cloth. Attach it with hot glue.
- Starting in the middle of the wreath form start hot gluing the skulls, spacing them out evenly around the wreath. Attach these with hot glue.
- In the spaces between the skulls adhere moss with hot glue.
- Tuck a few springs of spooky Dollar Tree floral here and there.
And that’s it! This terrifying wreath is the perfect addition to our porch decor and I hope that it will be perfect for you too.
Jenny’s Finishing Thoughts On Creating Dollar Tree Skull DIY Decor
Whether you’re looking for a spooky, gothic vibe or something a little more whimsical, on e of these five easy Dollar Tree skull DIYs was sure to have gotten your creative juices flowing. Whether you’re looking for a festive Halloween decoration or a hip addition to your permanent collection, these projects are sure to add some personality to your space.
Be sure to show us how your projects turn out by tagging us on social media! And don’t forget to let us know which of these Halloween themes is your favorite – we can’t wait to see what amazing ideas you come up with. Happy decorating!
Did you find this post helpful or inspirational? Save This Pin to your Dollar Tree Halloween DIY board on Pinterest!