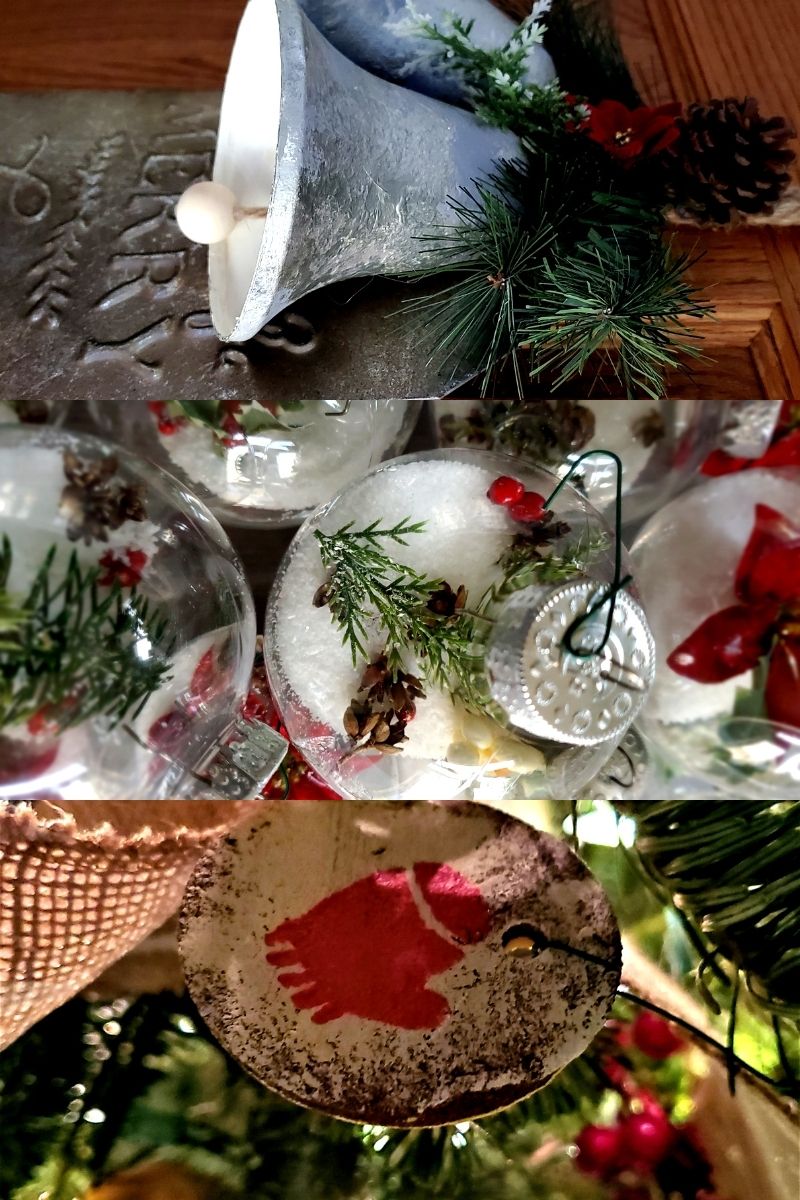
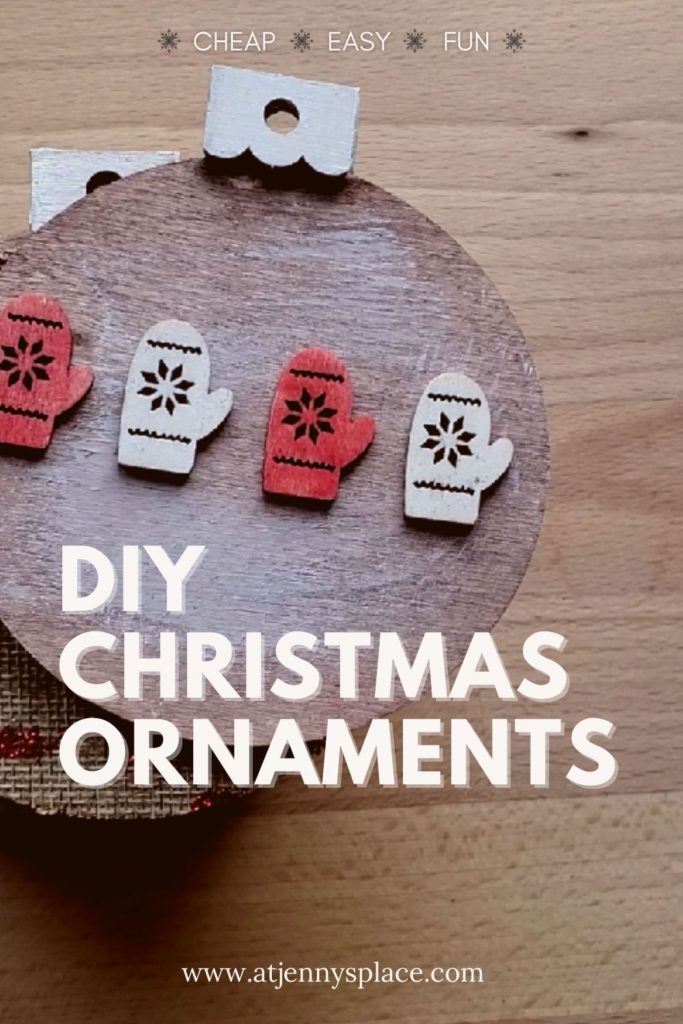
Easy DIY Christmas Tree Ornaments
Easy DIY Christmas tree ornaments are the answer for those of us who love switching up our holiday decor year to year or for those of us on a holiday decorating budget.
DIY Christmas Tree Ornaments
It’s that time of year again!
Soon the decorations will go up, the Christmas music will start playing, and everyone will be getting into the holiday spirit. If you’re looking for some easy DIY Christmas ornaments to add a personal touch to your tree, look no further.
You can find all the supplies needed for these DIY Christmas ornaments at your local Dollar Tree or Dollarama. This means that they are all super cheap to create. All of the ornaments are easy and quick to make and there is healthy mix of both kid friendly and adult level projects to be had.
So grab your supplies and let’s get crafting!
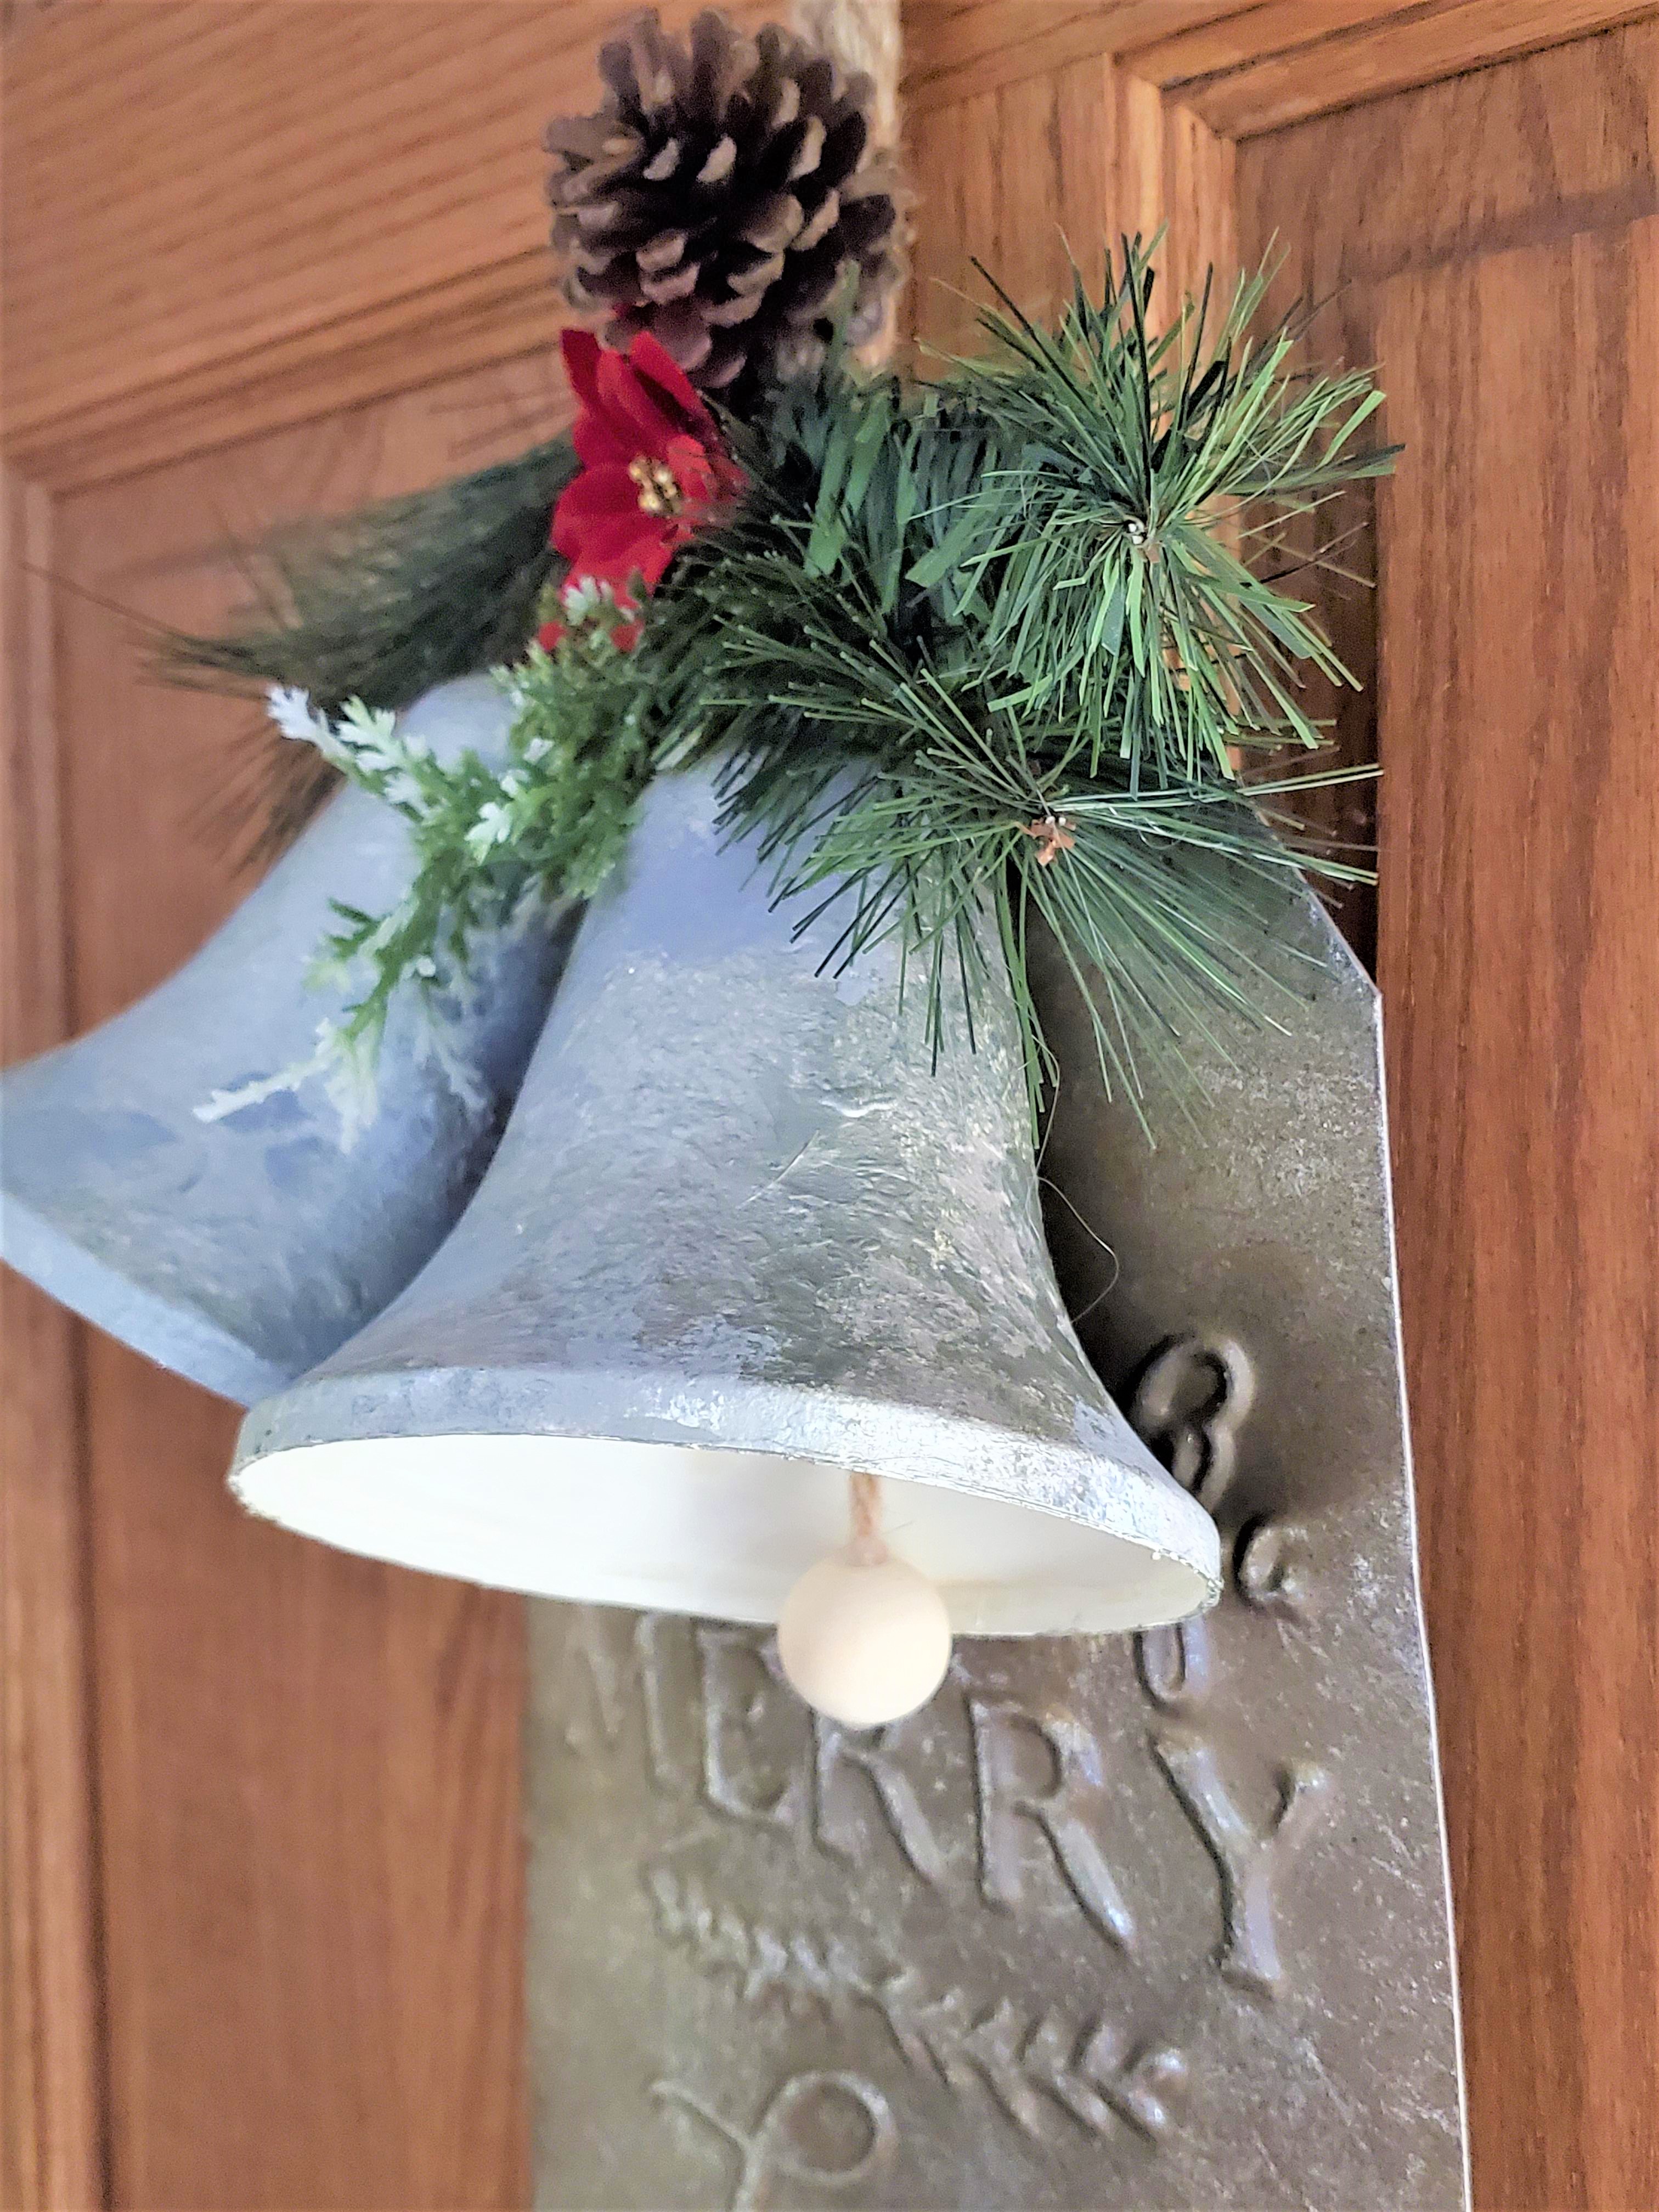
Easy DIY Christmas Tree Ornaments #1 Antique Christmas Bells
Around Christmas time at Dollar Tree you can find these cheap looking gold plastic bells. They cost only a couple of dollars for a pair and they have a ton of potential.
A few coats of paint and a bit of creativity turns these gaudy, Dollar Tree faux metal bells into gorgeous, high end decor that look like they came from a home decor store.
Supplies You Will Need
- Large Plastic Bells
- Pale Moon ArtMinds Chalk Paint
- Trellis Grey ArtMinds Chalk Paint
- Onyx Artminds Chalk Paint
- Warm Silver ArtMinds Chalk Paint
- Stenciling Brush
- Rope Approx. 2 -2.5ft long
- 2x 20 mm Wood Bead
- Hot Glue Gun and Glue
- Holiday Greenery (*Optional)
- Pine Cone (*Optional)
- Mini Poinsettia (*Optional)
How To Make Antique Christmas Bells
Step one painting
First remove any of the bows or embellishments that your bells came with.
Paint each of the bells inside and out with a coat of the Pale Moon chalk paint. Make sure that the entire bell is covered and that none of the shiny, metallic plastic shows through. Let this dry over night.
Once dry, using a sponge or a stenciling brush, pounce on some of the paint in black and grey. You want to do this sporadically and you want to create a smudgy effect. Layer the colours on top of one another.
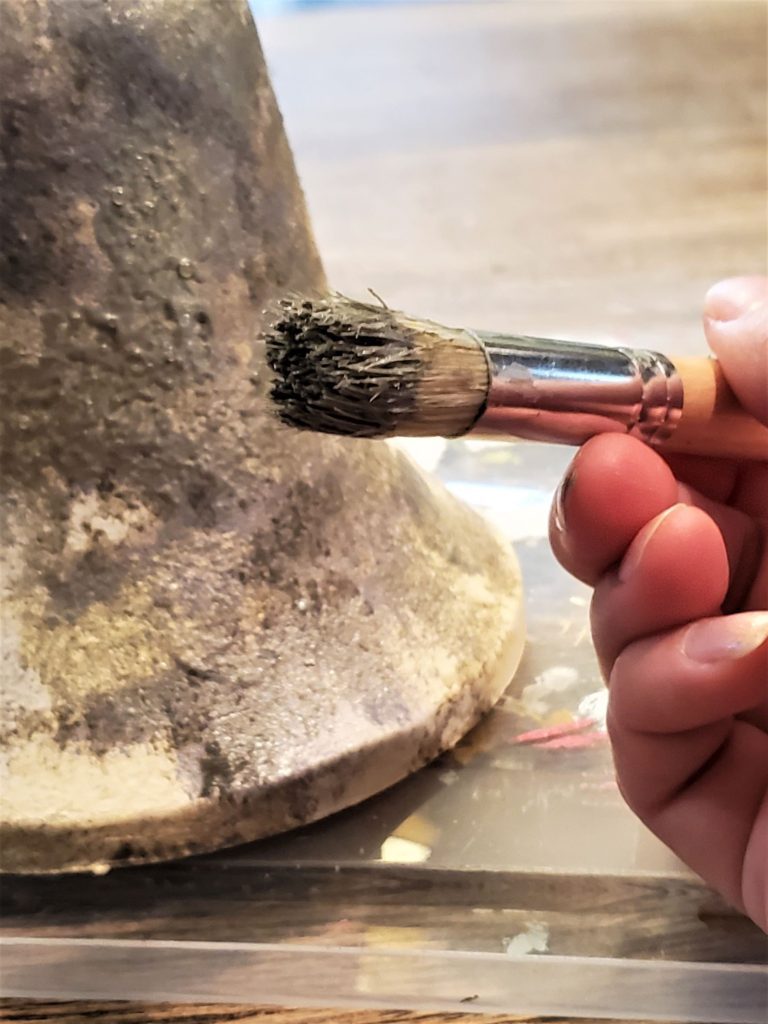
Adding texture
Using the silver paint and stenciling brush apply the paint all over the bell. You want most of the bell to be covered in the silver but you still want the texture and the colours left from the other paints beneath to show through a bit. (*See finished image below to get a clear picture of what I am trying desperately to explain.)
When applying the silver paint, pounce the stenciling brush up and down to create additional texture.
Play with this. Have fun. Add a bit of the grey and black on top of the silver. Layer and create texture. You are going for an aged and worn look.
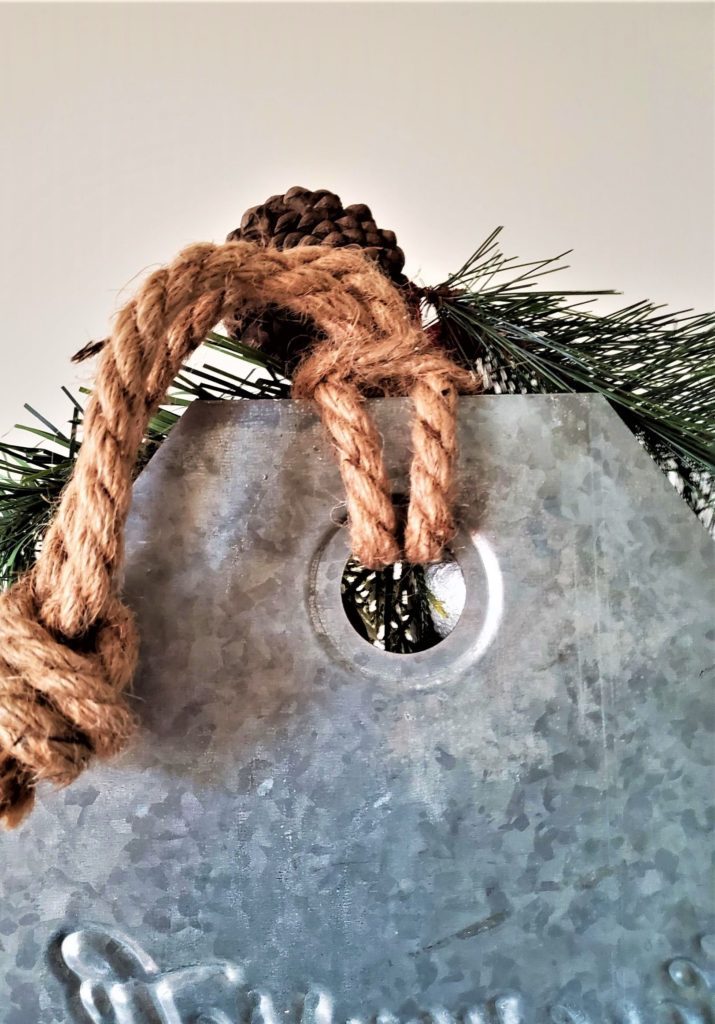
Get it roped in
Once the bells are painted and dry, thread a thick rope through the hole at the top of one of the bells. Pull the rope down, inside the bell, so that it reaches just a bit past the half way mark. Thread a 20 mm sized wooden bead onto the bottom of the rope.
Stick your hot glue gun into the hole and squirt as much hot glue as you can into the hole at both it’s top and bottom. This will ensure that the wood bead stays in place.
Tie a knot at the top of the bell to keep the rope from sliding up and down.
Thread the rope through the second bell and do the same as above.
If needed, to shorten the length of the rope, and to hang them, tie a knot near the top. If you are attaching it to a sign thread the loop through the hole in the sign and then loop it through to secure.
Adding embellishments
Now, you can leave them as is or if you prefer you can attach any greenery, faux poinsettias, pine cones, or any other embellishments that you like with hot glue to the bells and the rope.
Now, you can use these stunning Christmas bells any way you wish. Hang them on your Christmas tree, use as a tree topper, attach them to a wreath, make more than one and tie them together to hang alone as decoration, or attach them to a Christmas sign like shown above.
C’est tres belle, non? … get it?! Belle.
NOTE: I found the Christmas sign shown above from Michael’s a few years back. I have come across it around Christmas time since then. So fingers crossed that if you want it you can still find it. But really any seasonally appropriate sign will work just as well. You could even DIY one!
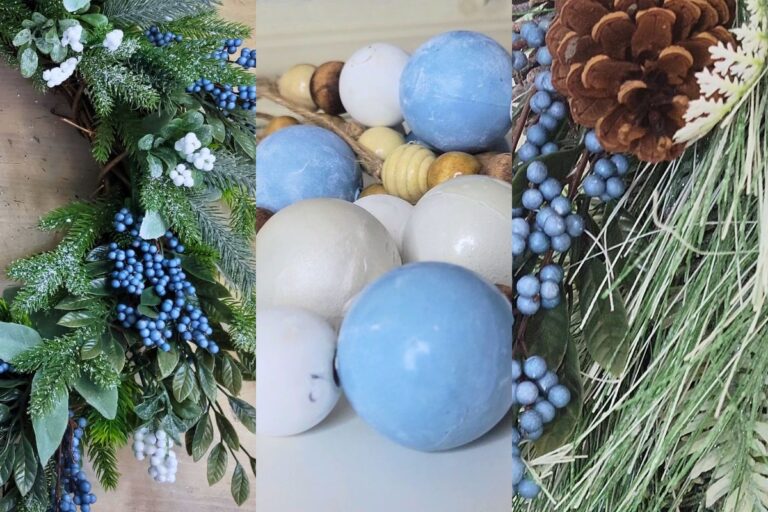
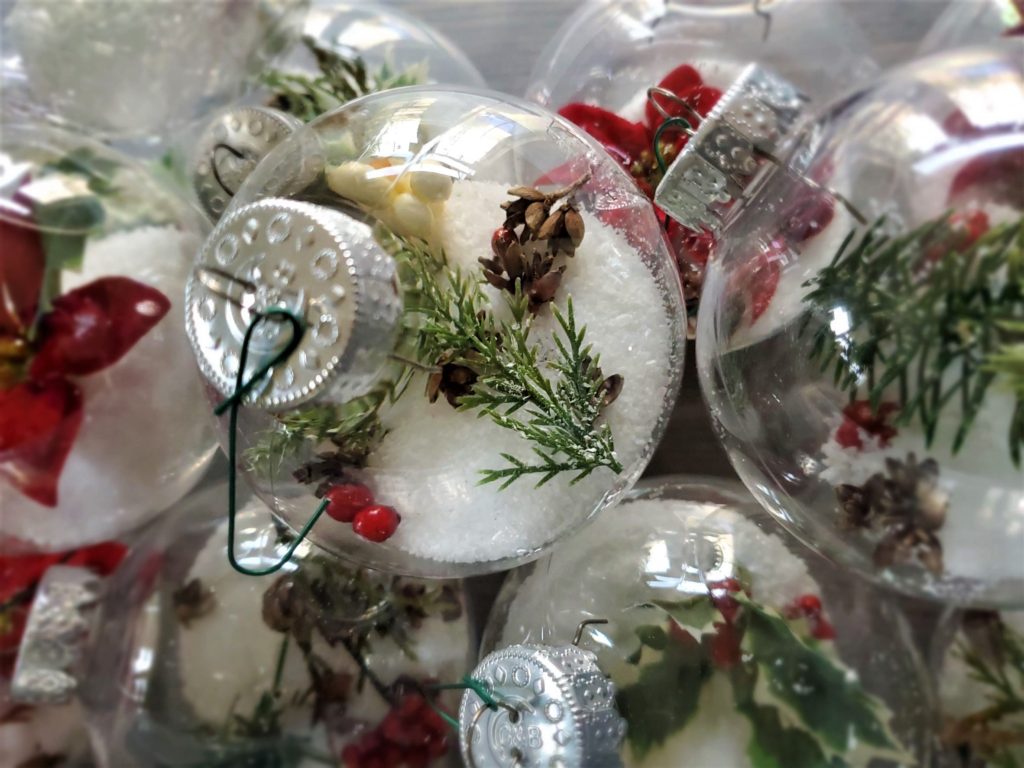
Easy DIY Christmas Tree Ornaments #2 Clear Snowy Ornaments
I love, love, love these ornaments and hope that you do too. They are just so classy and high end looking. These definitely don’t look like cheap DIY Christmas tree ornaments from Dollar Tree. Nope.
Supplies You Will Need
- Clear Plastic Ornaments
- Epson Salt
- Faux Berries
- Faux Winter Greenery
- Mini Pine Cones (*Optional: I used real cedar “pine cones” I found in my backyard but you can also often find little faux pine cone embellishments on arrangements at the dollar store.)
How To Make Clear Snowy Ornaments
Start off with the clear, plastic ornaments from the dollar store and pop their tops off.
Using a funnel, pour a bit of Epson salt into the ornament so that it covers the bottom.
Then carefully, slip the mini poinsettias, greenery, and/or mini pine cones through the hole at the top.
Replace the ornament top and Voila! My favourite of the bunch. When the lights shine through and the whole ornament lights up I forget that these are cheap, Dollar Tree, DIY Christmas tree ornaments and I just bask in their beauty.
PRO TIP: These ornaments will keep year to year but sometimes the Epson salts clump up. That’s OK. Just give them a little shake and the clumps will break apart and everything will settle back into place.
A Holiday Gift For You!
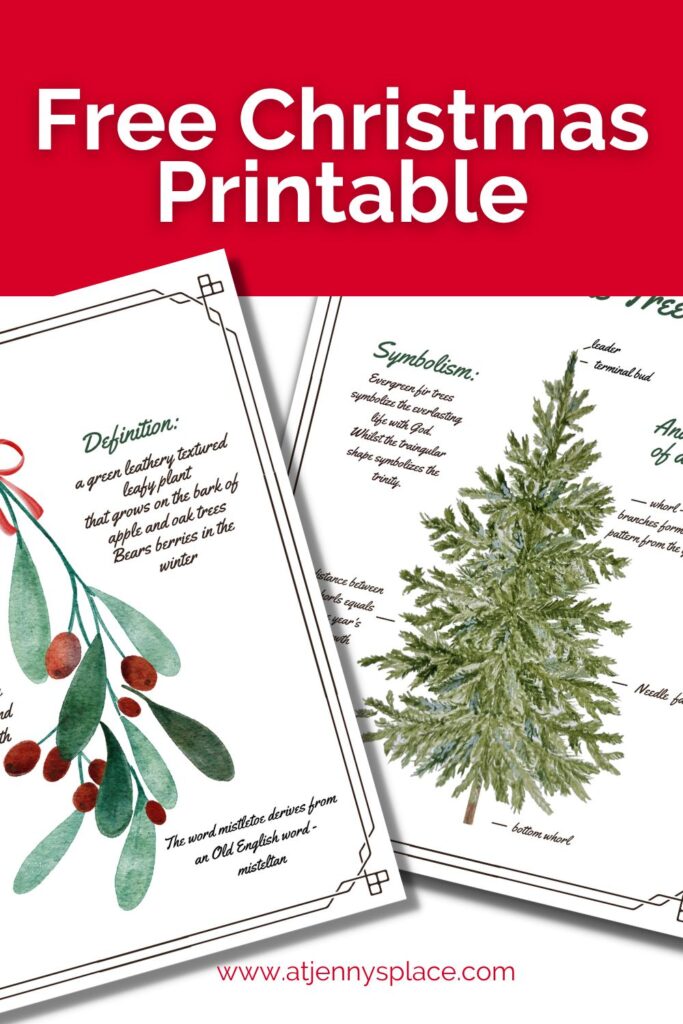
Christmas Art Printable!
Inspired by Kirkland Christmas, this holiday wall art is the perfect addition to any Christmas decor. Hang on the wall or display on your fireplace mantle.
Simply download the free printable, print and frame.
Easy DIY Christmas Tree Ornaments #3 Ginger Snap Cookie Ornaments
My kids and I made these exact same ginger snap ornaments over 15 years ago. We still use them to this day and even after all this time they still smell amazing! Seriously, I can’t stop sniffing the tin.
Gather the kids around and let’s start “baking” and decorating.
Supplies You Will Need:
- 1 Cup Cinnamon
- 1 Tablespoon Ground Nutmeg
- 1 Tablespoon Ground Cloves
- 3/4 Cup Applesauce
- 2 Tablespoons Elmers White Glue
- Drinking Straw
OPTIONAL: Embellishments, acrylic paint, puffy paint, chalk paint, stencils, Sharpie markers, ribbons, beads, or glitter.
How To Make Ginger Snap Cookie Ornaments
Start by mixing the cinnamon and the spices together in a large bowl.
Add in the applesauce and glue. Mix until combined. If mixture is too dry add a bit more applesauce
Form into a balls.
Using cinnamon to dust the surface and rolling pin, roll the dough out until it’s about 1/4″ thick.
Grab your favourite cookie cutters and cut out any shape that you like. I decided to go with ginger bread men and simple round shapes. Using the straw to poke a hole at the top of each “cookie.” This is so that you have a place to hang each of the ornaments from.
3 ways to prepare Ginger Snap Cookie Ornaments:
- Place “cookies” on a parchment lined baking sheet and bake them at 200 F for 2+ hours or until the ornaments are completely dried out. Let cool. (May result in slightly misshapen ornaments.)
- Place in a dehydrator on high for 6+ hours or until ornaments are completely dried out.
- Leave ornaments spread out on cookie sheets for several days until they are completely dried out.
Once the “cookies” are dried, embellish them any way that you wish. You can hot glue on embellishments, draw on them with Sharpie markers, bling them with glitter, or hot glue on beads. Or you could paint them with acrylic, chalk, or puffy paints. To personalize them use stencils, or free hand.
I went with a simple, distressed, chalk paint white wash on each and then used Dollar Tree stencils to paint red holiday images onto each. I think they turned out amazingly well and will be using them again this year.
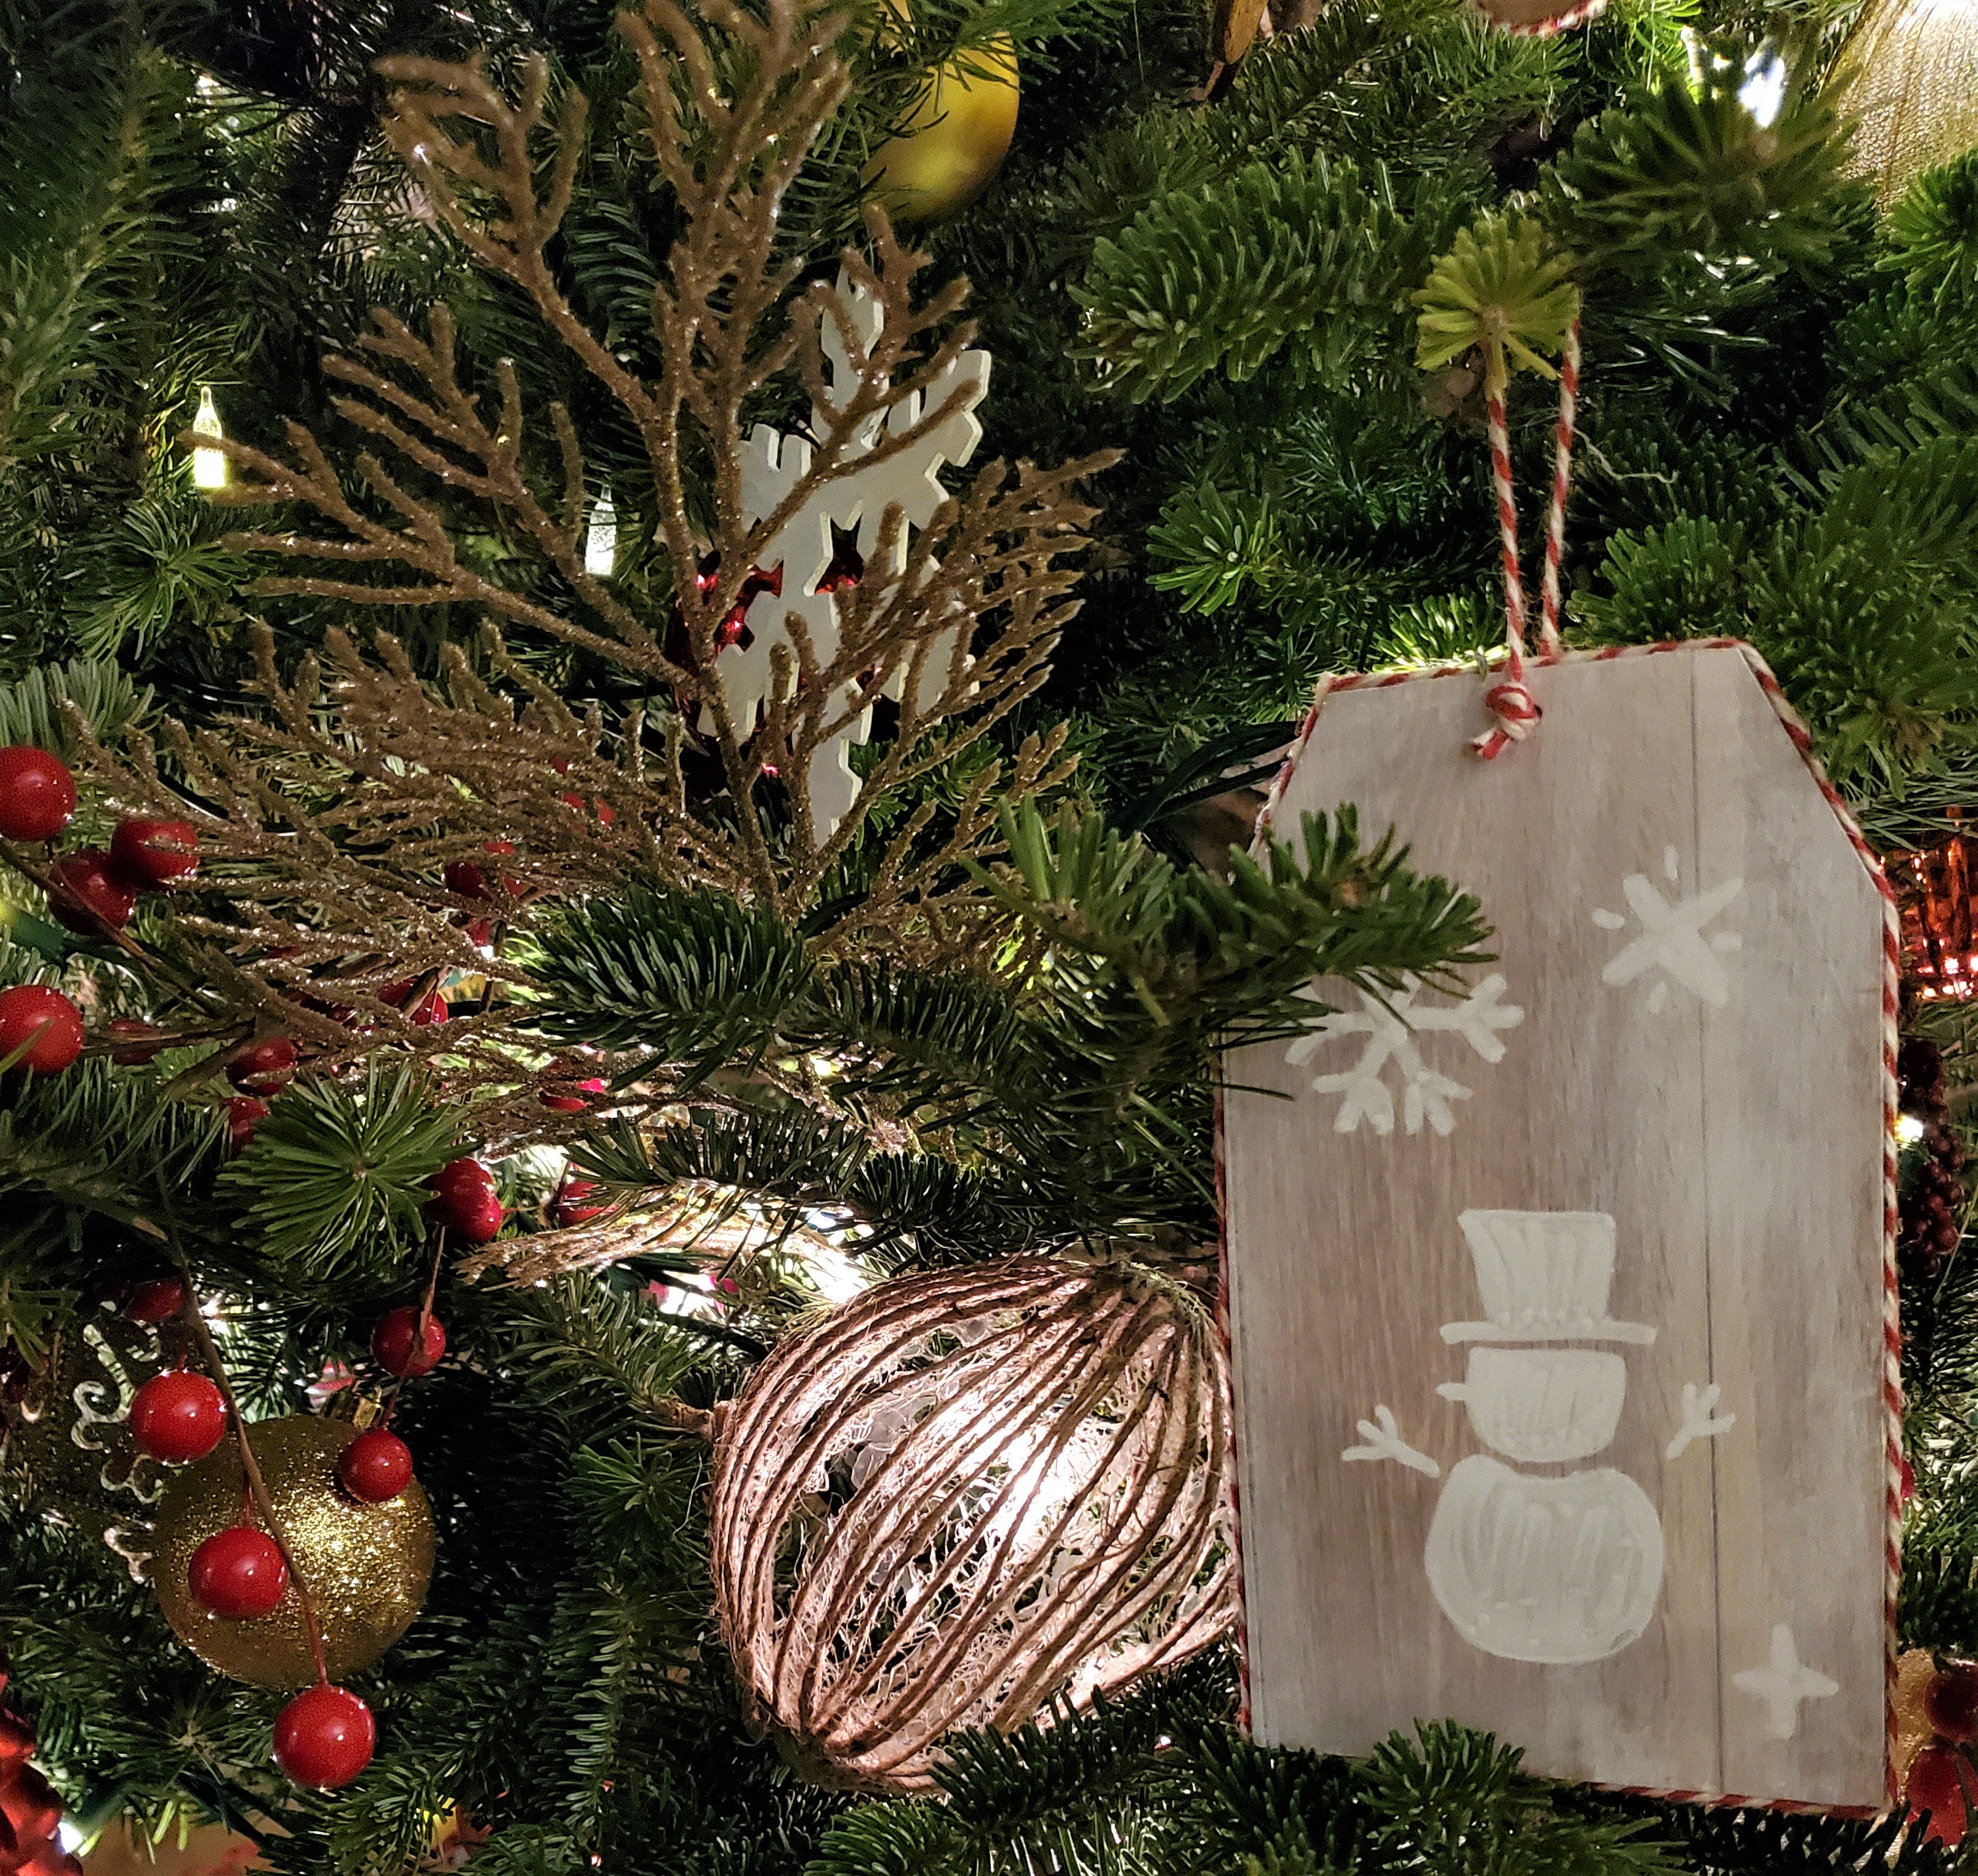
Easy DIY Christmas Tree Ornaments #4 Giant Gift Tag Ornaments
These giant gift tag ornaments are the perfect addition to any Christmas tree. Large enough to make a statement but understated enough to not stand out too much. These make a beautiful back drop to other ornaments when layered.
Supplies You Will Need
- Large Gift Tag Signs
- Faux Wood Adhesive Roll
- Pencil
- Scissors
- Twine (in natural or coloured)
- ArtMinds Chalk Paint in Pure White
- Stencils
- Stencil Brush
How To Make Giant Gift Tag Ornaments
Trace the gift tag onto the back of the faux wood adhesive. Cut it out, peal off the backing and carefully press this down onto the back side of the tag.
Use a fan or chippy brush to lightly paint on some of the white chalk paint. This will soften the faux wood and give the tags a weathered appearance.
Hot glue the twine around the edges of the tag. This will give it a bit of interest, colour, and it’s a nice finishing touch.
Dollar Tree carries theses fantastic holiday stencils that are super cheap and work really well. Using one of these stencils and white chalk paint, paint holiday patterns onto each of the gift tag ornaments. Let this dry.
And that’s it! These tags can be personalized and decorated any way you wish and their large size makes a great statement on any Christmas tree.
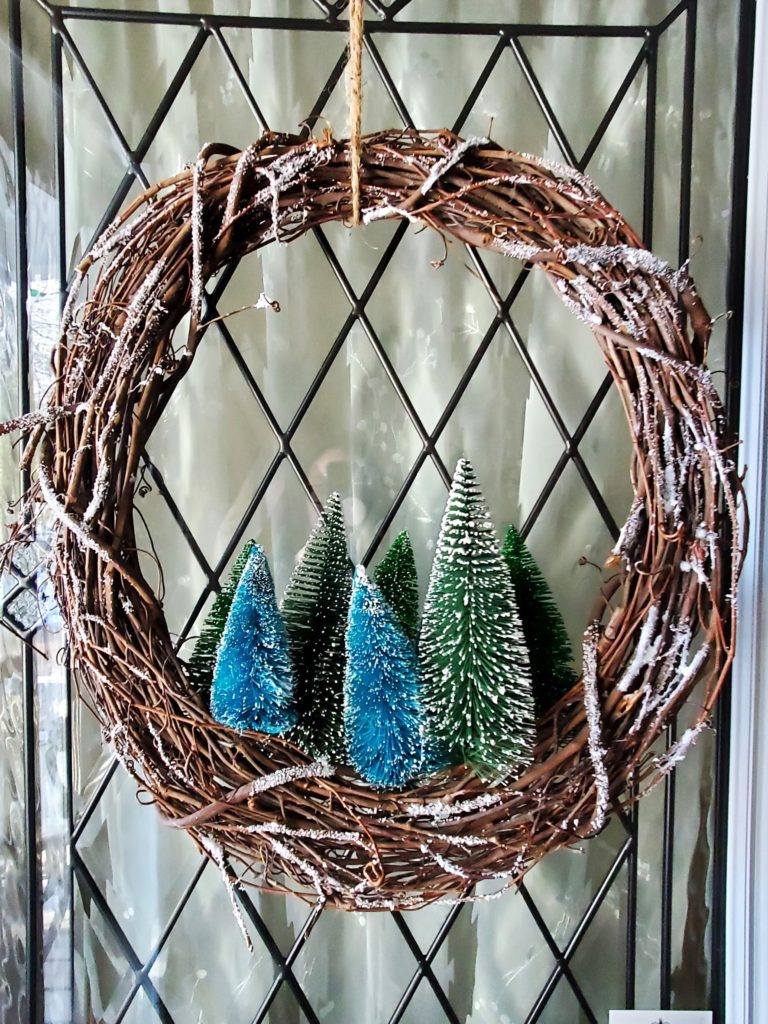
Easy DIY Christmas Tree Ornaments #5 Snowy Christmas Tree Wreath
This super simple to make Christmas tree wreath is so inexpensive but it looks absolutely amazing.
Supplies You Will Need
- Grape Vine Wreath
- Bottle Brush Christmas Trees (in varying sizes and colours)
- Epson Salt
- White Glue
- Paint Brush
- Hot Glue Gun and Glue
- Robe or Ribbon
How To Make Simple Burlap Ornaments
Cut the bases off of the bottle brush trees and the using big globs of hot glue attach these to the bottom of the grape vine wreath.
Using the paint brush and white glue and glue Epson salt “snow” to the wreath. Because of it’s snowy white appearance and slight shimmer, Epson salt is fantastic for creating Christmas ornaments.
Tie a rope or ribbon around the top and hang on the front door.
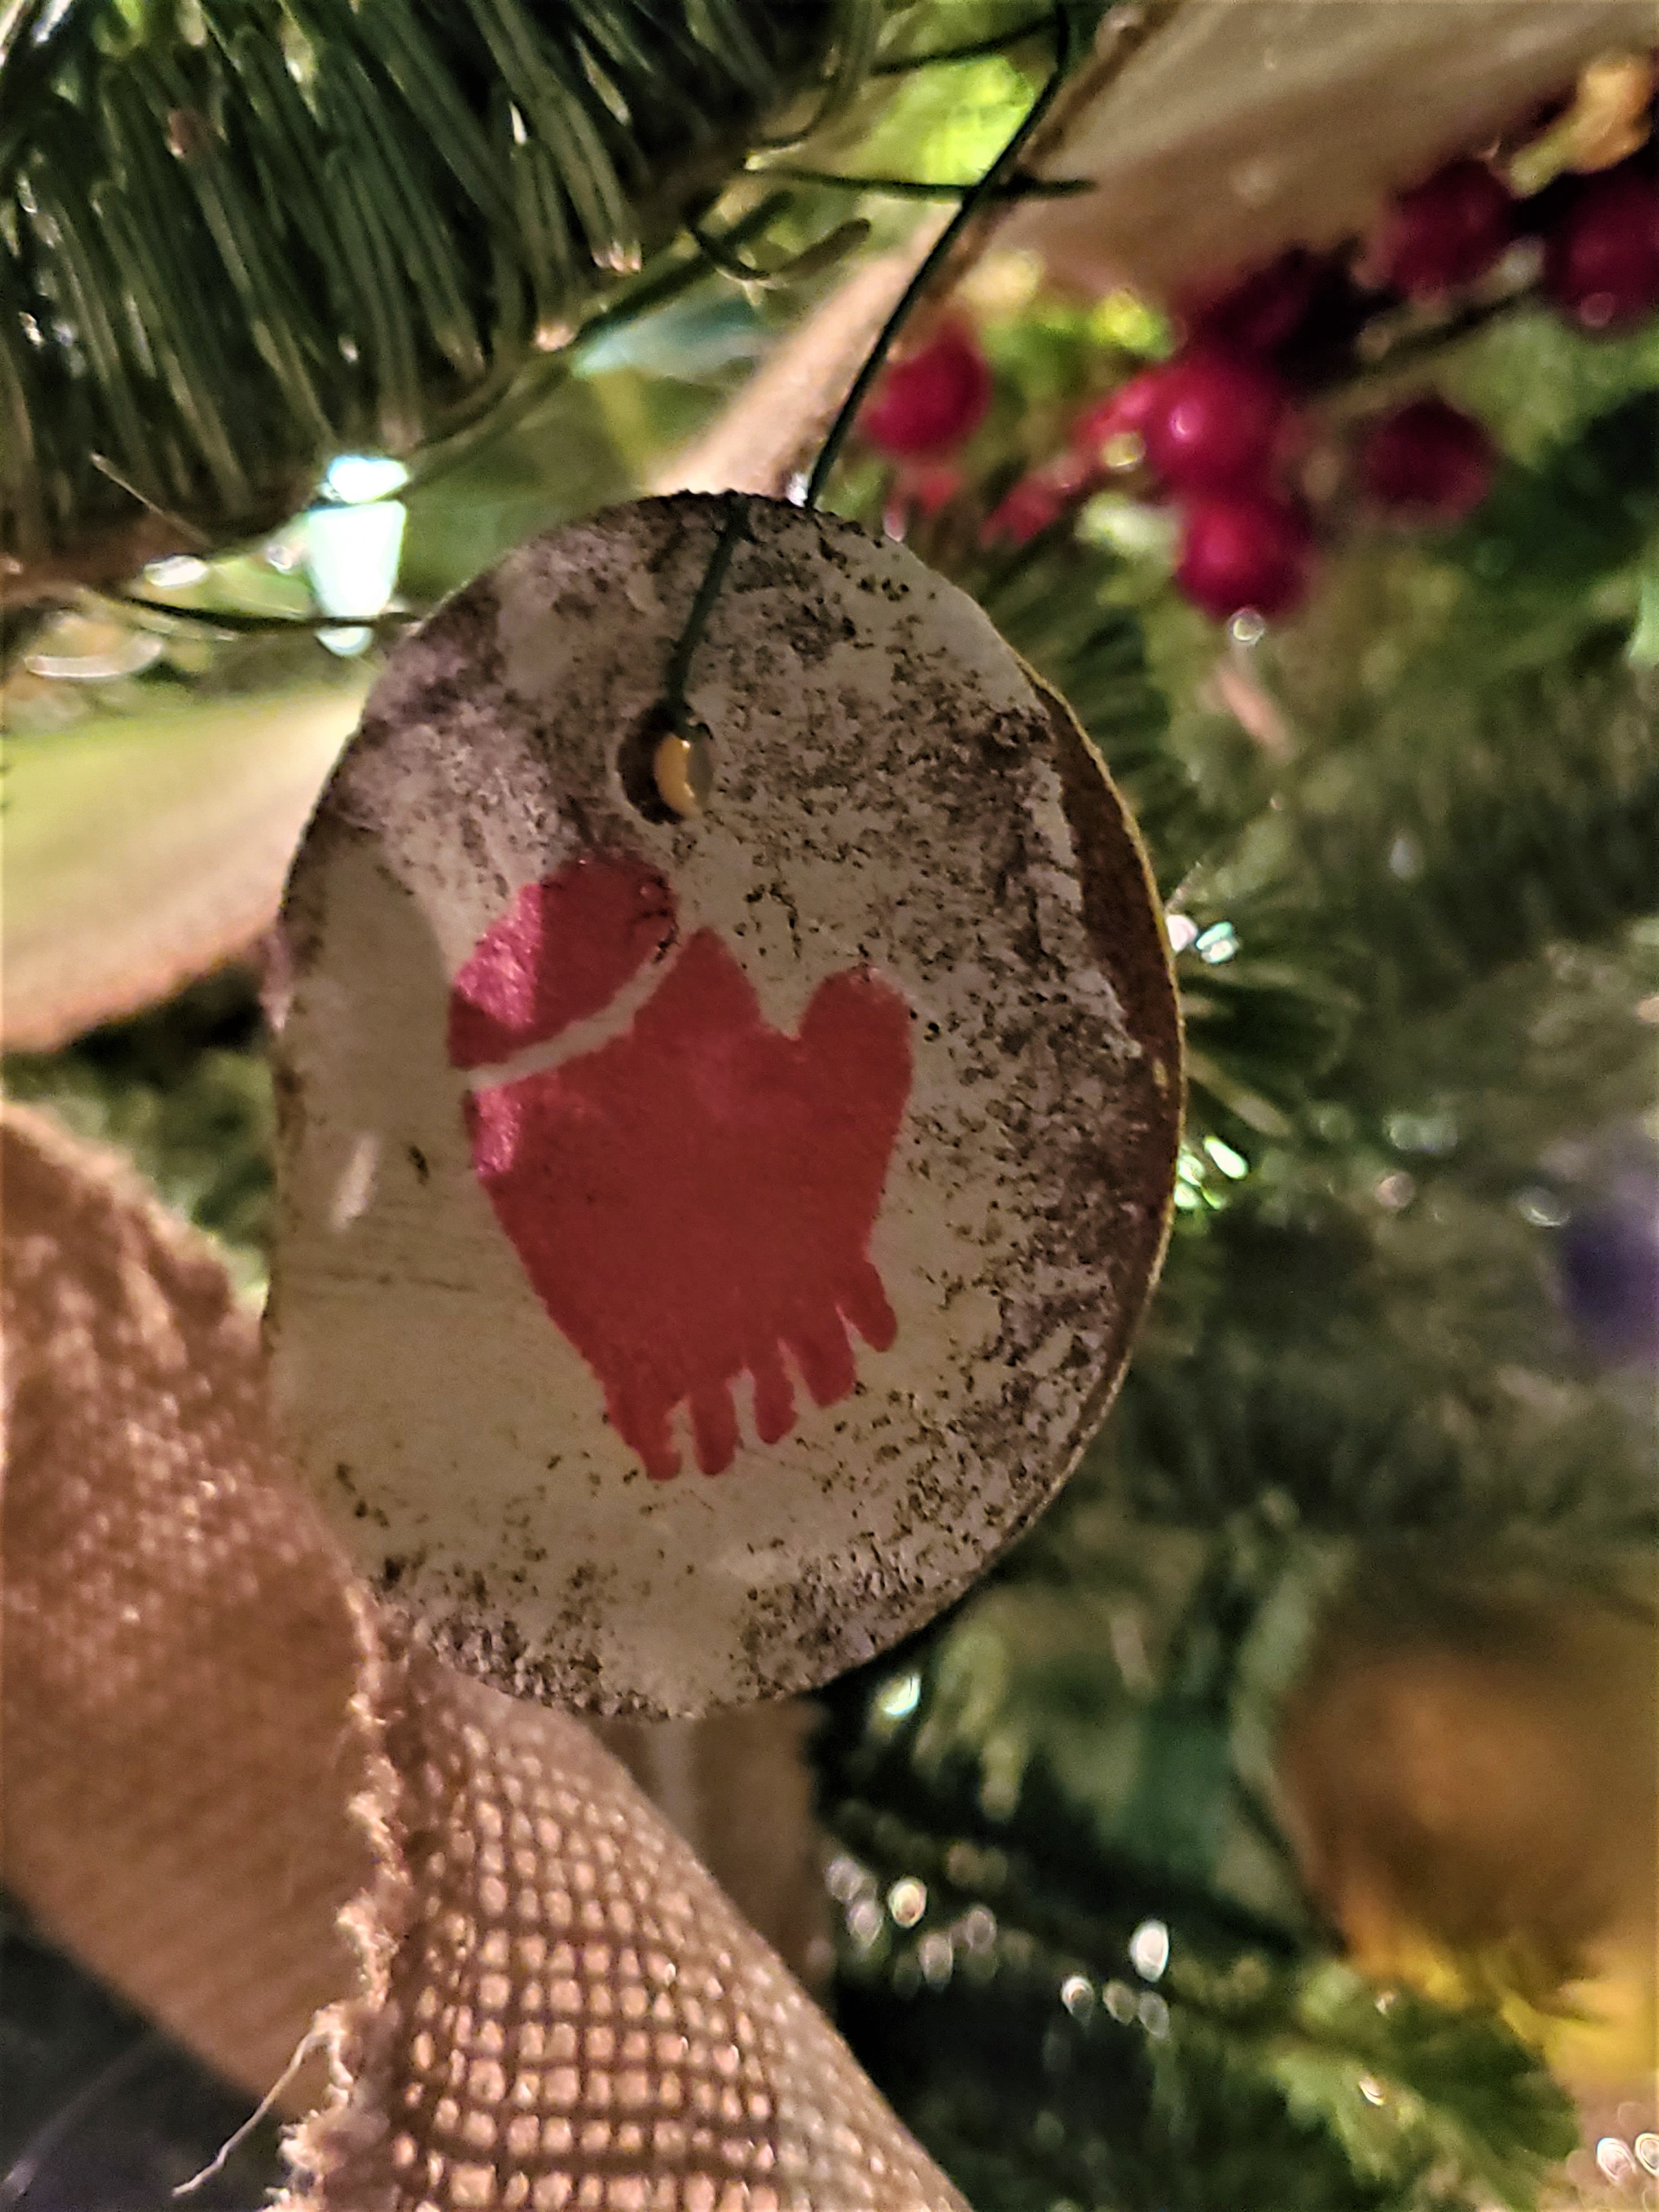
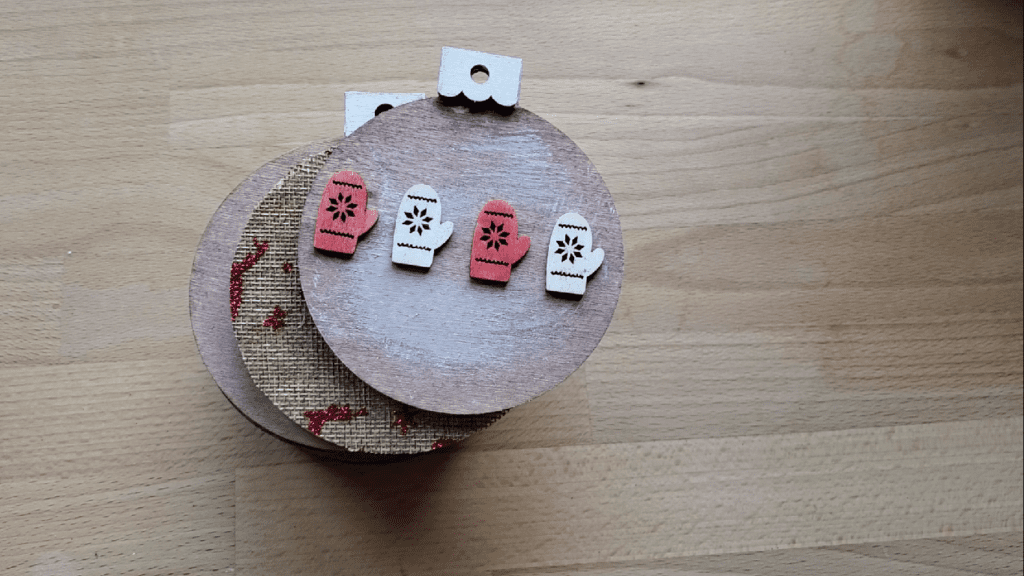
Easy DIY Christmas Tree Ornaments #6 Rustic Wood Ornaments
This one’s a keeper. They are the epitome of ideal DIY Christmas tree ornament: they cost next to nothing, are ridiculously effortless to make, and look fabulous when done.
Supplies You Will Need
- Wood Ornament Cut Outs
- Chalk or Acrylic Paint in Yellow,White, Red , and Green
- AtrMinds Antique Wax
- Small Paint Brush
- Fan Paint Brush
- Twine
- Hot Glue Gun and Glue
How To Make Rustic Wood Ornaments
Start by carefully painting each of the mini holiday wood cut outs with red, white, and yellow paint. Let dry. I felt that the least number of colous on each wood cut out looked best, but you do what you love.
I decided that I didn’t like the light wood color that the wood ornaments came in so I decide to paint each of them with the antique wax and a damp sponge. You can leave yours as is, paint with wax,/tea/stain. or maybe try a combination of both.
Next, using the white chalk paint, and a dry fan or chip brush, lightly apply the white chalk paint. Use a light hand, with soft swipes back and forth. .
Using a slightly damp cloth, lighten up the fresh white paint. You are going for a snowy, soft appearance.
Paint the tops of each of the ornaments with white paint and let dry.
Hot glue the painted, miniature wood cut outs onto the top of the painted wood ornaments.
To finish the ornaments off, hot glue twine to the edges and then string some twine or ribbon through through the hole at the top of each and then hang from the tree.
Jenny’s Finishing Thoughts On DIY Christmas Tree Ornaments
If you’re looking for a fun, festive way to decorate your home this Christmas season, look no further than these easy DIY ornaments.
These homemade ornaments are quick and inexpensive to make, and they add a personal touch that will make your holiday decorations extra special. So why not give them a try? I’m sure you’ll love the results!
Do you love homemade Christmas ornaments or do you prefer store bought? Let us know in the comments below.
Did you find this post helpful or inspirational? Save This Pin to your DIY Christmas Tree Ornaments board on Pinterest
If you liked this post you may also enjoy:
8 Easy Dollarama Christmas Ornaments And Decor
7 Sensational Xmas Decorations Using Recycled Materials
25 Unexpected Dollar Tree Craft Supplies For A DIY Christmas