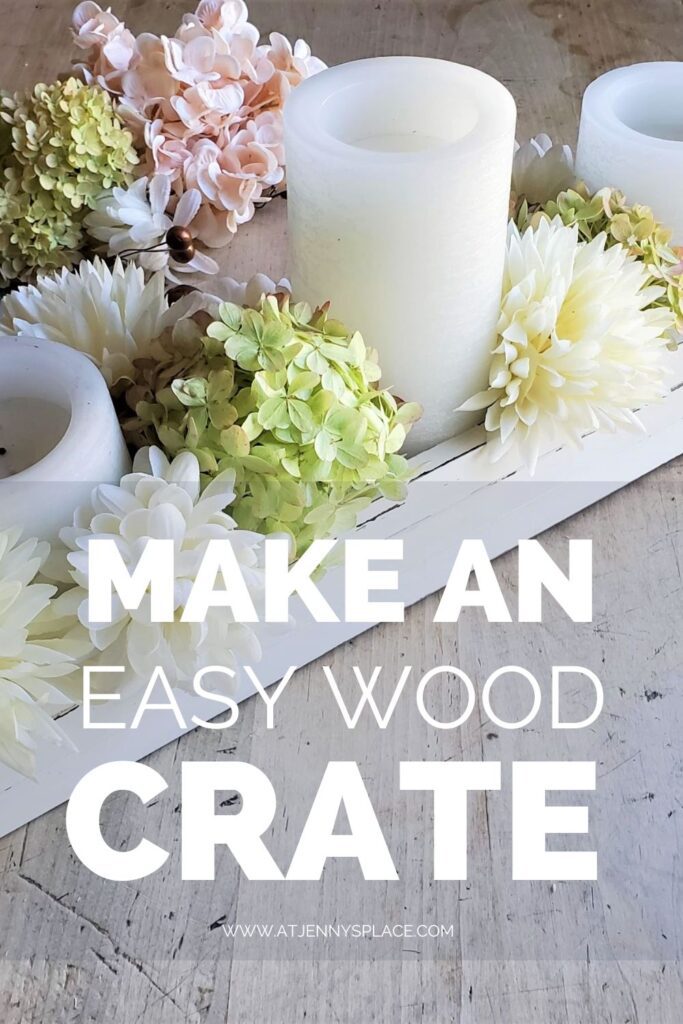
How To Make Rustic Wooden Crates
Looking for a fun and easy project? Learn how to make rustic wooden crates with this step-by-step tutorial. These crates are perfect for decorating your home whatever the season.
The Beauty Of Crate Decor
If you’re like me, you love finding creative and affordable ways to decorate your home. One of my favorite DIY projects is turning inexpensive materials into rustic wooden crates. You can use these crates for all sorts of things, from storage to decoration. In this blog post, I’ll teach you how to make your own rustic wooden crates using materials from the dollar store.
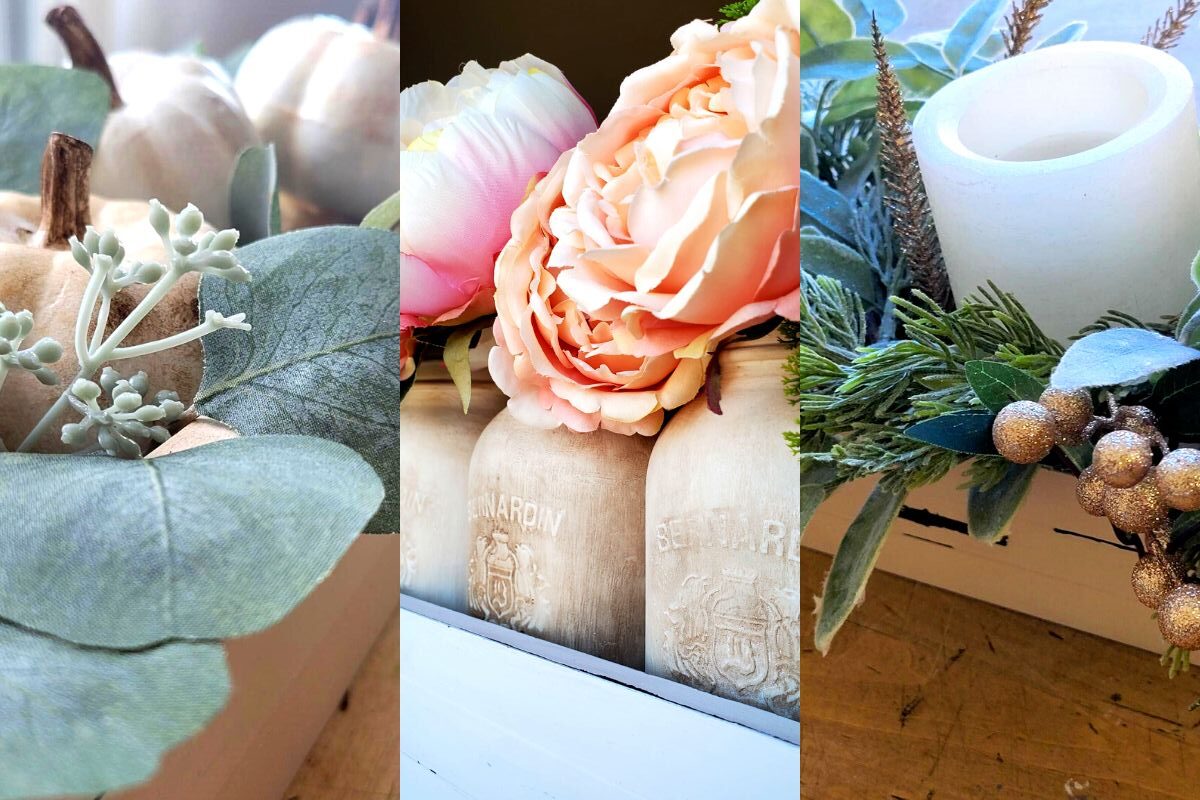
There’s something about small, decorative wooden crates that just looks so charming. Maybe it’s their simplistic and rustic look. Perhaps it’s that they can be used in so many different ways, are perfect for every season and that they fit into any room.
Whatever the reason, crate decor is a trending style right now, and it’s easy to see why. Here are just a few reasons why you should be using small, decorative wooden crates in your home decorating:
Reasons to Love Wood Crates
- They add a touch of rustic charm. Small, decorative wooden crates have a lot of visual interest and can really help to bring a room together. Plus, they’re perfect for people who love the rustic look.
- They’re versatile. You can use small, decorative wooden crates as accent pieces, as centerpieces, on shelves, as planters, or to display candles… the possibilities are endless. And because they can be made in such a wide variety of sizes, shapes, and styles, it’s easy to find or make the perfect crate for your space.
- They’re affordable. Because they are so easy to make or to makeover they are ideal for the thrifty decorator. So if you’re on a budget but still want to add some stylish pieces to your home, wooden crates are a great option.
Turn Dollar Store Materials Into Rustic Wooden Crates
Making your own wood crates is a great way to save money and add some personal flair to your home decor.
Store-bought crates can be expensive, and they often lack the character of a handmade piece. Luckily, DIYing your own wood crate is easy and only requires a few basic supplies. All you’ll need are 3 wooden rectangle shaped picture frames from the dollar store, a screw driver, needle nose pliers, wood glue, sandpaper, paint brush, and chalk paint.
How To Make Rustic Wooden Crates
Do you love finding new ways to upcycle materials and save money? If so, you’re going to love this tutorial on how to make these easy rustic wooden crates from inexpensive Dollarama materials.
With just a few easy steps, you can create storage containers that are perfect for decorating your home no matter the season or reason. So what are you waiting for? Let’s get started!
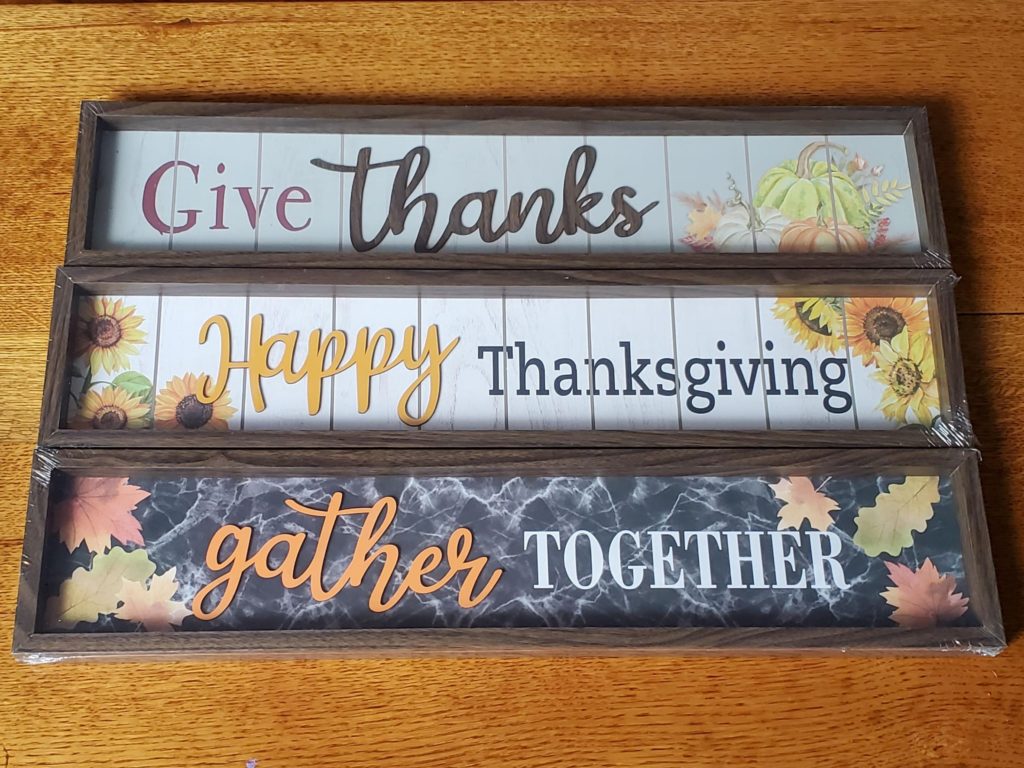
Take the three Dollarama Thanksgiving signs and remove all of the packaging.
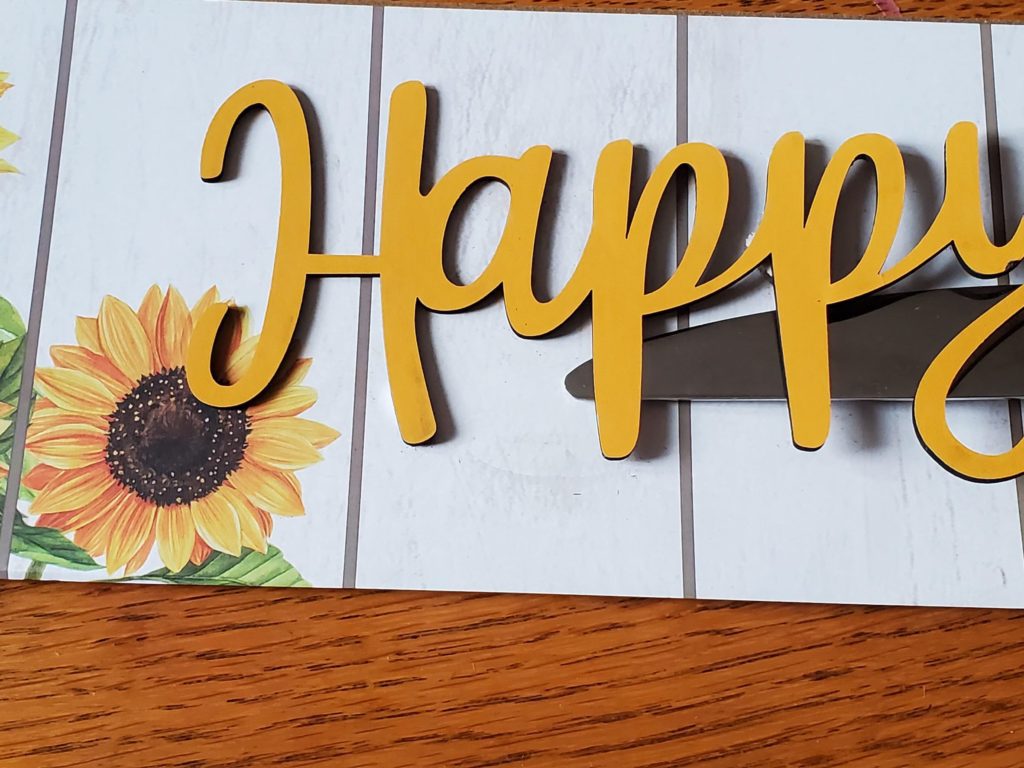
Using a butter or putty knife, gently remove the wooden wording found on the front of one of the signs. You will only be using one of the pictures as a base to the crate. The other 2 can be put aside and used in another future DIY.
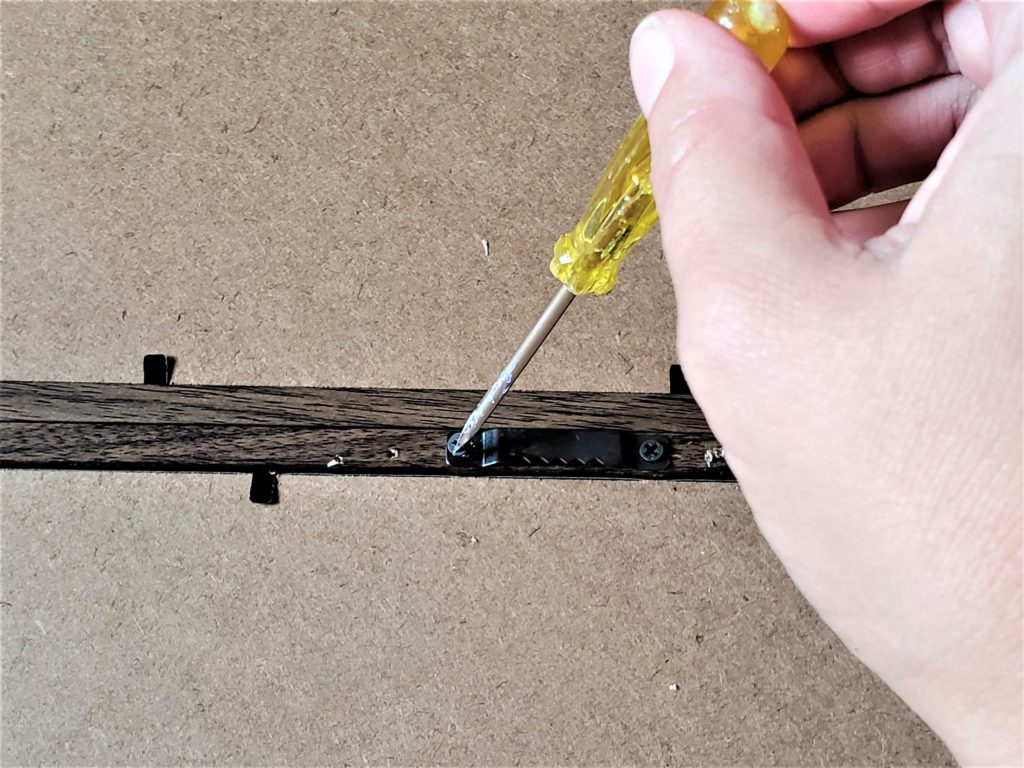
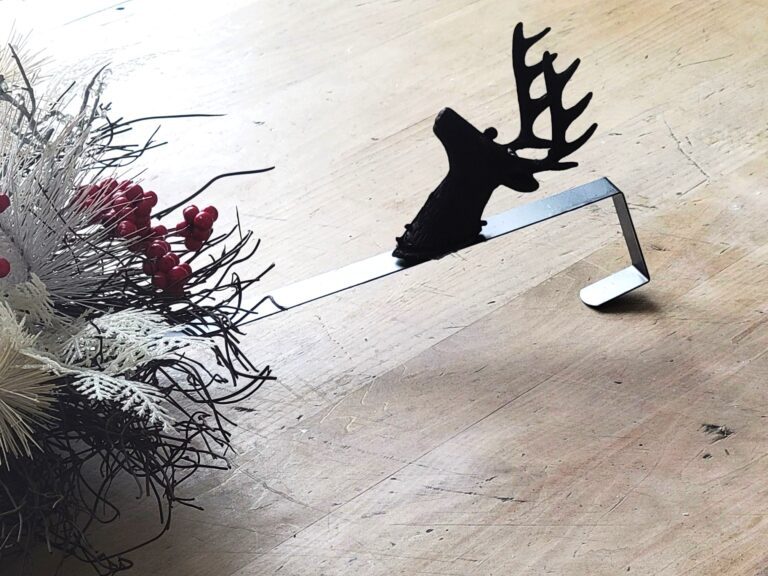
Use your tiny Philips head screwdriver to remove all of the picture hanging claws on the back of each of the 3 frames.
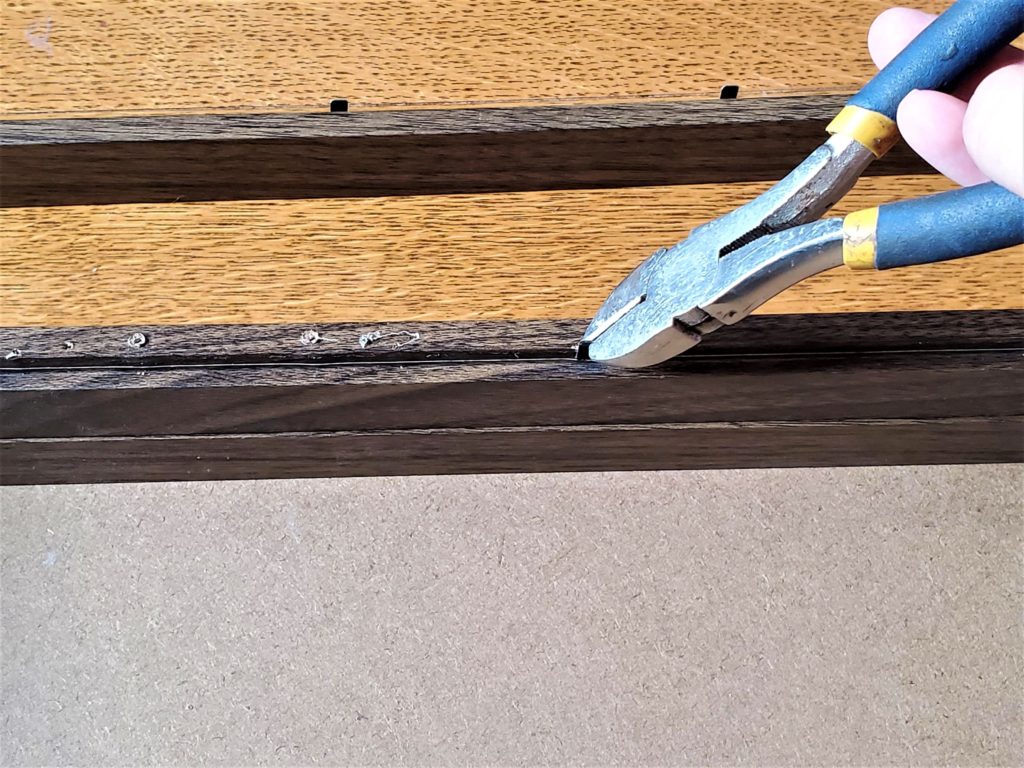
Now, using your needle nose pliers remove the frame fasteners on 2 of the frames by carefully yanking them out. Leave the 3rd frame as is.
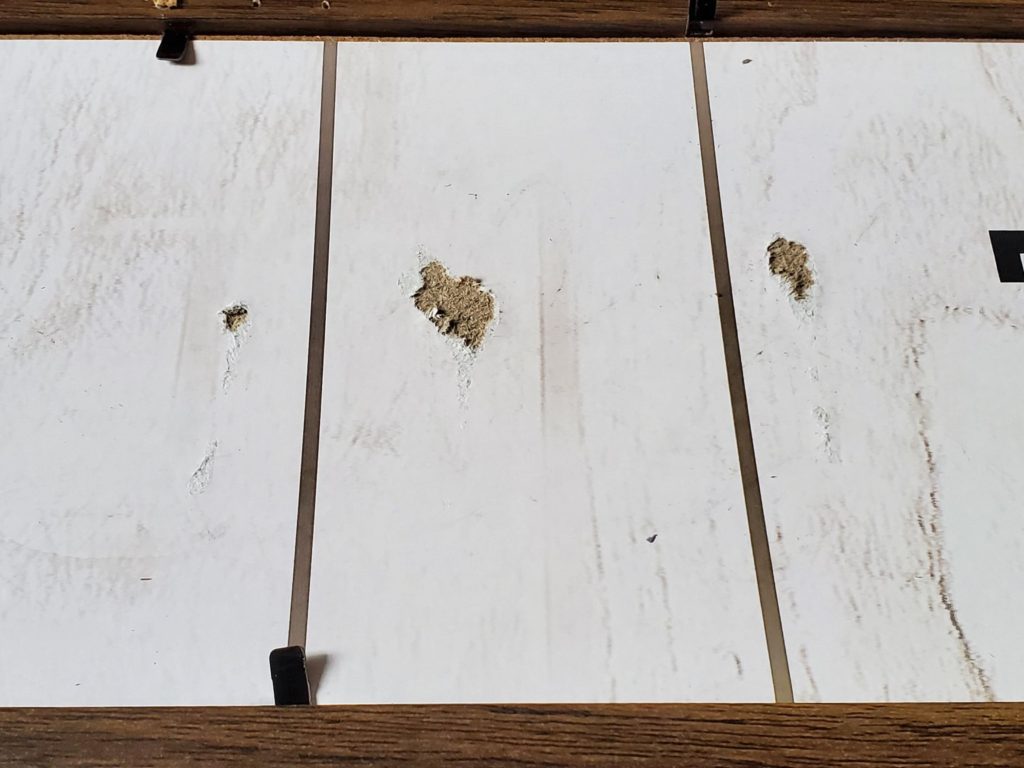
Take the picture backing, turn it around so that the card board side is facing ups, and then put into the third faux wooden frame. Use the fasteners to attach the backing to the frame. Gently press each of the frame fasteners down. This will be the bottom of the wooden crate.
Joint At Jenny’s Place Free Printable Library!
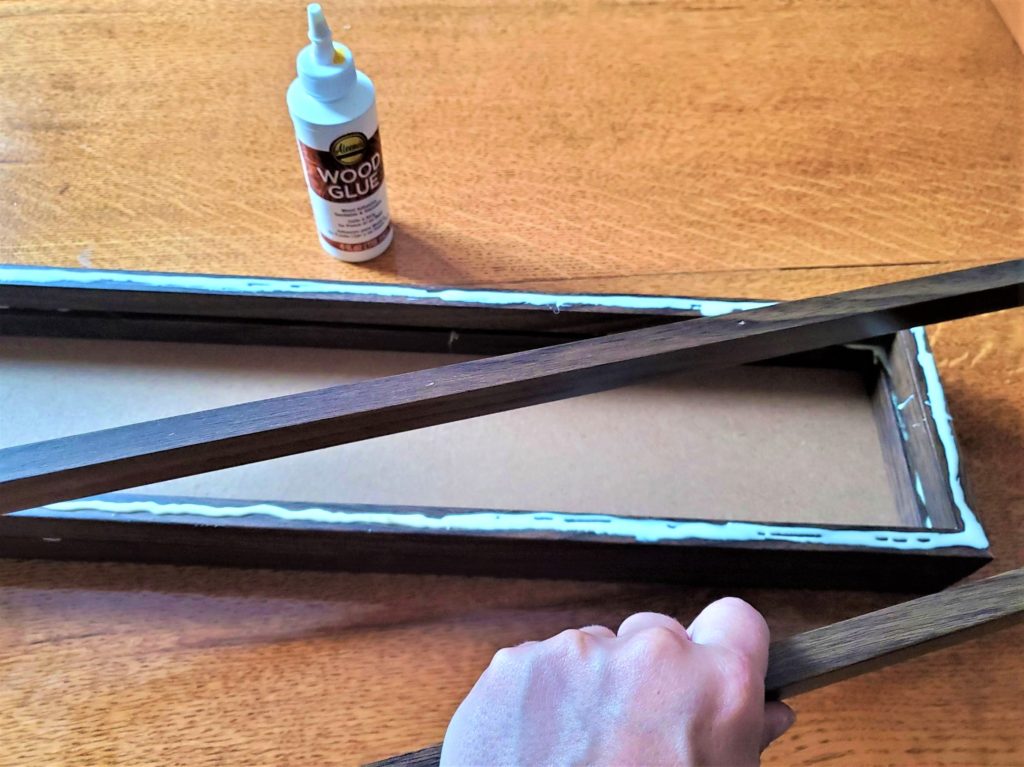
Wood glue the three pictures frames together. Do this one section at a time and let dry in between.
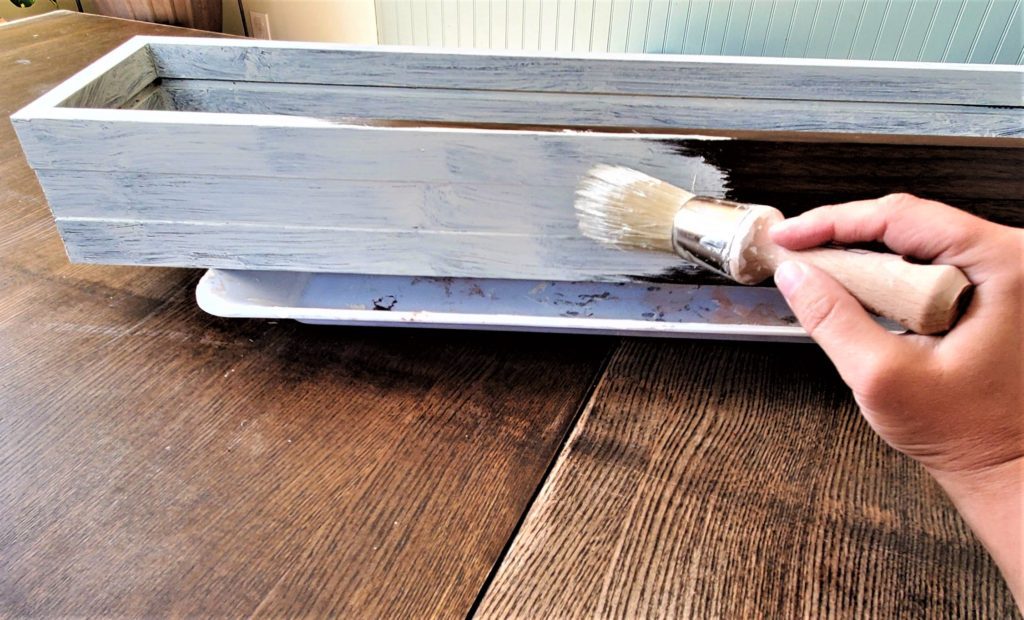
Paint the wooden crate with the FolkArt chalk paint in Milk Jug. This will take 2 coats so make sure that you allow the paint to dry in between coats.
PRO TIP: Paint the crate inside and out because although you won’t see the inside of the crate. This will allow you to use the crate in many different ways.
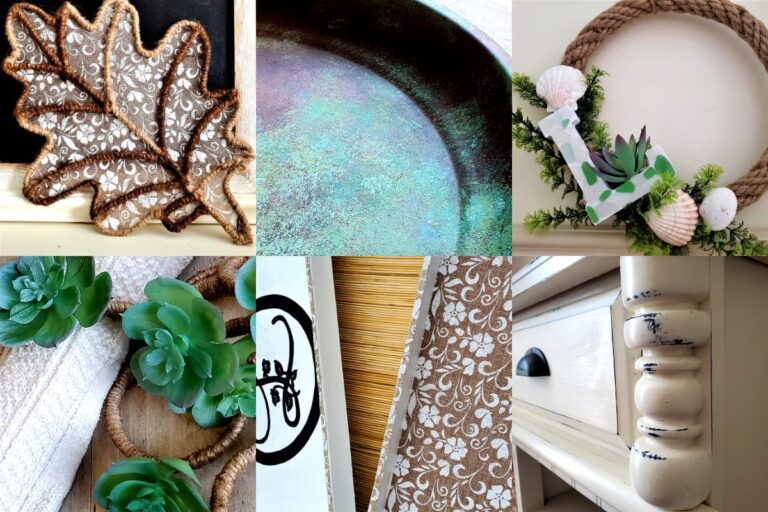
I’ve shown you how to make rustic wooden crates in their basic format but there is so much more that you can do to personalize this crate. To make it look even more high end try:
- Create 2 of these crates and then line them up end to end for a super long dining table centerpiece.
- Add handles to the ends or the sides of the crate for a different look.
- Stencil a design to the sides of the crate for a unique touch.
- Personalize the crate with a written message on the sides.
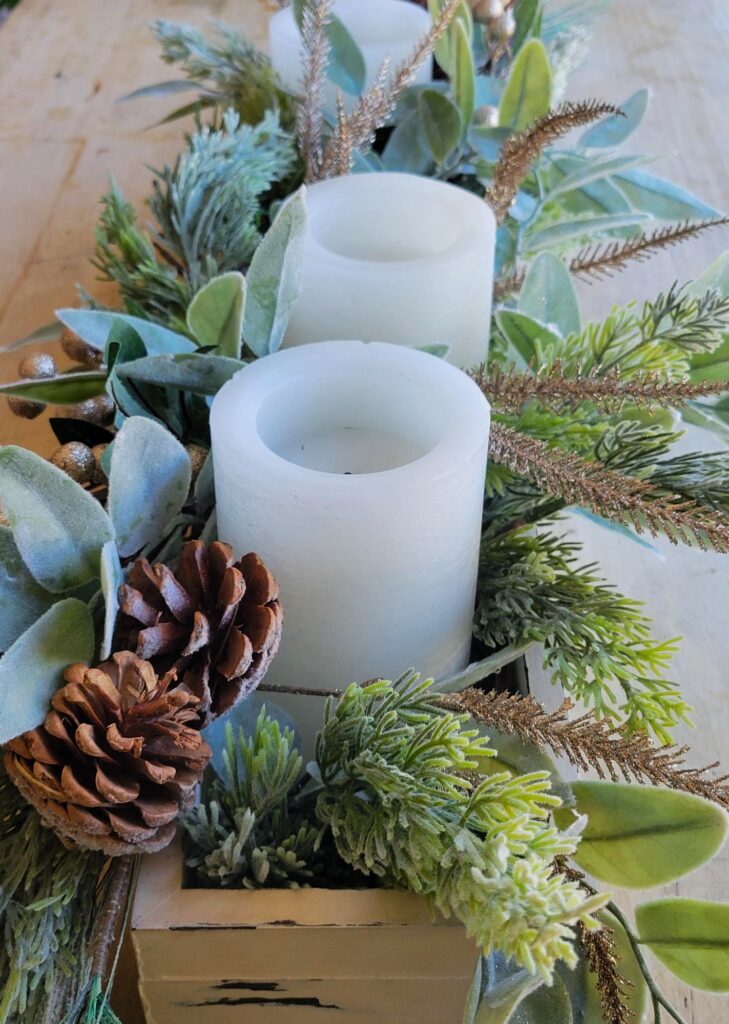
- Add LED mini lights to the interior to light the centerpiece from within.
Jenny’s Finishing Thoughts on Making Rustic Wooden Crates
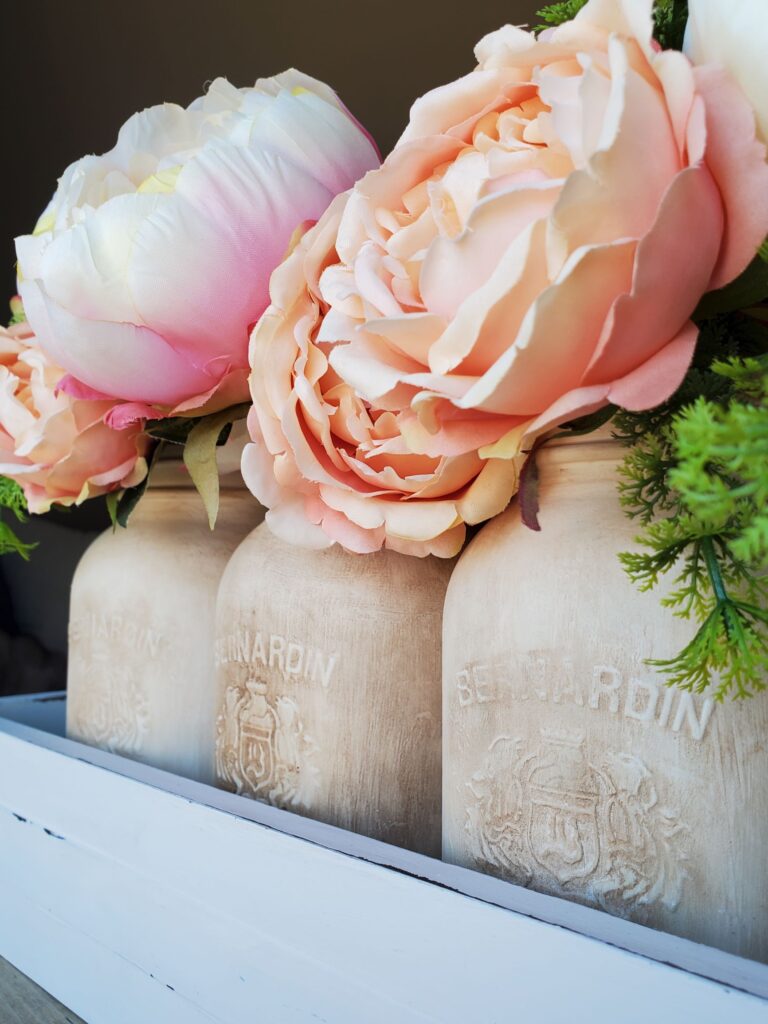
If you’re looking for a cheap and easy way to spruce up your home decor, you can’t go wrong with wood crates. These versatile pieces can be used as centerpieces, mantle decor, or even as a plant base. And the best part is that they’re so easy to make yourself.
So next time you’re looking to add a little something special to your home, remember that DIY wood crates are the way to go.
Did you find this post helpful or inspirational? Save This Pin to your Wood Decor board on Pinterest.