
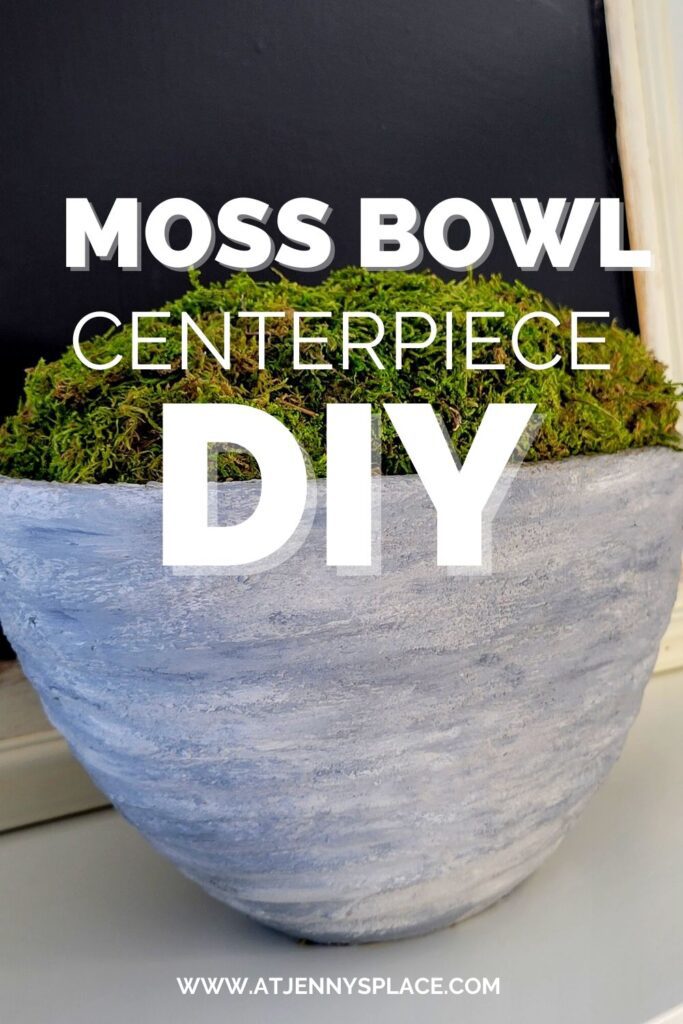
Moss Bowl DIY That’s Super Stylish
This moss bowl DIY adds a simple touch of greenery and interest wherever you need it and you won’t believe how easy it is to recreate.
A DIY Moss Bowl Centerpiece
There is just something about the look and texture of moss that conjures up feelings of calm. Maybe it’s because where I’m from moss means cabin life and cabin life means rest and relaxation. Whatever the reason, moss decor is both stylish and practical.
It is also ridiculously expensive. When searching for a moss bowl to decorate the side board in our den I was shocked at how much money decor stores wanted for them. They were literally asking for hundreds of dollars for a faux moss bowl. No thank you.
I knew we could make these for a whole lot cheaper and so that is what we are going to do. Let me show you how easy this can be.
Supplies You Will Need
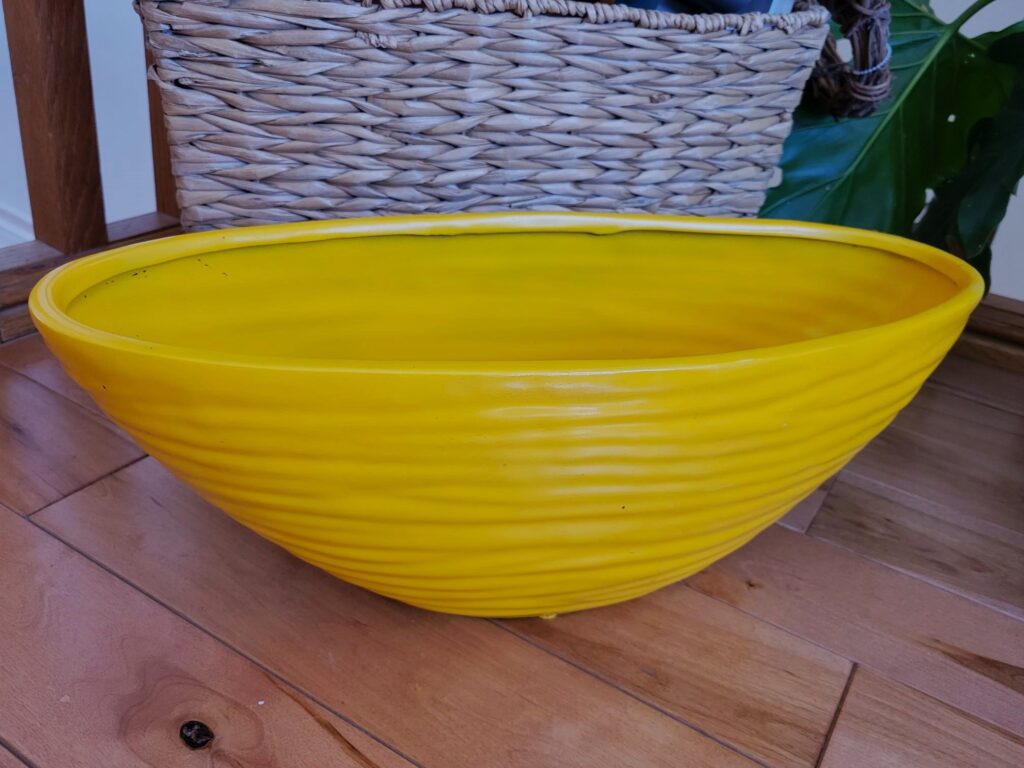
The supplies you’ll need to make this super simple moss bowl DIY are likely ones that you already have in your craft stash. Now, you can always use a vase that you already own. Or you could do what I did, and take a quick trip to the thrift store to find the perfect one.
- Ceramic vase
- Paint in a light grey (This can be acrylic paint, chalk paint, or even leftover house paint.)
- Folj
- FolkArt chalk paint in Rich Black
- FolkArt chalk paint in White
- Baking soda
- Plastic cup
- Plastic spoon
- Chippy paint brush
- Medium stencil brush
- Small stencil brush
- Moss (You can usually get this at Dollar Tree)
- Newspaper
- Hot glue gun and glue
NOTE: This baking soda paint technique can be used on any shaped vase, ceramic figurine, or pottery but if you want to create a moss bowl consider using to a vase with a wide opening.
Baking Soda Paint Recipe
- 1/4 cup Baking soda
- 1/2 cup Paint in a grey colour (Really, you could use any colour but this is the colour I’m using to recreate the faux stone look.)
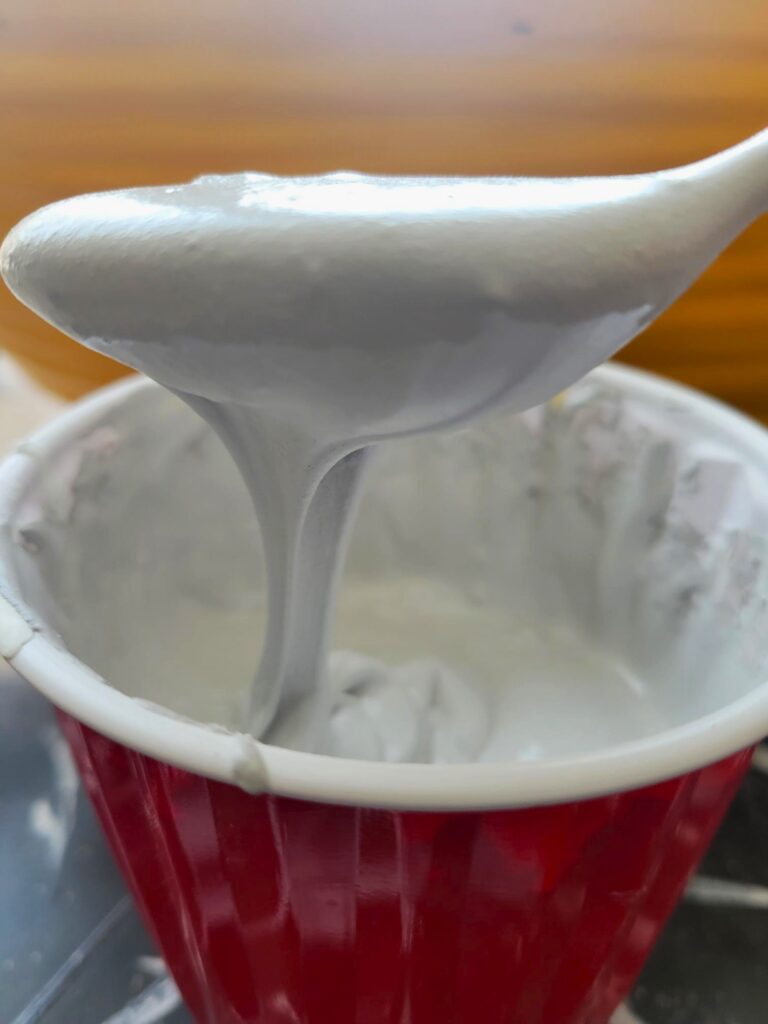
You may have to play a little with the amounts. You want to mix these together until you get a paste that resembles slightly melting soft serve ice cream.
PRO TIP: If you need to take a break from your DIY for a bit that’s no biggie. Just wrap the top of the cup with plastic wrap and the paint mixture will keep. Later when you get back to it if it’s a bit thick and dried out just add a touch of water and remix.
How Do You Make a Faux Moss Bowl?
Making your own faux moss bowl DIY is really easy and super inexpensive. The most time consuming part of this project is the drying time. To recreate this stylish faux moss bowl simply follow the instructions below:
Start by wiping the vase down with a damp cloth. Then make the baking soda paint recipe following the amounts outlined above.
Apply a nice thick coat of the baking soda paint. Use your paint brush to add tons of texture. Then allow to dry a bit. You want it to become tacky.
NOTE: My apologies. I could have sworn I took a picture of this step but apparently… no. I forgot. But just know that you want to apply this coat on thick and with tons of texture.
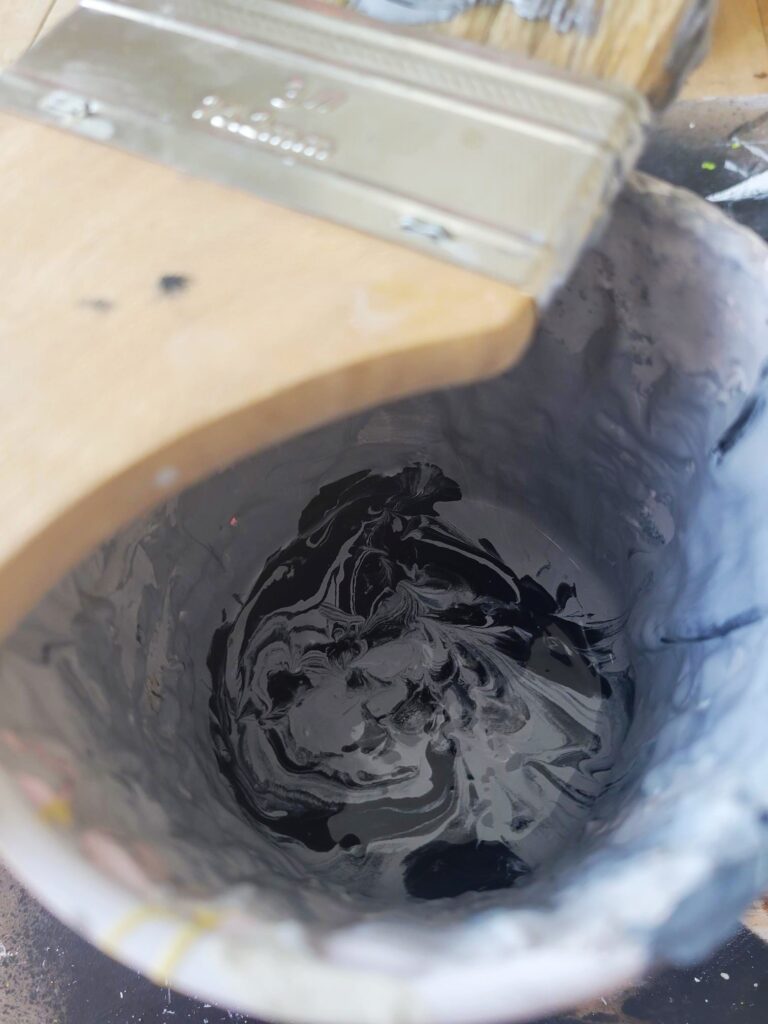
While the paint is becoming tacky, pour 1/3 of the leftover paint into a container and repeat this in a second container.
Add about 1 tsp of the Onyx chalk paint to the first one.
In the second container add 1 tsp white chalk paint and then add to this another tablespoon of baking soda. You want the white mixture to resemble a thick paste.
Creating interest and texture…

Using the medium sized stencil brush, apply the lighter and darker colours to the tacky, grey paint. You want to blend these colours into the grey. In some areas create more light with the white paint and allow it to really pop through. While in other areas, try blending it into the grey more.
Do the same with the darker grey colour by creating shadows and contrast with the lighter colours. Have fun and play around with this until you get a look you like.
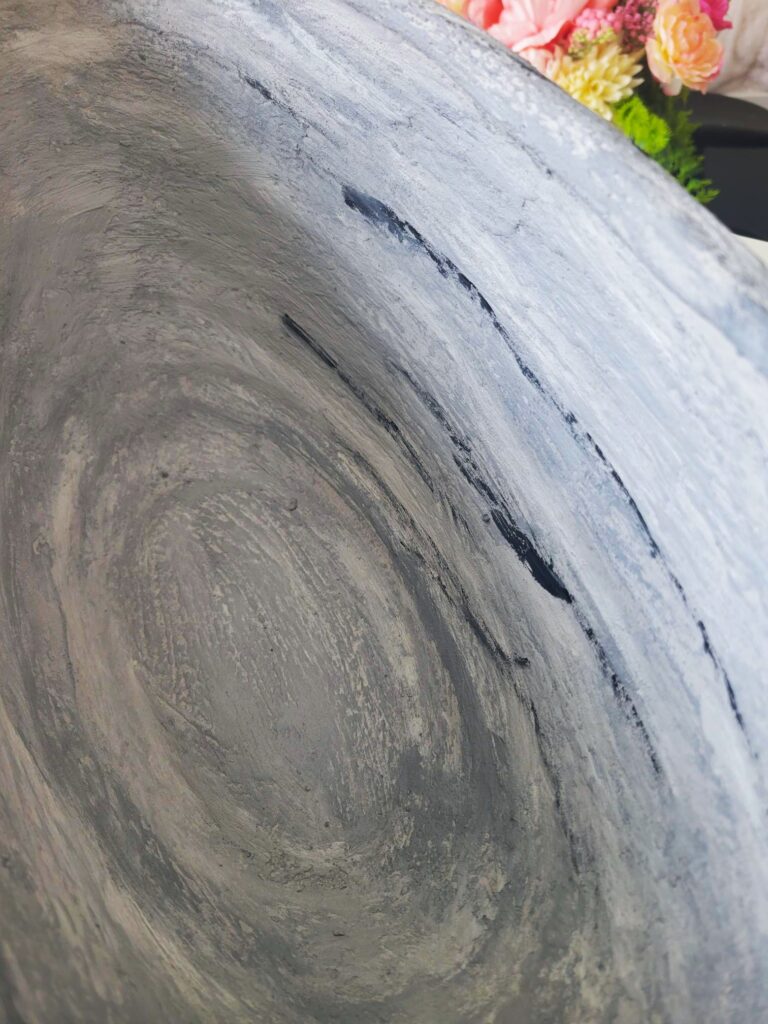
Using the small stencil brush and a bit of the plain onyx paint add streaks of the black colour to the vase. Then using your other brushes (with the paint/baking soda mixture still on them) blend out the black marks. In the end, you are going for a realistic stone look.
Adding the moss…
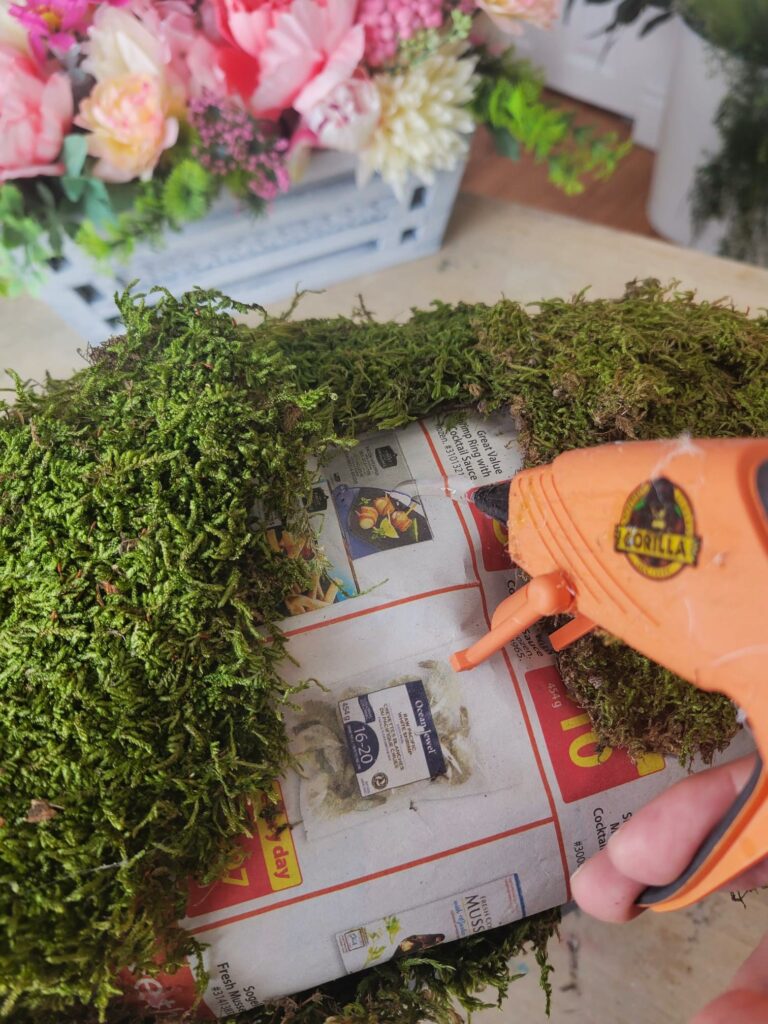
Next, take a strip of newspaper, and using the hot glue gun adhere the moss to the newspaper. You want the sheet of newspaper to be able to completely cover the opening of the vase and then some.
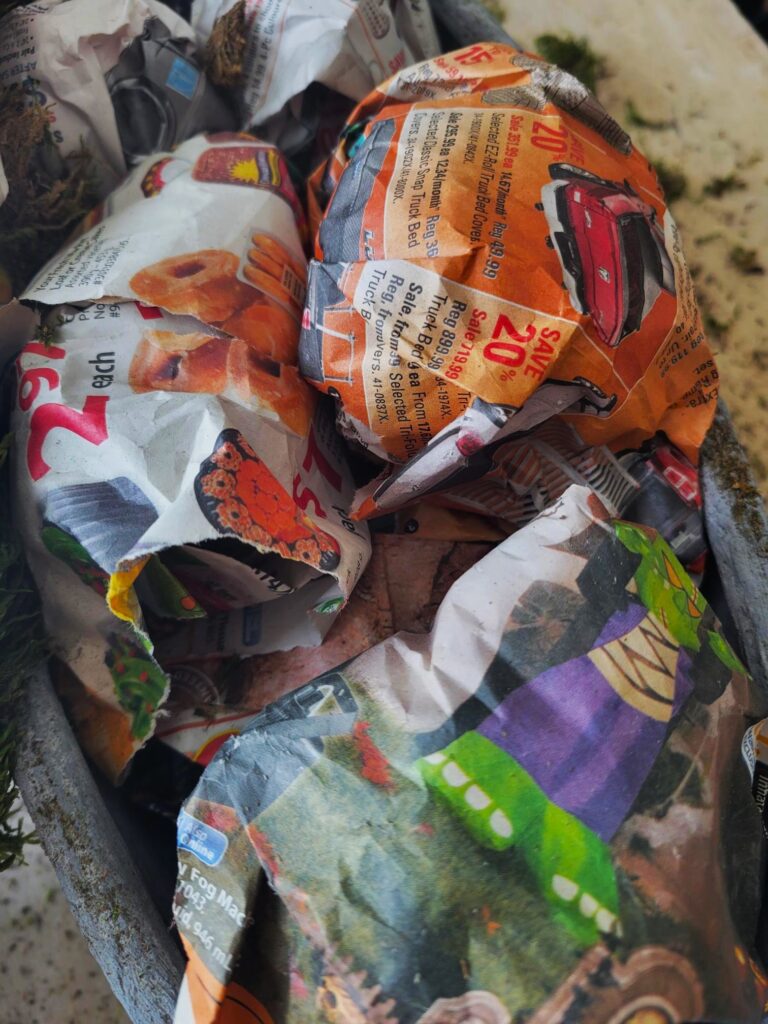
Crumple up more sheets of newspaper and stuff them into the bottom of the vase. You want the newspaper to reach the top lip. Then using a few more sheets of newspaper, crumple these into balls of varying sizes and place these on top of the stuffed papers.
Basically, your trying to create varying heights here.
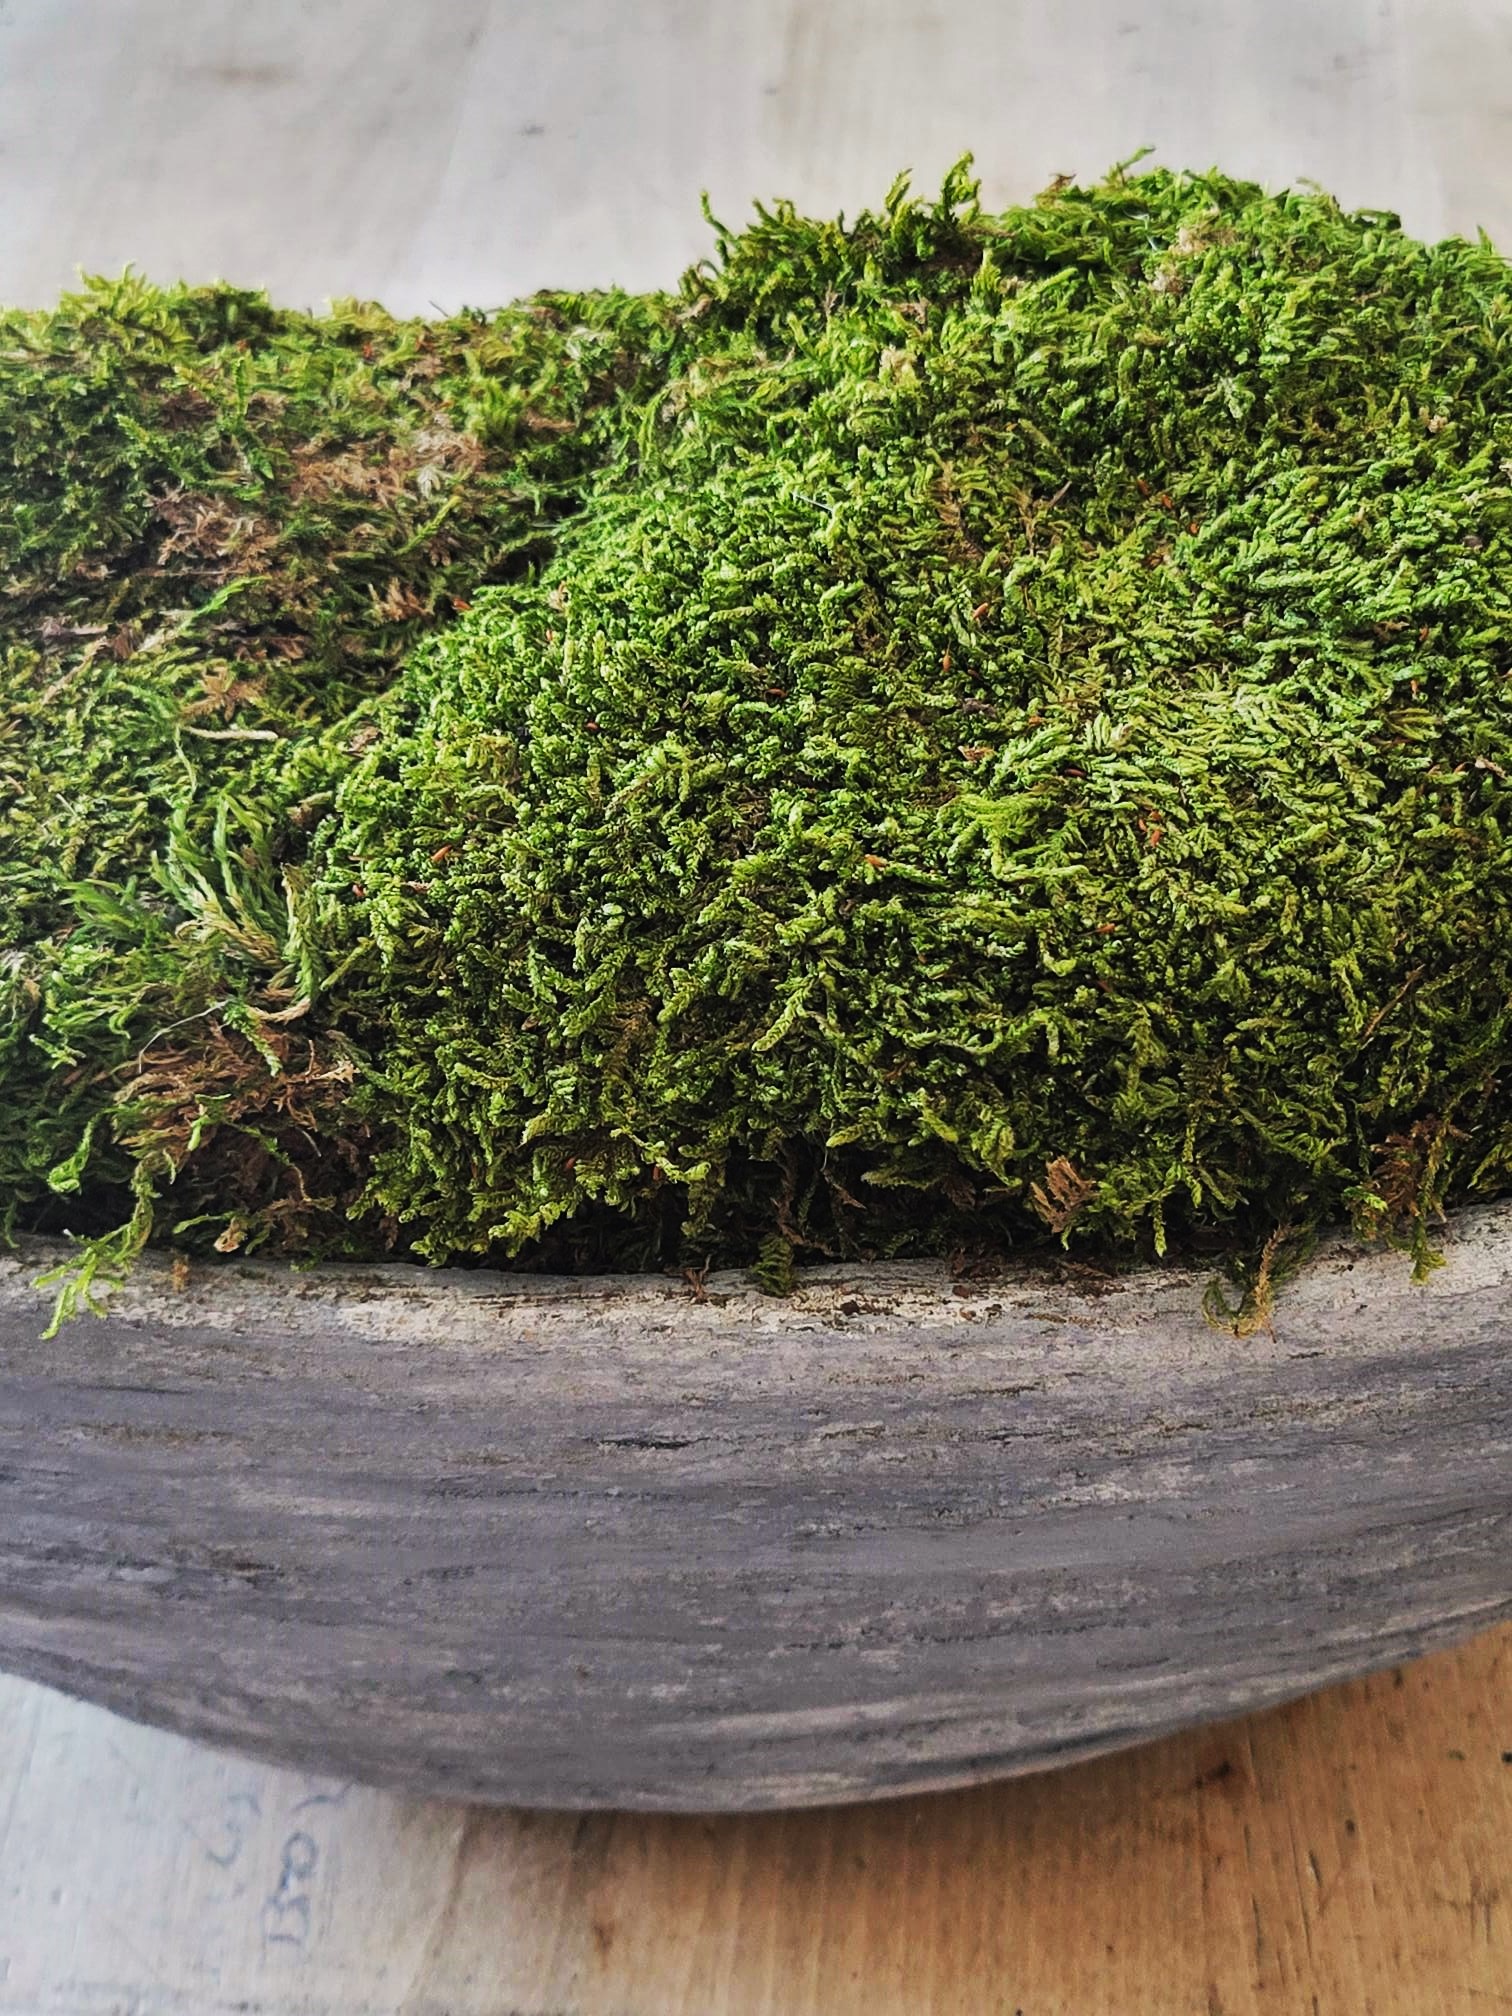
Now, take the moss covered sheet of newspaper and drape this over the opening of the vase. Tuck the sides into the vase so that the lip of the vase shows. If needed, add any extra bits of moss to cover any newspaper that might be showing through.
Press down lightly of the moss cover so that there is texture and the differing heights show through.
And voila!
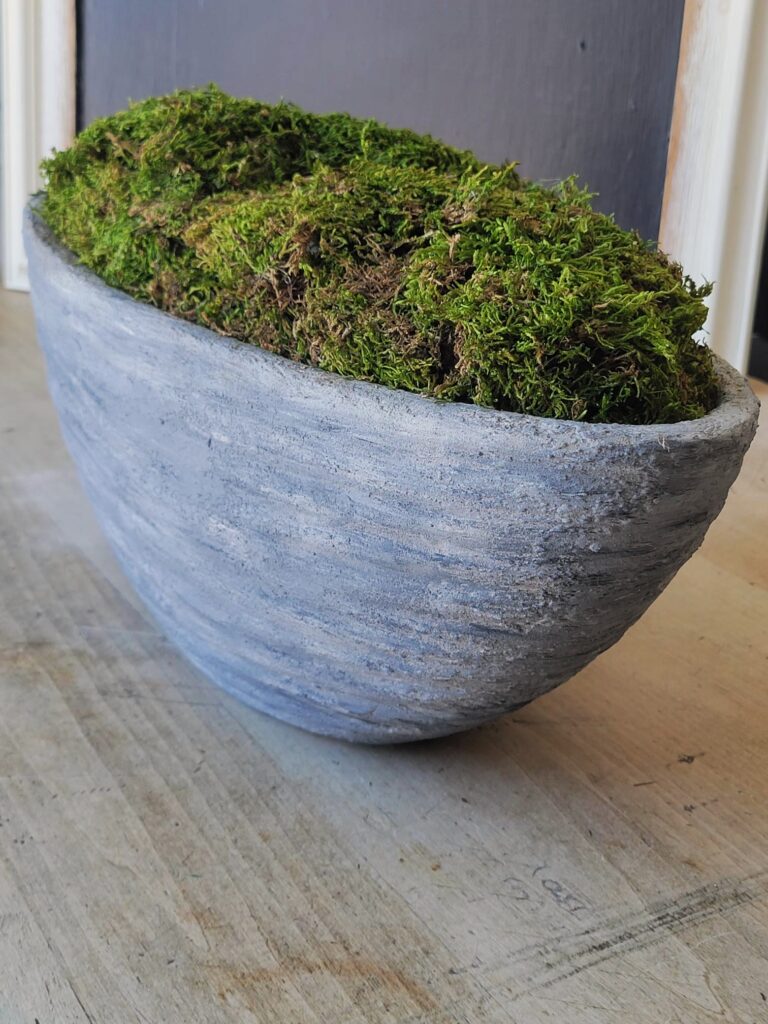
You have yourself a stylish moss bowl that took very little effort to recreate but looks like you spent a small fortune at some high end home decor store. Got to love that!
Jenny’s Finishing Thoughts On Stylish Moss Bowl DIY
So there you have it. No need to spend upwards of $400 to have this phenomenal piece in your home. All you need is a vase, some paint, baking soda, and a few minutes of free time to recreate your own one-of-a-kind moss bowl.
Let me know, would you spend over $400 on a moss bowl? And if after this you were inspired to make your own, don’t forget to share it on all of At Jenny’s Place socials.
Did you find this post helpful or inspirational? Save This Pin to your DIY Vase board on Pinterest.
Wow!
I’m so glad you like it!