Beautiful Spring Centerpiece
This farmhouse inspired, spring centerpiece is super easy to make and it will look absolutely gorgeous on any dining table or fireplace mantle.
Crate Confessions
CONFESSION: Oh boy! Starting with a confession. The faux, wooden crate used in this DIY is not included in this specific tutorial. However, I do have a step by step tutorial on how you can make the crate. So make sure that you look over both.
How to Make Spring Centerpiece
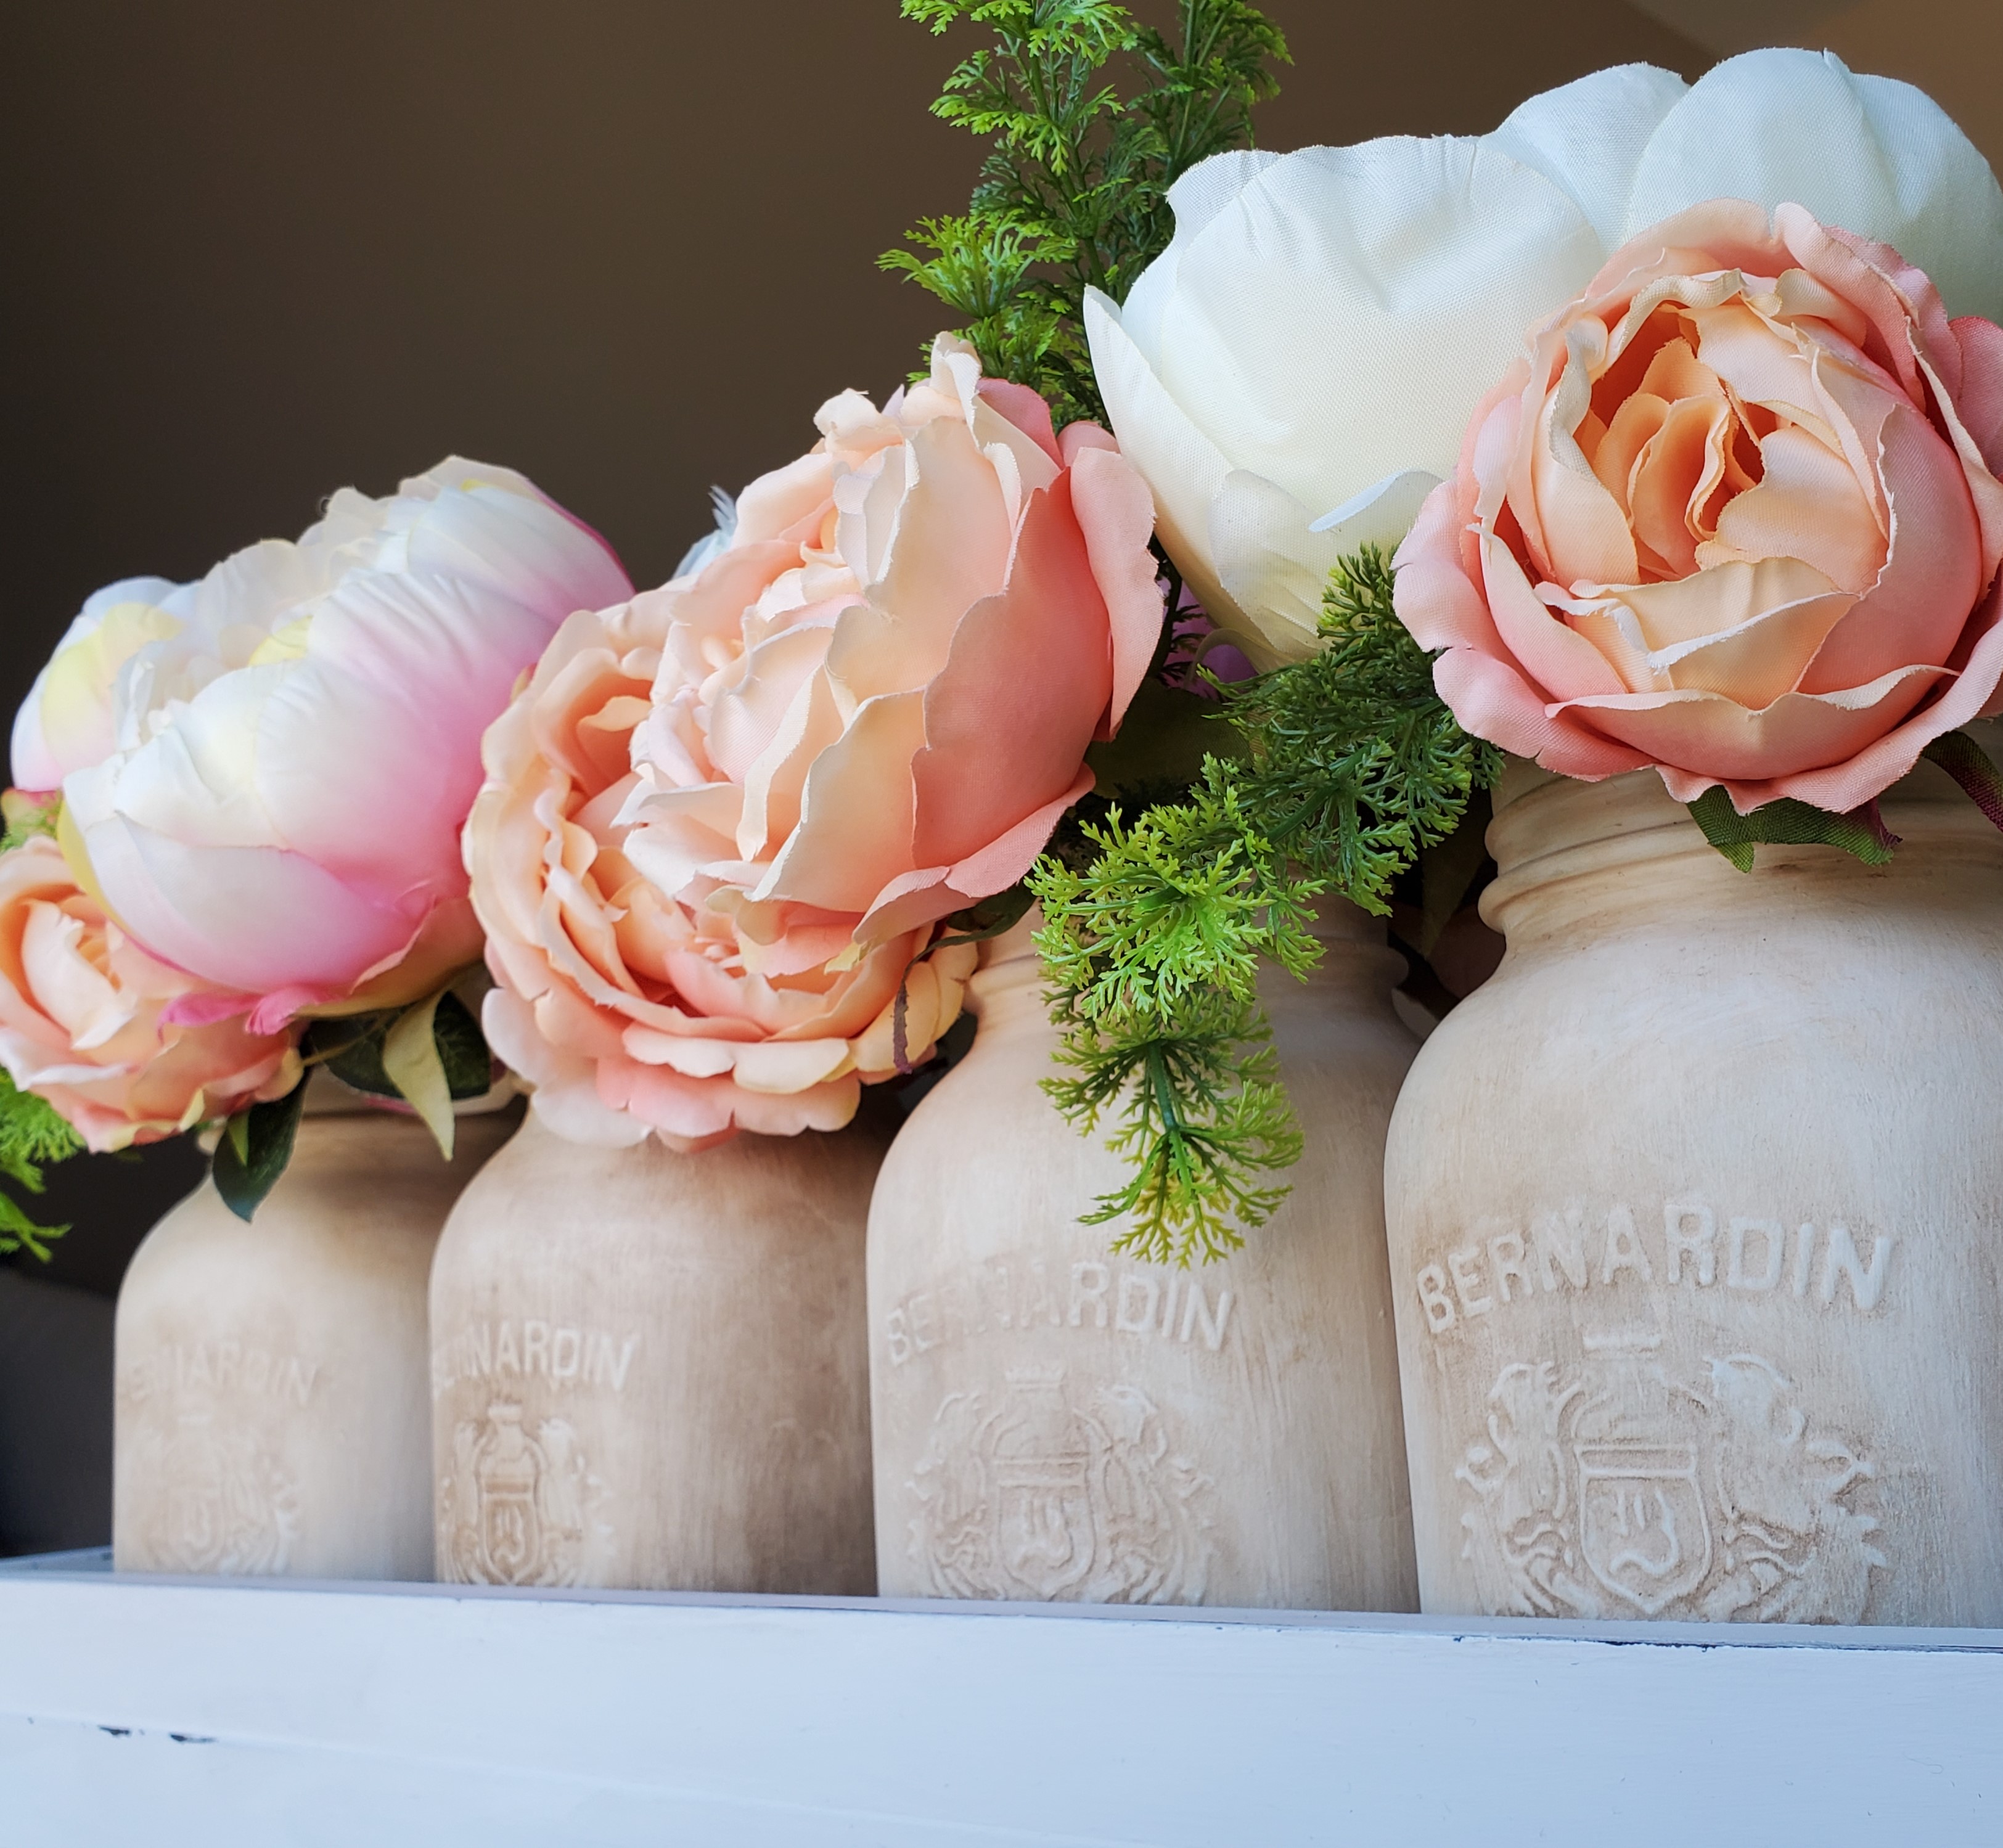
This spring centerpiece somehow manages to be both rustic and elegant. It is super simple to make and the different elements can be used in other arrangements
Supplies You Will Need for Rustic Wooden Crate
- 5 Mason jars
- Chalk paint by FolkArt in Milk Jug
- Paint brush
- Antiquing Wax by ArtMinds
- Foam sponge
- Slightly damp cloth
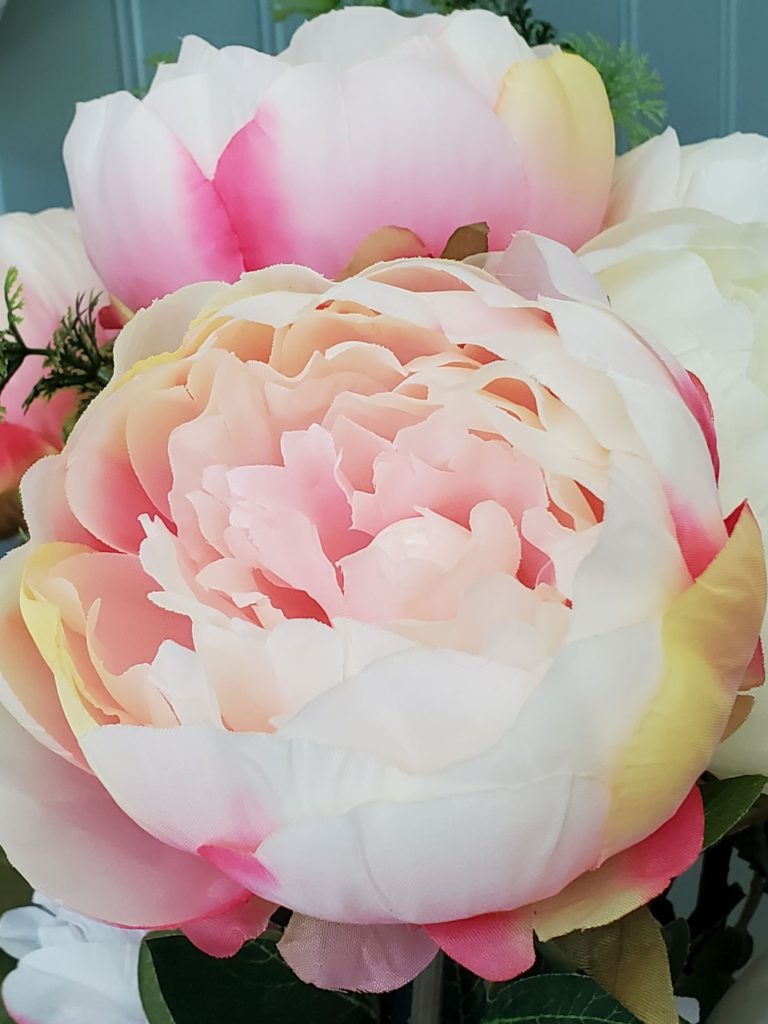
- Faux peonies (Found these stunning faux peonies at Dollarama. They were less than $2 each and they are so realistic looking! I am just in awe of them. Included are the light pink and cream coloured blooms.)
- Roses ( Found these beautiful peach roses at Michael’s. They were buy a buy-one-get one deal so they ended up being only $5 a stem. There were 3 blooms per stem and they are so well made. Very realistic looking.)
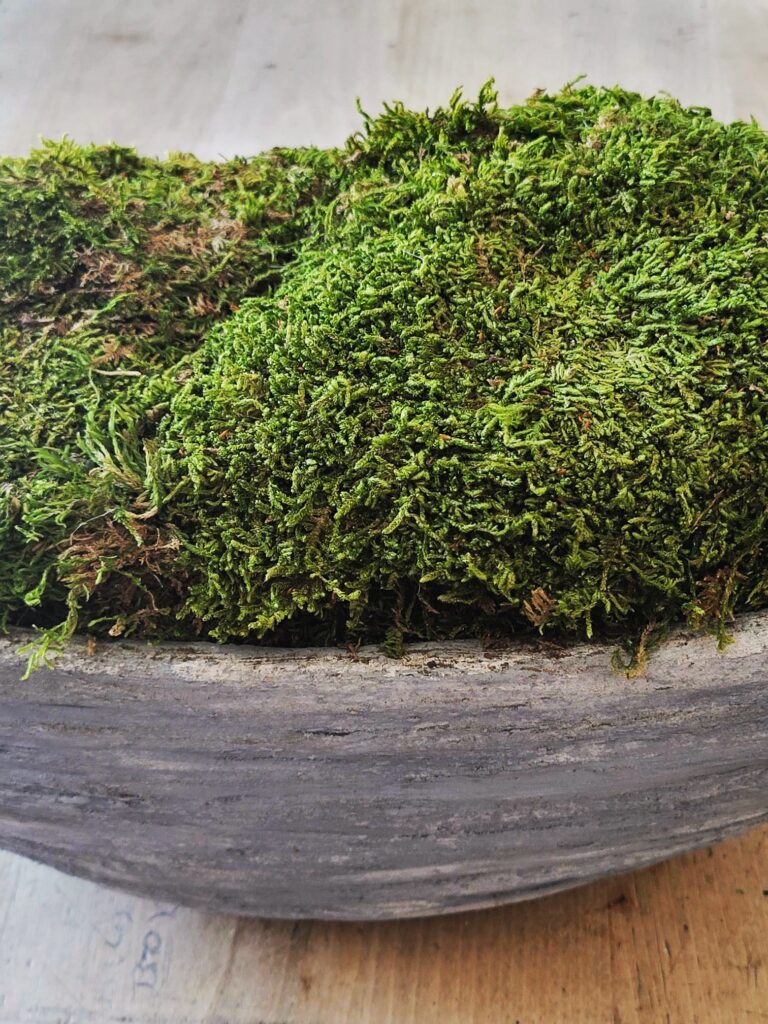
- Greenery (Dollarama has some truly amazing greenery this year! Make sure you check them out. You won’t be disappointed.)
How to Make the Spring Centerpiece
Paint each Mason jar with the chalk board paint. To get this look paint each jar in Folk Art’s Milk Jug. It will take at least 2 coats of paint to get a nice even appearance on the jars.
However, painting the jars is a bit finicky. The tips below will help and remember that if you are using chalk paint it is easy to spot correct. Plus, the paint dries matte so the flaws will be mostly camouflaged.
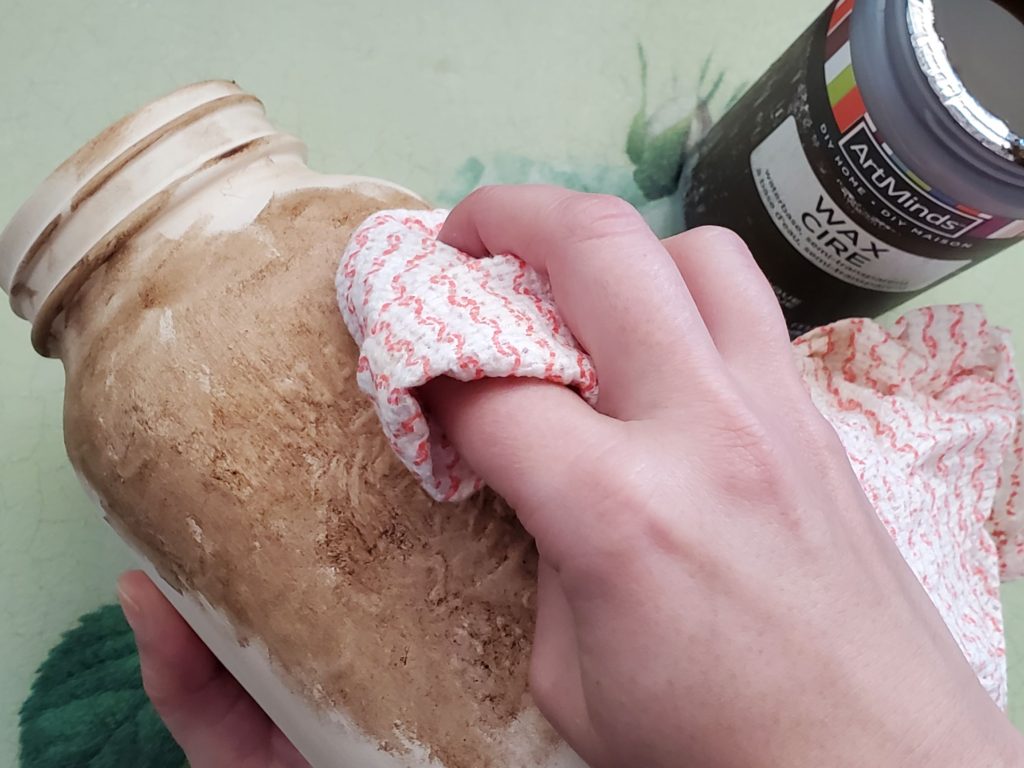
Next, using the ArtMinds Antiquing Wax and a foam sponge dab the wax onto the raised, logo part of the Mason jar.
Then, while the wax is still wet use the damp cloth, and with a wiping motion swipe some of the wax off. This will create an aged appearance on the jar making it look rustic and antiqued. You can make these jars as dark or as light as you wish.
Continue sponging the wax around the rest of the jar. Make sure you get the front and the back as well as the rim. Each time wiping off a bit of the wax with the slightly damp cloth.
PRO TIP: Focus the majority of the wax on the raised, logo part of the jar. This will help make the logo pop.
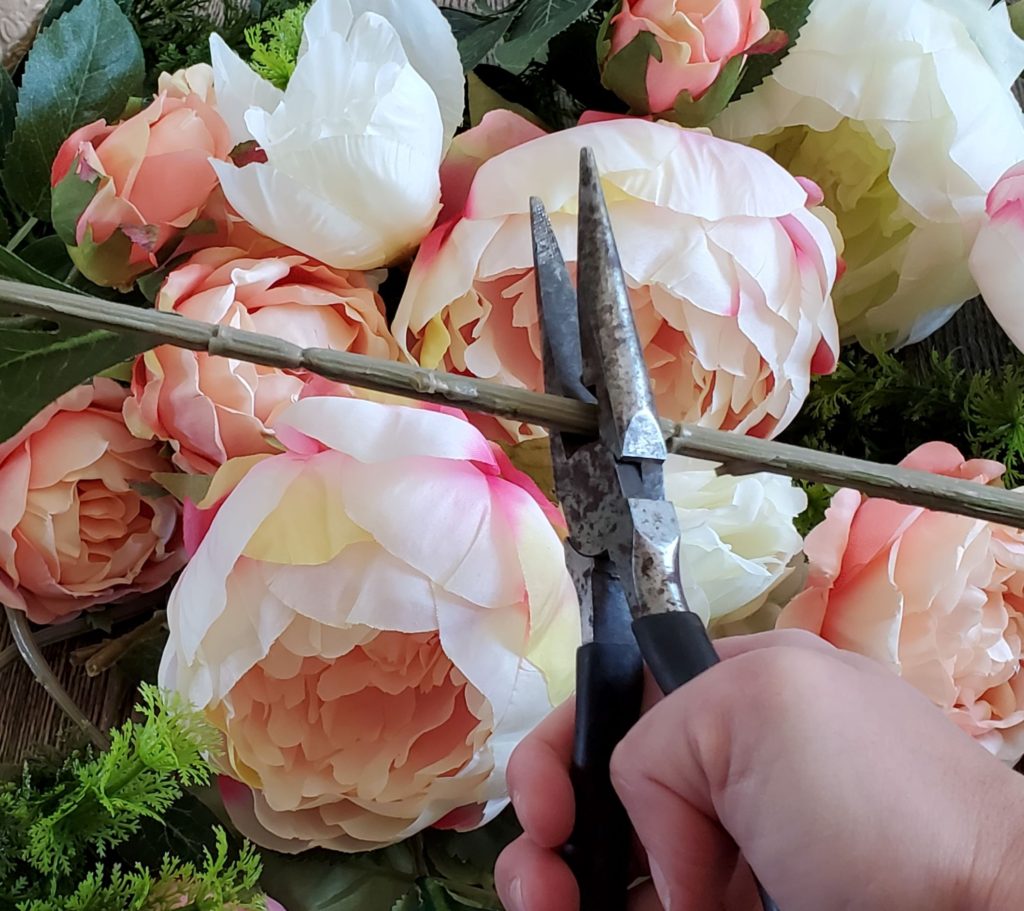
Next, use a pair of wire clippers to cut the faux floral stems. The stems on the roses and peonies are thick and ordinary scissors won’t work as easily. Although, it can be done with a little elbow grease.
Clip the floral stems and greenery down so that they will fit in the jar. You want the stems to be just long enough that the flowers just pop out of the top of each jar.
Place the aged Mason jars in the crate. Fill each jar with the peonies, peach rose blooms, and greenery. Take care to arrange the blooms so that the jars look lush and pleasing to the eye.
And Voila! A beautiful spring centerpiece that costs very little money, takes hardly any time, and looks absolutely gorgeous adorning your dining table.
Jenny’s Finishing Thoughts on Spring Centerpieces
I’m not sure what I love most about this DIY. It’s a toss up between the rustic crate I get to use over and over again
AND
the overall look of this lovely centerpiece. There is just something so beautifully simplistic about this piece. I love the lush blooms juxtaposed with the antiqued jars and rustic crate. For as long as spring lasts this year, I plan to keep this centerpiece on my table.
I’m curious…. at this time of year do you like to decorate for spring, do you mostly focus on decorating for Easter, or do you like to do a mixture of both?
Did you find this post helpful or inspirational? Save This Pin to your Spring Centerpiece board on Pinterest

If you enjoyed this spring DIY you may also like:
How to Make 3 Easy Reusable Spring Wreaths