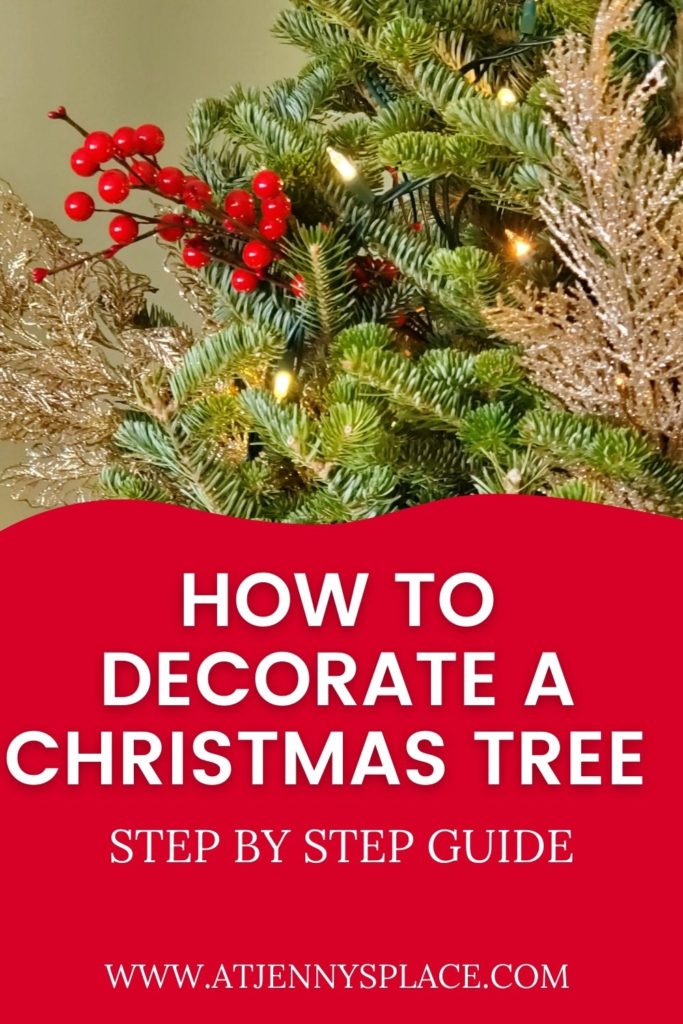
Step By Step Instructions On How to Decorate Christmas Trees

Everyone wants a designer looking Christmas tree. Step by step instructions will show you how to decorate Christmas trees like a professional.

First, Fabulous Tips: Step by Step Instructions On How to Decorate Christmas Trees Like A Pro

Many people consider decorating their Christmas tree to be a fun traditional activity that gets them into the holiday spirit.

While there is nothing wrong with this approach, taking a few extra steps to transform your tree from amateur to pro can make a big difference. A professionally decorated tree can be a real showstopper, impressing friends and family members alike. Plus, it can help to get you into the holiday spirit even more.

When it comes to decorating for Christmas, the tree is always the focal point. But achieving a beautiful, festive look isn’t always easy. If you’re not sure where to start, don’t worry – this blog post has all the tips you’ll need. With just a little effort, you’ll be on your way to creating a truly stunning tree that will be the talk of the holiday season.

What Is The Correct Order To Decorate A Christmas Tree?

When decorating a Christmas tree there is definitely a correct order to things that you should for the most part follow. Now, that doesn’t mean that you can’t play around with things a bit. I have been know to mix thing sup a bit. But for the most part, following this suggested order will help you create a beautifully professional looking Christmas tree.

Step by Step Instructions On How To Decorate Christmas Trees

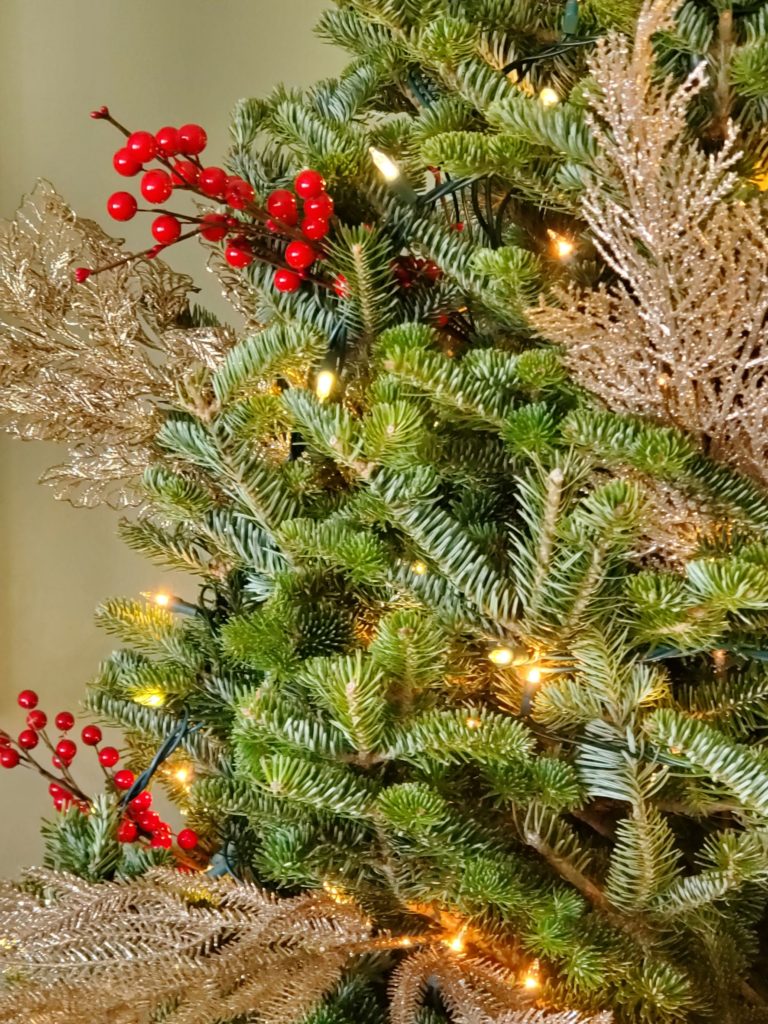
Start by adding the lights.

Work the lights inwards towards the trunk and and outwards to the tips of the branched. You want the whole tree to be lit up not just the front sections.

Add the cheapy ornaments

Add these along the branches and nearer the trunk. This is to add that dimension and sparkle we talked about in the tips above.

Add your garland, ribbon, or burlap ribbon

Now I sometimes break this rule. I know, Gasp! Sometimes, if I am doing a tree that is really ornament forward I will add my garland in small sections at the end of decorating. I work the small pieces in and out of the tree and around the ornaments. But this is a rarity and I usually add my garland after the cheapy light.

Giant embellishments come next

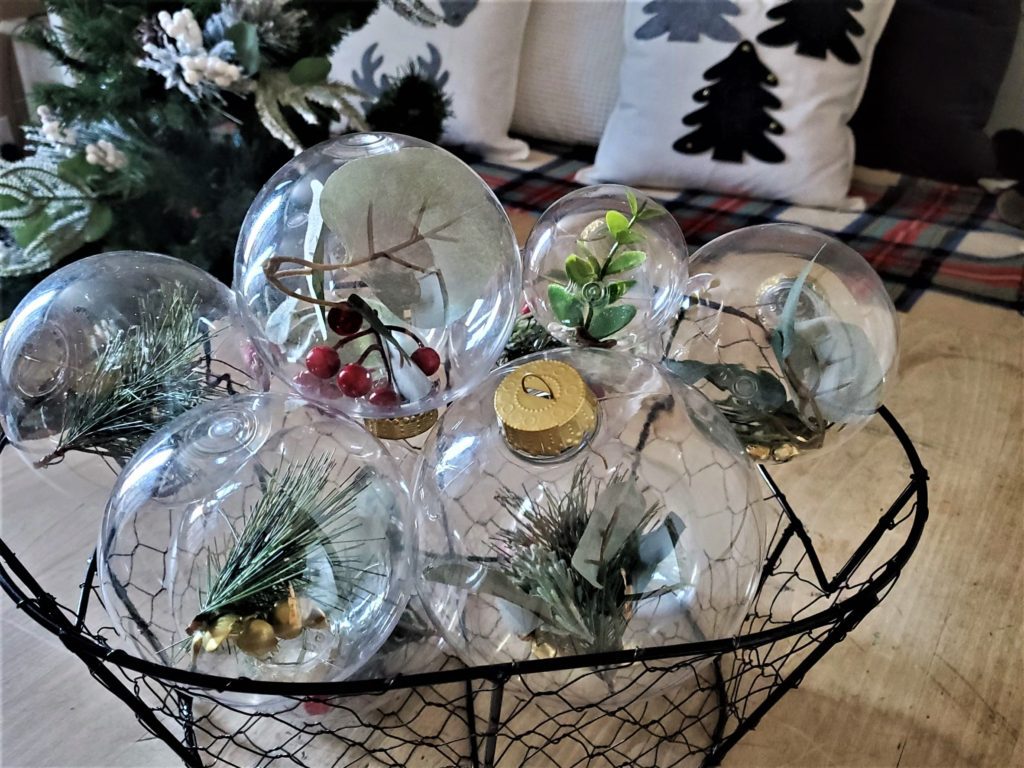
Add your giant ornament bulbs and decorations now. These may be over sized ornaments, giant stars, or ornament clusters.

Add your beautiful, show off ornaments

Place these where they will be seen and appreciated. These are your prized beauties so make sure that they get the attention and real estate they deserve.

Finish it all off with tiny, filler ornaments

Use smaller ornaments to fill any left over spots that need a little lovin’. You want to use these to plug gaps, round out arrangements, and to tuck around the base.

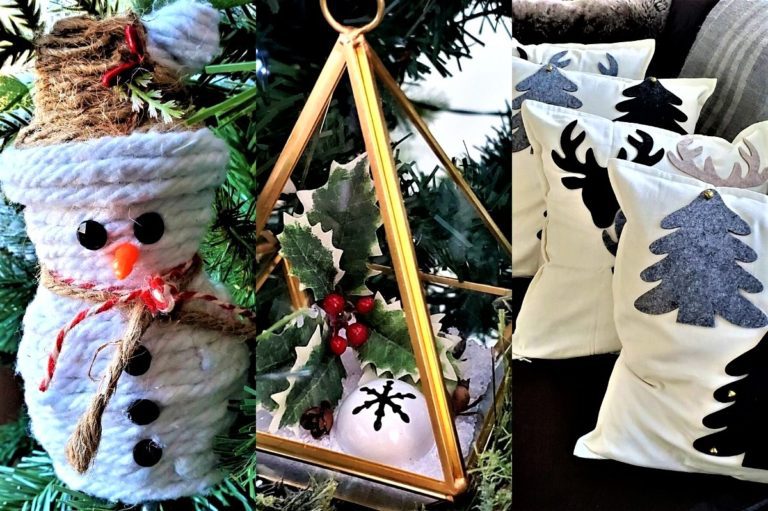
Decorating With Ornaments

We love using Christmas ornaments on our Christmas trees because they’re such a fun way to decorate. Plus, it’s a great way to add a personal touch to your tree. Whether you choose traditional ornaments or something more unique, they’re sure to bring some holiday cheer to your home.

Avoid the mistake of decorating only the surface of the tree. Christmas trees have depth so use this to your decorating advantage. Place ornaments along the branches from the trunk to the front. When you are looking at your finished tree you should see a layered effect with your ornaments and lights.

Yep, ya heard me correctly. Cheap, dollars store Christmas bulbs have their place…. in the inside part of the tree. This is the ideal solution for filling in the inside parts of the branches, nearer the trunk of the Christmas tree. These will add that extra dimension and additional sparkle.

From the super tiny to the huge and showy, decorate with varied ornament sizes for the most visual impact.

Use the oversized Christmas bulbs in both the inside and the surface of the tree. Inside the tree branches they take up a lot of room and add visual depth. Team them up with smaller bulbs for a stunning visual grouping.

For the regular sized ornaments, use these to fill inside the branches and at the surface of the tree. The tiny ornaments are ideal for filling in gaps or try straightening out a long metal ornament hook and use this to string the tiny bulbs through and then tie, in a clump to the tree. So pretty.

Group similar ornaments to create the most visual impact. The ornaments can be all alike or maybe they share a similar theme or colour scheme. Try grouping tiny, regular, and large ornament bulbs together.

Think a outside the box. Skip the typical tinsel garland and instead maybe opt for thick ribbon, felt garland, paper rings, or burlap. Consider using unexpected elements for ornaments. Such as large wicker shapes or giant metallic bells. Create your own recycled ornaments or try hanging actual toys on the tree. Add real elements such as dried oranges or popcorn and cranberries.

Just like in home decor, decorating with ornaments in groups of 3, 5, 7 ,9, 12, 15 looks best. So, whether you are decorating the Christmas tree, setting out candles, or decorating around the home think in uneven numbers.

Step By Step Instructions On How To Decorate Christmas Trees Professionally

Have you ever looked at a professionally decorated Christmas tree and thought, “I wish my tree could look like that”? Well, there’s no need to be jealous- with a little bit of effort, you can achieve the same look in your own home.

Here are some tips on how to decorate Christmas trees so that you can take your tree from amateur to pro.

I like to change up my holiday style each year. I like to match the style to how our family is feeling that year. Some years we feel more festive, bright, and full of colour. Other years we have felt more nostalgic, calm, and simple.

Use this style throughout your decorating from Christmas tree to the home decor and fabrics. Try your best to stay true to the look.

All ornaments have their place. It’s how you decorate with them that matters. In a tip above I recommended that you use cheap decorations. Now, I encourage you to mix it up. You want to place these extra beautiful decorations closer to the surface of the tree. These are the ornaments you want everyone to see.

You want the eye to rest comfortably on your tree. When you decorate willy-nilly, with ornaments placed scattered about your eye has no idea where to look.

By using following a zigzag or triangle pattern the eye can comfortably bounce from one visual treat to another comfortably.

Need. I say more? Don’t hold back when decorating your tree. Hubby is always horrified when he sees the number of decorations I plan on decorating with and then without fail, he is super pleased with the final results.

REMEMBER: Christmas trees are 3D. Use all of the tree space offered. Y

When selecting your ornaments: Work within a theme or style. Try and find cohesive colours, Make sure that you are changing up the textures, sizes, and decorative elements. Make sure that there is nice mix of shiny, matte, and sparkly finishes.

While you are decorating: Don’t be afraid to change things around as you go. If a decoration doesn’t feel or look right, move it to another location. If, once on the tree, an ornament doesn’t look quite right remove it and use it another year. Step back and look. Does anything need to be moved, added, or removed?

The day after: In the daylight, the day after is a good time to take one final look at your finished tree. Fix anything that needs fixing.

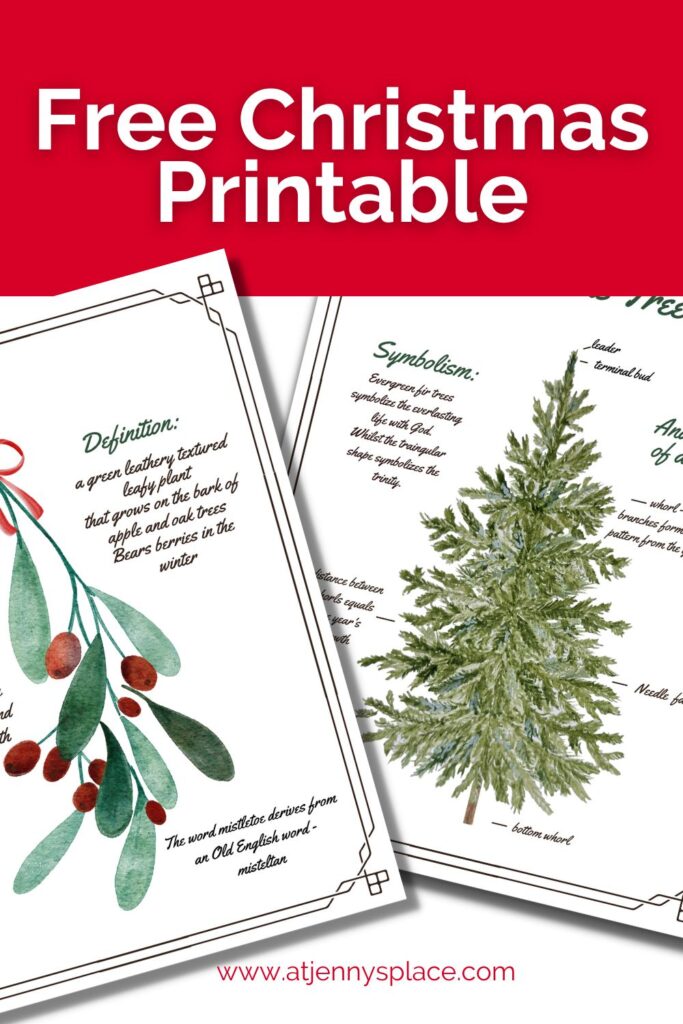
Unwrap Your Holiday Spirit: Grab Your Free Christmas Printable Today!

Ignite your festive spirit with this free Christmas printable! Discover stunning, easy-to-download Christmas images, perfect to add a touch of holiday magic to your home or gifts. Get inspired, click, print, and unwrap the joy of the season today!

Christmas Trees and Considering Colour

Limit the number of colours:

Unless you are going for the nostalgic, kitschy, sentimental look or a bright, full colour, modern, childlike colour scheme – limit the number of colours that you are using in your Christmas decorating. This will ensure a cohesive and high end look.

Now, we all know about the traditional Christmas colour combinations – red, green, and gold or gold, silver, and white and red and white. But there are some gorgeous, out of the box ideas that are guaranteed to wow!

  • Gold, white, and brown
  • Black and white Copper
  • Sea foam green, and ivory
  • Red and Black with a touch of brown
  • Turquoise, red, and black / dark brown
  • Turquoise, white, and burlap
  • Sea foam green, coral, and ivory
  • Hot pink, lime green, and teal
  • Navy blue, magenta, and gold
  • Purple, pink, and teal
  • Yellow, orange, brown, and cream
  • Silver, pink, and champagne gold

Limit the number of metallics:

It can be really tempting to throw as many shiny things at our tree as possible but I encourage restraint. Limiting the number of metallics will provide a perfectly finished, high end look. And will keep things looking classy instead of garish.

Now, that doesn’t mean you have to limit yourself to one metallic. Consider using:
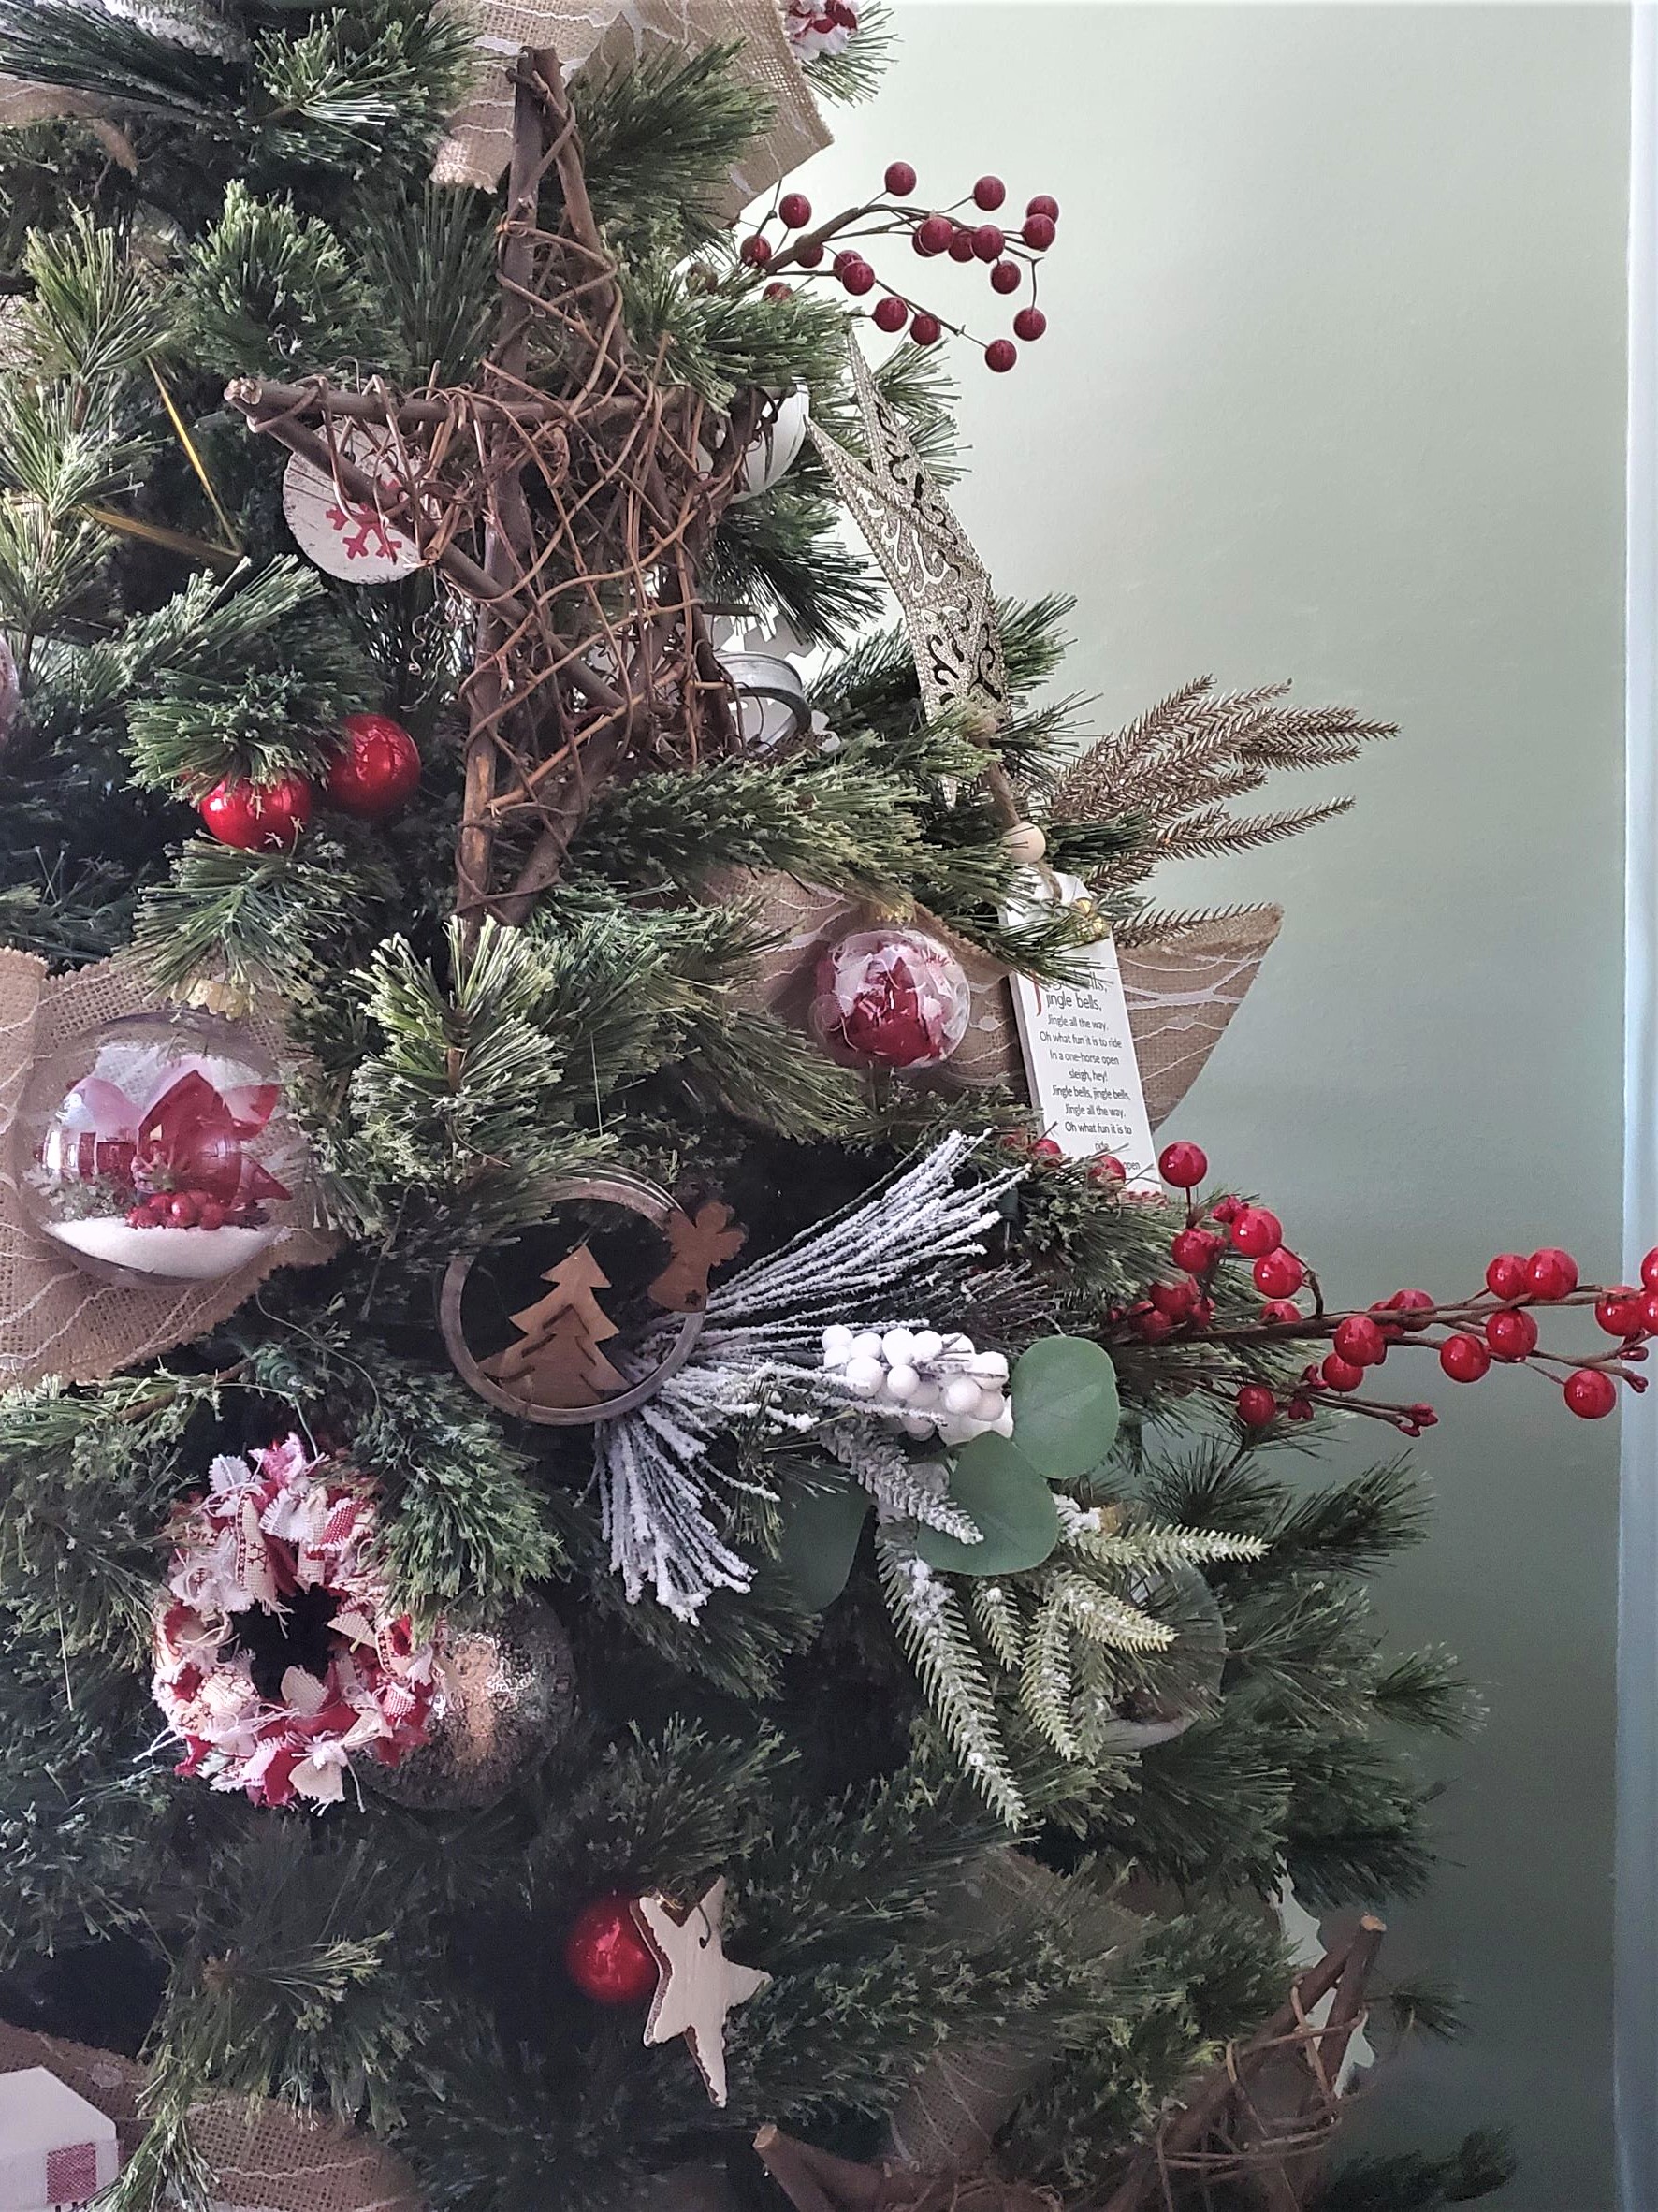
Try keeping the ornaments all in the same finish. So either all shiny or all matte.

This adds a ton of interest and makes it look professionally done in the finished look This is especially important if you are using all of metallic.

Just make sure that they are in the same finish. So either all shiny or all matte. And when doing this stick to one shade of gold.

Because these metallics are a bit close in colour consider mixing finishes. Just try and keep the tones the same.

Add white to any of the metallics so that other colours can be added.

Use picks

Decorating with Christmas tree picks is my favourite decor hack. These beautiful and lush picks just help to fill in the Christmas tree out beautifully, and they are the ideal way to add colour and sparkle. Plus, tree picks make the tree appear fuller and they add wonderful texture. If you go with the sparkly, metallic picks you also add a ton of sparkle to the tree.

Add oversized embellishments:

Using oversized florals, bows, wicker shapes, bells, birds, and ornaments not only takes up space but they also add serious visual impact.

BONUS TIP: Now, before I start telling you not to something let me tell you how to do it.

If you are determined in decorating Christmas trees using all mixed metallics than I say go for it! But consider ONLY using metallics. No other colours allowed. Except maybe a touch of white, ivory, or cream. Mix finishes or keep things all shiny or all matte. And use varying textures and sizes for additional interest.

Back To Basics

When decorating your Christmas tree start at the top of the tree and work your way down. Leaving the star, of course, for last. Work around and around the tree. This goes for the lights, garland, ornaments, and bows.

Ok, this is 100% a personal opinion. I know that there are those of you that love coloured lights on a tree. Hubby loves coloured lights on a tree. I am not a fan.

I think that the lights should be the highlighter not the main event. It’s to add sparkle, shadows, and a gentle glow. White lights, in a steady, non blinking pattern achieves this.

The last thing you want to see on your beautifully decorated tree are the ugly ornament hooks. And, although I will use twine once in a while on my homemade ornaments, I am also not a fan of ribbon hangers.

Best ways to hang ornaments:
  1. Use green ornament hooks so that they blend in with the tree and you won’t notice them as much.
  2. Use white or silver ornament hooks if you are decorating a white tree.
  3. Embrace the ornament hook and go with ornate and beautiful hooks that you will be proud to show off.
  • Use reflective ornaments
  • A mixture of mini lights and larger sized white lights will create the illusion of fullness
  • Can’t say this enough: decorate inside the tree to create visual depth
  • When adding the lights make sure that you remember a tree is 3D! (Last time I promise)
  • Adding bushy and flocked pine picks will make the tree appear fuller and add texture
  • Use sparkly adornments and picks
  • Stick to a limited 2-3 colour pallet

A Christmas Tree Finishing Touches

Hubby and I had real Christmas trees for many, many years but just recently we switched to faux. I love the flexibility of the wire branches but I really miss the smell.

To fix this, turn to diffusers and pine tree scented oils. Layer this will scented candles, lamp oils, oil sticks, and stove top potpourri.

In this tip I can’t say I practice what I preach. I have yet to find the perfect tree topper and it is the one DIY project that I haven’t yet attempted. I will one day but for now we are using cheap, non exciting, cheap Dollarama toppers.

You can’t go wrong with fabulous tree topper that you are proud to show off. To achieve this I recommend that you buy or create a gorgeous and festive tree topper that you will love for years to come.

The perfect tree skirt brings the whole thing together. They can be really expensive so look for a good sale or consider making your own.

Bonus Tip!

I love a well planned out Christmas tree. But this can mean that some of the wonderful sentimental ornaments our family has received over the years don’t fit into the decor style. So we have a 5ft, faux tree that I put in the family room each year. I decorate this tree with all our sentimental and colourful ornaments. Win,win!

Jenny’s Finishing Thoughts on Decorating Christmas Trees

Every night for the month of December hubby and I cuddle up on the couch and marvel at our beautiful Christmas tree. In that moment we feel so peaceful and blessed. We talk about what we love about this year’s tree and what we cherished from years past. It’s a lovely tradition that reminds us to slow down and to appreciate the true meaning of Christmas.

I truly hope that At Jenny’s Place step by step instructions on how to decorate Christmas trees gave you the confidence needed to heighten your decorating skills and to elevate your Christmas tree decorating.

Which Christmas theme and Christmas colour scheme is your favourite? Share in the comments below.

Did you find this post helpful or inspirational? Save This Pin to your Christmas Decor board on Pinterest

If you liked this post you may also enjoy:

8 Easy Dollarama Christmas Ornaments And Decor

7 Sensational Xmas Decorations Using Recycled Materials

25 Unexpected Dollar Tree Craft Supplies For A DIY Christmas

5 Easy DIY Christmas Tree Ornaments

Similar Posts