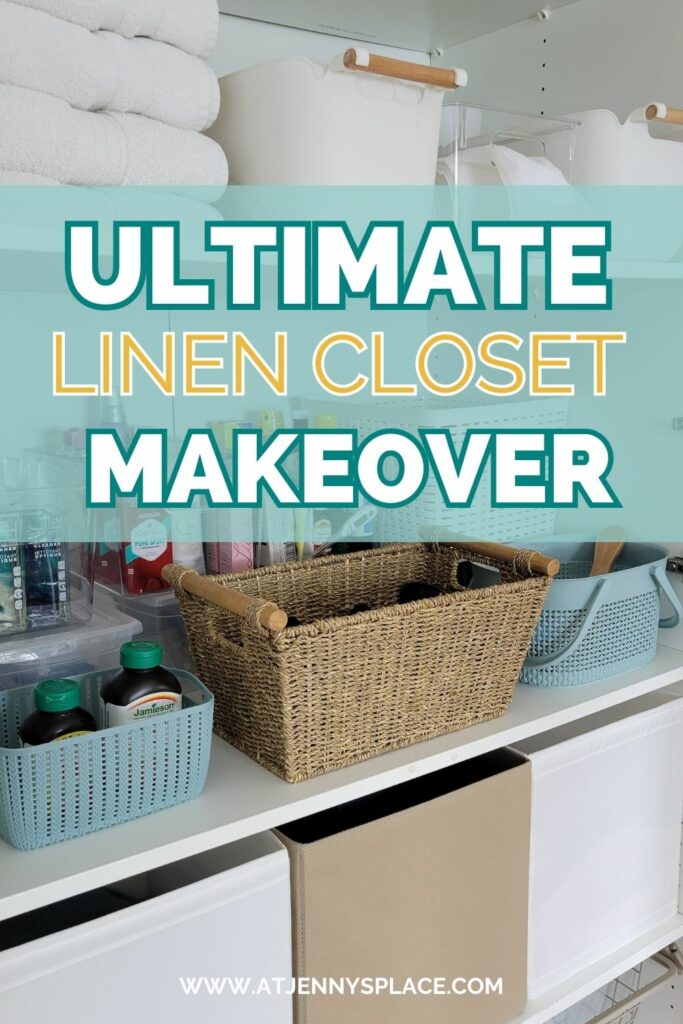
DIY Linen Closet Makeover Budget Friendly
Find out everything you need to know to DIY linen closet and take it from disorganized to perfectly organized and all on a budget!
The Monica
There are few things in this world more exasperating than a cluttered linen closet. You’ve been there. You’re dripping wet, you need a towel quickly, you open the linen closet door and an avalanche of unfolded sheets falls on you head.
A disorganized linen closet can be frustrating and it can make it almost impossible to find what you’re looking for. Just recently I myself, faced such a beast. Our linen closet hadn’t always been a gigantic mess.
Not that long ago I had it all neat and organized but the problem was I seemed to be the only one keeping it that way. So I had what I thought was a stroke of genius and I decided to reorganize the closet to fit my family’s impulse to just chuck things in. I took out all my lidded bins and replaced these with big, white plastic bins with no lids.
This worked for a short while but soon it all fell apart again. You see, there were two big problems with this new system:
1- I hated this organizational approach and
2- The linen closet soon fell into disarray because chucking things in does not an organized system make
Well, the time has finally come to claim back the linen closet. Today we tackle this monstrous task and whip it back into shape Jenny style. And if you join me, with a little bit of time and effort, we can easily transform our spaces into an organized …Utopia! (Do you hear angels singing too?)
Attic Craft Room Organizing Tips You Need
Linen Closet 101
There are some basic things that you can do to get your linen closet organized and then keep it that way. To get you started, here are some quick tips:
- Keep only things that you actually use.
- Make it pretty by using attractive bins, adding texture, working with pretty colours, and keeping things cohesive.
- Label the containers with pretty labels. You could use your Cricut machine, letter stickers from Dollar Tree, or hand write on blank sticker paper labels.
- Place things that you use the most often in the most convenient places. The things you use less often should go up high or down low.
- Mix up bins with no lids with bins with lids. If you use it all the time go lidless to make things easier. If it’s something you use only on occasion or seasonally then give it a lid.
- Get into the habit of doing a quick declutter and reorganize once a month to keep things tidy.
By following these five simple steps your linen closet will get organized and stay that way. And if you’re interested in tackling a closet yourself, this complete guide on getting your linen closet beautifully organized is one you sure won’t want to miss.
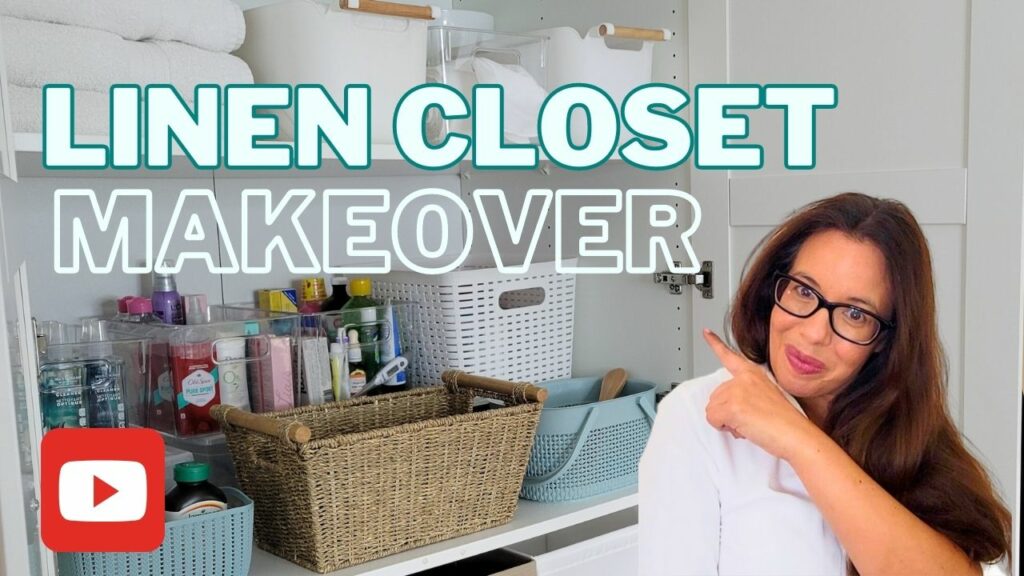
Watch the video where I show you exactly how I organized the linen closet.
My Linen Closet Makeover
Is your linen closet a mess? Then it’s time for a makeover. Luckily, with just little time and and a bit of effort, you can easily transform your closet into one worthy of Pinterest.
Come with me as we take this linen closet from Yikes to Wowza! and all on a budget.
Step 1: The Purge
I decided to start at the top of the linen closet and work my down. The top shelf housed the toilet paper, Kleenex, and a black cloth bin with all of the swim suits and beach towels. There were also a bunch of old photo albums which did not belong up there. These would need to be rehoused elsewhere.
The second shelf was stuffed full. It held the second floor bathroom towels, a basket of mismatched socks, garbage bags and hidden way in the back was a ton of travel toiletry bags.
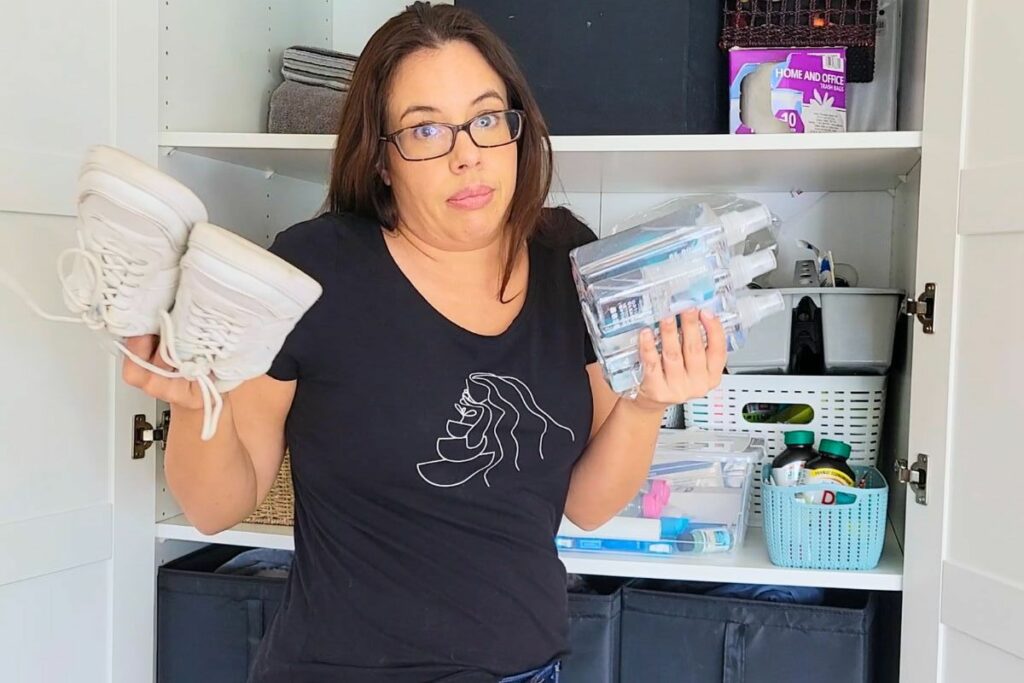
The third shelf was by far the biggest mess. It was stuffed full with plastic bins, medications, toiletries, feminine hygiene products, beauty products, unused face masks, a pair of shoes, makeup, a shoe cleaning kit and so much more.
Thankfully, the fourth shelf housed only 3 black, cloth bins that were stuffed full with sheets and throw pillow cases. And the fifth and sixth shelves held next to nothing.
Step 2: Out of Sorts
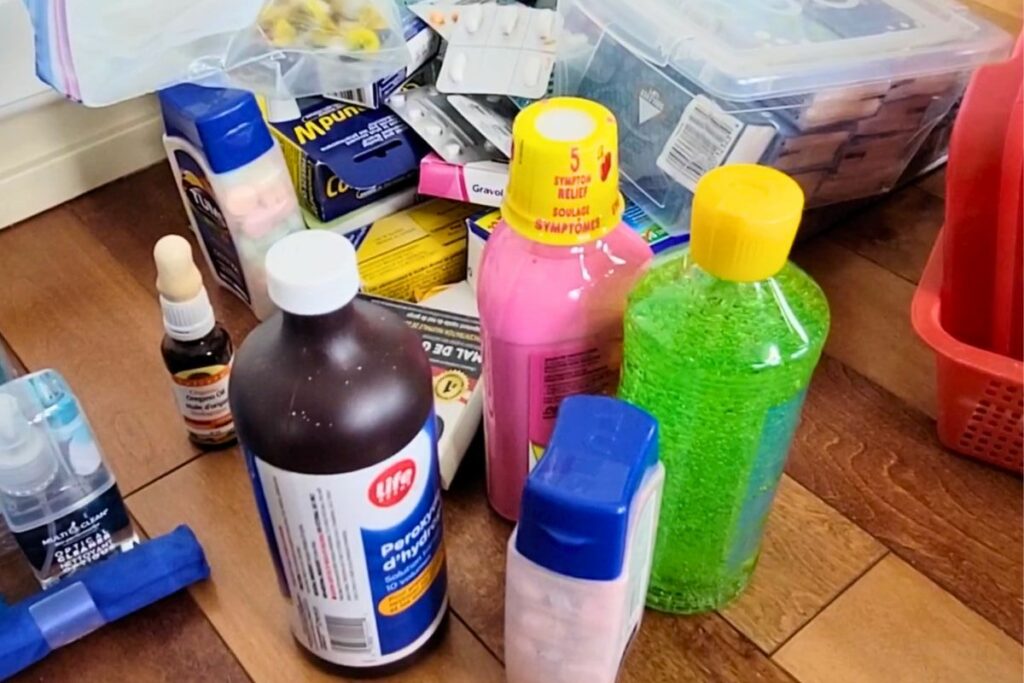
To the blaring lyrics of La Vie En Rose, I pulled things out of the linen closet one by one and tossed them into 1 of 3 bins. Each item was placed into a bin that was labeled with either KEEP, TOSS, or DONATE.
I made these decisions quickly. I wasn’t there to inspect each item carefully. If the item hadn’t been used in a year – tossed. If the expiration date had passed – tossed. Anything that was broken, stained, or ripped – tossed. This was not the time to be sentimental.
As the bins filled up and the closet emptied, I swear I heard it groan with relief.
PRO TIP: I also like to have a 4th smaller bin labeled MEDS. This is for those expired medications that need to be brought back to the pharmacist so that they can be properly disposed of.
Step 3: The Item Buddy System
Once everything had been pulled out and sorted into bins, I took out the toss pile and threw the contents away. I then placed all of the donate items into large plastic bags and carried those to the trunk of my car.
It was time to tackle the keepers. Each item was placed into a pile depending on it’s likeness. Basically, hair products went with hair products. Linens went with linens. All of the beauty products were gathered together as were the medications. You get the idea.
PRO TIP: Take that bag of donations to your car immediately and then get them to the thrift store asap. If you procrastinate those bags will end up hanging around like a bad penny.
Step 4: Bin It
Now that I knew what needed to be stored I could figure out how to best store them. I need to take into consideration the height of the objects, any spillage issues they may pose, how often they were used, how accessible they would need to be, and where they would fit in the closet best.
Most of the bins I found at Dollarama. That being said, almost all of these can also be found at Dollar Tree. They are not fancy bins. I used:
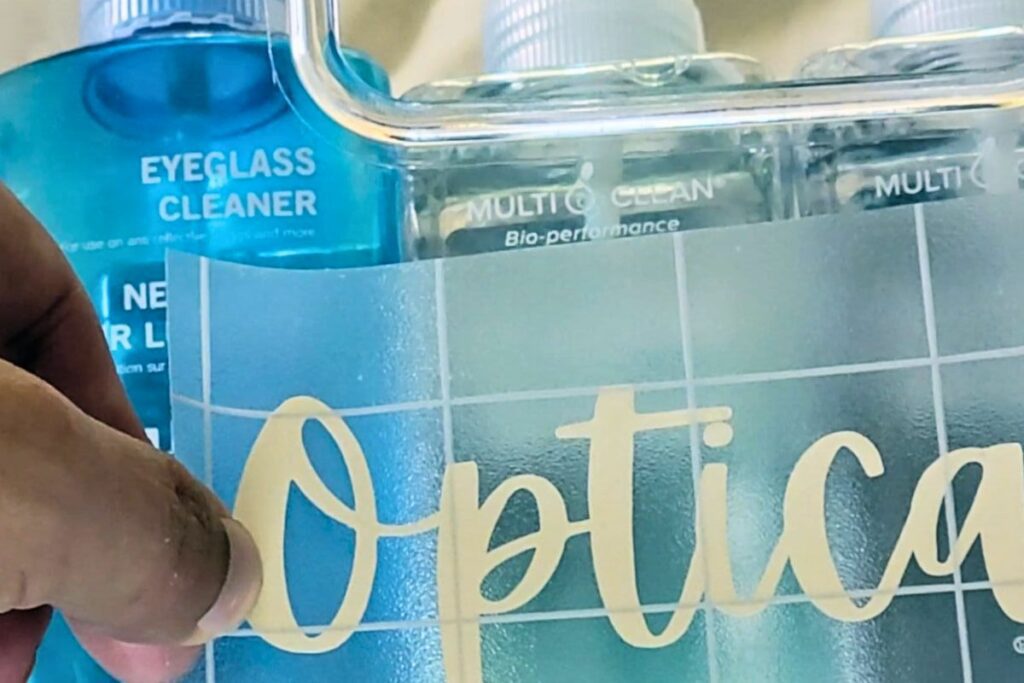
- Clear bins with handles were used to organize all the over the counter medications, beauty supplies, and eye glass cleaner.
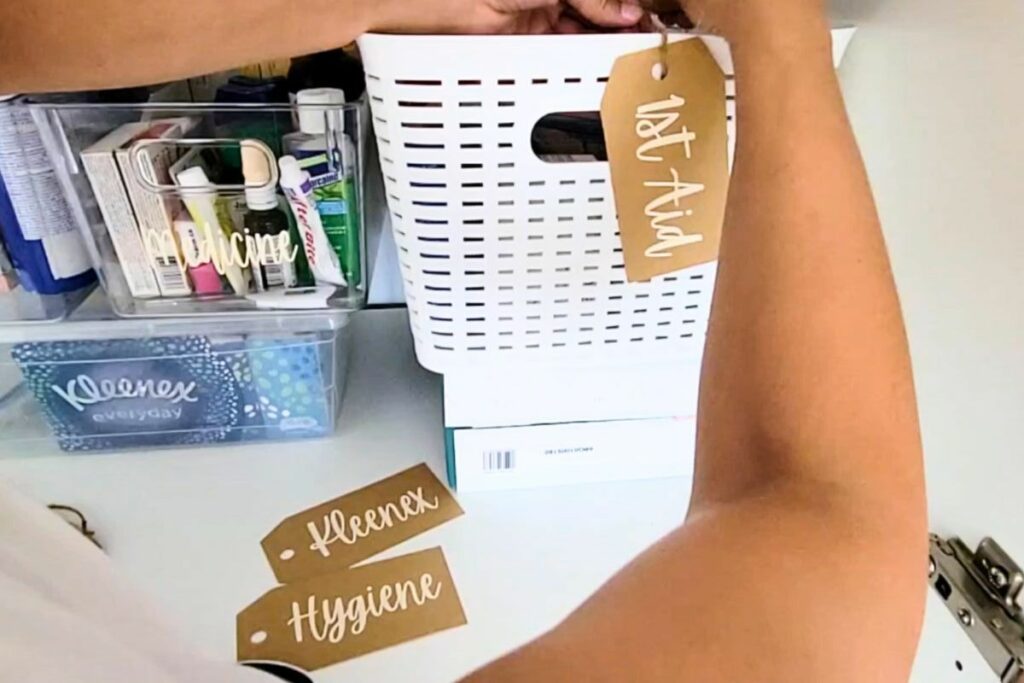
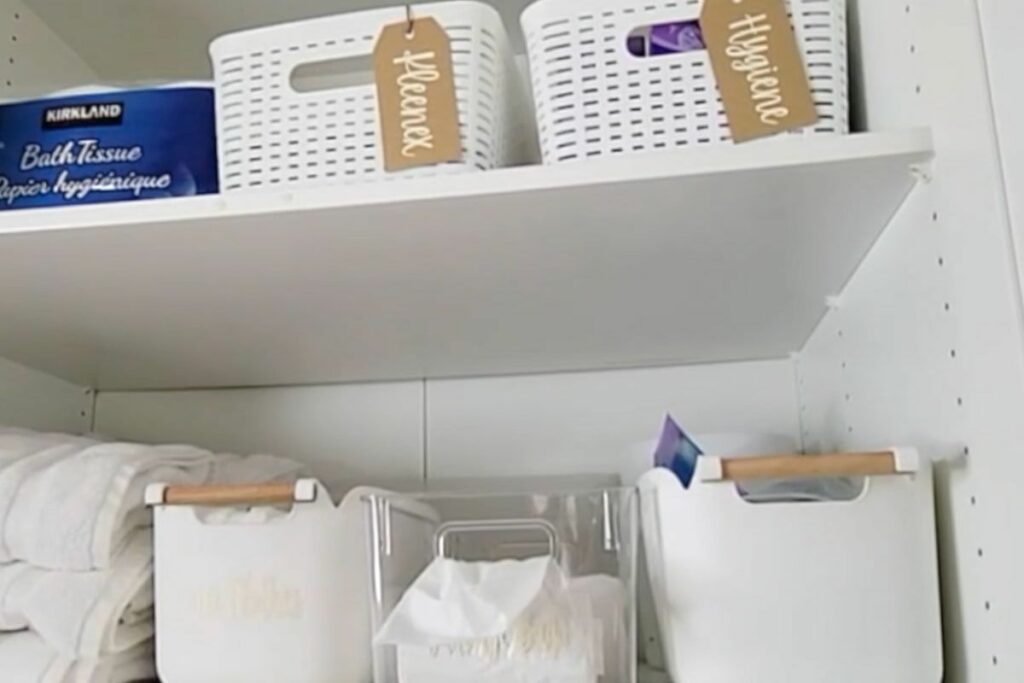
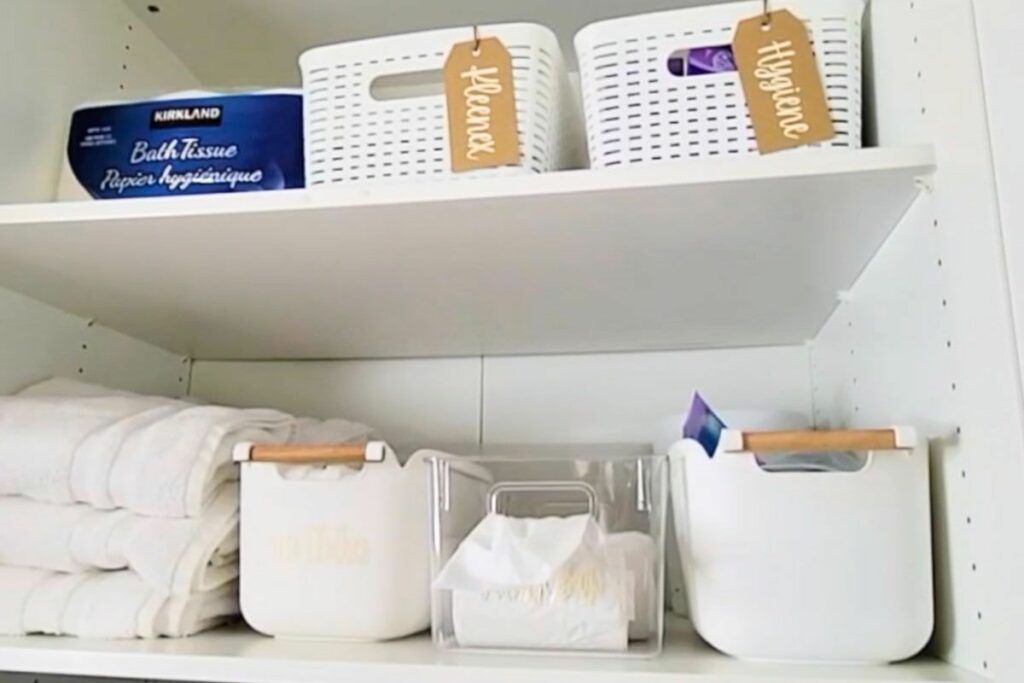
- White plastic baskets were used to store Kleenex, feminine hygiene products, and our absurd collection of bandaids. A shallow one was used for hot water bottles.
- Clear bins with lids were used to store all the dental supplies, extra travel supplies, cold/flu paraphernalia, and
- Small clear containers with snap on lids were used to store smaller objects like dental floss and individually wrapped disinfectant wipes. This way they can be placed in larger bins and they won’t get lost.
- White bins with wooden handles were used to store face clothes and makeup sponges. I found these bins at Dollarama. I haven’t seen them at Dollar Tree.
- A wicker basket was chosen to hold all of those mateless socks that always seem to come out of my dryer.
STYLE TIP: Repeating elements helps make everything look cohesive. The sock wicker basket has round, wooden handles. The white plastic bins that I got for the face clothes also have this style of handle. So, they work perfectly together.
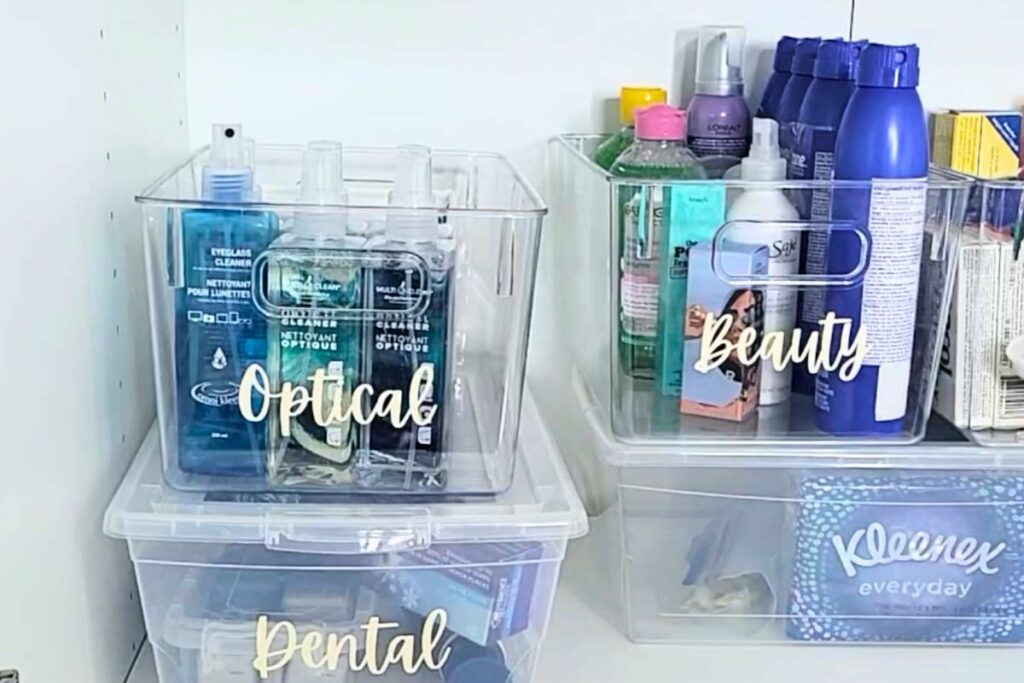
Step 5: Labels Are A Girl‘s Best Friend
The easiest way to keep any DIY linen closet organized is to label the crap out of it. Seriously, you can’t have too many labels in this space. Labels help take the guess work out of putting things back. Plus, they lessen the number of times hubby or kids ask you to find something for them. Win-win!
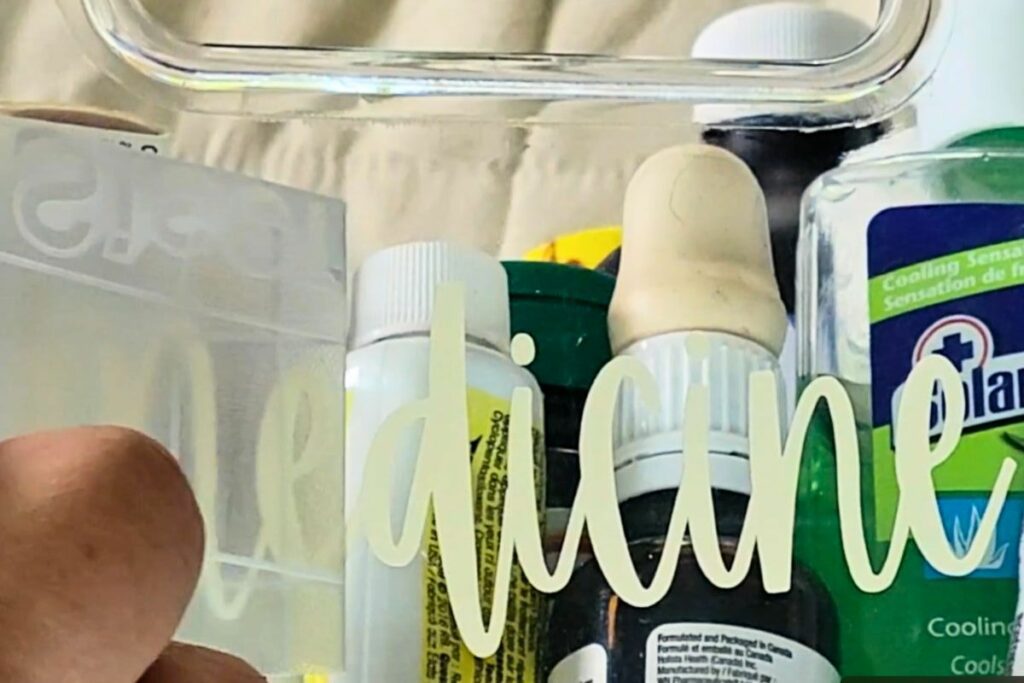
I like to use a combination of labels made from a label maker and pretty labels made with my Cricut. For the bins that had a textured front I cut out Kraft paper card stock and then using the Cricut cut out and added fancy labels. For the bins with smooth fronts, I simply added labels cut out with the Cricut.
Free Printable Labels!
Are you tired of rummaging through heaps of sheets and towels to find what you need? Use these FREE labels to revolutionize your linen closet organization. Download my stylish, easy-to-read, printable linen closet labels!
Your linen closet, and your peace of mind, just got a major upgrade.
(Print and use as is or convert into an SVG file to use in your Cricut machine)
Step 6: Everything Gets a Home
Finally, now that everything was sorted, labeled, and given a home it was time to put it all back. Since I had already taken the time to plan things out this step took no time at all. Everything had a place. There was even room left over in case more storage space was needed in the future.
Et Voila! A DIY linen closet that is as beautiful as it is practical. But don’t take my word for it. Take a closer look.
Take A Peak Inside
She sure is a beauty, ain’t she?
Now that the job is complete and everything is organized and labeled, let’s take a closer look at each piece of this newly organized linen closet. We’ll go over why this works and how you too can make these ideas work in your own space.
Linens Be Lovin’ It
When putting away linens there are a few things that I like to do to keep things neat and tidy. I always fold the fitted sheet and pillow cases into the top sheet so that it makes a neat little bundle. Plus, when I go to make the bed everything is there, ready to go.
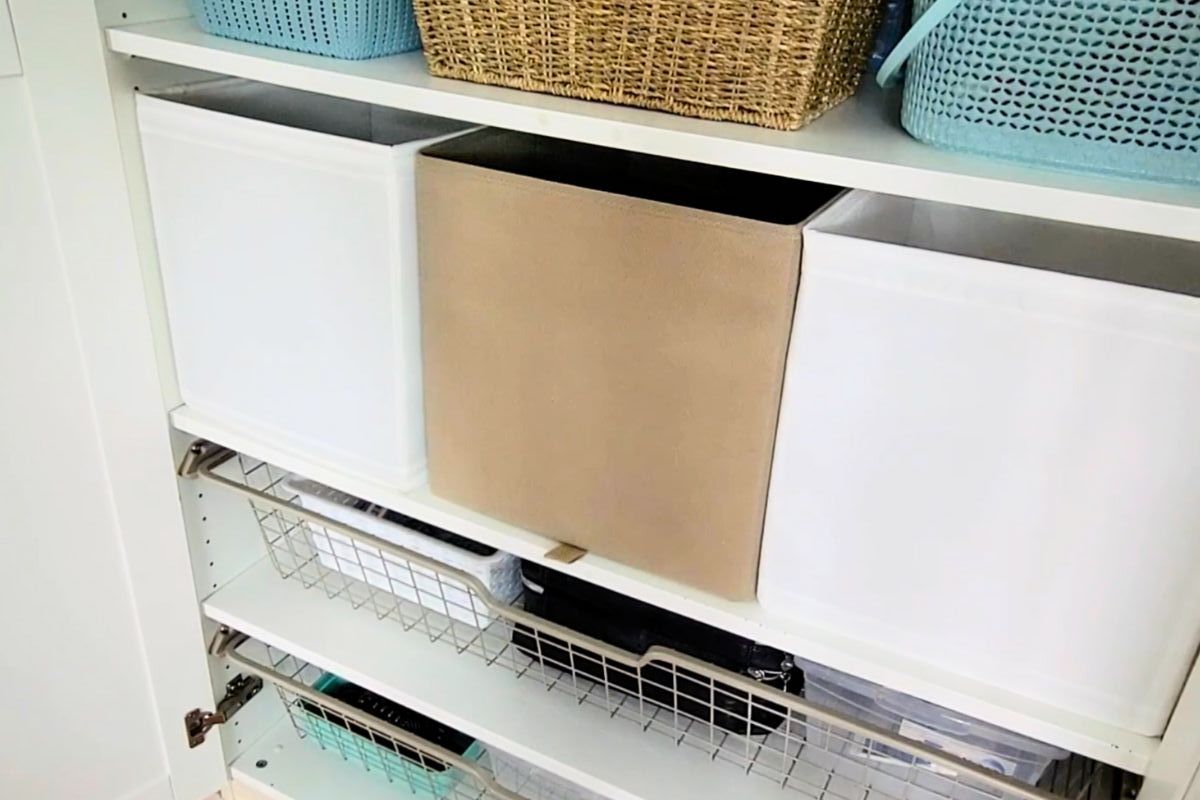
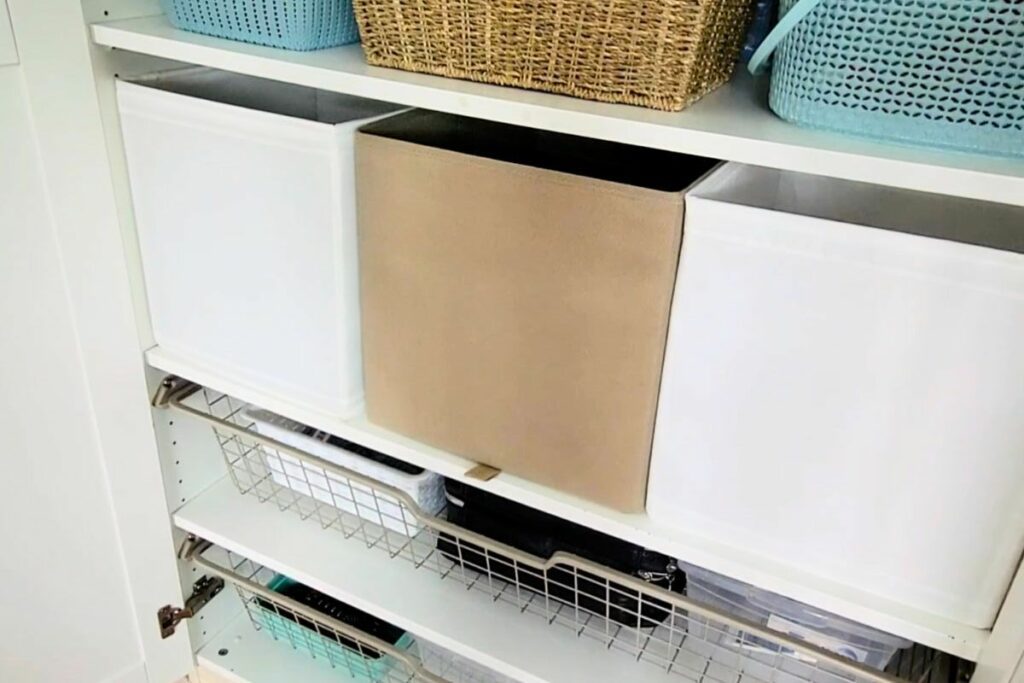
I also don’t like to see sheets all piled up. No matter how carefully you fold and arrange your sheets, when they are sitting there piled up on a shelf I think that they just look messy. Inexpensive Ikea bins do the trick. They also make it easy to separate everyone’s sheets so that when it’s time to make the bed everyone knows which bin is theirs.
PRO TIP: A satchel of dried lavender or bars of lavender soap will keep your linens smelling fresh and beautiful. Plus, the scent will help lull you off to sleep.
Paper Placement
Toilet paper, feminine products, and Kleenex all need a home. I don’t know about you but I buy our paper supplies from Costco and so there is always a generous stash in the linen closet. All of those colourful boxes can begin to look a bit busy. Corralling them in matching white bins helps to keep the look clean.
NOTE: I left the toilet paper out because I noticed that the dark blue colour was repeated throughout the closet. However, I am on the hunt for a wicker basket that will match the colour of the other wicker basket for when I want to tuck those rolls away.
Organizing the Medication
A clear bin was used to keep all the medications, vitamins, and the like together. I went with a lidless bin so that taller bottles would still fit. These bins could also be stacked on top of those bins that did have lids. Then a label was placed on the front so that it was easily identifiable.
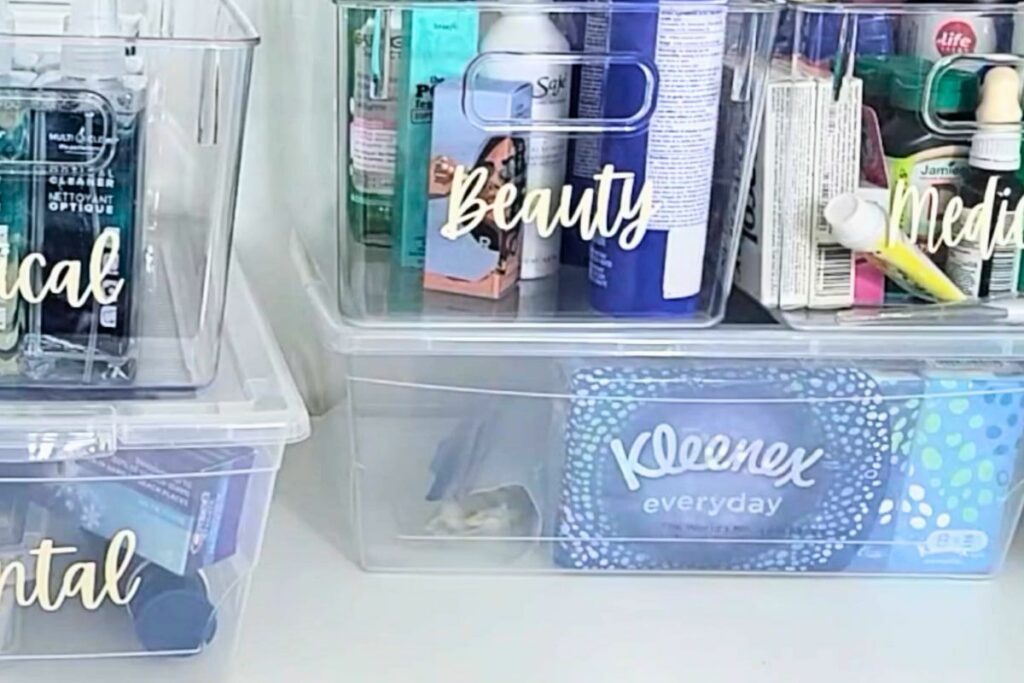
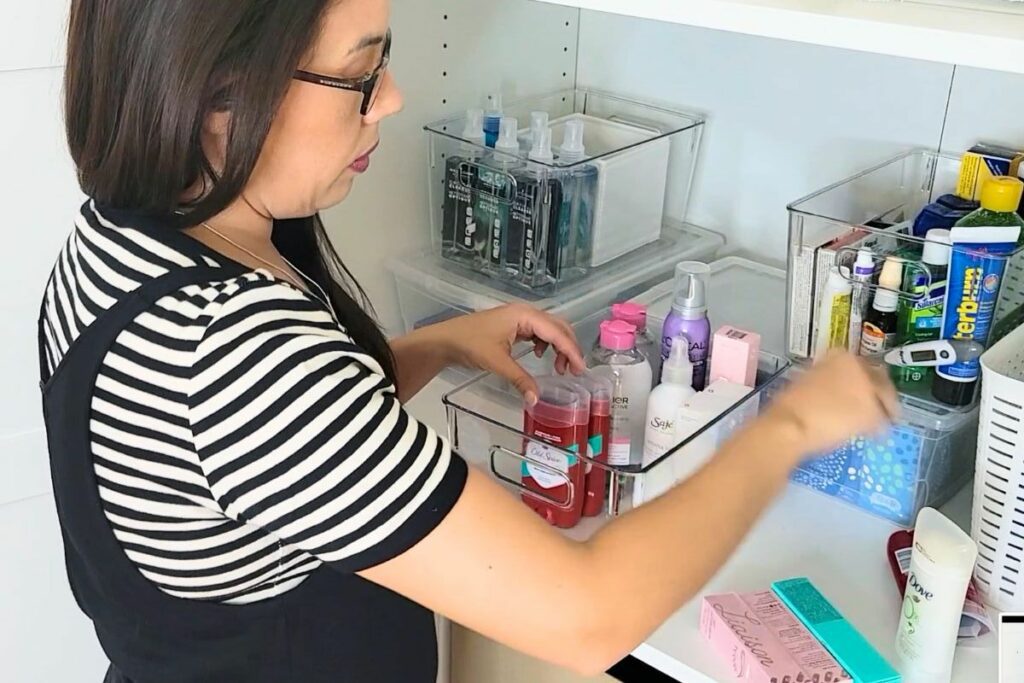
Ain’t She A Beauty: Beauty Products
I love me my beauty products. I also tend to buy a few at a time. So it was important to have a place that would keep it all together. Like the medication bin, a lidless bin was also used for this. Again, it makes it easy to store those products that are taller and it can be stacked.
Fitting in the Odd & Ends
There are a few things that either don’t fit in with the rest of the item categories, are an odd shape, or come in an ugly box and like everything else they need a stylish home. Here are some of my ideas:
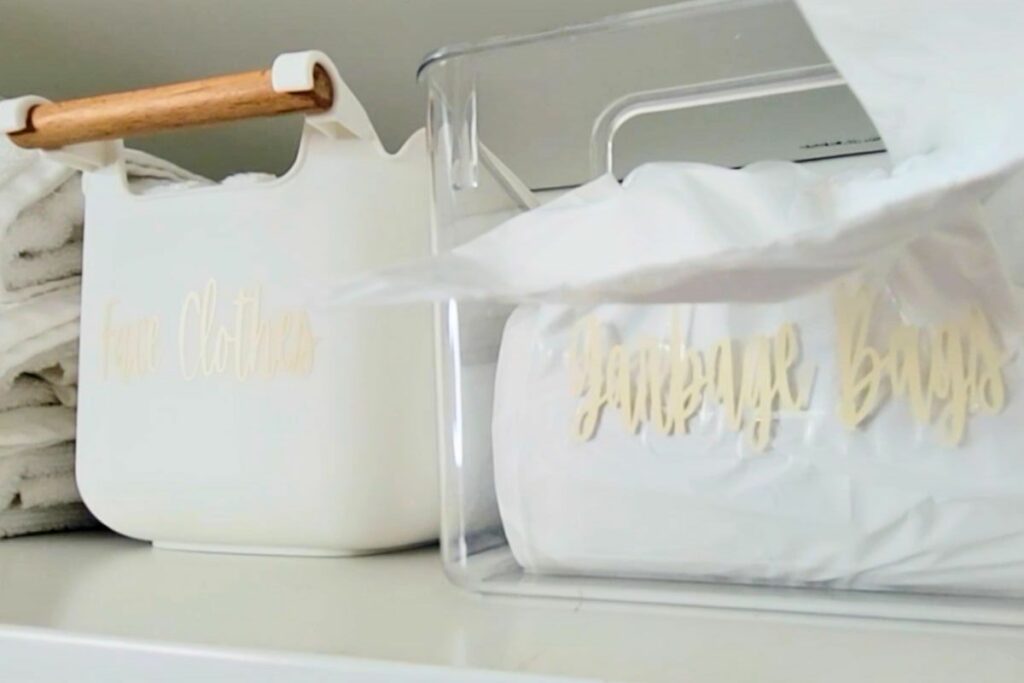
- Garbage bags: Ours comes in a big, ugly, purple box. So instead I pop them into a clear bin with a front handle. Slide the end of the bags through the handle, label it with fancy writing, and you have yourself a stylish garbage bag dispenser.
- Puke bucket: It’s gross. So have fun with it. I went with a white plastic garbage bin from DollarTree. A fun label on the front goes a long way. Then simply tuck it into the back of the closet.
- Water bottles: Are often long and flat. A shallow bin, placed in a bottom drawer is the perfect way to store these.
PRO TIP: Put those things that you will use often within reach. The things that you seldom or infrequently use should either go at the very top or the bottom portion of the closet.
Jenny’s Finishing Thoughts On This DIY Linen Closet Makeover
A perfectly organized and aesthetically pleasing linen closet can be a huge time-saver and will help make your home look neat and inviting. With some regular cleaning and a smart organizational system, you can make sure your linen closet remains tidy and you can easily find items when you’re looking for them.
Tell me, do you have a Monica closet that is in desperate need of a stylish makeover? And how long have you been putting it off? Let me know in the comments below.
Did you find this post helpful or inspirational? Save This Pin to your Closet Organization board on Pinterest.