DIY Mini Tree Stand
Make this one of a kind DIY mini tree stand for your tiny Christmas trees. You’ll love this rustic touch.
Where It All Began
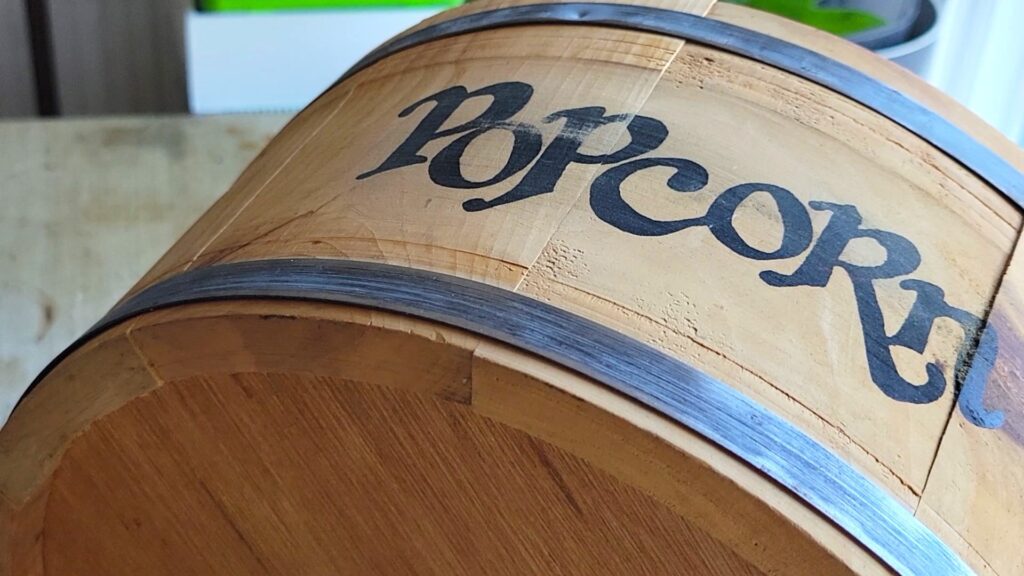
This little beauty was found at my local thrift shop. It sat among wooden cutting boards and decorative bric-a-brac. The words POPCORN painted in black stood out against the light, unfinished wood. Instantly I could see what it was meant to be.
The price tag of $5.99 seemed reasonable. Especially since I was sporting a 20% off coupon from my last donation. The rest of the items needed were already sitting in my studio at home. This DIY was going to be cheap but perfect.
Why DIY Is The Way To Go
Here’s the thing. Christmas tree collars for mini trees can be hard to find and they can cost any where between $50 – $100+! Which is insanely expensive, in my opinion. So what’s a DIYer to do?
Ya guessed it. Make your own. And what better place to find materials to convert into a tree collar than the thrift store? There you can find all kind of treasures that can be made into tree collars or tree skirts. With just a little bit of out of box thinking and some basic DIY materials you can easily create a one of a kind bases for your holiday tree.
How To DIY Mini Tree Stand
You see, each year our big main Christmas tree gets a whole new look. I love to fit the theme and colour to my mood. One year it might be bright and cheerful coloured another year it could be rustic and homemade decor.
But then what do you do with your sentimental ornaments, you ask? That’s where our little white Christmas tree comes in. This one is placed in the den and is then lovingly decorated with all the ornaments that mean something but don’t fit into that year’s theme. The white of the tree let’s the ornaments really pop.
However, I could never really find a great base for it. Until now….
Prepping
I started by removing the price stickers on in it. Then I gave the whole thing a wipe down with wood cleaner. Next, it got a really good sanding to remove as much of the POPCORN wording as possible.
Wax On/Wax Off
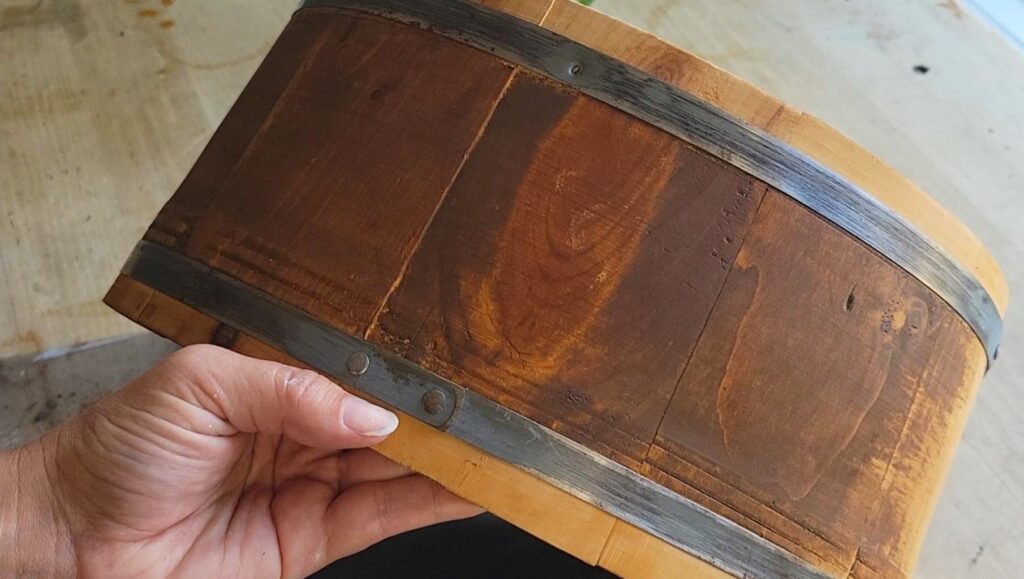
This was followed by a coat of ArtMinds Antiquing Wax which was applied generously and then the excess was wiped away with a dry paper towel so that the grain popped. Make sure that you do the top as well.
Now, if you wanted you could stop here. The dark rustic look of the wood against the metal bars is appealing but since I was pairing this with a white Christmas tree I decided to take things a step further.
Let’s Get Painty
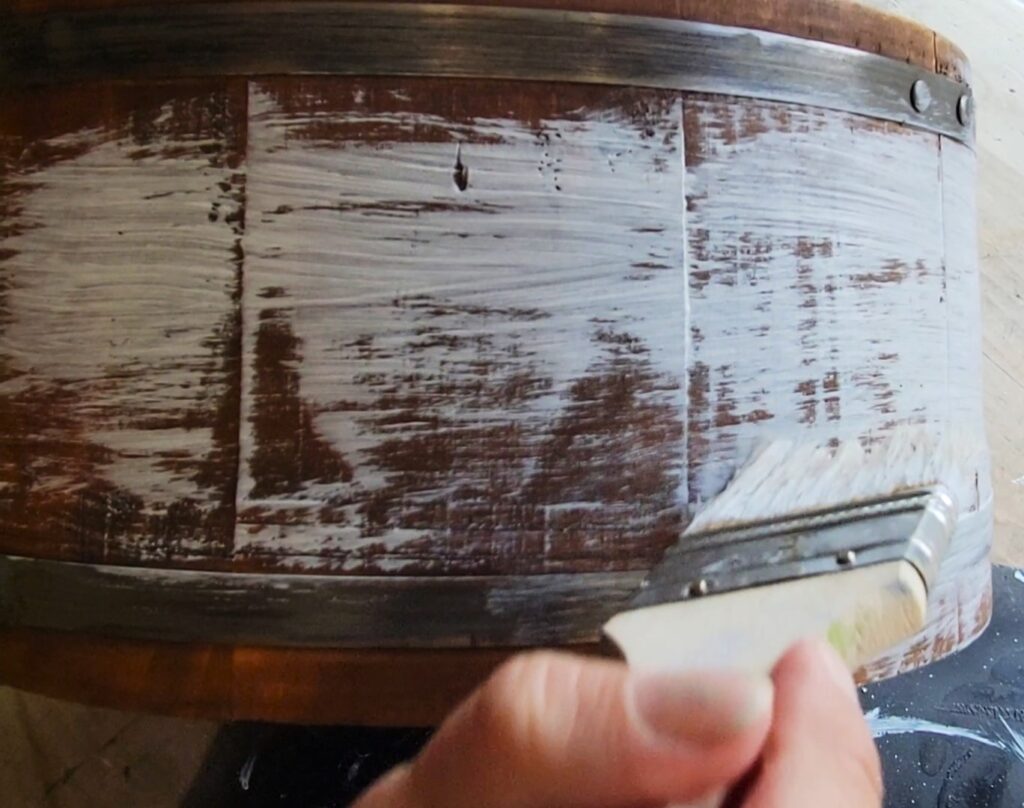
Using a chippy brush and some white chalk paint I applied two coats. In some areas the paint went on heavier. In others, a lighter hand was applied. If some of the white chalk paint went onto the metal, it was simply wiped away. If some was left on the metal that was fine. It added to the overall worn look.
It’s A Cut
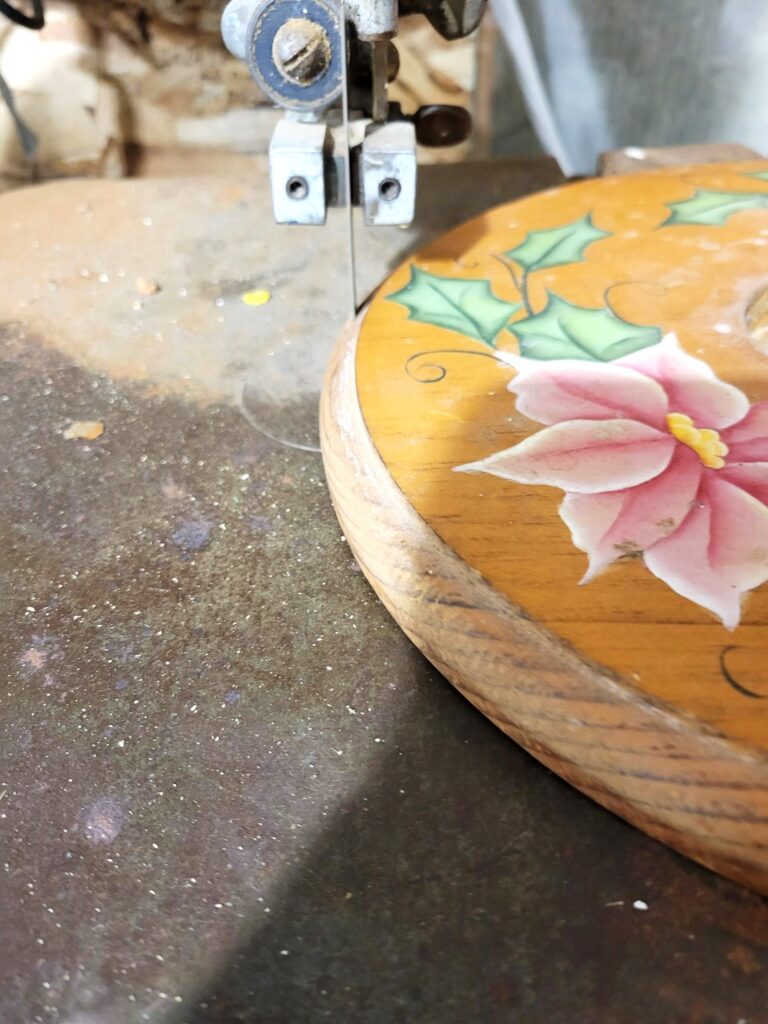
Now for this step I really lucked out. A couple of years ago, while thrifting I came across a tacky, wood candle holder. I bought it even though I didn’t have a plan for it and unceremoniously dumped it into my wood pile. And there it sat until I realized it would make the perfect base for the collar.
You see, the crate was too small for the tree stand legs to fit inside. A new way for making the tree stand upright had to be found and this was it! The top side had the part that holds the candle and this was the perfect size for the trunk to fit into.
I headed to the work shop. Using the band saw I cut away the edges of the candle stand so that it would fit perfectly, nestled inside the wooden tub.
NOTE: (Since you likely won’t have the same candle holder to achieve the same look just use a wood round cut to size. Take a wood block 3″ wide x 3″long. With a drill bit drill a large hole into it. Using a nail gun and wood glue attach the block to the wood round. This is how your tree “truck” will stand up.
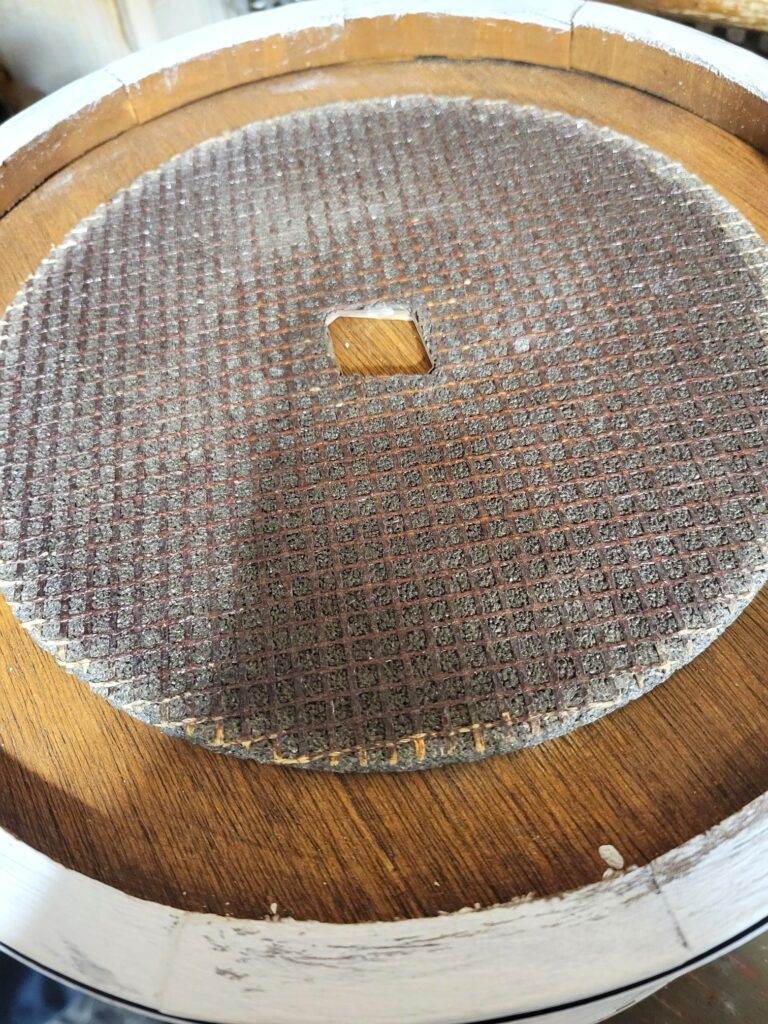
Finding Middle
Flip the wooden barrel upside down. The bottom of the barrel will now be the top side of the collar. Using an old circular saw blade I found the exact center of the wood round and marked it.
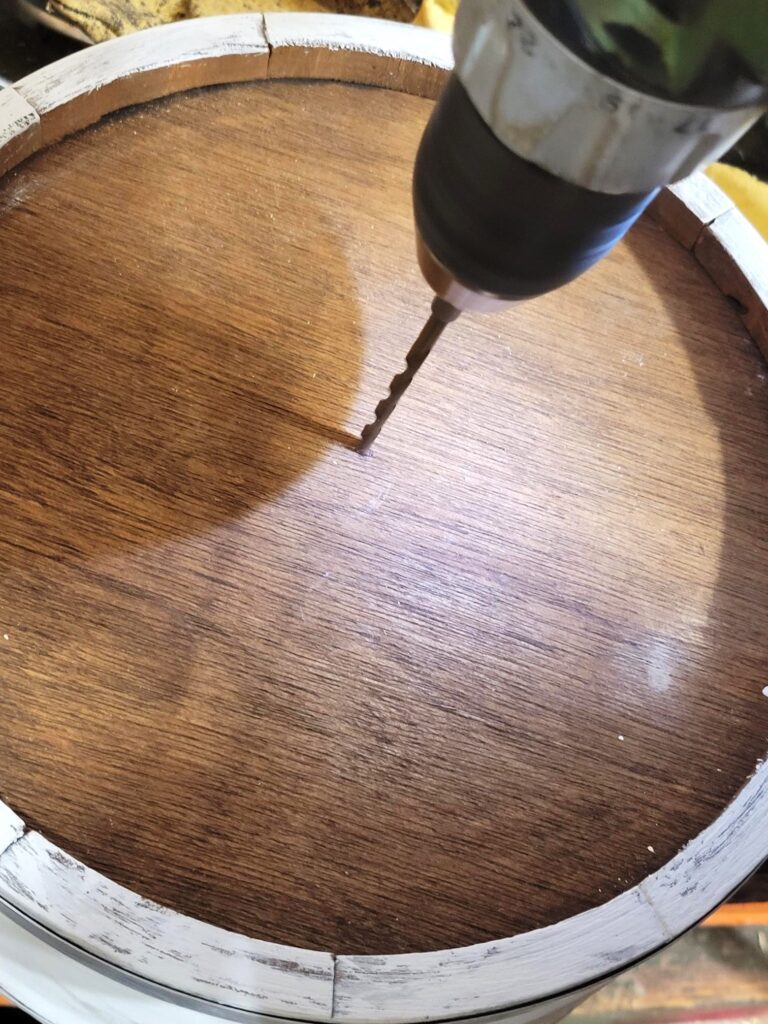
Drilling Down
Then using the drill, a starter hole was formed. This is just so that I knew where to place the drill bit when the larger hole is formed.
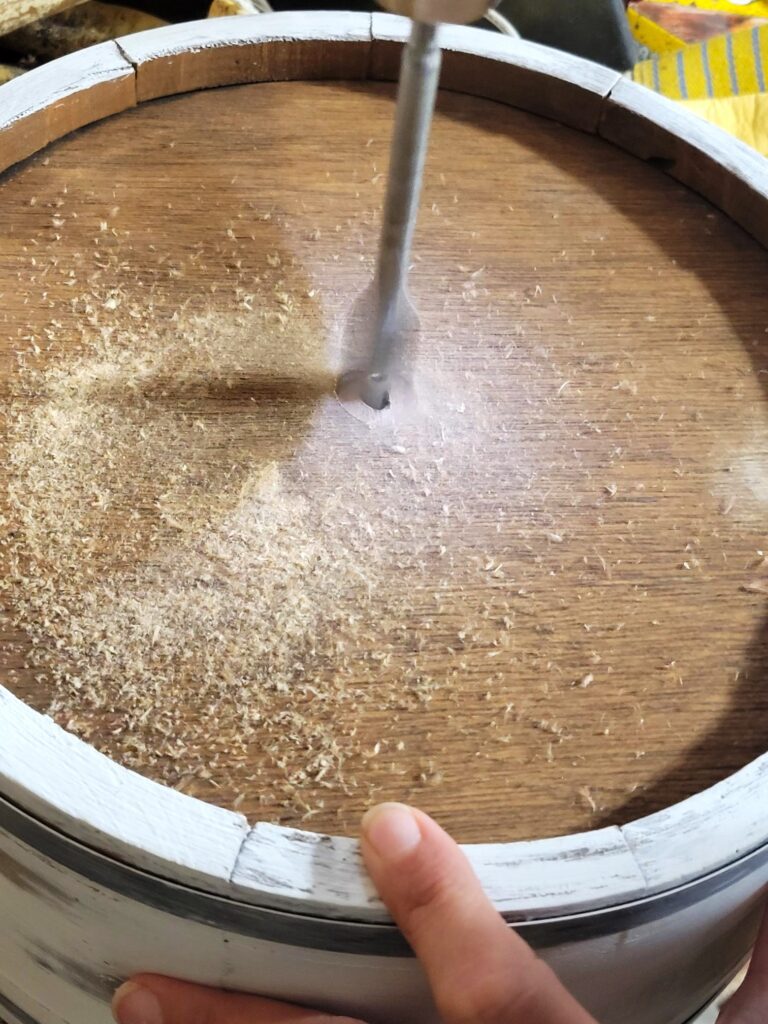
It’s A Hole Lot Bigger
Measure the trunk part of your tree and then drill a hole that is slightly bigger. (Again, the bottom has now become the top. That’s why it was stained too.) This plus the holder underneath will keep the tree sturdy and standing straight.
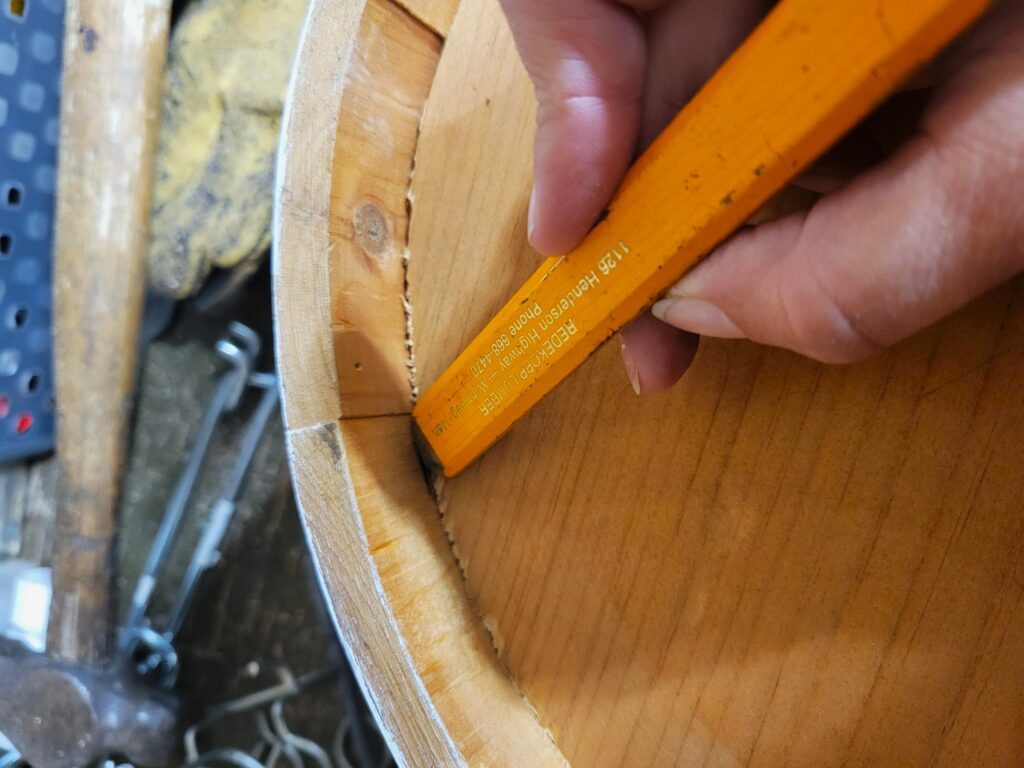
Making A Mark
Next, the wood round was placed inside the wood tub. This is to be the new bottom. It should go in about an inch deep. Using a pencil, mark where the point is that the wood round fits in snugly. Mark this all the way around.

A Sticky Situation
Next, using wood glue adhere the wood round to the wood tub. Now you have a top and a bottom.
If you are using a wood round with the wood block then make sure that the block is facing upwards and that it is in the middle, inside of wood tub. This way, when you place the trunk through the top hole it will fit into the wood block hole. Does this make sense? I hope so.

Free Printables!
Looking for free printables for creating home decor, organizing projects, or just for fun? You found it. These FREE printables were made for DIY enthusiasts just like you!
Details That Matter
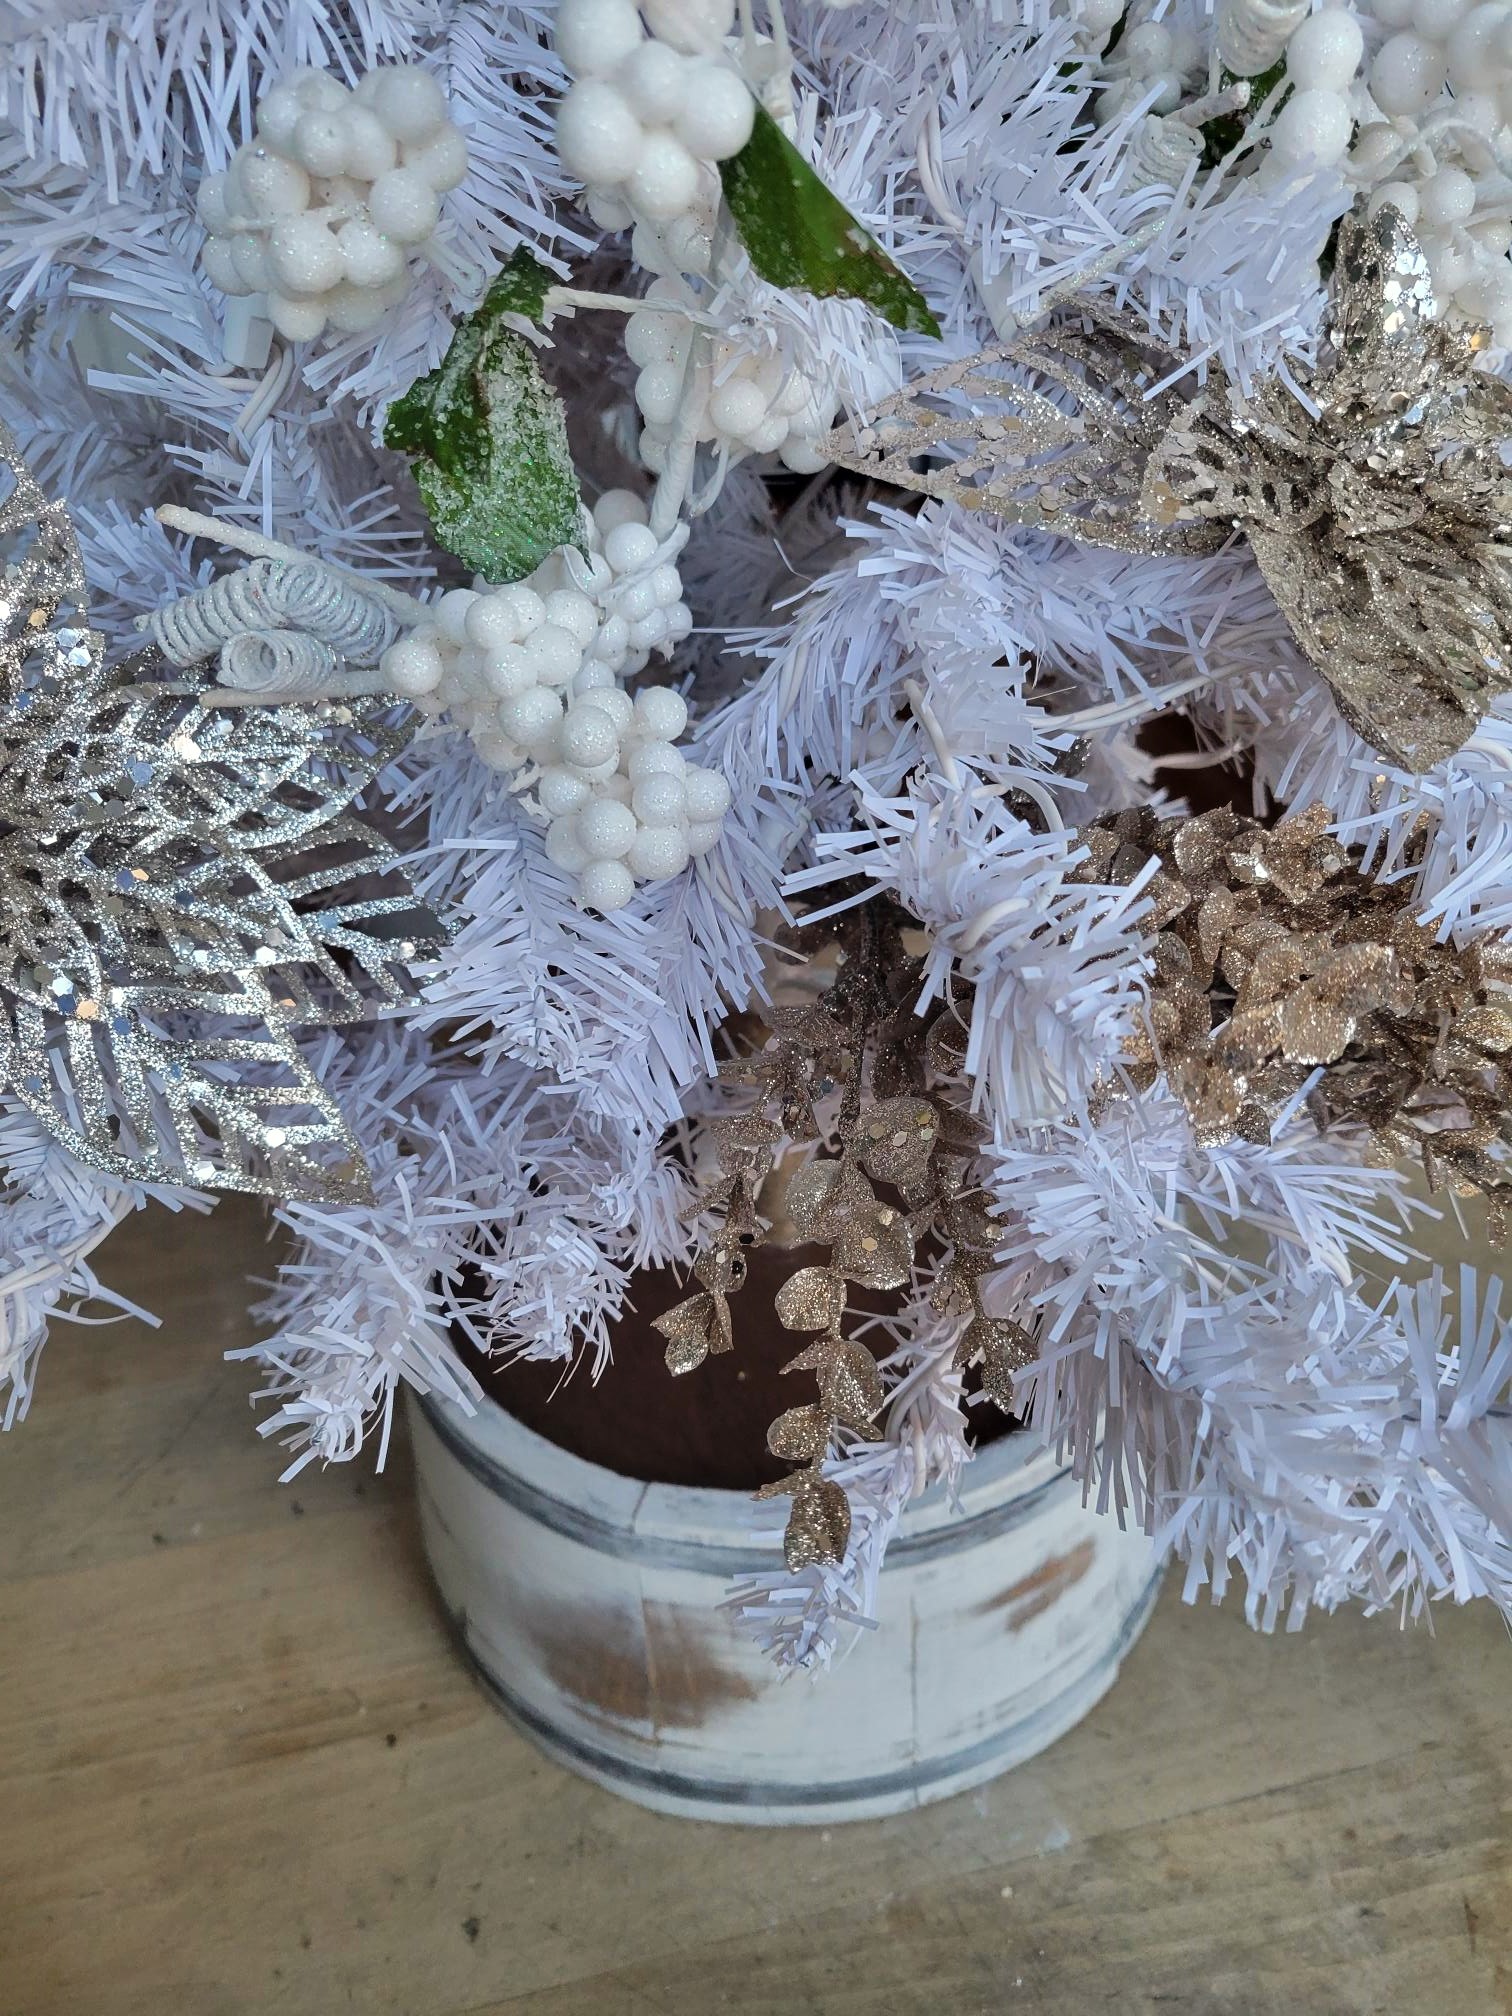
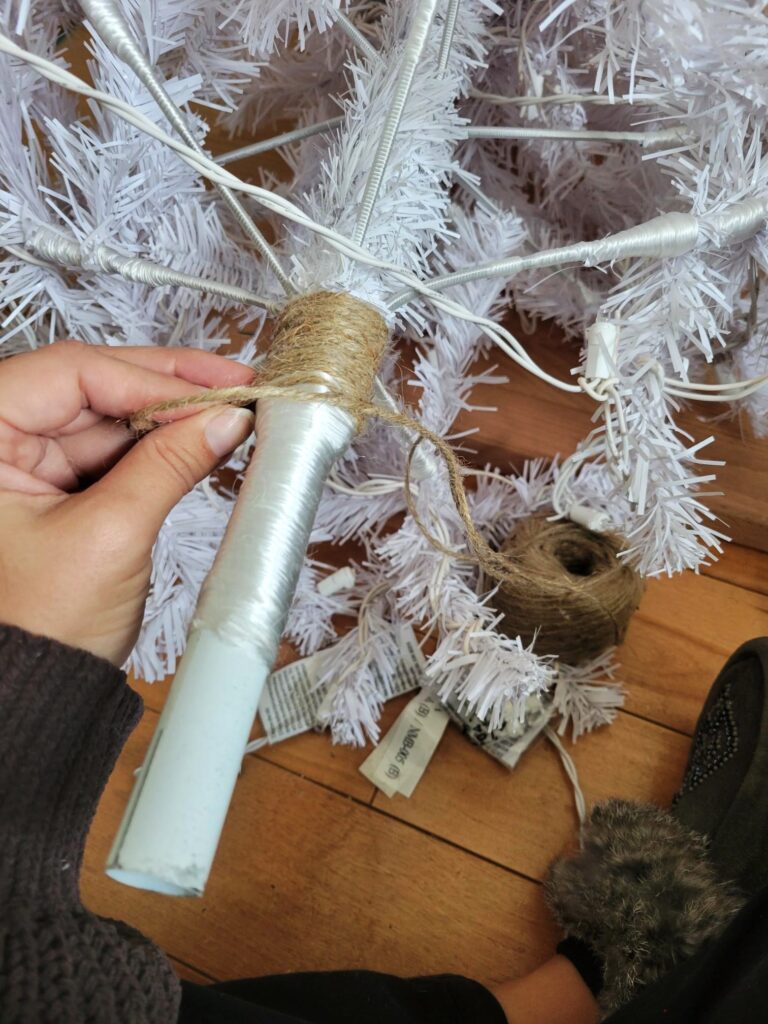
I really didn’t like that the trunk was wrapped in the white tinsel. So instead I decided to wrap it in twine, adhering it with hot glue.
Getting It All Straight
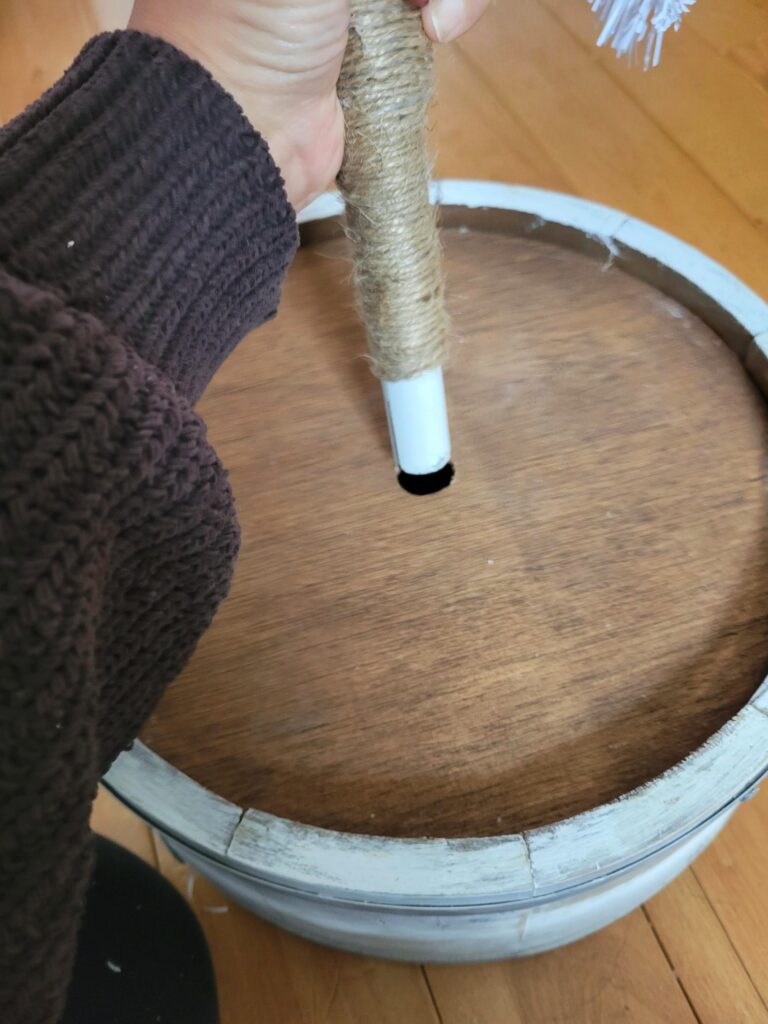
Slide the trunk through the top hole and into the bottom block. The tree will now be secure and would stand up straight. Fluff out the tree branches and decorate.
OPTIONAL: I decided to keep the overall look of this piece simple and clean. I wanted the colourful, sentimental ornaments to still be the main focus. But if you want to fancy things up you could always add images or messages to the front using stencils or your Cricut.
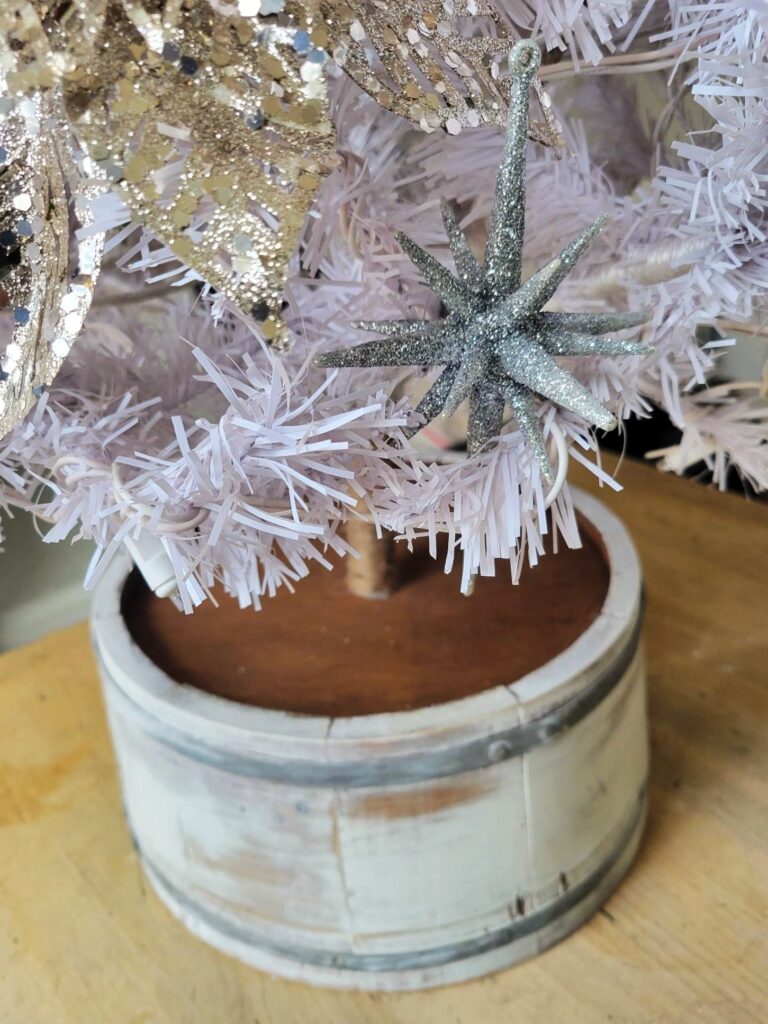
And Voila!
This project came out perfectly. It is the perfect addition to our sentimental mini tree. It gives the whole look a rustic touch. So now it fits perfectly into our modern farmhouse decor and I couldn’t be more pleased with my DIY mini tree stand.
Jenny’s Finishing Thoughts On DIY Mini Tree Stand
The mini Christmas tree most certainly has its place. Whether you need a smaller tree to fit your space or you just like to have a house full of Christmas tress, mini trees are the perfect solution.
This rustic, upcyled, DIY mini tree stand is the perfect finishing touch for these little beauties. So toss on your coat, head on over to the local thrift shop and find your ideal Christmas tree stand today.
Do you have a big or small Christmas tree in your home? Or are you like me and the more trees in the home, the merrier? Let me know in the comments below.
Did you find this post helpful or inspirational? Save This Pin to your Thrifted Christmas Decor board on Pinterest.