Pumpkin DIYs From Dollar Tree!
Turn inexpensive Dollar Tree plastic pumpkins into high end decor with these 5 super simple Pumpkin DIYs that you have to see to believe!
Dollar Tree And The Plastic Pumpkin DIYs
Who says you have to break the bank to decorate for the fall season? If you want to decorate for fall all you need to do is a take a quick trip to Dollar Tree and pick up a bunch of their inexpensive plastic pumpkins. Believe it or not, you can easily transform these ordinary pumpkins into chic and sophisticated decor that looks like it cost ya a fortune!
Let me show you how you too can easily recreate these 5 easy pumpkin DIYs that will help you take those inexpensive plastic pumpkins from the Dollar Tree and turn them into high end decor. All you’re going to need is a few cans of spray paint, a bit of paint and few minutes of your time
So start stocking up on those Dollar Tree pumpkins and get ready to take your fall decorating to the next level!
Getting Started
Do you know those cookie recipes where they get ya start with one cookie recipe as the base and then you add different things to it to create several different cookie from that one base so that you end up with lots of different cookies?
Yeah, we’re doing that. Only we are going to do it with dollar store pumpkins. Each of these 5 pumpkin DIYs starts out the same way. It’s what you do to them afterwards that makes all of the difference.
Supplies You Will Need:
- Rustoleum Matte White spray paint
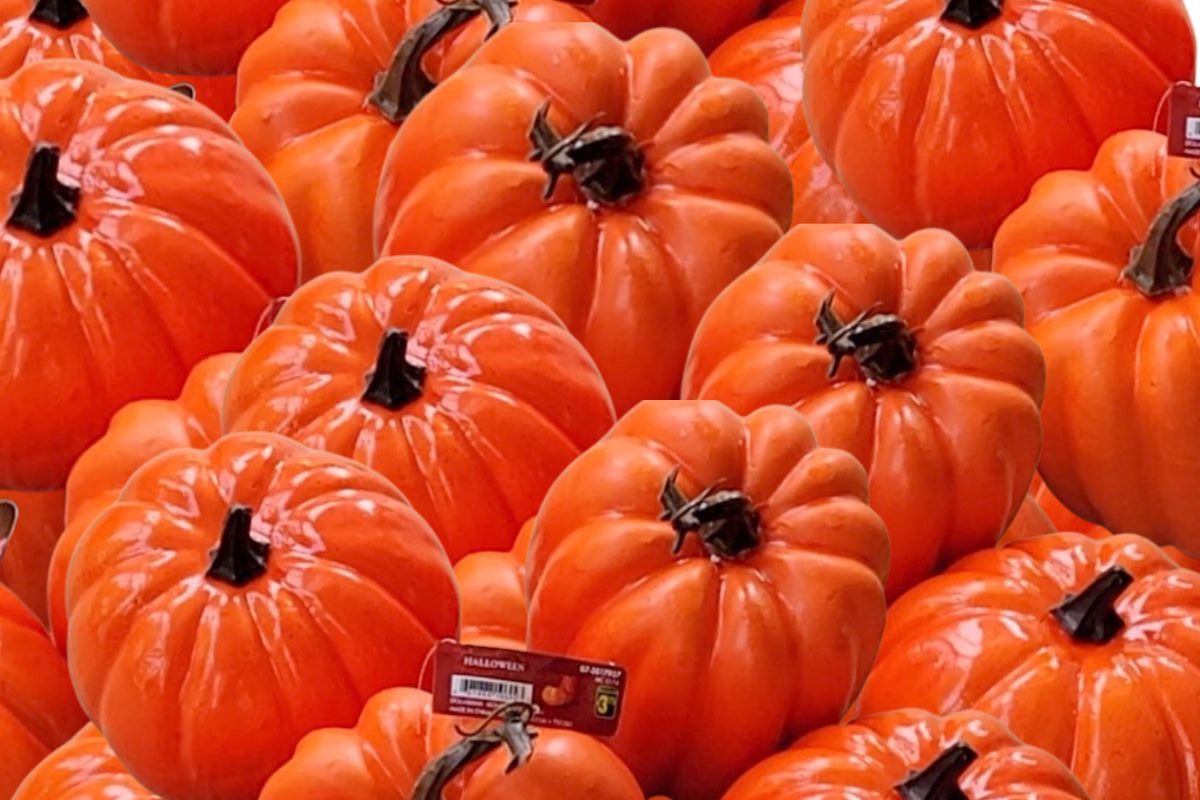
You are going to want to start by removing any tags. If the stem is removable, pop it off and set it aside. Then head outdoors with a can of matte, white spray paint, and give each of the pumpkins a nice coat of spray paint. Let dry and now we are ready to DIY.
NOTE: The pumpkins used in these DIYs are from Dollarama and they were all bright orange. They were also much more expensive than the ones that you can get from Dollar Tree. If you can get the pumpkins from Dollar Tree do that. Better yet, get the white pumpkins from Dollar Tree. They cost less and you won’t need to spray each of them with the matte white spray paint.
Check out the video to see how each of these Pumpkin DIYs were made and more of their finished looks!
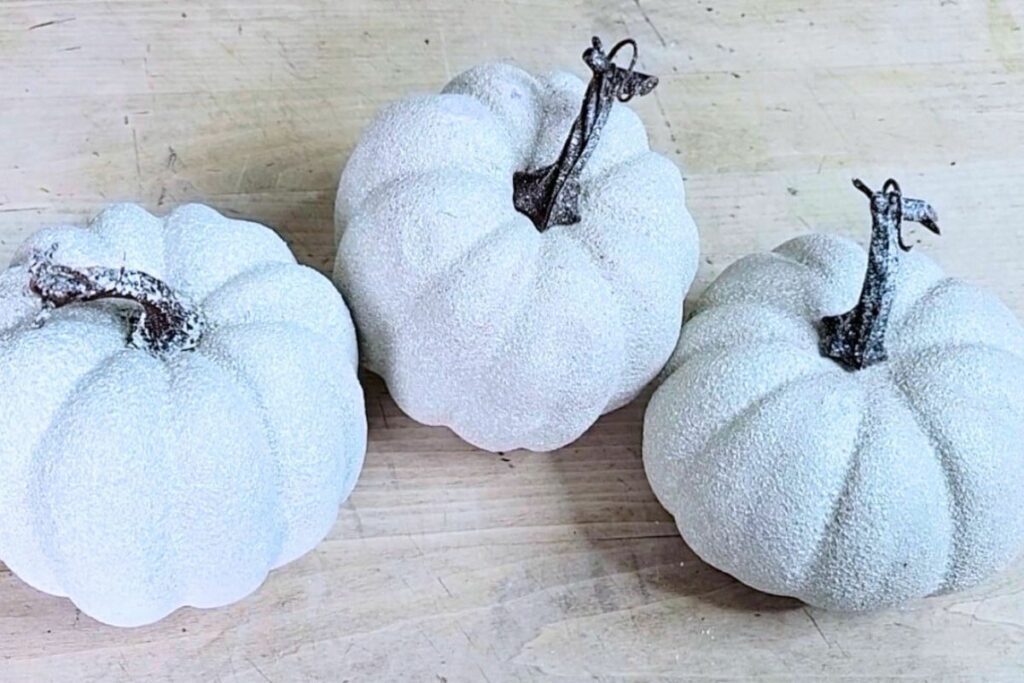
Stone Pumpkins
These stone pumpkins have such an expensive look to them but they are so rediculously easy and cheap to make. You can literally recreate these in a few minutes. The end result is high end pumpkins that look like no other.
Supplies You Will Need
- Rustoleum spray paint in stone textured finish in Travertine
How to Recreate
- Take your white pumpkin. (If you followed step one this should be done already, dried, and ready to go.)
- Pop the stem back into the top of the pumpkin.
- Take the pumpkin outside or in a well ventilated area. Using short bursts of the stone spray paint, apply a light coat to the upper 2/3 of the pumpkin. Allow to dry and then come back and reapply until you get the coverage you like. Let dry.
Seriously, that’s it. I ain’t trying to make you taller. That is literally all you need to do to recreate these super awesome, high end pumpkins. A little later on, I’ll show you a super simple twist on this DIY. One that will take these faux stone pumpkins to the next level.
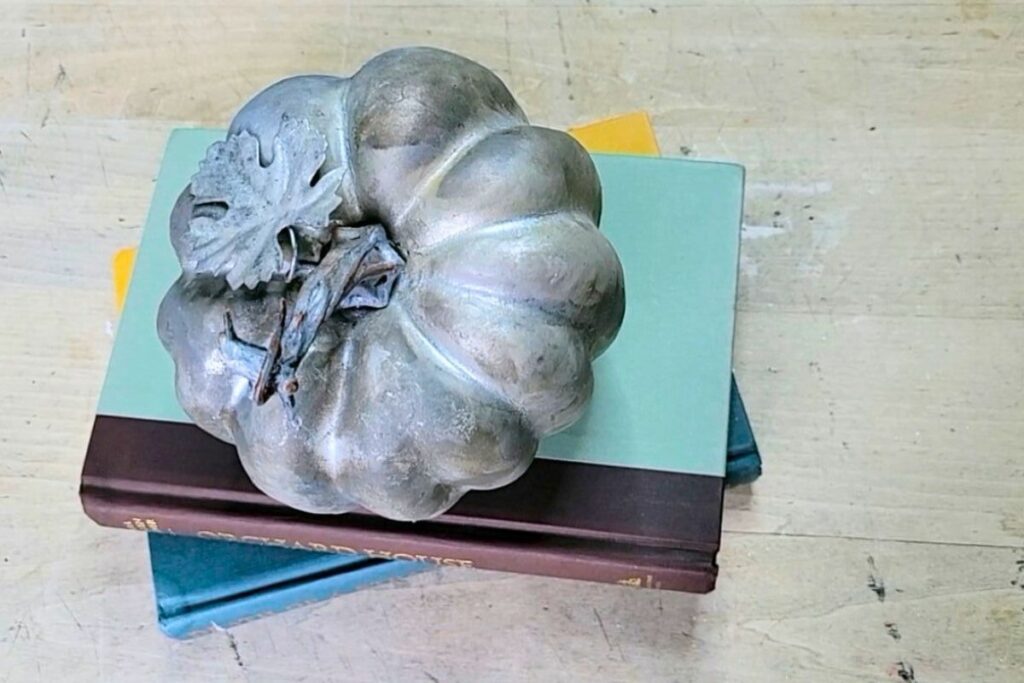
Tarnished Silver Pumpkin
This pumpkin is so cool. Adding a bit of faux tarnish to these silver pumpkins really gives these cheap plastic pumpkins a hot new look. It’s a look that can fit into just about any decor style. Later in the season, add a few black rats and a moss covered skull and you have yourself the perfect Halloween ensemble.
Supplies You Will Need
- Rustoleum spray paint in Silver
- ArtMinds chalk paint in Champagne
- ArtMinds chalk paint in Grey Trellis
- ArtMinds chalk paint in Onyx
- ArtMinds Antiquing Wax
- *Optional – Metal pumpkin leaf
- Makeup sponges
How to Recreate
- Take the white pumpkin and spray it with a good coat of the silver spray paint and let dry. Do the same to the metal leaf and pumpkin stem.
- Place dollops of each of the chalk paints onto a sheet of wax paper and then using the makeup sponges blend and apply the different colours to the pumpkin. Keep mixing and blending. Add colour to where you want it and when you are happy with the look, let dry.
- Replace the stem and add the leaf.
NOTE: Chalk paint guide – the Trellis Grey really dulls the look and gives it that patina look. The Champagne provides a bit of shine where you may want to add some and the Antiquing Wax provides that tarnished look you are going for. Use the black sparingly.
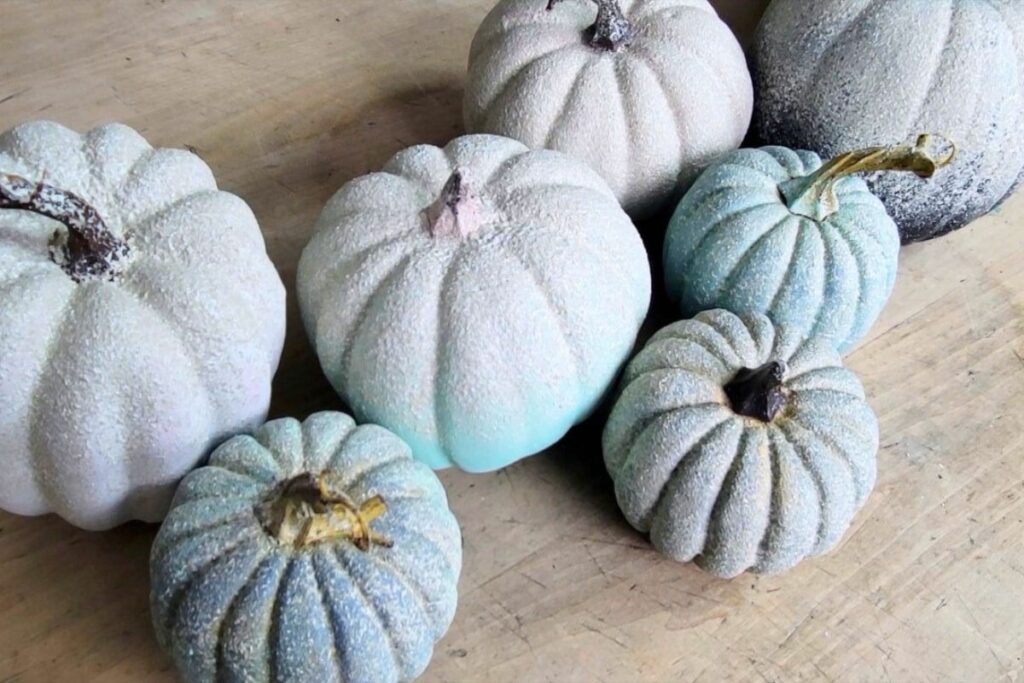
Painted Stone Pumpkin
Let’s call this a twist on the original stone pumpkin. Basically, it has all the charm of the original but with a subtle pop of colour that really adds a ton of interest. The best part about these painted stone pumpkin DIYs is that you can easily customize it to suit your home decor simply by choosing which paint colour you want to go with.
Supplies You Will Need
- Chalk paint in any colour that you like (teal, navy blue, black, rose, or even sage. Or o crazy and leave it orange.)
- Foam paint brush
- Rustoleum spray paint in stone textured finish in Travertine
How to Recreate
- Using the chalk paint of your choice, paint the entire pumpkin with one to two coats of paint.
- Once the pumpkin has dried, replace the stem and take it outside to apply the faux stone spray paint. Again, use short bursts of spray to apply the faux stone. It’s best to spray a layer, let that dry, and then come back in to apply another coat. If you try to apply it all at once you will end up with a blotchy mess.
PRO TIP: Layering the paint colours can add additional interest and gives the pumpkin a unique look.
Free Potion Labels!
Join At Jenny’s Place Free Printable Library and get these spooktacular Halloween labels. Plus! Get access to all of my past, present, and future free printables by simply signing up today! What are ya waitin’ for? Let’s get our DIY on.
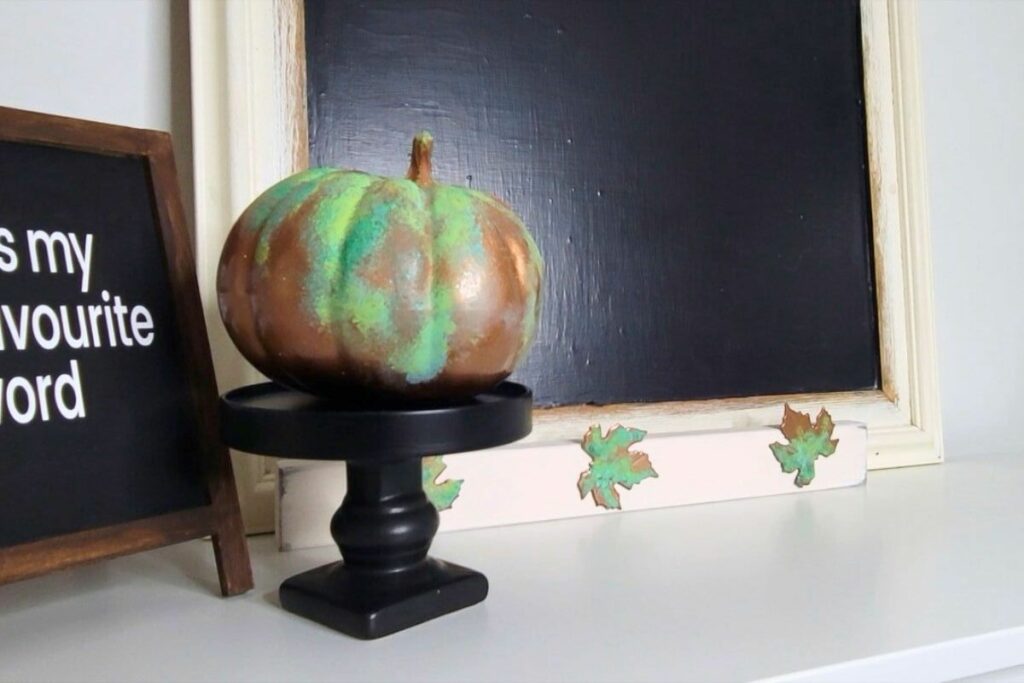
Oxidized Copper Pumpkin
Supplies You Will Need
- Rustoleum spray paint in Aged Copper
- *Optional – Rustoleum spray paint in Hammered Copper
- ArtMinds chalk paint in Succulent
- ArtMinds chalk paint in Antique Aqua
- *Optional – ArtMinds chalk paint in Copper
- Folk Art chalk paint in Seaside Villa
- Stencilling brushes
How To Recreate
- Take your white pumpkin and give it a coat of the Aged Copper.
- *Optional -Ok, now this step is optional but it does add a lot to the overall look. You can either give the top portion of the copper pumpkin a quick spritz of the hammered copper spray paint or you can spray the entire pumpkin with the hammered copper but that will cost more.
- Once the copper spray paint had dried the fun begins. Using the chalk paint apply bit of each of the colours. You are creating an oxidized look so mix in plenty of the teal and green.
- While the chalk paint is still wet, go in with a fluffy, dry paint brush and blend the colours. This is what’s really going to create that natural looking oxidized patina.
- If at any point you feel that you added too much colour in one area simply add a bit of the copper chalk paint. However, if you don’t have the copper chalk paint, this is no biggie. Simply wipe a bit of the paint away with a damp cloth and then reapply any chalk paint colouring where needed.
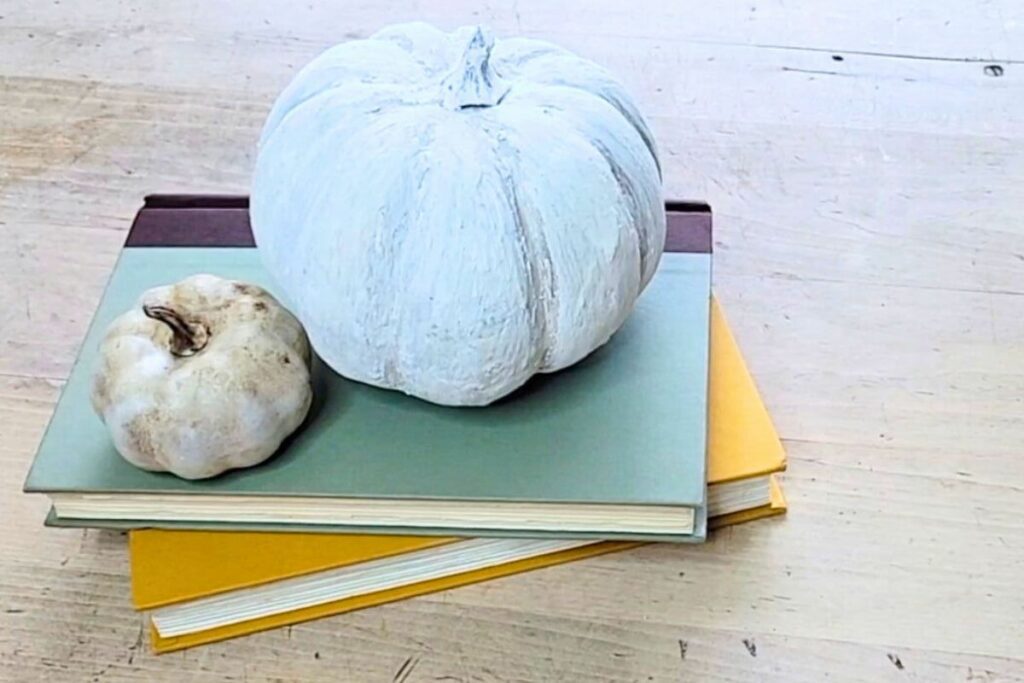
Plaster Pumpkins
Supplies You Will Need
- White acrylic paint
- ArtMinds chalk paint in Trellis Grey
- Baking soda
- Plastic cup
- Foam paint brush
- Paint brush
- Stir stick
How to Recreate
- In the plastic cup, mix together enough baking soda and white acrylic paint to create a paste that resemble wet plaster.
- Apply the faux plaster to the white pumpkin. Allow this to dry slightly. (See Pro Tip)
- Next, mix together the Trellis Grey with some baking soda to make the same paste. Apply this to the slight wet pumpkin over top of the white faux plaster. Allow this to dry completely.
- The next day, apply a bit more of the white faux plaster paint on top of the grey. Allow some of the grey to poke through, especially where the segments of the pumpkin meet. It looks best if these are mostly grey. Allow to dry.
PRO TIP: To keep the faux white plaster wet while the pumpkin dries place a bit of Saran Wrap over top of the plastic cup and secure with an elastic. The next day, when you remove the plastic wrap your faux plaster paint will still be wet and ready to go.
Jenny’s Finishing Thoughts On Pumpkin DIYs
These 5 crafty pumpkin DIYs are the perfect way to transform bargain bin plastic pumpkins into luxurious-looking fall decor that will have your friends and family wondering how much you spent!
Whether you choose to go with faux stone, tarnished silver, or plaster you can easily create beautiful and customizable pieces you’d never expect to come from a plastic pumpkin. All you need is a bit of imagination and a few basic supplies you can create beautiful fall decor that you won’t be able to find in any stores.
So don’t be afraid to break out the spray paint and go bold with these 5 simple Pumpkin DIYs.
Which of these 5 pumpkins was your favourite? Share in the comments below.
Did you find this post helpful or inspirational? Save This Pin to your Fall Decor board on Pinterest