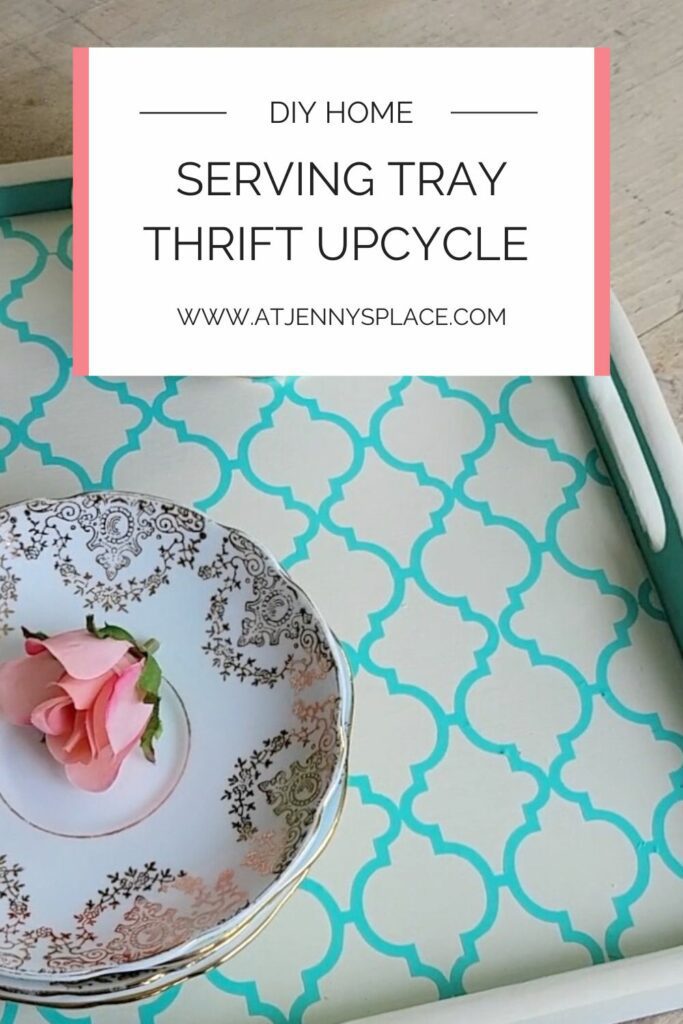
DIY Serving Tray – Cricut To The Rescue
Discover how a small amount of Cricut vinyl can transform a basic wooden tray into something incredible with this easy DIY serving tray idea.
Giving An Old Tray New Life
Do you have an old serving tray lying around that could use a touch of life? With just a few inexpensive supplies and some colourful creativity, you can create a beautiful and useful piece of home decor from something you might have otherwise tossed away.
Learn how you can transform an old wooden serving tray from something dull and boring into a piece of personalized decor with just a bit of paint and some Cricut vinyl. And you don’t need to be a Cricut savant to make this statement piece. Trust me, anyone can do this DIY. Read on to find out how a little creativity can help you transform your old serving tray with minimal effort and maximum style.
Supplies You Will Need
NOTE: I decided to use Cricut temporary vinyl because I’m always one to want to switch up what I already have. I could see a few design possibilities for this wooden tray so I was hesitant to do anything too permanent. But if you want to make this permanent I recommend that you use heat vinyl and a heat press so that it stays stuck to the tray.
- Wooden tray with built in handles
- Rustoleum chalk spray paint in —
- ArtMinds chalk paint in Aqua
- Painters tape
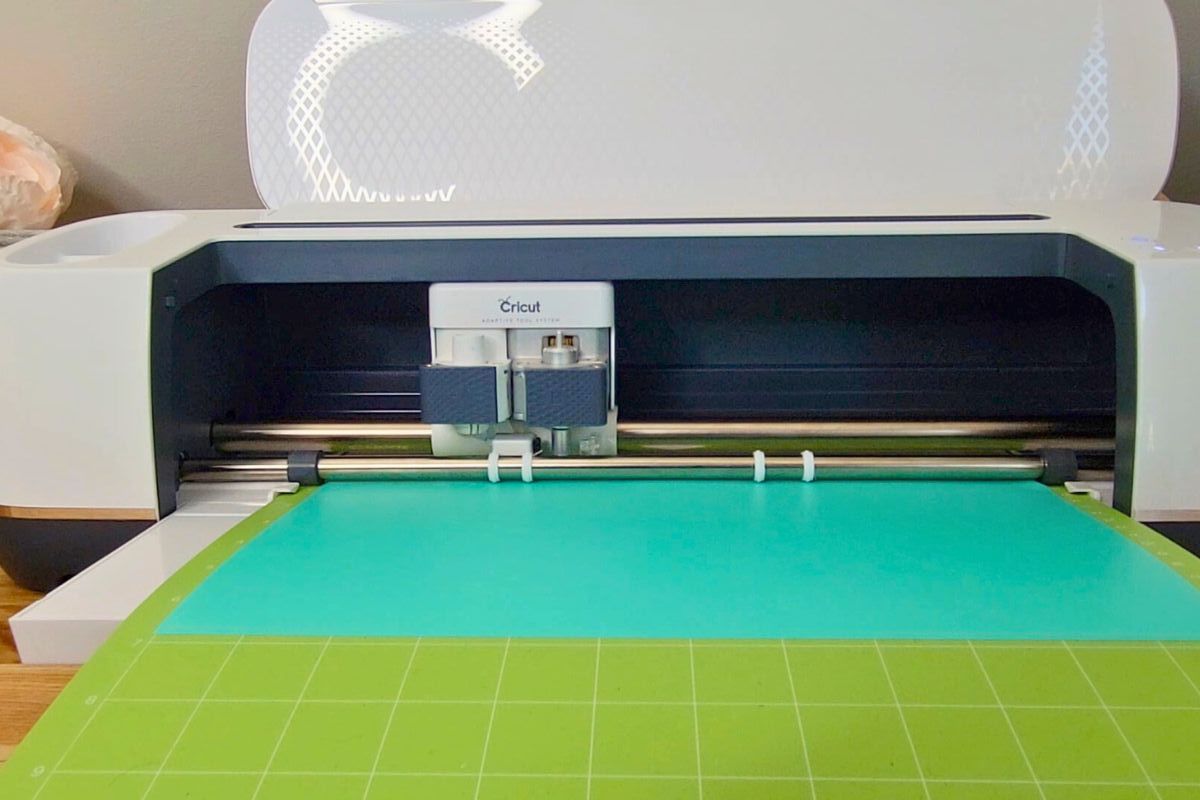
- Cricut cutting machine
- Pattern for tray (See link below)
- Cricut vinyl in teal
- Cricut cutting mat
- Cricut scraper
- Cricut pick
- Cricut cutter
- Siser transfer tape
How To Recreate DIY Serving Tray
You can almost always find a wooden tray like this at any thrift store or garage sale. They usually cost a dime a dozen and they are so easy to transform. I love you use these for table displays or as serving trays for wine and cheese nights.
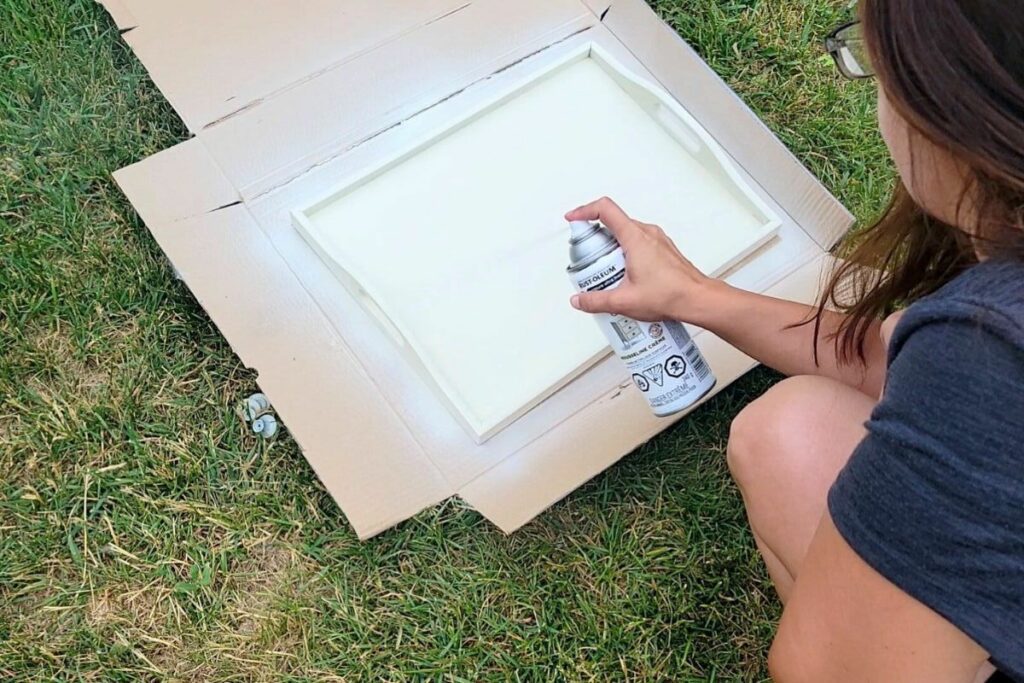
Start by giving the wooden tray with a few coats of the Rustoleum chalk spray paint. Apply the paint in smooth, even strokes and allow each coat to dry completely in-between coats. You can do the bottom in you want but ya don’t have to. I didn’t.
Measure your tray. You’re going to need these measurements for the vinyl part later.

Watch the video to see my other Trash to Treasure DIY ideas!
Ok, this girl is a sucker teal. I just can’t seem to help myself. And so when I saw this ArtMinds chalk paint in Aqua for sale at Michael’s I had to to have it. This was a need. This was not a want. At least that’s the justification I gave the hubby.
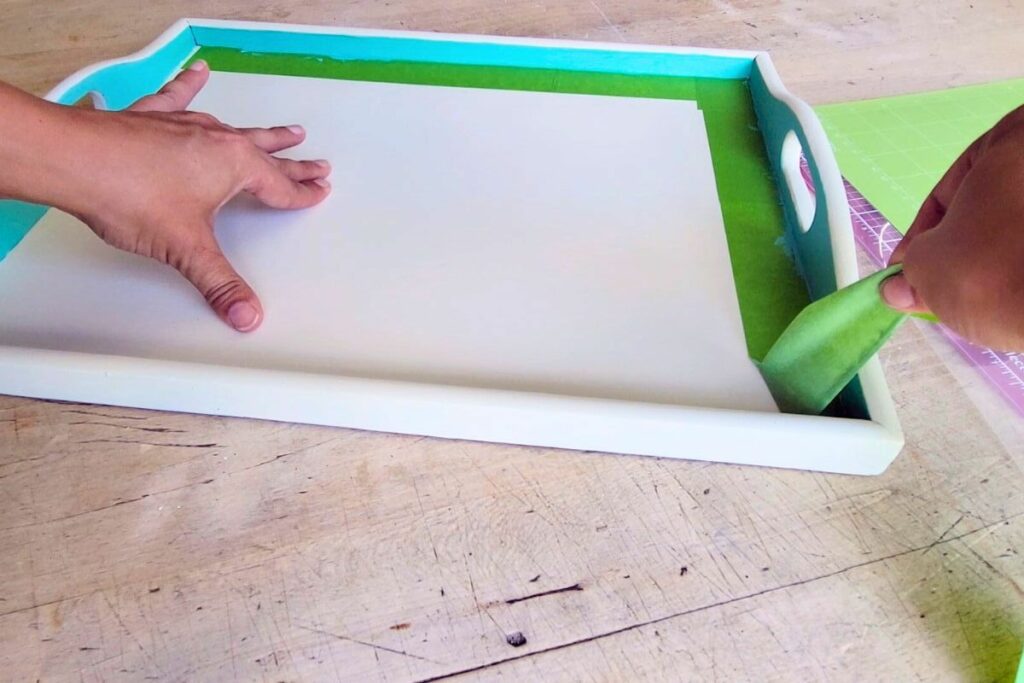
As much as I would love to claim that I can paint a straight line… I can’t. So I slapped on a few strips of painters tape along the inside edges of the tray so that I could then apply two coats of the teal to just the inside/sides of the tray. Once dry, the painter’s tape was removed to reveal a nice, sharp paint line.

Now, you can head to Canva and recreate this pattern yourself or you can just simply download this one (See link above in Supplies You Will Need) that I made and that I used for this DIY. Now, I don’t have a long cutting mat. (It’s on my Christmas list.) so I had to cut out the pattern in several steps so that it would fit my tray.
How you do this will depend on the size of your tray and the size of the cutting mat that you are working with. Just adjust the pattern as you need.
GET THE PATTERN!
Here is the pattern that I used to make the tray. To replicate this you will need to download the pattern (as a pdf), covert it into an SVG and then upload the SVG to Cricut. Then you can simply let your cutting machine do the rest of the work.
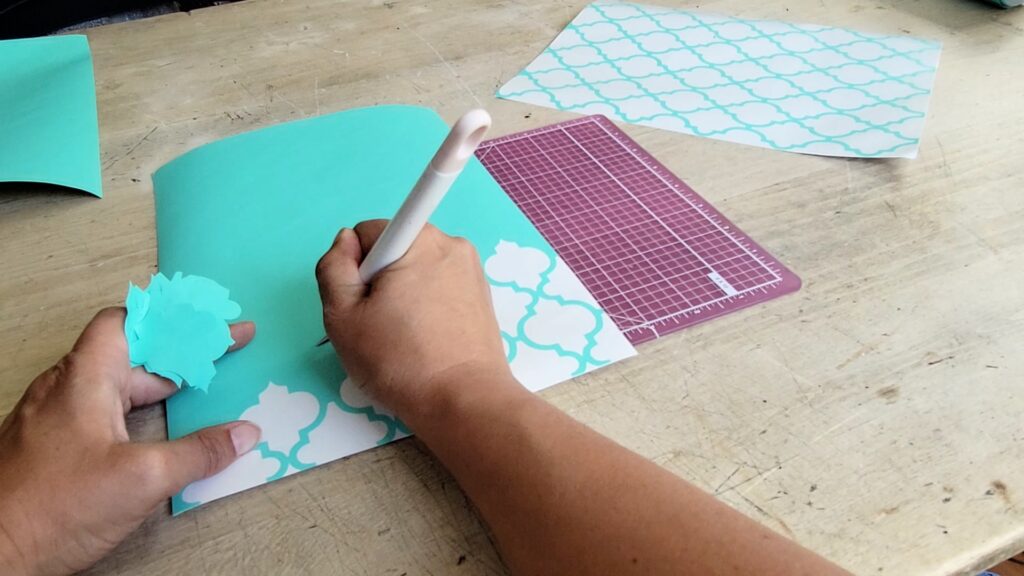
Once your Cricut has cut out the pattern in the way you need it, weed the parts of the vinyl pattern that you don’t need. To quickly remove the vinyl pieces start at the top of each pattern part and pull down.
PRO TIP: For a different look instead of using the vinyl cut outs for the pattern instead use it as a stencil instead. You’ll end up with a chunkier, more substantial patterned look.
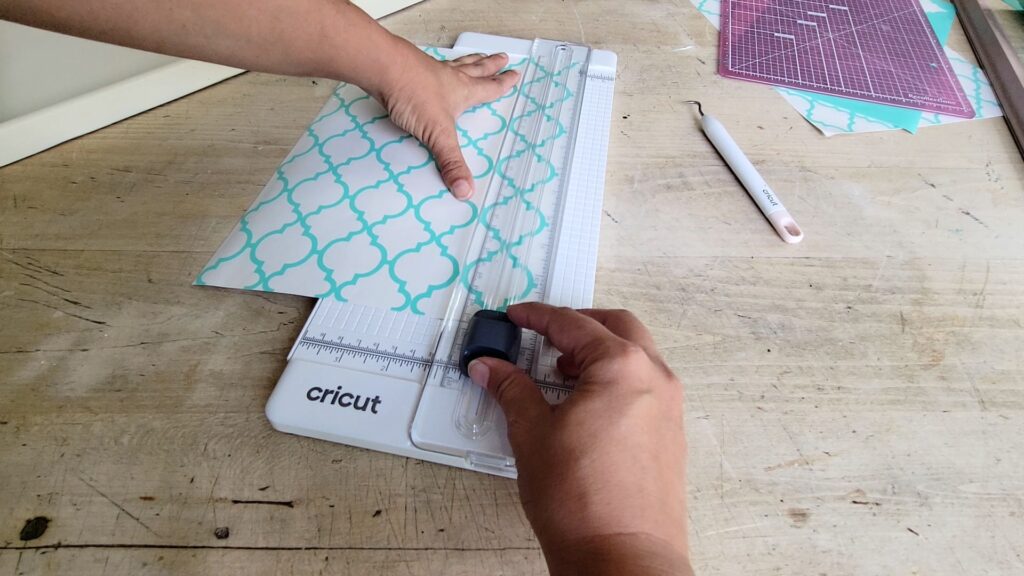
Ok, this step may or may not pertain to you. If you had a larger mat or a smaller tray you may not need to do this. But if you’re like me and you are working with a larger tray, a small cutting mat and you can’t measure to save your life… you may need to trim down the pattern a bit so that it fits perfectly into the tray.
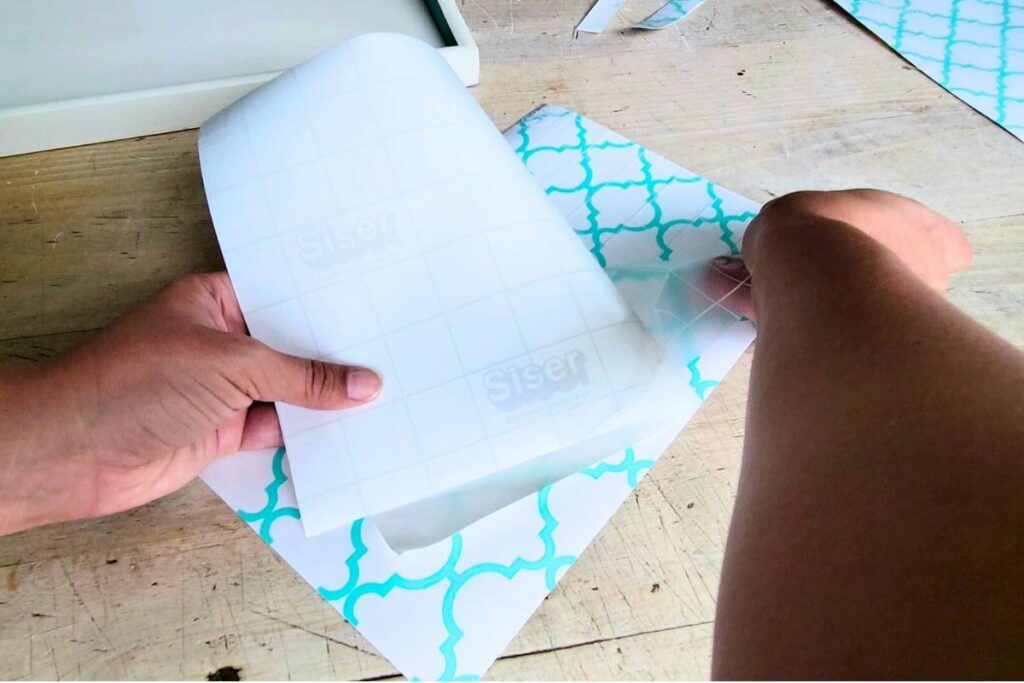
Once you have all your pieces figured out apply your transfer tape to the front of your vinyl pattern. I prefer to use Siser transfer tape because I think it just works the best but it’s totally up to you which tape you prefer to use.
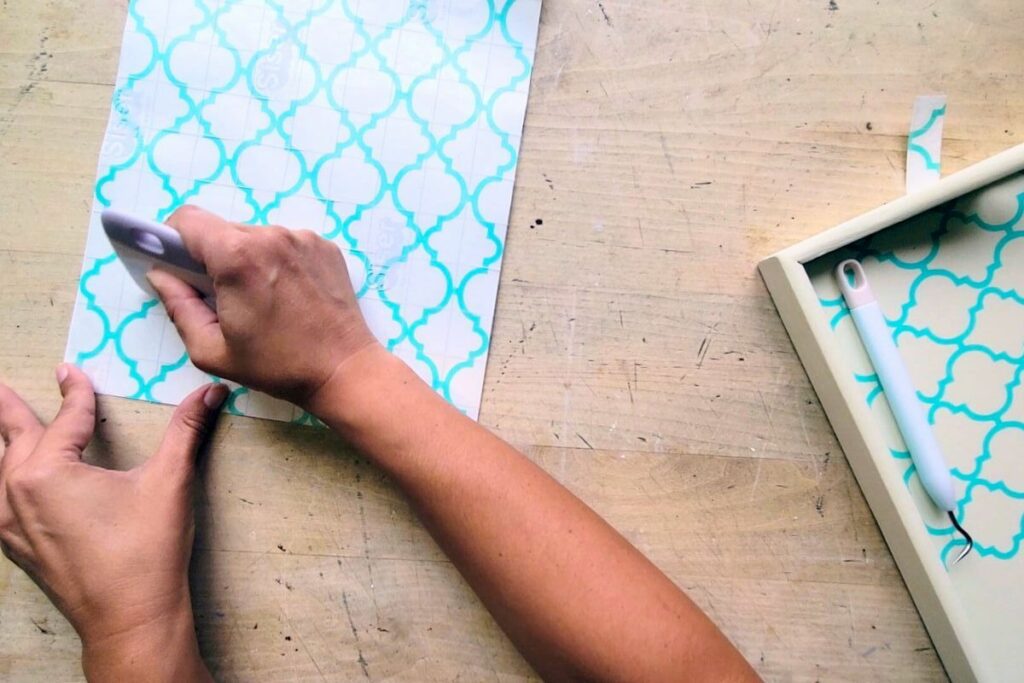
Now, this pattern has a lot of long, detailed pieces to it so using your Cricut scraper to make sure that you work that pattern really well onto the transfer tape. You want everything to come off smoothly when you peal everything back.
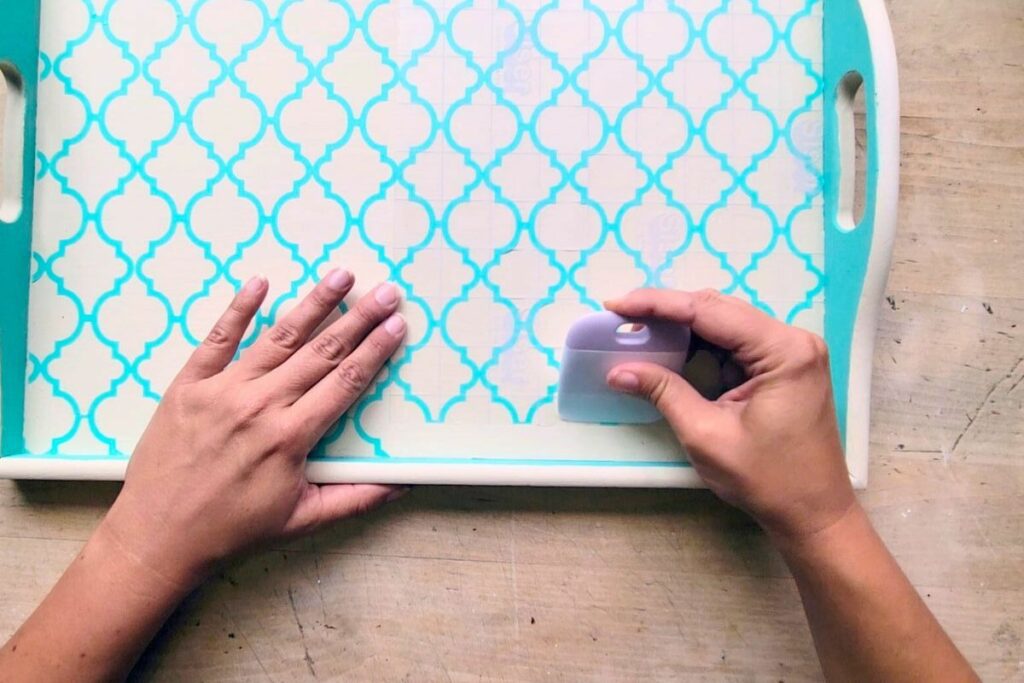
Then carefully lay your pattern down onto the tray. If you are working with more than one piece of the pattern arrange these carefully so that they butt up to each other perfectly and so that the pattern pieces match up correctly.
Once you have everything arranged and stuck down to the tray once again whip out that handy dandy Cricut scraper and press down the pattern onto the painted wooden tray. You want to make sure that you do this part really well.
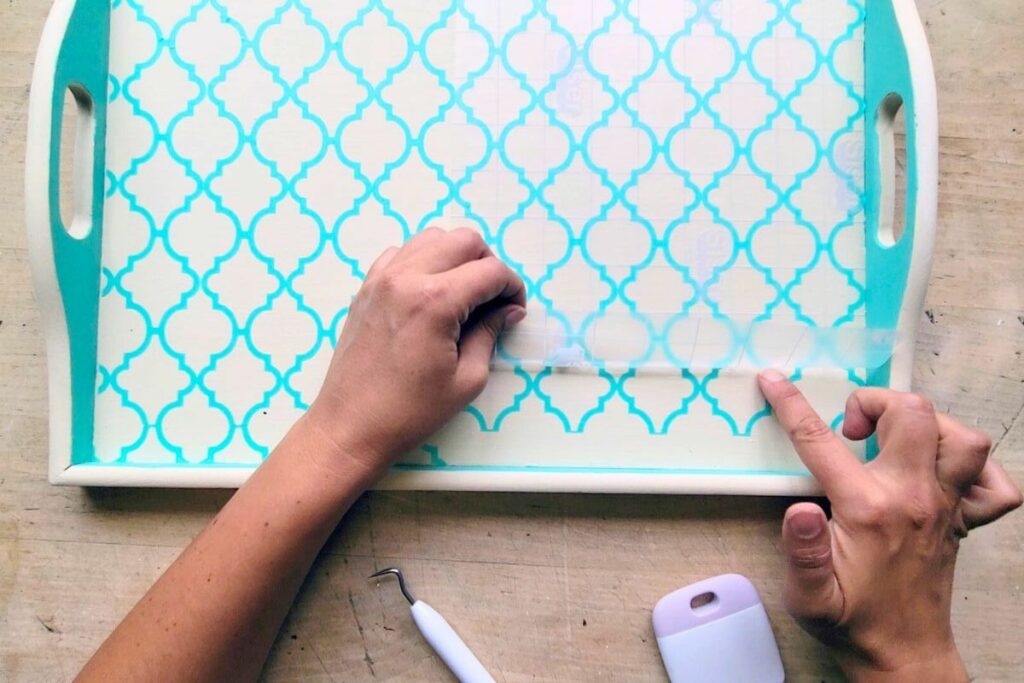
Once you have the pattern laid out perfectly and you’ve ensured that the vinyl is pressed down firmly, carefully peal back the transfer tape. Using the Cricut scraper and your finger gently press down the vinyl as you go so that the vinyl pattern lays down flatly.
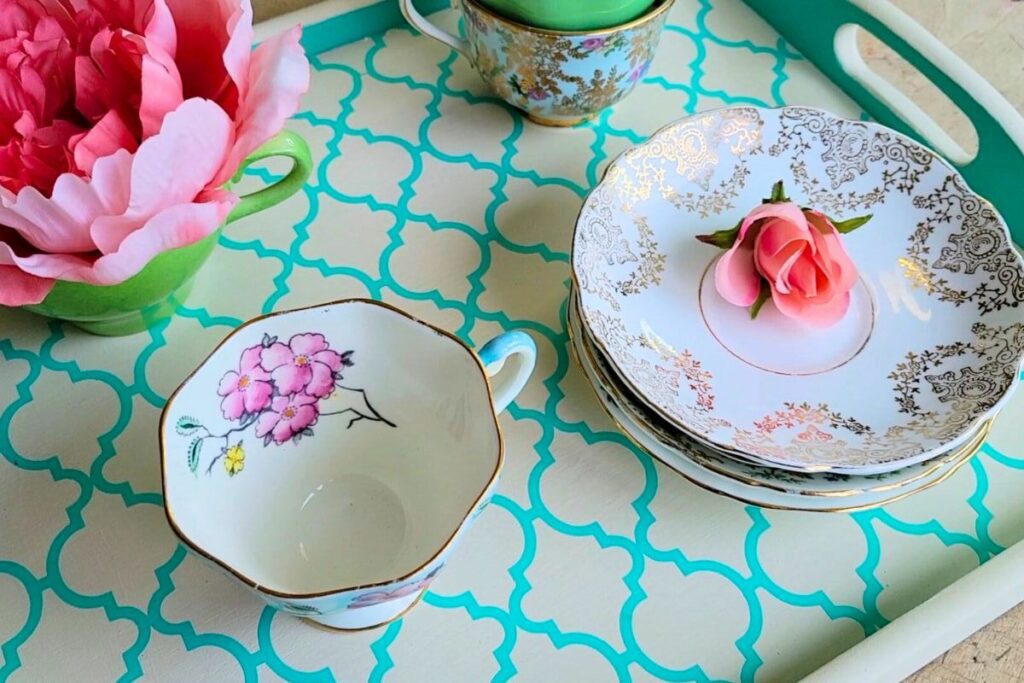
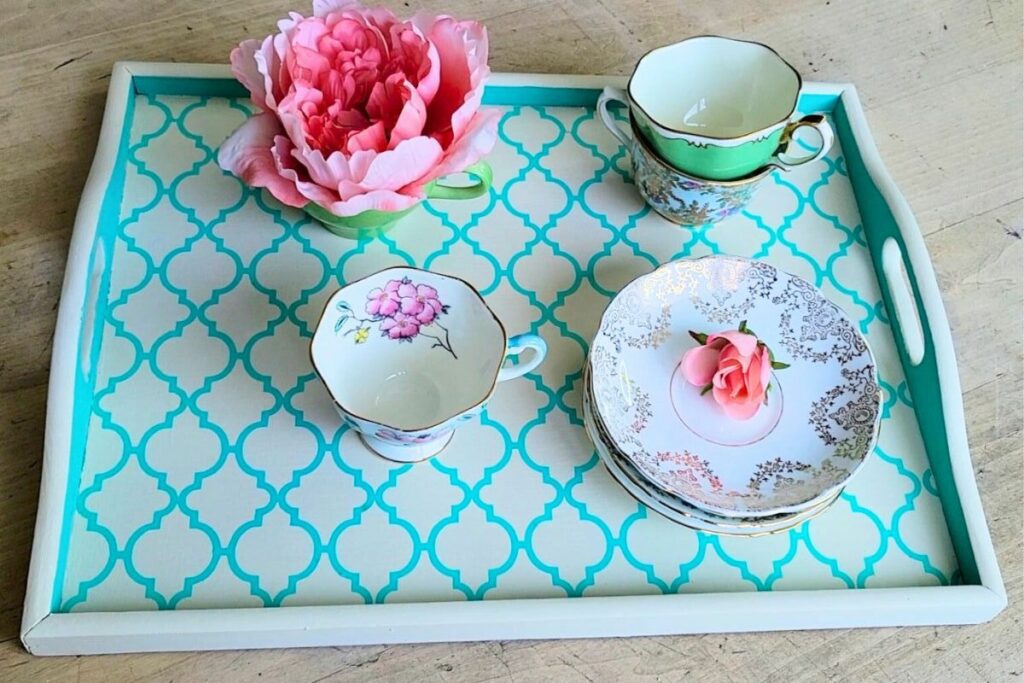
Et voila! A beautiful, retro inspired DIY serving tray that could really work all year long. I don’t know about you but I am over the moon for this tray. For some reason it makes me think of the 50’s. I see it paired with poodle skirts, tea sandwiches, and homemade lemonade.
Jenny’s Finishing Thoughts On This DIY Serving Tray
Upcycling an old wood tray by using a bit of paint and your Cricut machine is easy. This is a DIY project anyone can do. It is cost-effective, super easy, and the results look like something you’d find in a home decor store.
With a few simple steps, and minimal supplies, you can transform a tired wooden tray into a retro serving tray. It will be a conversation piece for years to come. Plus, your friends will never know how little time, and money, you spent making it! So, why not take a chance and create a one-of-a-kind, heirloom-quality serving tray today?
What is your favourite way to upcycle old serving trays? Let us know in the comments below.
Did you find this post helpful or inspirational? Save This Pin to your DIY Tray board on Pinterest.