

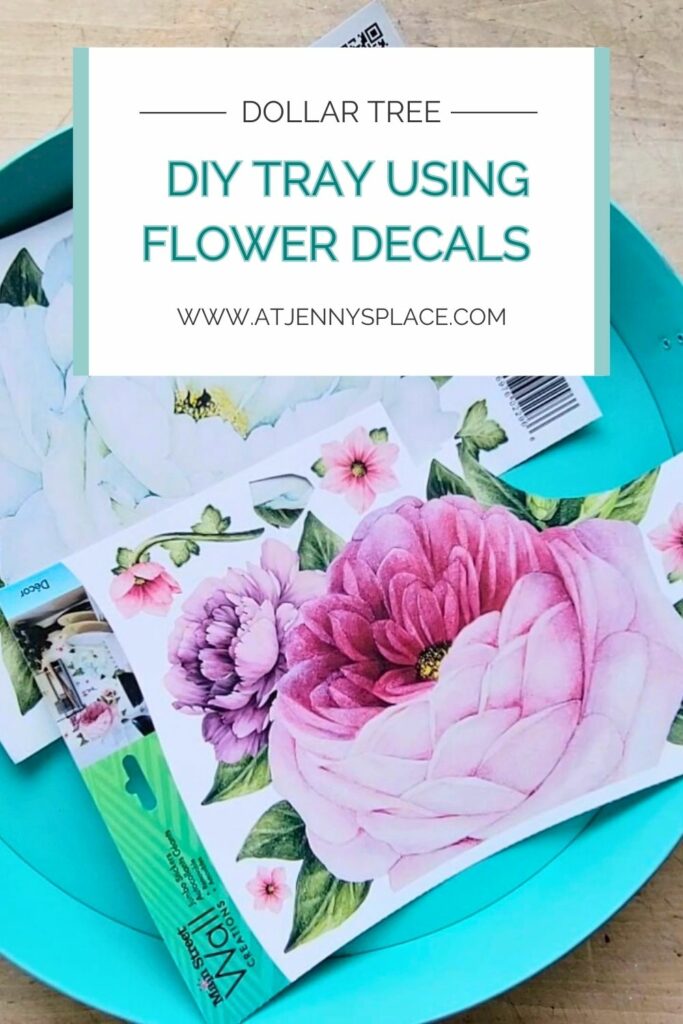
DIY Tray Using Dollar Tree Decals
Feeling crafty? With a few simple Dollar Tree decals and a metal tray, you can recreate this stunning, Pinterest-worthy serving DIY tray!
These Dollar Tree Decals Are Freakin’ Awesome!
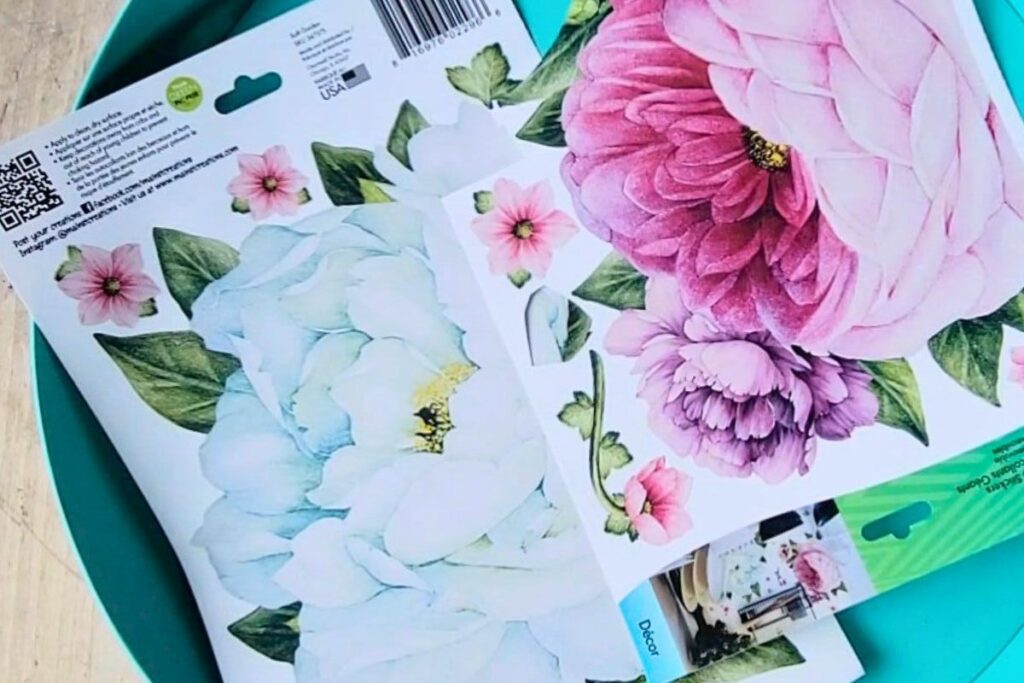
Every spring and summer Dollar Tree has been coming out with these beautiful flower decal. I have spotted several years in a row now and I know that they are extremely popular. So, it is a safe bet that if you don’t already have any in your craft stash you will be able to find them at your local Dollar Tree at some point.
One of the best things about these decals, besides the fact that they are completely stunning, is that you get a lot of bang for your buck. At a $1.50 a pop, each package of blooms comes with two sheets of gorgeous decals. And in each sheet you get an oversized flower image and several smaller leaf and simple bloom images. This makes for plenty of DIY possibilities.
So the next time you find yourself in Dollar Tree make sure you pop on over to the DIY aisle and take a quick look for these awesome flower decals. And if you spot them, don’t think twice. Buy ’em. Because I guarantee that if you don’t someone else will.
A Special Kind Of Tray
When I was a little girl my Nana had this beautiful teal coloured tray with roses hand painted on the front. My Papa had given it to her when they were newlyweds, and since Papa had passed away when he was very young, Nana treasured all of the mementos she had of him.
I loved this tray. I thought it was the most beautiful thing that I had ever seen in the whole world. And so, when I got married to my hubby I asked if I could have the tray displayed among the buffet foods at my bridal shower. It fit in perfectly with the rest of the decor and I felt that it was bringing hubby and I good fortune.
The tray I made today reminds me of this special family heirloom. It’s not nearly as beautiful or as valuable as the original but the final looks is close enough that it makes me think of that charming tray and all of the good memories that went with it.
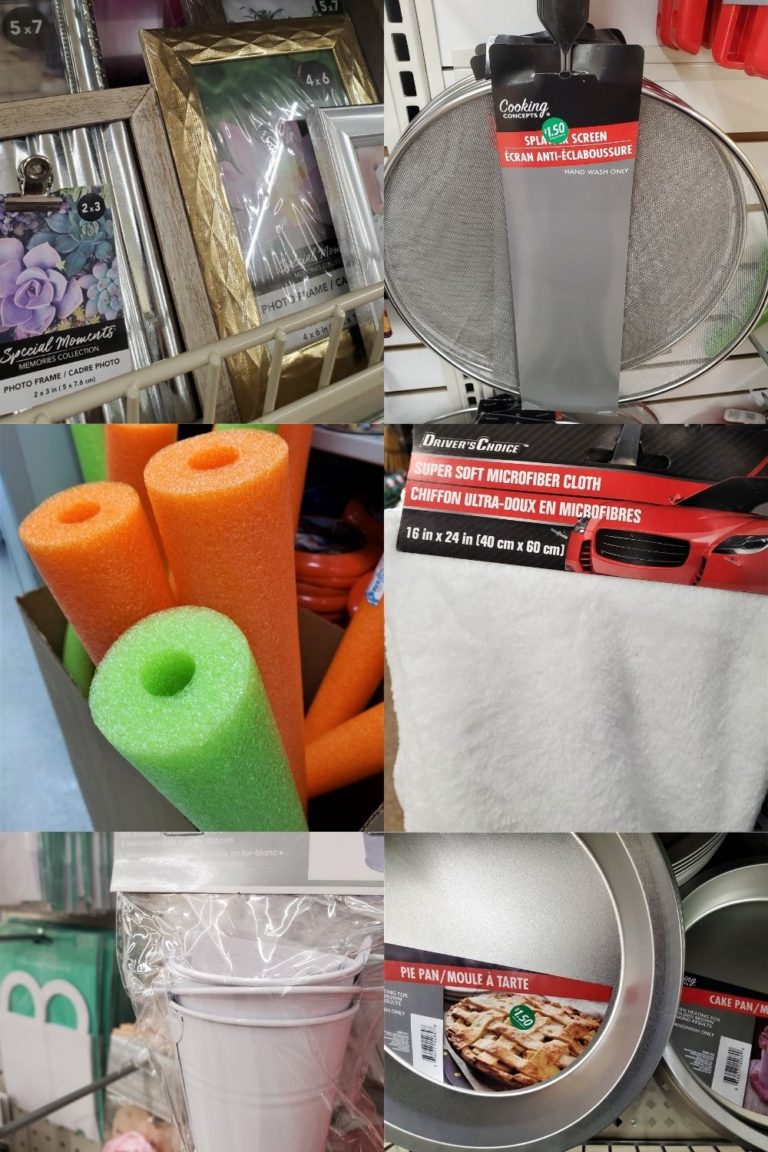
Supplies You Will Need To DIY Tray
- Round metal tray with wooden handles (I got mine from Dollarama for $4 but I’ve also spotted similar trays at thrift stores, crafts stores, and Walmart.)
- Painters tape (I personally love Frog Painter’s Tape but any ol’ painters tape will do.)
- Rustoleum spray paint in Lagoon
- Dollar Tree peony decals (I used the package with the white peony.)
- Outdoor Mod Podge
- Foam paint brush
- Scissiors

Watch the video to see my other Dollar Tree Decal DIYs!
How to Make DIY Tray With Dollar Tree Decals
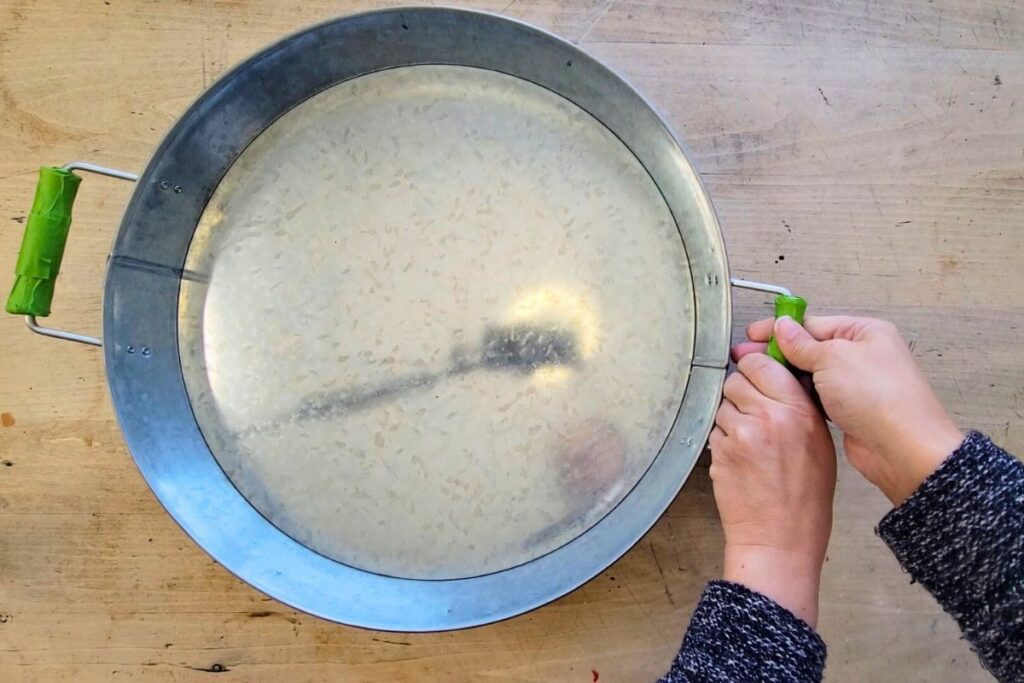
I started by taping off the wood handles on each side of the tray. The tray would be getting a decent dose of teal spray paint and I didn’t want the handles to changes colour as well.
Small and manageable strips of painters tape were cut from their roll and then were carefully wrapped around the wooden handles until they were completely covered.
PRO TIP: Make sure that you cover the end of the handles as well. It is easy to over look this part but you want the whole handle to maintain its original wood colour.
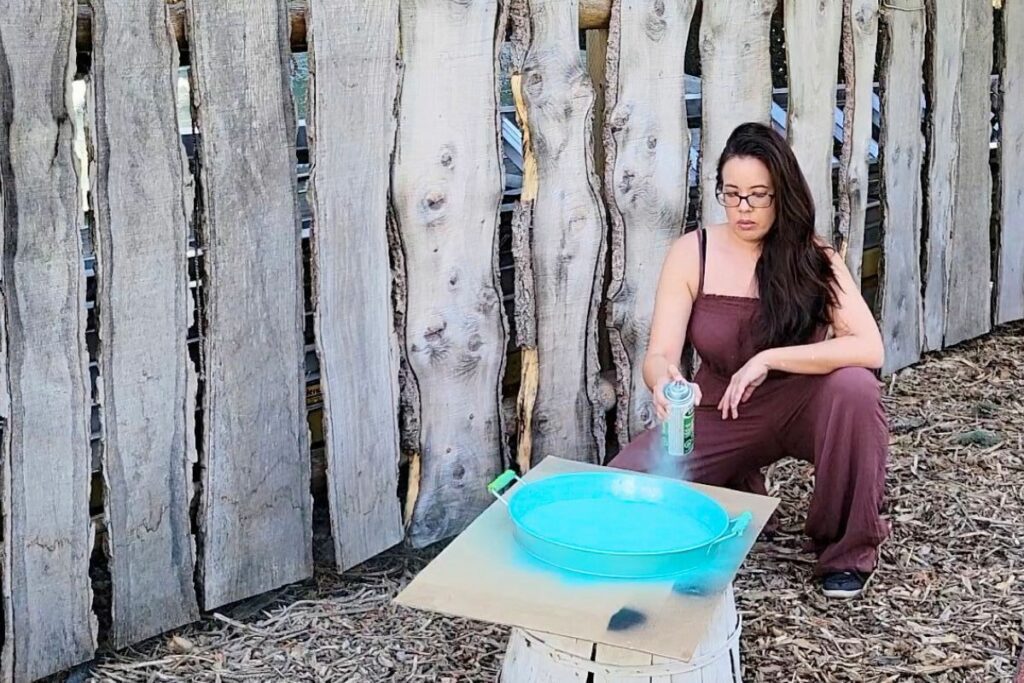
Now that the handles were safely covered, I took the tray outside to be spray painted. Using nice even strokes and several light coats, the entire metal tray was covered in the Rustoleum — spray paint. Each coat was allowed to dry completely in-between. This was repeated until the entire tray was completely and evenly painted. The painters tape was then removed from the handles.
I decided to go with the white peony decal because its simplicity and soft colouring complimented the teal tray nicely but you can really use any colour spray paint and any of the Dollar Tree flower decals for this DIY. This is the perfect kind of DIY decor because it is super simple to personalize to you liking.
Get Sticky With It
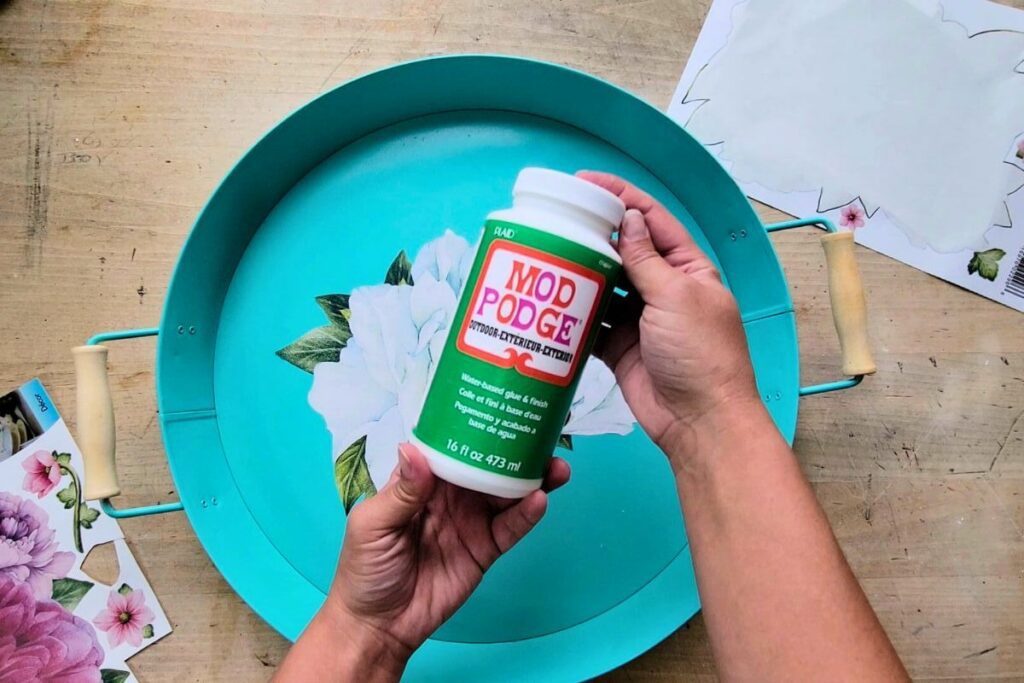
Using Outdoor Mod Podge and a foam brush, a thin coat was applied to the back of the sticker.
PRO TIP:To keep the glue off your table place a piece of wax paper down on your surface. Then glue on that.

Get All The Printables!
Sign up now to receive unlimited access to the At Jenny’s Place Free Printable Library. By signing up, you will gain unlimited access to all past, present, and future printables available in the library.
Join now and unlock the full potential of the At Jenny’s Place Free Printable Library!
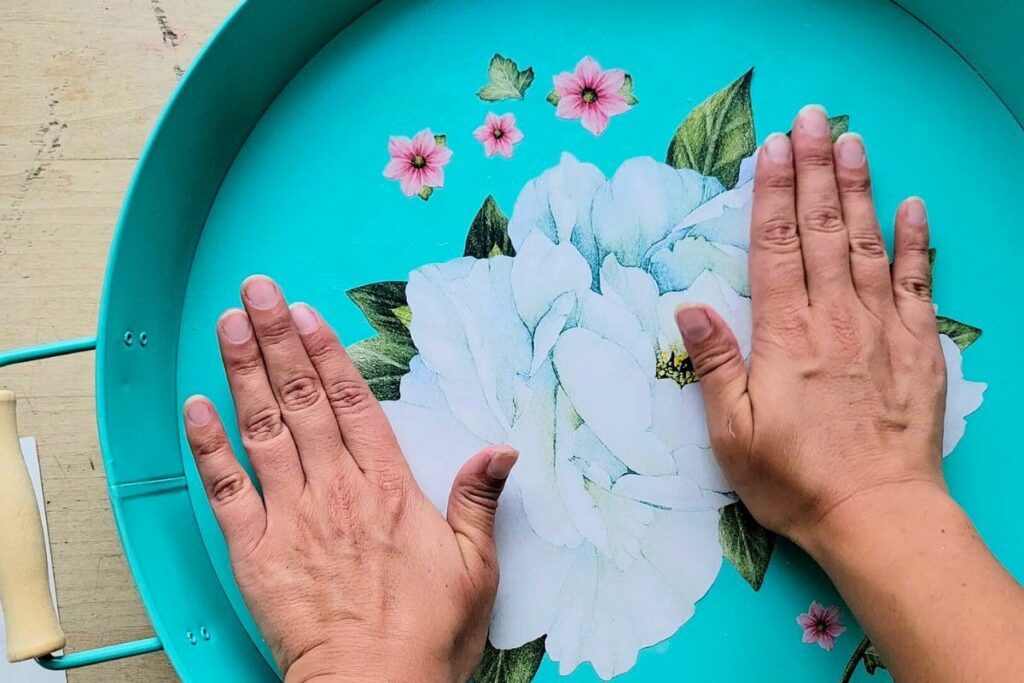
Carefully place the sticker, right side up, onto the centre of the the tray. Lightly press down with your hands. If you have a Cricut scrapper or a brayer you can use that to gently press the decal down.
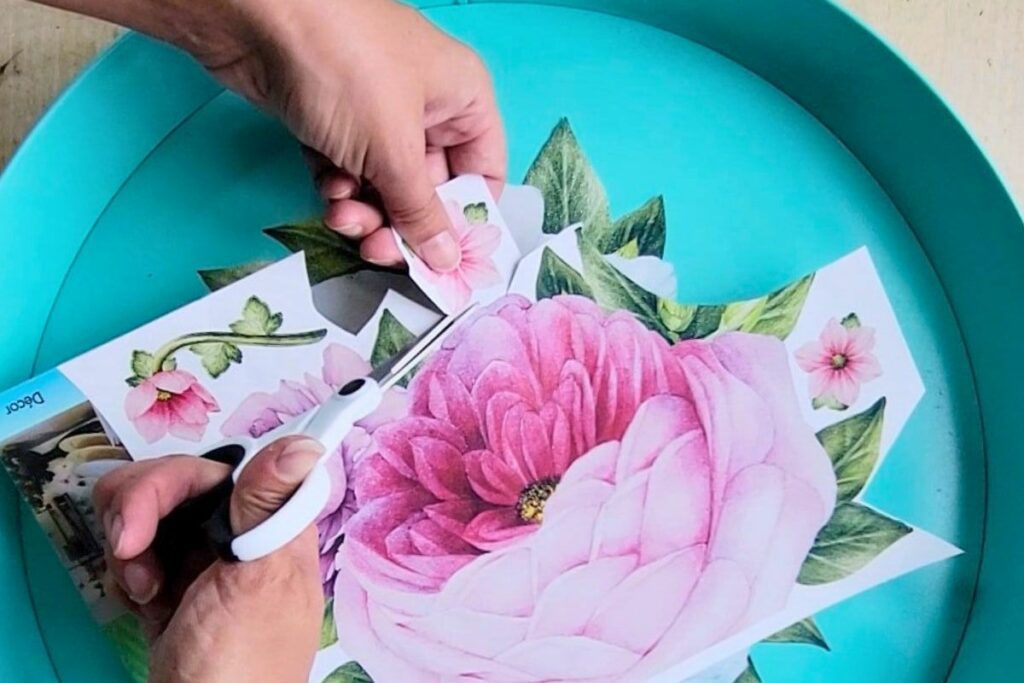
Next, carefully cut out some of the smaller flower decals that come with the larger images. Before removing the backing arrange these around the larger peony to see exactly where you want these to go.
Then, remove each from their backing. Again, using the felt brush apply a thin layer of the Outdoor Mod Podge to the back of the stickers and then place them onto the tray.
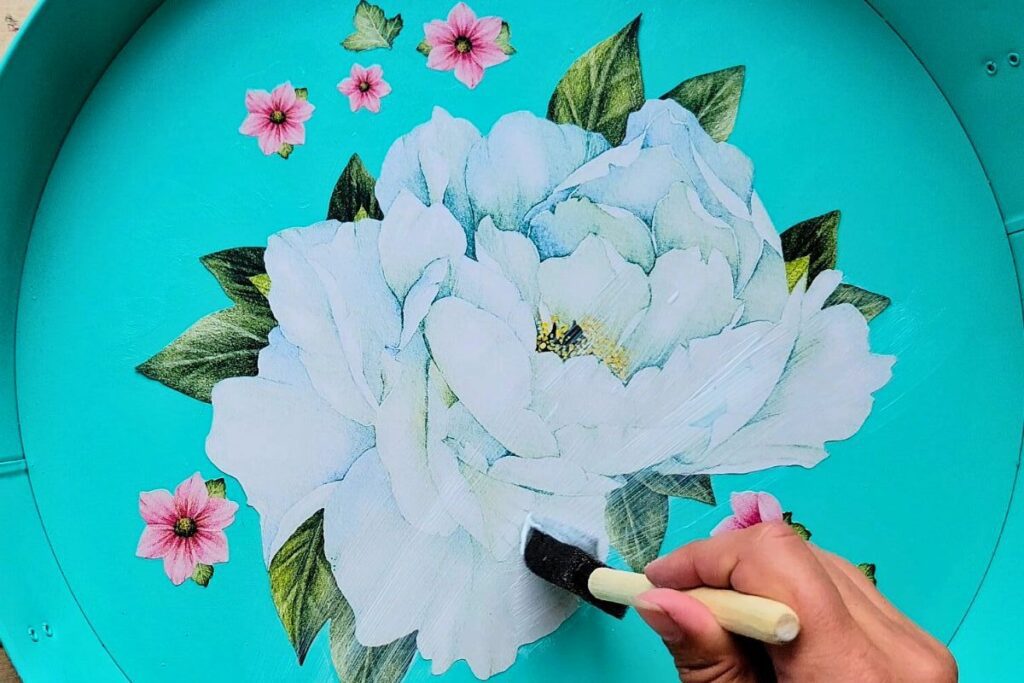
To seal everything in apply a thin coat of the Mod Podge on top of the decals. The nice things about working with these decals and the Mod Podge is that the colour doesn’t smear. Let the first coat dry completely and then top it with a second coat.
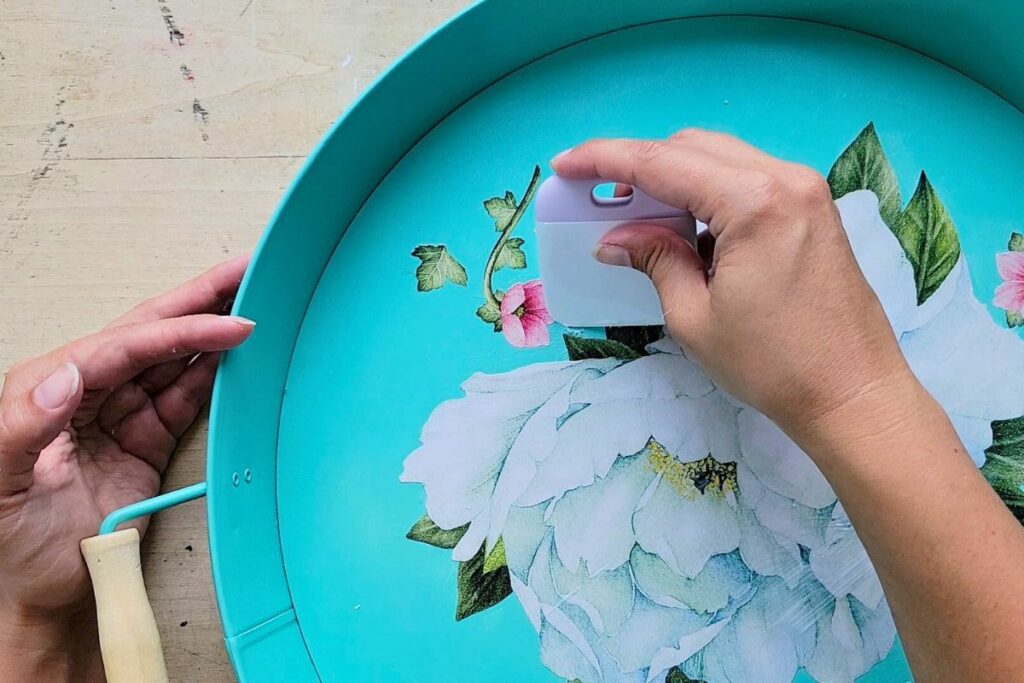
Gently scrape any of the excess Mod Podge from around the decals using a scraper. Be very gentle with this step. You don’t want to scratch the paint. Use a damp cloth to remove any bits that come up.
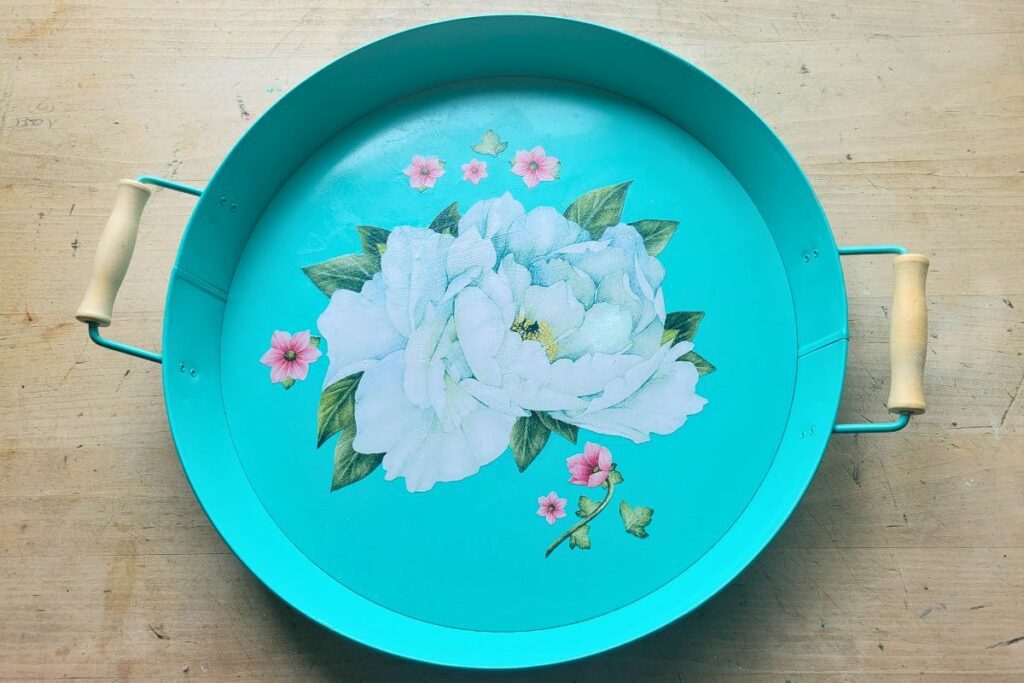
Et Voila! You have yourself a beautiful serving tray that.
I am completely in love with the beautiful tray. I can’t decide if I want to use it to serve things on or if I will use it as table or wall decor. There are just so many possibilities for this stunning but simple DIY tray.
Jenny’s Finishing Thoughts On This DIY Tray
Decorating a DIY serving tray is a great way to add charm and personality to your home. By using just a few simple materials, you can create a one-of-a-kind piece to display your favorite books or snacks.
With this project, you can create an eye-catching piece for less than $10. Just remember to use light, even strokes when applying the spray paint and place the decals strategically for a well-balanced look. By combining these tips, you’ll have an elegant, unique tray to show off to family and friends.
Tell me, do you have a family heirloom that you just simply love and have you ever thought of recreating it? Tell me in the comments below.
Did you find this post helpful or inspirational? Save This Pin to your DIY Tray board on Pinterest.

I can’t believe how beautiful this tray is 💕 Congratulations on another outstanding piece.
Thank you. I think that it turned out nicely too.