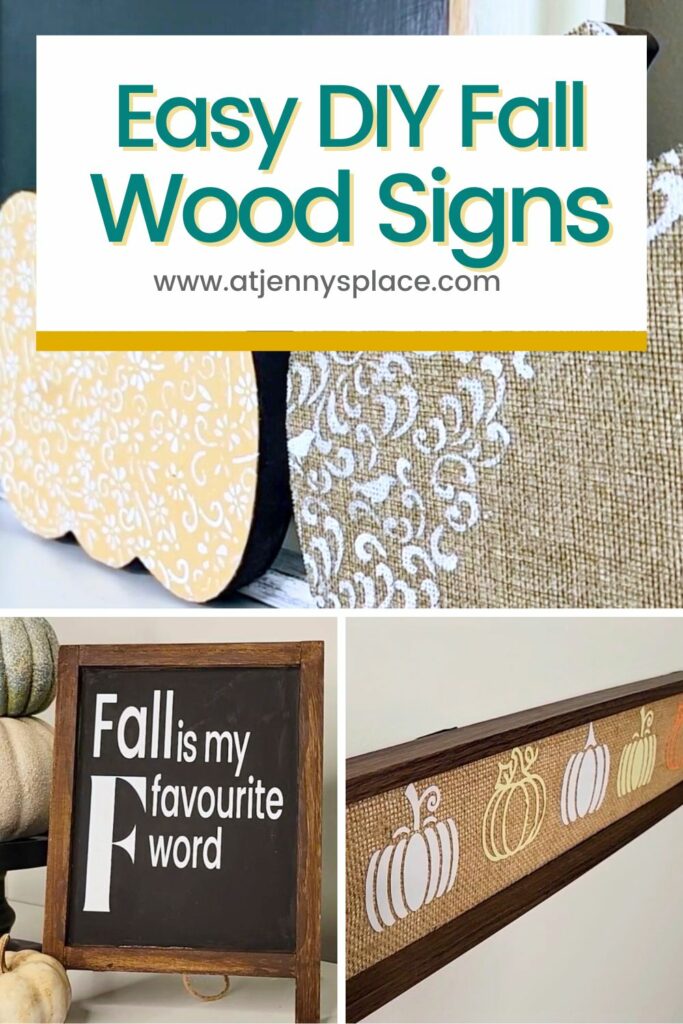
Fall Wood Signs Dollar Store DIYs
Fall is in the air! Greet autumn with these 5 easy to make, fall wood signs each made from mostly dollar store supplies.
Fall Is In The Air
The signs of fall are finally here! It’s time to enjoy cooler air, the leaves changing colours, and, of course, festive pumpkin decorations! Unfortunately, store bought decorations can be really expensive. Fortunately, you can create your own fall wood signs using mostly dollar store items for pennies on the dollar.
Let me show how you too can recreate these 5 beautiful yet simple fall wood signs that will bring the spirit of the season to your home without breaking the bank.
So let’s get ready to make these show stopping wood signs for your home that are sure to add a rustic touch of seasonal cheer. Time to get your DIY on!
Get the DIYs on Video
Check out the video to see how each of these DIY Fall Wood Signs were made with my Cricut and more of their finished looks!
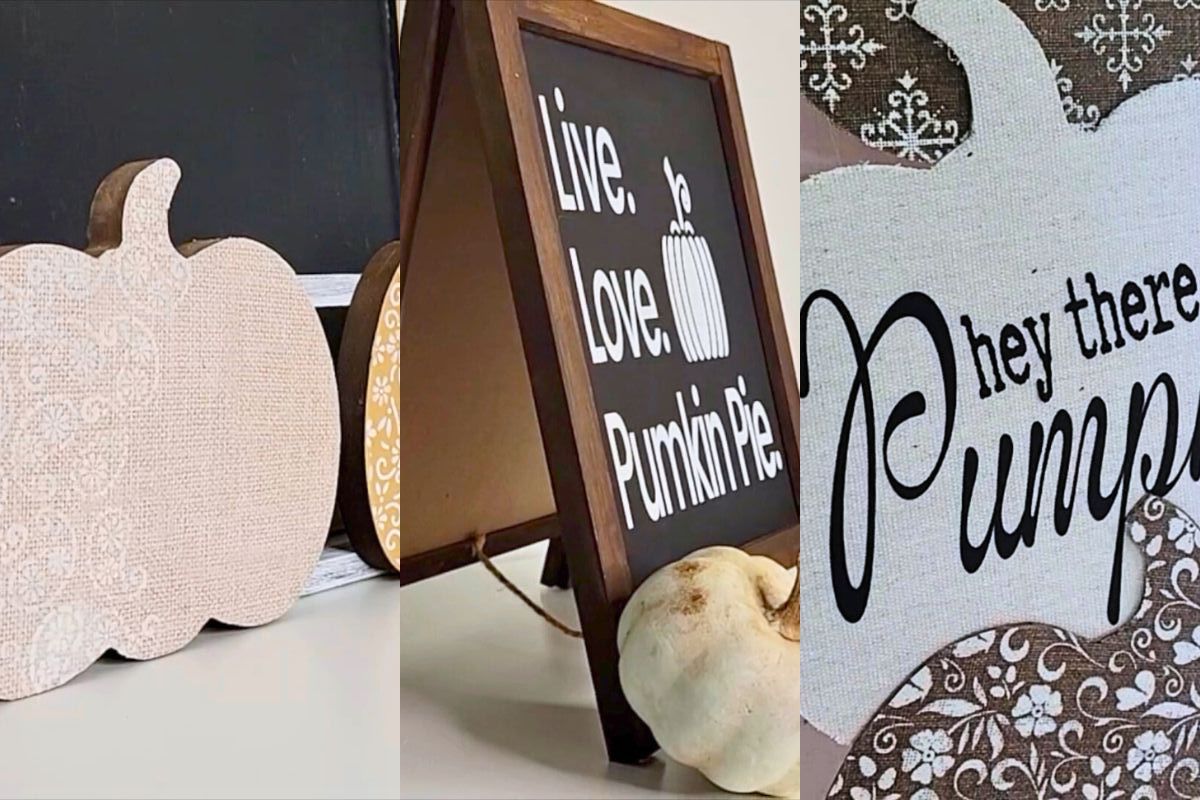
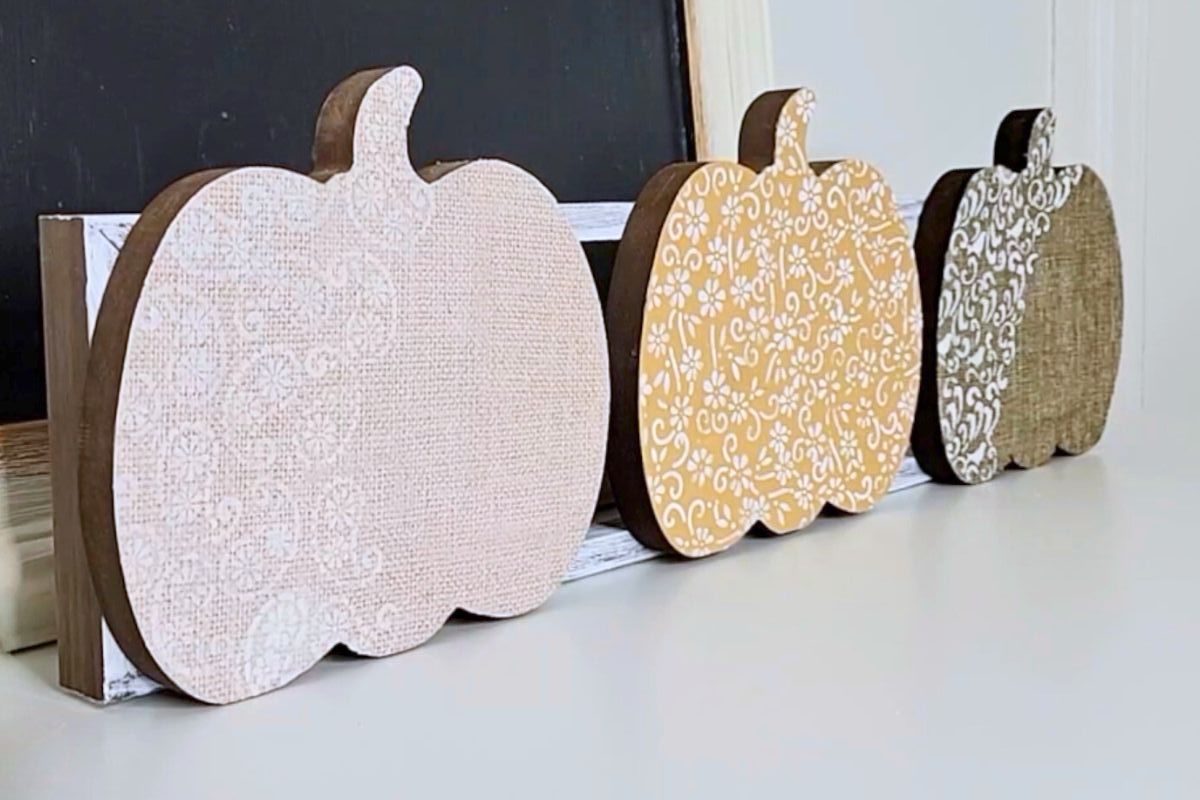
Decorative Pumpkin Decor
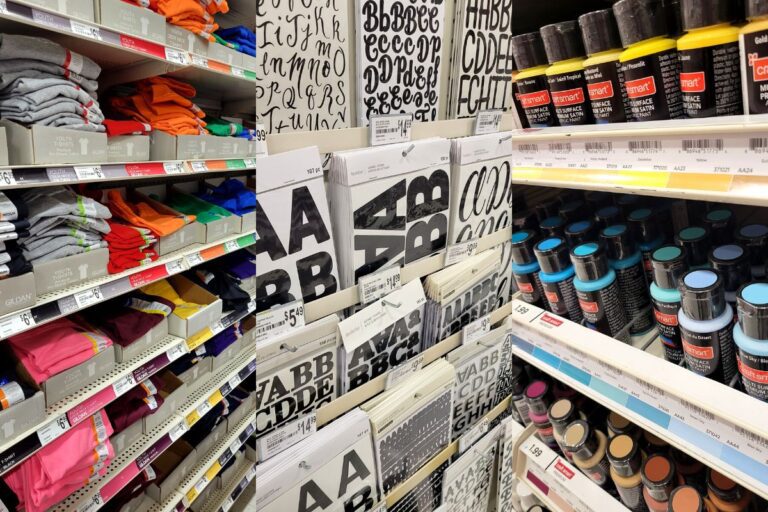
Supplies You Will Need
- Rectangle frame (I got mine from Dollarama)
- FolkArt Chalk Paint in White Adirondack
- Chippy paint brush
- Dry cloth
- Burlap roll
- Decorative paper of your choice (I went with plain Kraft paper and faux burlap.)
- Mod Podge
- Foam brush
- Sandpaper
- Stencils of your choice (I went with one that had leaves, birds, and paisley, and sunflowers.)
- Small stencil brush
- Wood glue
- Hot glue gun
- Glue sticks
This sign is so elegant it’s a bit shocking how simple it is to recreate. Basically, a simple coat of chalk paint and a little distressing will work wonders on this simple, cheap wood frame. By using cost effective decorative paper and a bit of burlap a few tacky Dollar Tree wood pumpkins can easily be transformed into ones that look so high end. To add a bit of detailing, use some inexpensive stencils from the dollar store and a bit of white paint. Then simply adhere each of the pumpkins to the frame using a bit of wood glue and a dap of hot glue.
This piece is so wide at the bottom that you can sit it up on a buffet or fire place mental or you can hang it as seasonal wall art.
Et voila! You now have yourself beautiful fall art that looks like you paid a lot for it but really… ir will be our little secret.
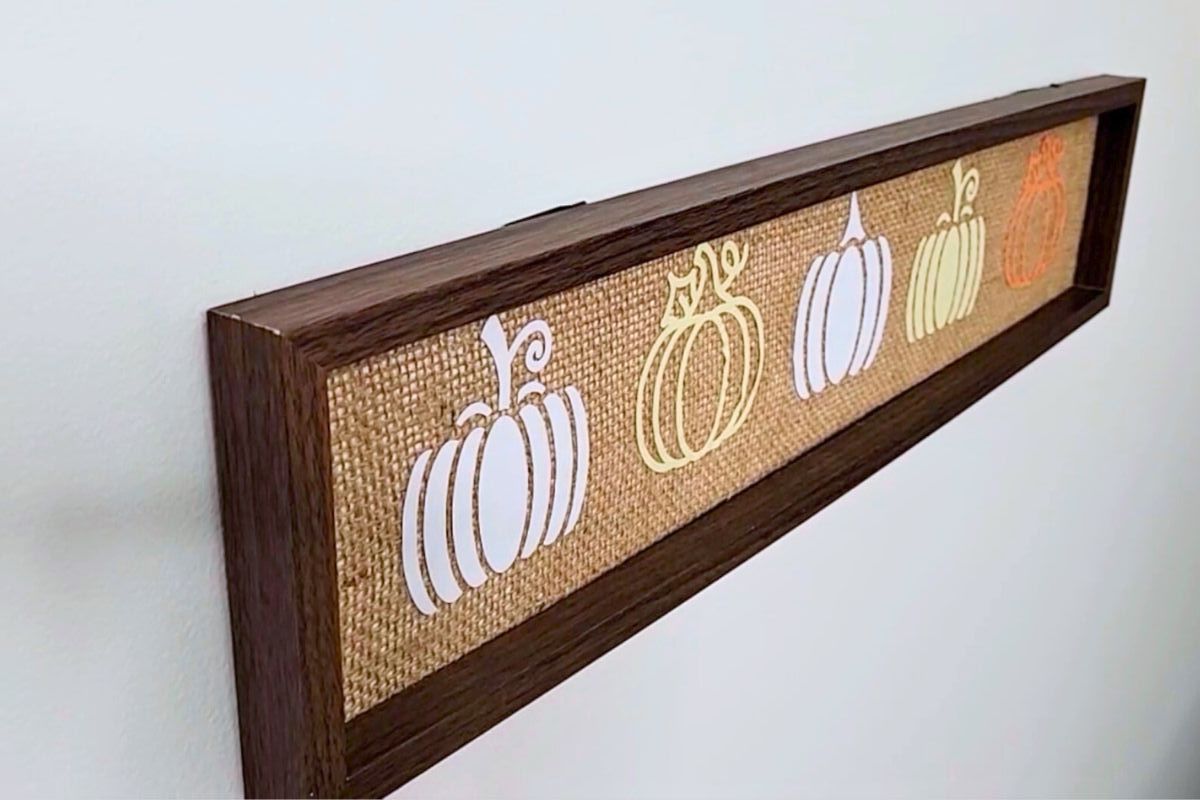
Pumpkin Patch Fall Wood Sign
Supplies You Will Need
- Rectangle frame (I got mine from Dollarama)
- Wide burlap ribbon
- FolkArt Chalk Paint in White Adirondack
- Foam paint brush
- Vinyl in white *See note
- Vinyl in cream *See note
- Vinyl in orange *See note
- Siser Transfer Tape
- Cricut machine
- Cricut scraper
- Scissors
- Hot glue gun
- Glue sticks
*Note: I went with temporary vinyl because I knew I would be reusing this sign for future DIYs. If you want to make this sign more permanent then you should go with heat transfer vinyl in white, cream, and orange.
This sign was made using a rectangle frame that can almost always be found at Dollarama. They come out with these same frames for every season, just with different seasonally appropriate messaging. You can create so many DIYs with these simple frames. I once used them to create a faux wood crate that is perfect for fall table centrepiece.
That being said, if you don’t have a Dollarama near you it’s no big deal. All you need is a rectangle frame. You could even make one with scraps of wood. The burlap ribbon tends to have a lot of holes in it so painting the picture frame inlay helps keep the look clean. Then use your Cricut to cut out some pumpkin shapes. Make sure that you mix up the colours a bit. I liked the mix of white and cream with just a pop of orange but it’s really up to you and your colour preference.
And there you have it! Beautiful pumpkin wall art that looks like you’ve paid a lot for it at Michaels but really it cost just a few dollars and it was so easy to make.
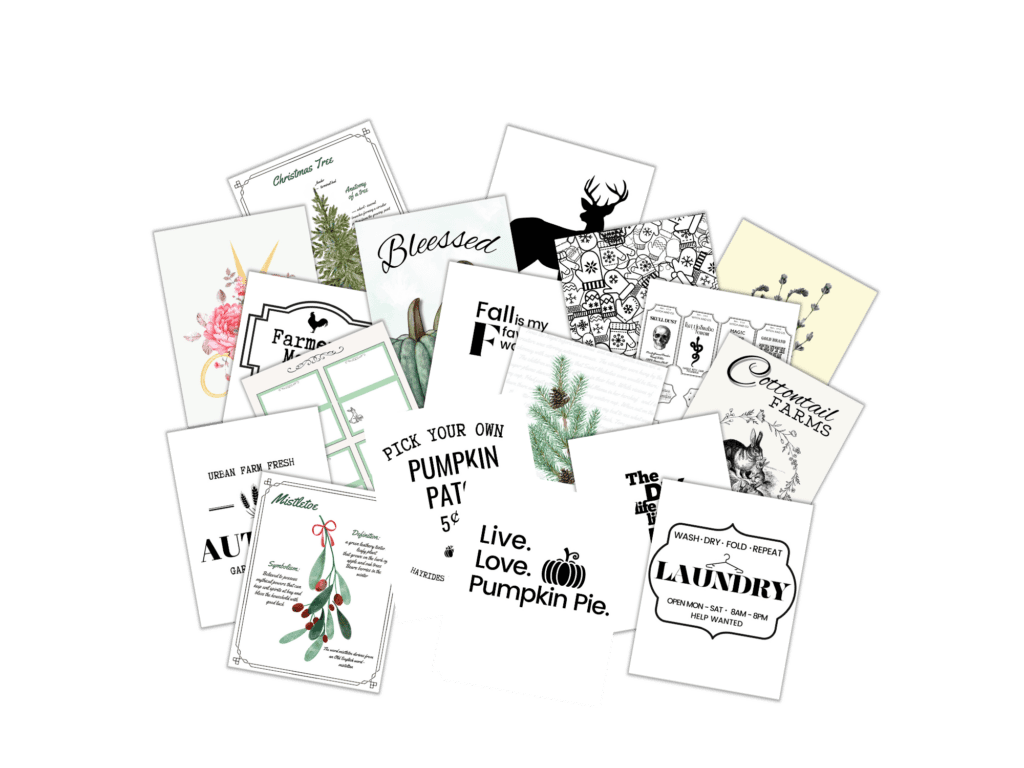
Your Free Printable!
Get all the printables that you need for these projects and others!
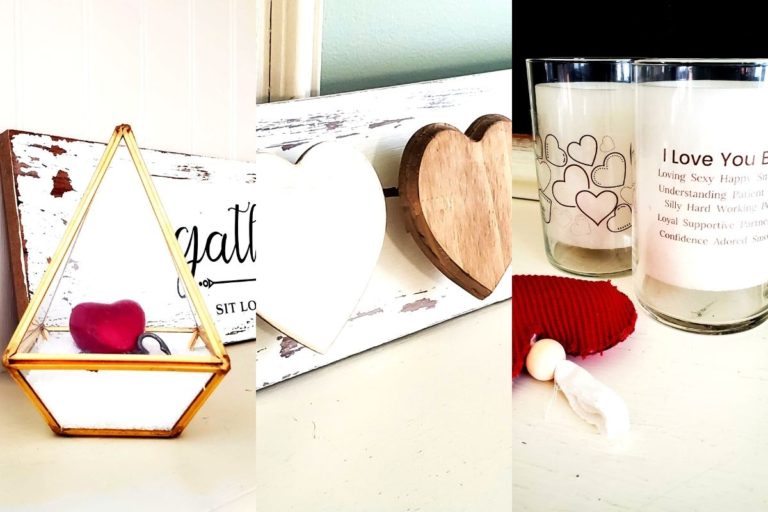
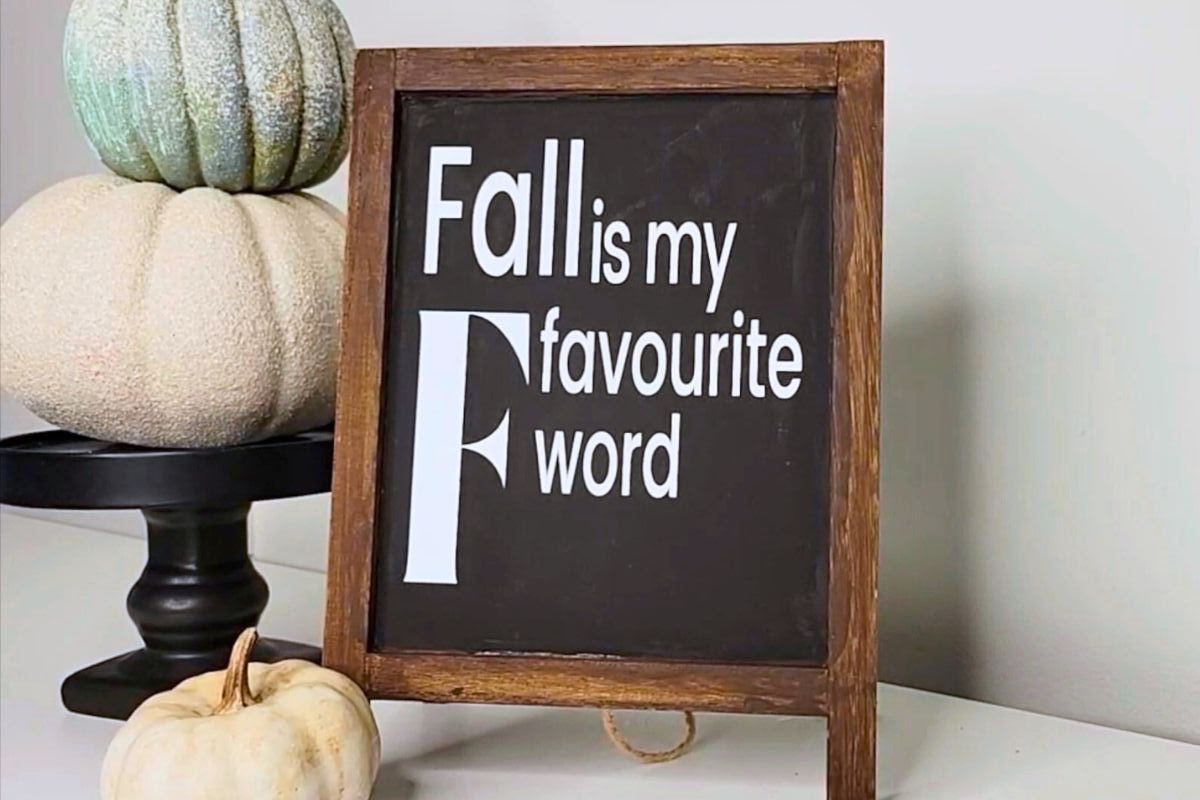
Dual Sided Fall Wood Sign
Supplies You Will Need
- Dual sided wood sign
- ArtMinds Antiquing Wax (*Optional)
- Foam Brush
- ArtMinds Chalk Paint in Black Onyx
- Permanent white vinyl
- Cricut machine
- Siser Transfer tape
- Cricut scraper
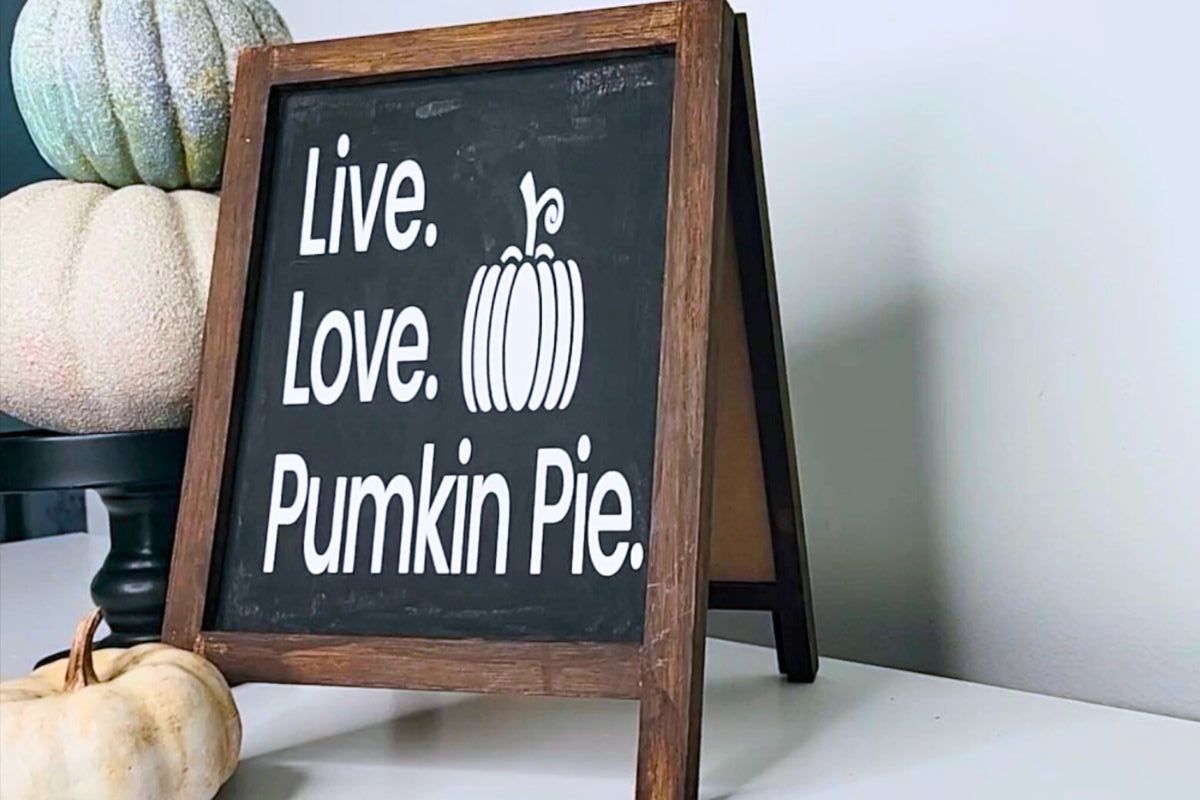
This cheeky, dual sided fall sign is perfect for those of you who love to change things up. It also works well if you have a spot in your home where you need a sign that will look good from every angle. In our home, it’s the counter top between our kitchen and the dining room.
I decided to get a little risqué with one of the sides. I couldn’t help it. It was just too freakin’ cute. The other side I decided to go with just plain cute… but I had a fibro fog attack and as you can see I spelt that sucker wrong. Now, don’t panic because I fixed the printable so your sign will be spelt correctly.
The best part about this dual sided sign is that it can really fit into many different decorating styles. You’re all about the farmhouse look? Boom! Works for that. More into modern or minimalism? Works there too! This sign is simple, charming, and oh so cheap to make.
Hey, There Pumpkin Fall Wood Sign
Supplies You Will Need
- 3 large pumpkin signs from Dollar Tree
- Decorative burlap rolls in 2 different patterns
- Drop cloth
- Outdoor Mod Podge
- White acrylic paint
- 2 Foam brushes
- Scissors
- Heat transfer vinyl in matte black
- Cricut machine
- Cricut StandardGrip Adhesive Cutting Mat
- Cricut weeder tool
- Cricut heat press
- Large wood dowel (I used an old wooden curtain rod.)
- Wood glue
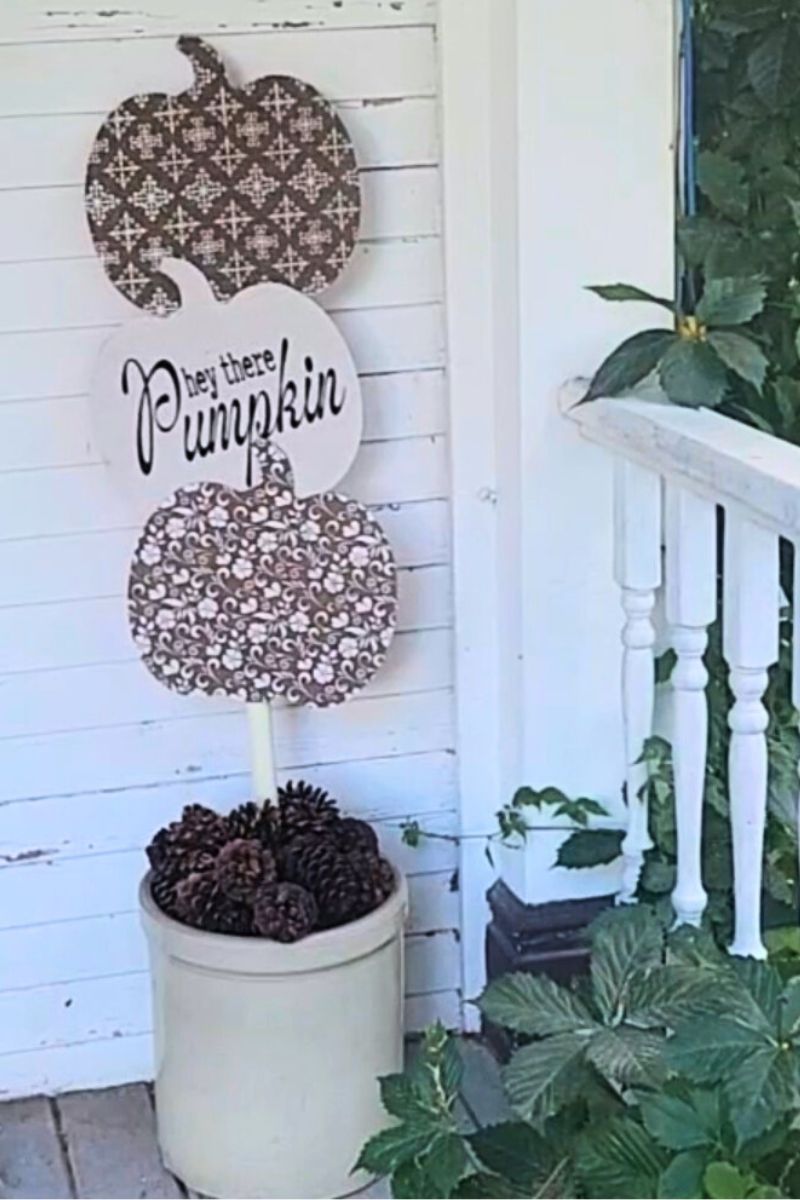
This beauty sits proudly on our front porch by the front door. I went super understated with this look but you could always add any decorative embellishments that you wish. Each pumpkin gets a different look.
If you are keeping this sign outside then I would strongly suggest that you use outdoor Mod Podge and that you display it somewhere where it is not directly in the elements. If you plan on using this indoors, regular Mod Podge will do.
Trace each pumpkin onto one of the material types. Adhere to each of the pumpkins with a generous amount of Mod Podge. For the drop cloth pumpkin use your Cricut to cut out the fall message and then with your heat press adhere. This will be your middle pumpkin. Use wood glue to attach each of the pumpkins to the wood dowel.
PRO TIP: Make sure that when you are tracing out the each of the pumpkins trace it onto the material with the orange side up and then flip the pumpkins over so that the orange won’t show.
Dancing Leaves Wall Art
Supplies You Will Need
- Long, thick wood piece (This one came from Dollarama but really any long, thick wood piece would do.)
- Chalk paint in FolkArts Milk Jug
- Paint brush
- The metal leaves used and removed in the Trio of Pumpkins DIY sign
- Rustoleum spray paint in Aged Copper or ArtMind chalk paint in copper
- ArtMinds chalk paint in Succulent
- ArtMinds chalk paint in Antique Aqua
- FolkArt chalk paint in Seaside Villa
- Small stencilling brush
- Hot glue gun
- Glue sticks
- Sawtooth picture hanger and nails
- Hammer
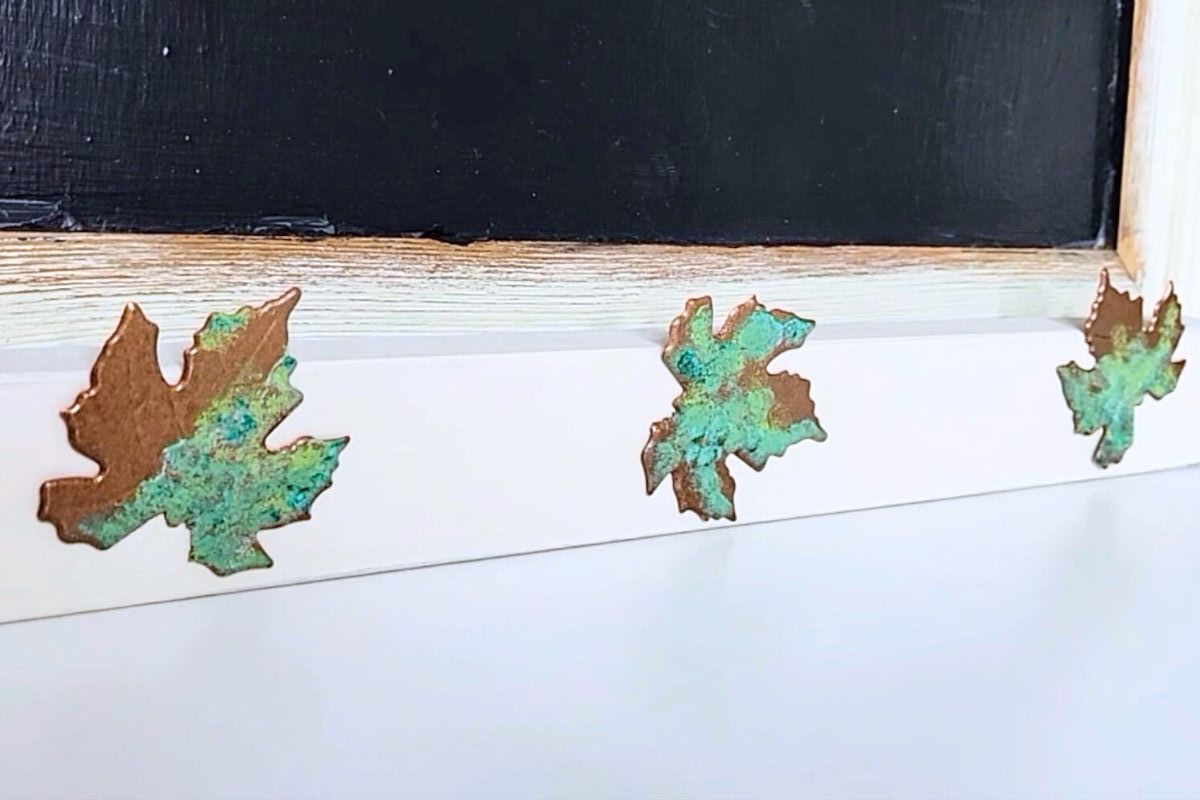
This time we are going to keep things super, duper simple. This simple fall wood sign is much like the dual sided sign in that it can really fit any decor style. Now, I only added 3 leaves because that is the number of pumpkins I had purchased. If you prefer, you could always add more leaves. 5 leaves would look really lovely. Maybe even better than just the three.
In order to recreate this fall wood sign all you will need to do is paint out the wood piece in the Milk Jug chalk paint. Next, using either the copper spray paint or the chalk paint, paint each of the leaves with at least 2 coats. The spray paint makes things much quicker and easier.
Next, apply the other 3 chalk paint colours with your small stencil brush. Add a bit of this and a bit of that until you get a look that you are happy with. Try not to make the leaves look the same. You are going to full visual interest here.
And that’s really it. So simple and yet so elegant. I could totally see this in some high end boutique shop with an inflated price tag attached.
Jenny’s Finishing Thoughts On Fall Wood Signs
Isn’t it amazing what you can do with just a few dollar store items and a touch of creativity? You can easily have the perfect autumn decor in your home. Whether you make the “Hey There Pumpkin” sign, the dancing leaves wall art, or maybe the cheeky dual sided easel, these simple fall wood signs are sure to bring extra warmth and cheer into your home.
So, take a quick trip to the dollar store, collect the items you will need, and then head on to home to recreate the sign you want to greet the season with. The best part? You don’t have to be an expert DIYer. All you need is the right supplies and a bit of time, and you’ll have you perfect fall sign in no time!
Tell me, which of these wood fall signs was your favourite? Leave it in the comments below!
Did you find this post helpful or inspirational? Save This Pin to your Fall Decor board on Pinterest.