3 Unique Fall Door Wreaths
Today let’s make 3 unique fall door wreaths using dollar store supplies. These are easy, inexpensive, and simply gorgeous.
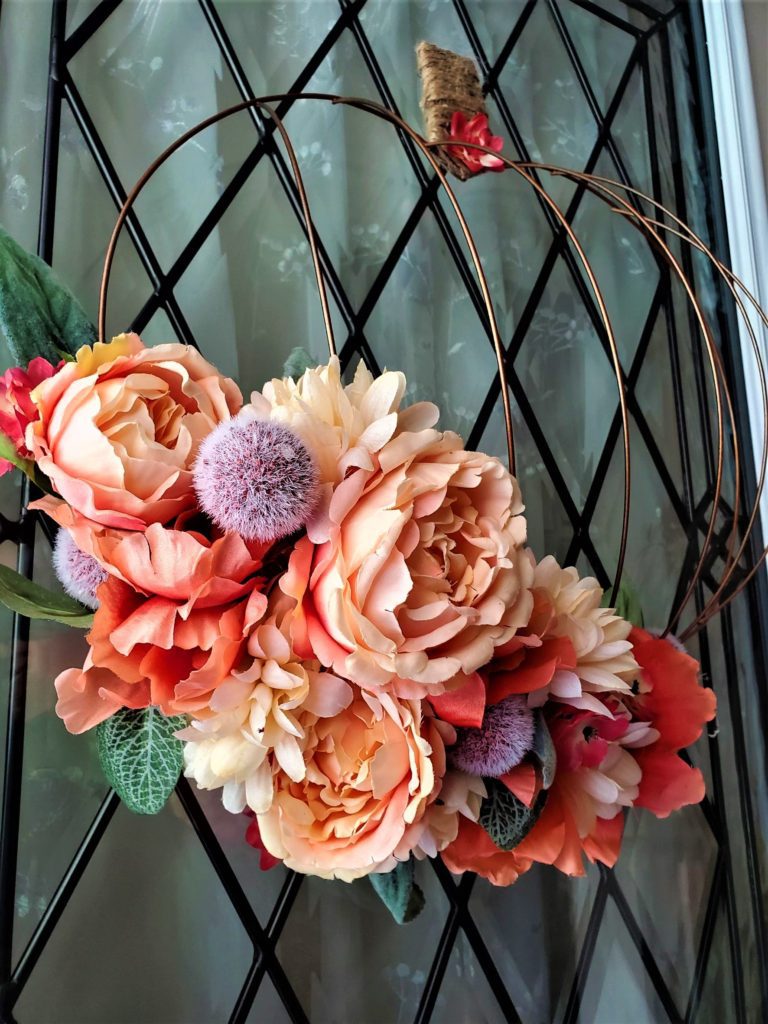
Cinderella’s Fall Pumpkin Wreath
When I saw Dollar Tree’s pumpkin wreath form I just knew I had to make a wreath with it. It had to be original, beautiful, and classy. I knew that I wanted to keep it simple but have it look high end. I think it was a success but what do you think?
NOTE: Most of the supplies used in all of these unique fall door wreaths were from the dollar store. I’ve listed when it’s the exception.

Supplies You Will Need
- Metal Pumpkin Wreath Form
- Faux Off White Chrysanthemums
- Faux Peach Roses
- Faux Peach Peonies
- Faux Flocking Fall Bushes
- Faux Lambs Ears
- Faux Ivy
- Faux Hop Bush
- Rustoleum Universal Hammered Copper Spray Paint
- Wire Clippers
- Scissors
- Twine
- Hot Glue Gun and Hot Glue

How To Make Cinderella’s Fall Pumpkin Wreath
- Remove the sales tag from the wire pumpkin wreath and then spray paint it with the copper spray paint. This took a couple of coats.
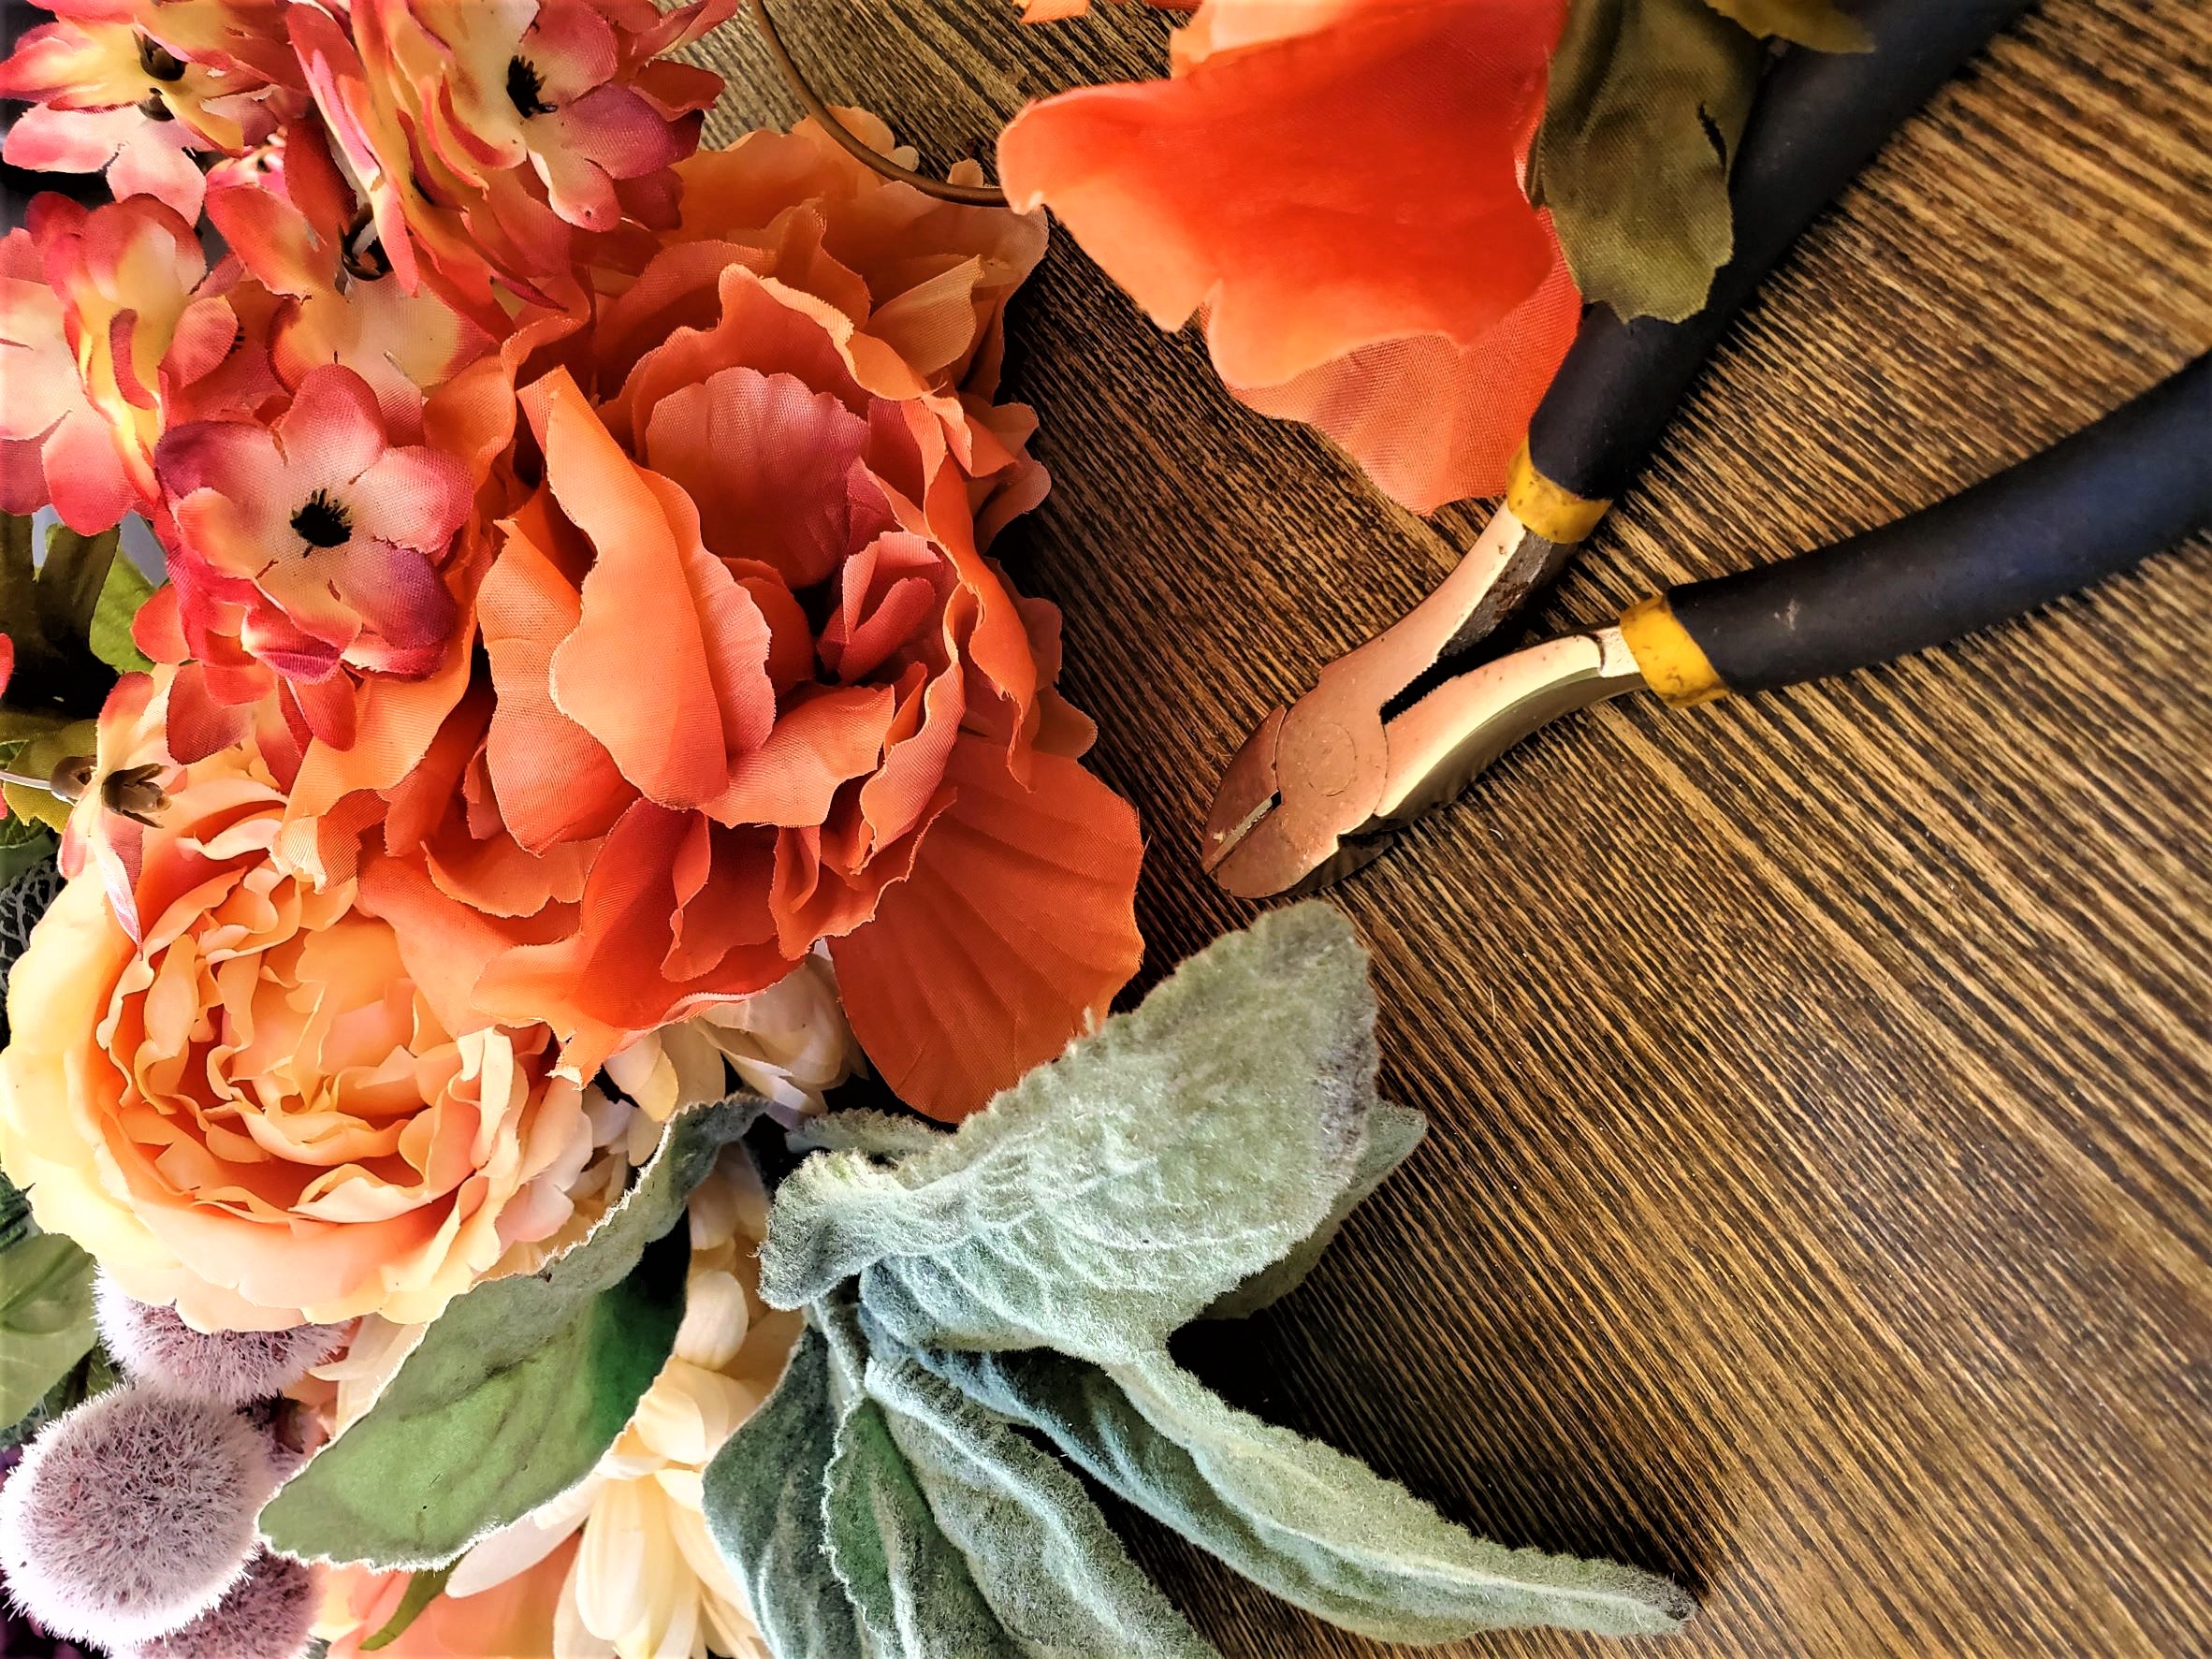
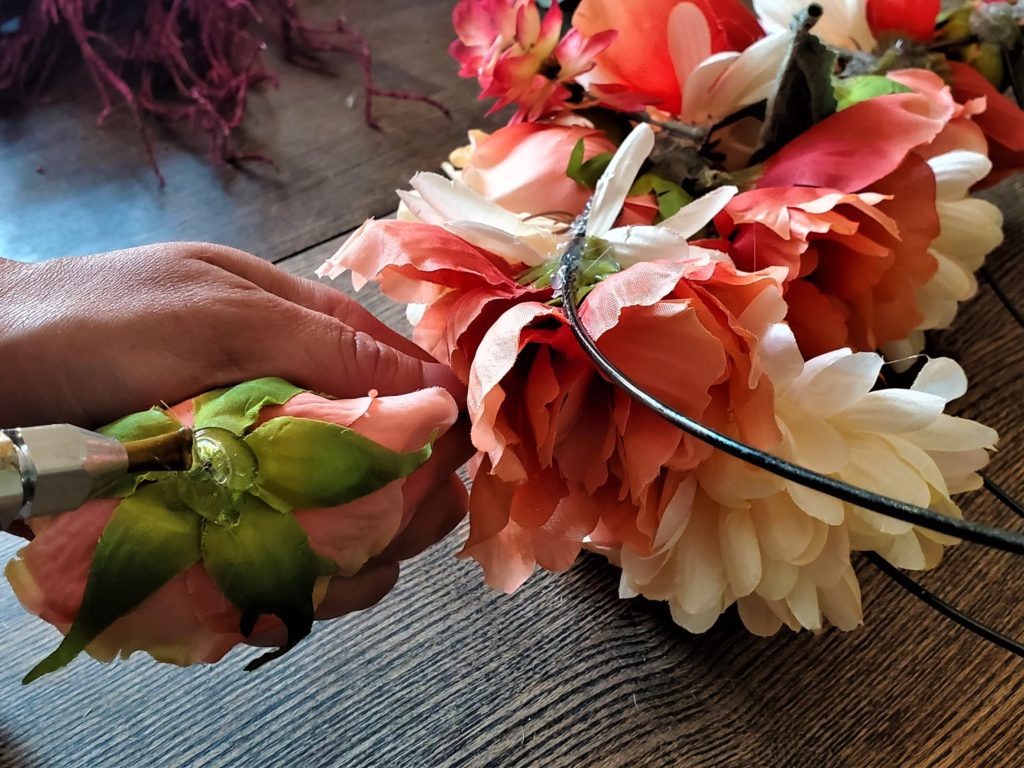
- Cut the stems off of all the faux flowers from Michael’s. You will want to do this as closely as possible to the bottom of the bloom. The Dollar Tree blooms should just pop right off the stems without needing to be cut.
- Hot glue the faux flowers to the bottom, left hand side of the pumpkin wreath form. Use a big gob of hot glue so the blooms will stick.
- Hot glue the faux flowers to the bottom, left hand side of the pumpkin wreath form. Use a big gob of hot glue so the blooms will stick.
- Mix up the blooms and glue a few of them on the vertical wires too, making sure that you spread out the colours and the bloom types so that it is visually varied and that the bottom appears lush and full.
- Using hot glue, wrap the stem in twine and glue it in place.
Fall Floral Burlap Wreath
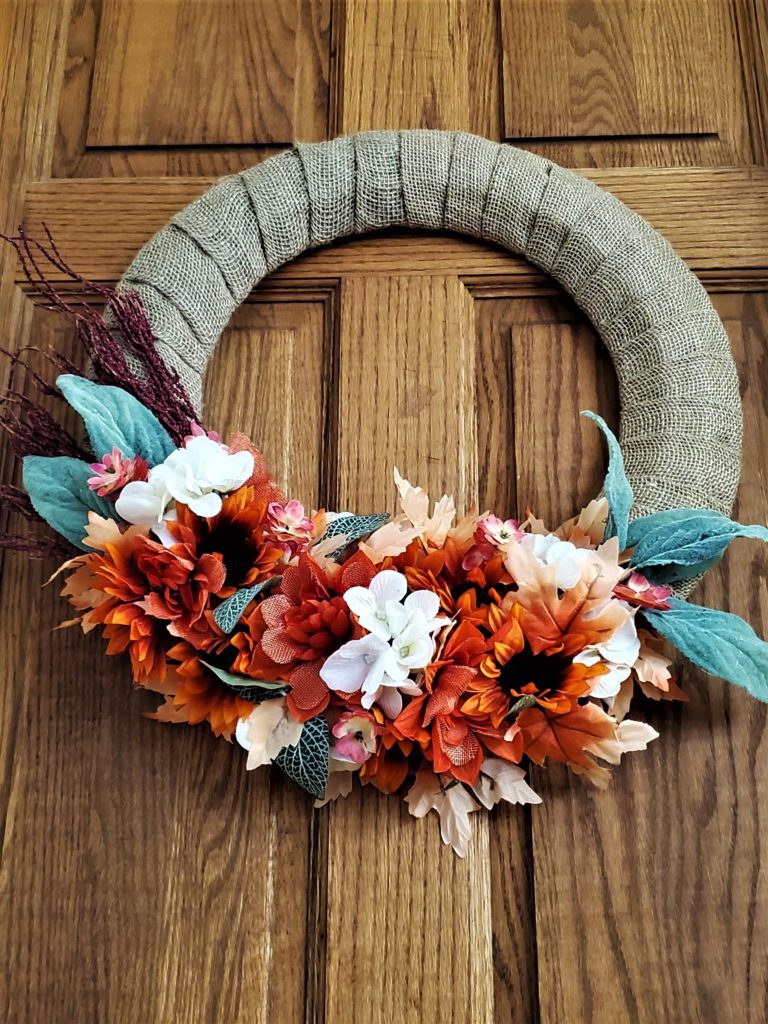
Hubby says that this is his favourite of all the unique fall door wreaths that I made this year. It is gorgeous and it is full of fall colour. The mix of fall blooms and textures makes for a stunning and incredibly interesting finished look.

Supplies You Will Need
- 4″ or 18″ Metal Round Wreath Form
- Roll of Wide Burlap Ribbon
- Faux Sunflowers in Orange
- Faux Fabric Fall Flowers in Orange
- Faux Hops Bush
- Faux Maple Leaves in Peach
- Faux Flocking Fall Bushes
- Faux White Hydrangeas
- Faux Lambs Ear
- Faux Ivy
- Hot Glue Gun and Hot Glue
- Scissors

How To Make Fall Floral Burlap Wreath
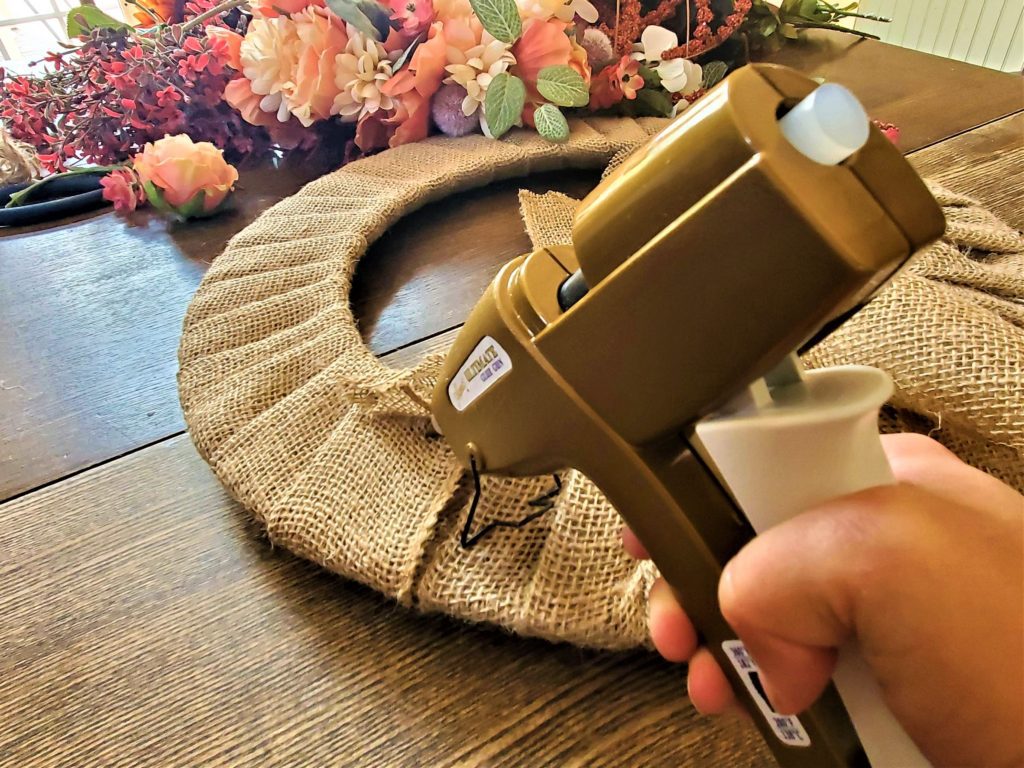
- Start by removing the tag from the wreath form. Fold the burlap ribbon in half length wise and then hot glue the end of the burlap ribbon to the base of the frame.
- When you get to the end of the wreath form tuck the open side under the first wrapped, folded part. Hot glue the end down to finish off the wreath.
- Cut the — into individual stems. Hot glue the stems one at a time to the left side of the burlap wreath. Stagger the heights of the stems by placing the inner stems higher up and then lowering the stems as you work your way outwards.
- Then add a stem of the lams ear and follow this with a white hydrangea stem and top that with a sprig of hops bush.
- Hot glue the flowers to the bottom left hand side of the burlap wrapped wreath form starting at the base of the lambs ear stems.
- Make sure that you vary the blooms and that you add flowers to the inner and outer sides of the wreath. You want the finish look to be lush and full.
- You are only covering the bottom portion of the wreath with flowers.
- Lastly, add a few ivy leaves and some flocking fall bushes throughout the arrangement with some hot glue. Look for those little holes left by the blooms that need to be filled.
Moody Blues Magically Lit Pumpkin Wreath
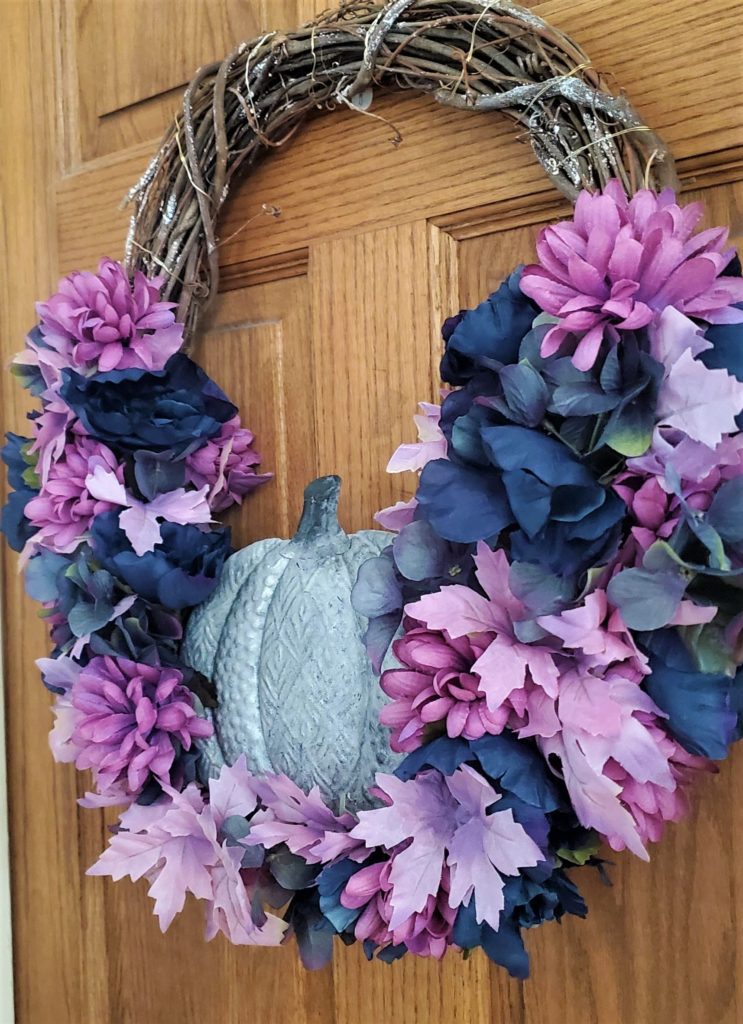

I can’t decide my favourite part about this wreath: the way it lights up at night and looks so incredibly magical or that you don’t need to hot glue the faux flowers to the frame so you get to use the wreath form, LED lights, metal pumpkin, and faux flowers again and again. Win, win!
Supplies You Will Need
- rapevine Wreath Form
- LED Twinkle Lights
- 2 AA Batteries
- Metal Pumpkin Garden Stake
- ArtMinds Chalk Paint in Grey Wool
- ArtMinds Chalk Paint in Black
- ArtMinds Chalk Paint in — Silver
- Paint Brush
- Makeup Sponges
- Faux Peonies in Navy Blue
- Faux Chrysanthemums in Purple
- Faux Maple Leaves in Light Purple
- Faux Hydrangeas in Dark Blue, Purple, and Green
- Hot Glue Gun and Hot Glue
- Wire
- Ribbon
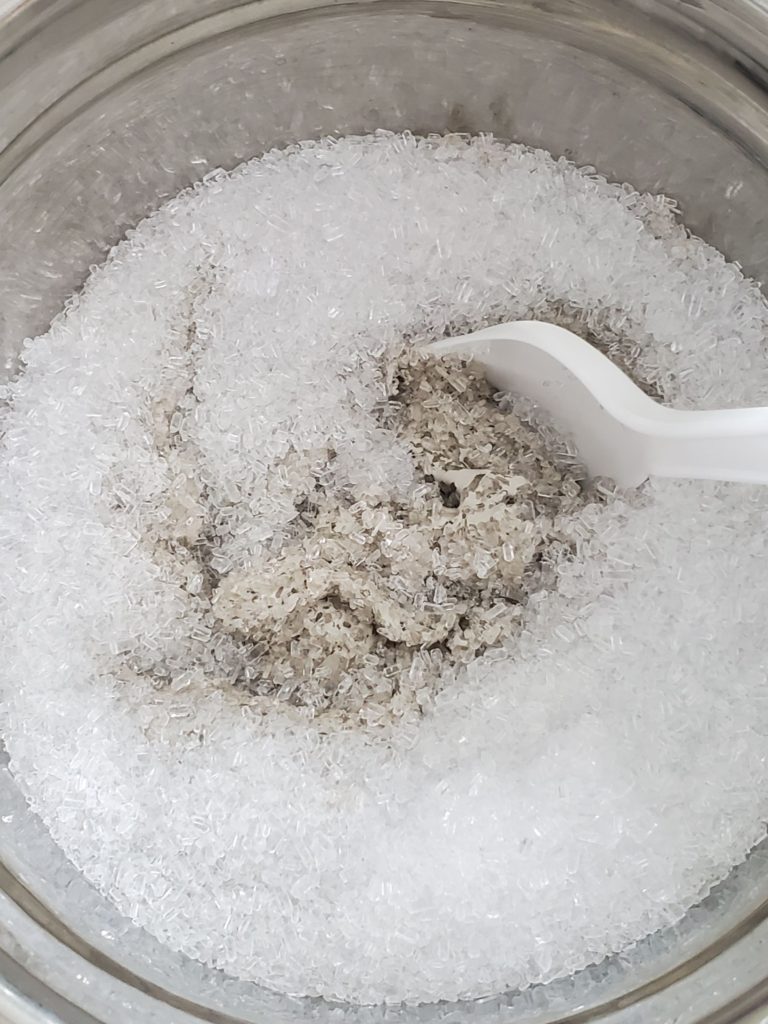
- *Optional: Epson Salt
- *Optional: Mod Podge or White Glue

How To Make Moody Blues Magically Lit Pumpkin Wreath
- Start by removing the leaves, raffia bow, and then remove the metal stake from the back of the metal pumpkin stake. The raffia easily pops off and the leaves and stake are really easy to bend and break off.
- Next, paint the entire pumpkin with the grey chalk paint. It took two coats to completely cover the pumpkin. Let this dry.
- I found it helpful to focus on one section of the pumpkin at a time. Using a makeup sponge and some of the black chalk paint dab paint on to the raised parts of the metal pumpkin. Swipe at the black paint to spread it out a bit. Add more silver in top to soften the black.
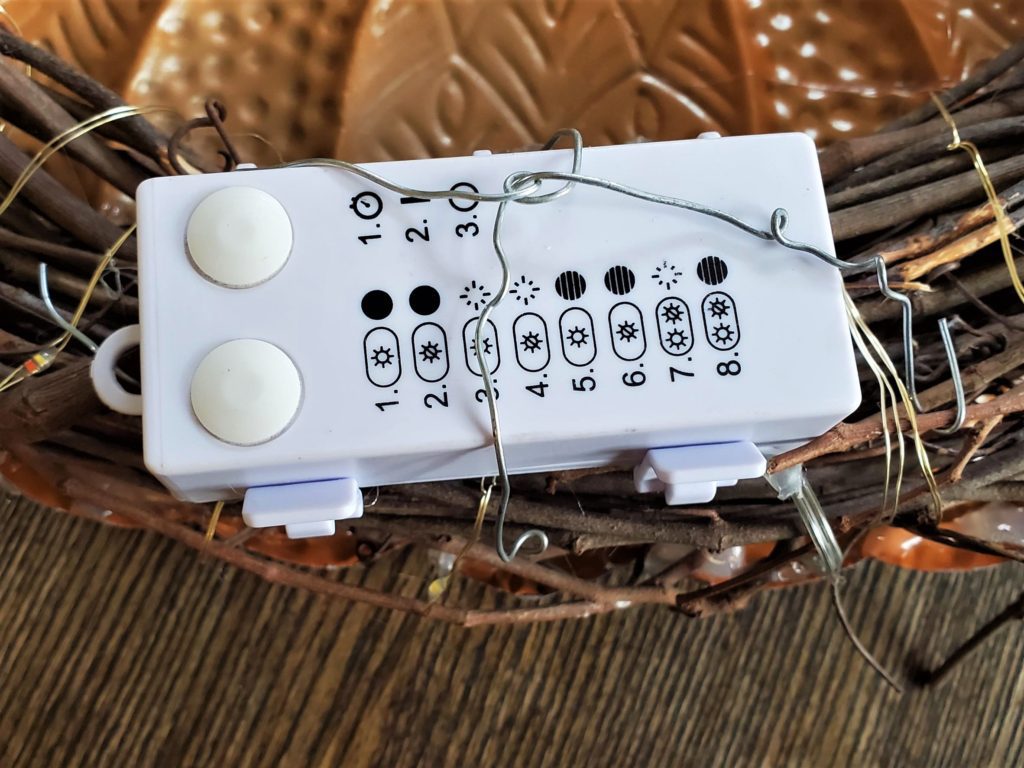
- Wrap the grapevine wreath in the LED twinkle lights. Make sure that the battery pack ends up at the back of the wreath form.
- Hot glue the metal pumpkin to the bottom, front of the grape vine wreath form. This will take a fair amount of hot glue and you want to make sure that you hot glue all of the parts where the pumpkin meets the wreath form.
- Add 2 AA batteries to the battery pack. Using the wire attach the battery pack to the grapevine wreath by sliding the wire through the wreath form and then twisting it around the battery pack in order to keep it in place.
- Clip the floral stems and arrange them around the pumpkin by sliding the stems in between the vines.
And Voila! Three beautiful and unique fall door wreaths that you can be proud to hang display this fall.
Jenny’s Finishing Thoughts On Unique Fall Door Wreaths
Wreaths are a wonderful way to set the mood for any season or holiday. They are the first thing that greet friends and family when they come over. They provide an easy and inexpensive way for the DIYer to create and decorate. And when you combine great style and a dash of creativity to can create truly beautiful, unique fall door wreaths that end up being stunning pieces of art for the front door. And what could be better than that?
Who here likes to switch up their front door wreath with each season or holiday? I’m curious, do you use the same wreath each year or do you also like to create new ones?
Did you find this post helpful or inspirational? Save This Pin to your Fall Wreaths or Wreaths board on Pinterest


If you liked this post you may also enjoy:
DIY High End Fall Decor From The Dollar Store
How To Make 3 Gorgeous Cornucopia Centerpiece For Thanksgiving Day

