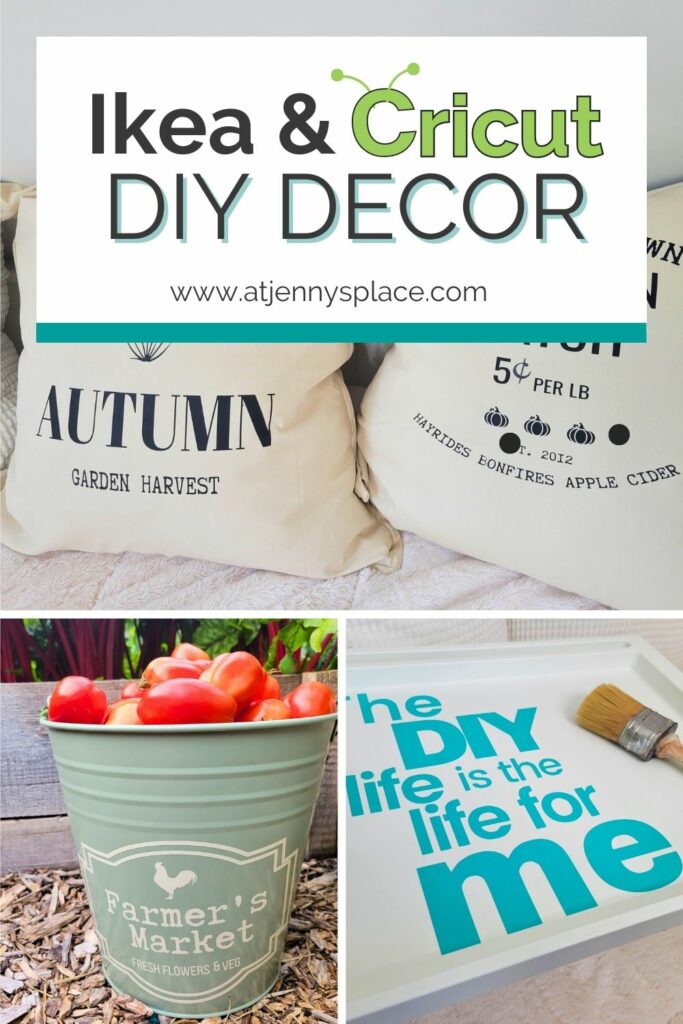
DIY Ikea Hacks & Cricut DIYs
These DIY Ikea hacks using a Cricut machine will give your home decor the customized look you’ve been wanting,
DIY Ikea Hacks With A Bit Of Cricut’s Help
It’s like Ikea and Cricut had a baby.
Are you ready to take your Ikea purchases to the next level? Have you been looking for a way to spruce up Ikea’s inexpensive home decor without breaking the bank?
Look no further than At Jenny’s Place. By using Cricut decals, you can easily customize your Ikea decor pieces into personalized expressions of your true style. In this article, I’ll show you how I easily transformed 6 Ikea items using only my Cricut. It’s amazing how these decals will make your Ikea pieces stand out.
Whether you’re looking for a fun weekend project, a way to show off your creative skills, or you just want to make your living space more unique, these DIYs will give you the inspiration you need to take your Ikea home decor from basic to beautiful.
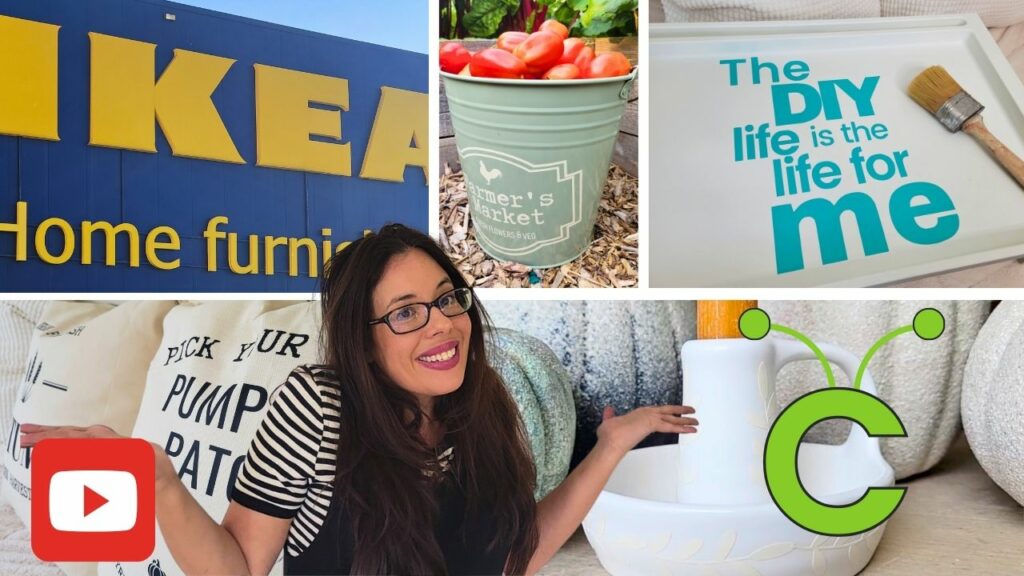
Check out the video to see how each of these DIY Ikea hacks were made with my Cricut and more of their finished looks!
LAUNDRY BASKETS
Supplies You Will Need
- Plastic Ikea laundry basket
- Permanent or temporary vinyl in matte black
- Cricut cutting machine
- Green Cricut mat
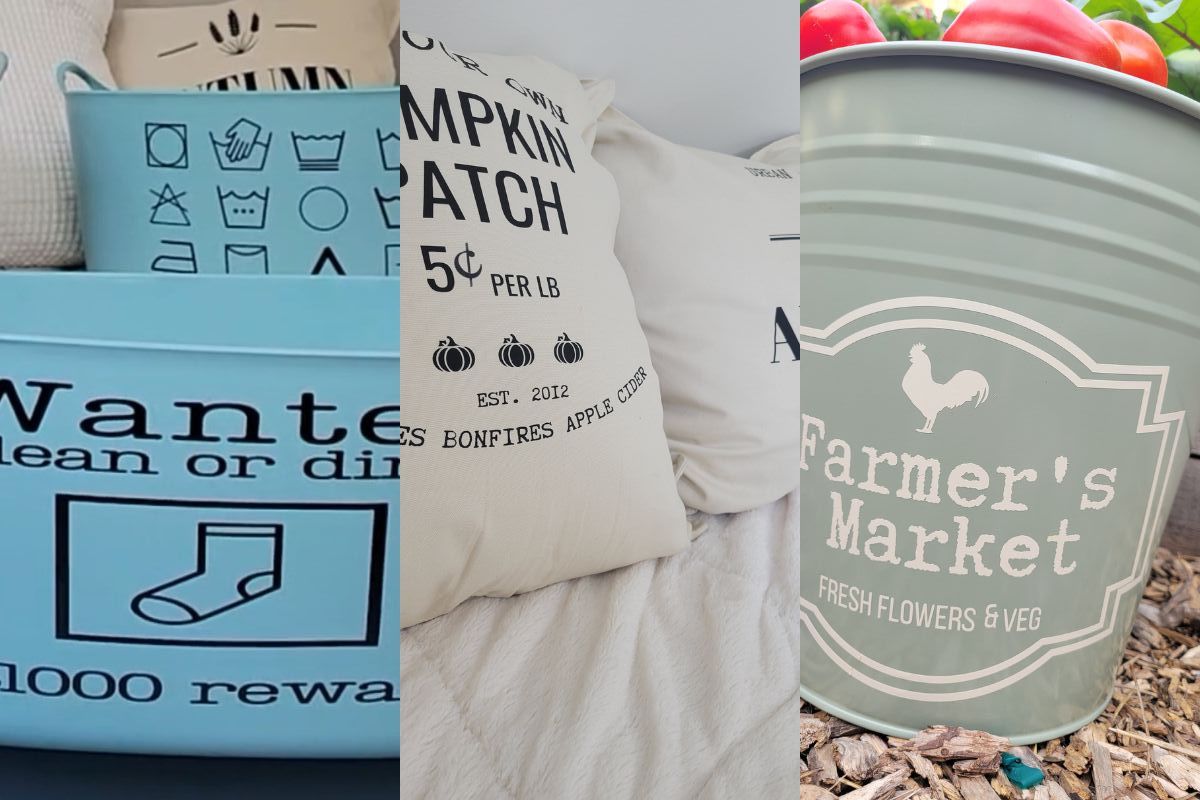
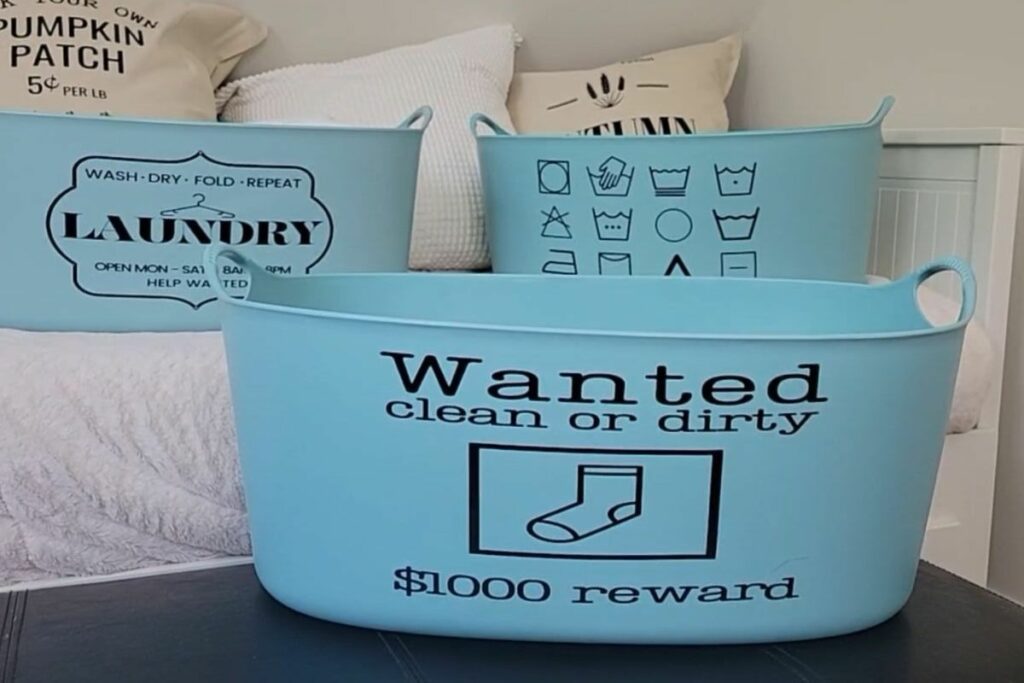
These charming laundry baskets are guaranteed to make doing the laundry a lot more fun! This super simple DIY takes only minutes to make. Plus, at only $14.99 a basket and then a bit of vinyl the look you get far outweighs the cost.
All you need is some permanent or removable vinyl. I used Make Market vinyl from Michaels but you could use which ever product you like best. Next, you cut out the vinyl shapes on your Cricut cutting machine and then stick them onto the front of each laundry basket making sure that they are straight and in the centre.
You could even make one for each family member, so you can tell the differences between who’s whose. You could also add their names to the back to really personalize it. Now, I went with the teal laundry baskets and matte black vinyl because this works the best with my home but Ikea does carry other colours in the baskets and you could really go with whatever vinyl colour suits you best.
Whatever colour you pick, you’ll have yourself a really unique and eye-catching laundry basket. It’s just a clever way to display your great style while making the chore of doing laundry just a little more enjoyable.
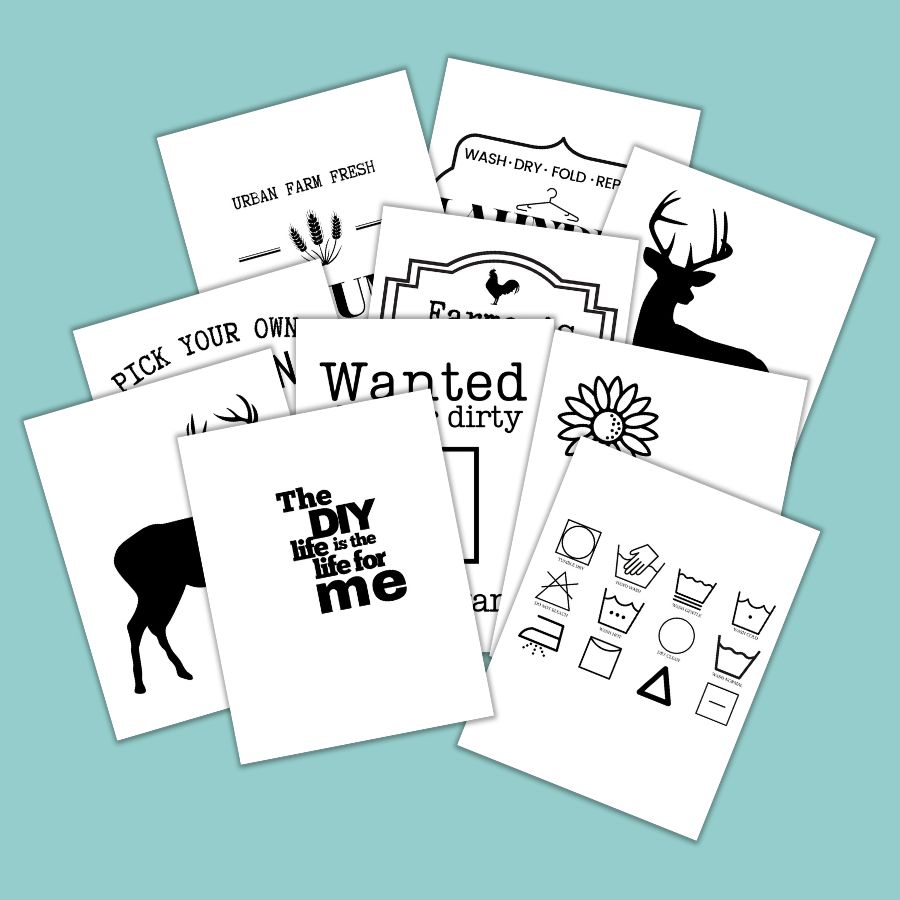
Note: The images are saved as a pdf so you will need to convert them into an SVG file in order to upload them and cut them on your Cricut machine.
Get the Printables!
Get the Printables needed for each of these Ikea & Cricut DIYs!
Each printable used for the DIYs shown are available for use At Jenny’s Place Free Printable Library.
When you subscribe to the printable library you also get access to all of AJP’s past, present, and future printable options.
PLAIN THROW PILLOW COVERS

Supplies You Will Need
- Ikea throw pillow covers
- Heat transfer vinyl in matte black
- Cricut machine
- Blue Cricut mat
- Cricut heat press
These throw pillows are awesome because they are duel sided. I lucked out and found these extra large throw pillow covers for only $3.99 each. Making them dual sided means that I’m basically getting 4 pillows for $16 and the cost of a roll of vinyl. Which, given the finished look and decor options, is a total steal!
These dual sided throw pillow covers can be mixed and matched. They are so simple to make and they look like they came from a high end home decor store. Here are some tips to get you started.
Cricut Tips For Heat Transfer Vinyl
- Make sure that you place the shiny side of the heat transfer vinyl down on the blue Cricut mat. Dull side facing up.
- Measure where you want the decal to go first.
- Arrange your decal on the pillow case that you have the zipper facing down.
- Warm the material with the Cricut press first before you apply the decal.
- Apply the decal to the material with the shiny side facing up
- Always check the vinyl manufacture’s instructions for the heat setting and the length of time the press needs to stay on, and the amount of pressure you should be applying to the heat press.
NOTE: I used the largest sized pillow cases that Ikea offers because I need them for the pillows on our day bed. Since they were so large the decal measurements were 29cm x 29cm. However, you could use these same decals on a smaller pillow case. You would just need to reduce the size of the decal in Cricut Design Space.
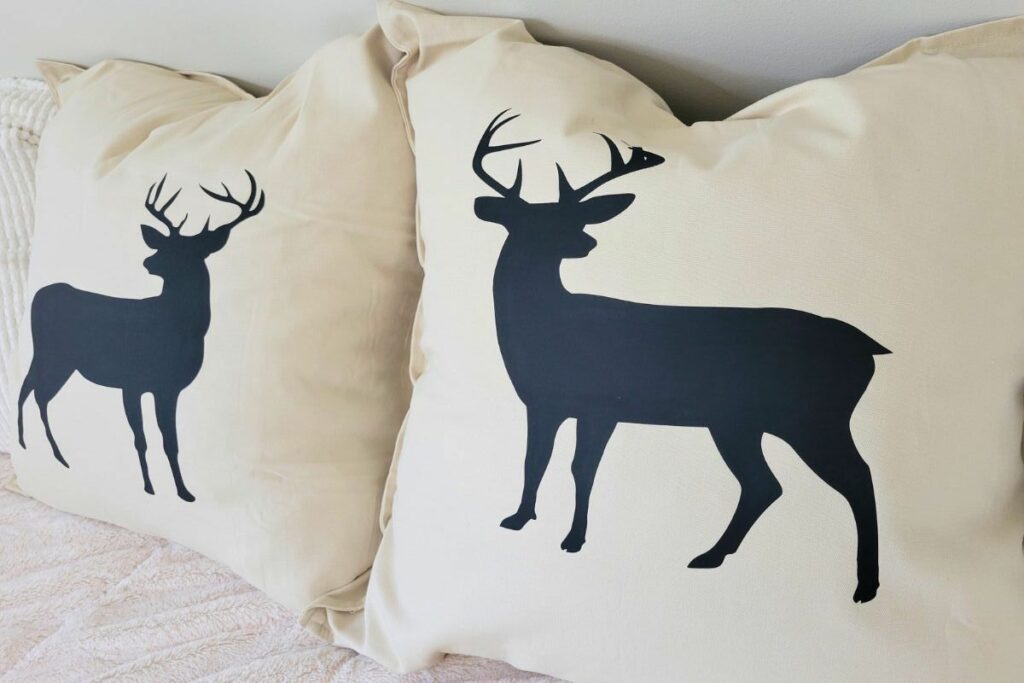
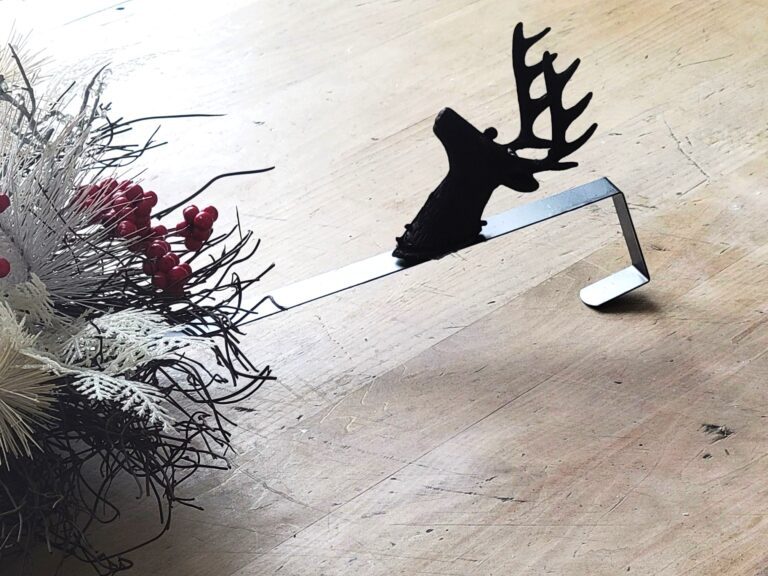
And here is a look at the other side of the pillows. I love how the dears look similar but not exactly the same and how they are facing each other. Many people think of fall when they see deer images but I also think of Christmas. Call me crazy but it is what it is. So I think that during the fall months I’ll show the side with the fall messages and for Christmas these cute little guys will come out to play.
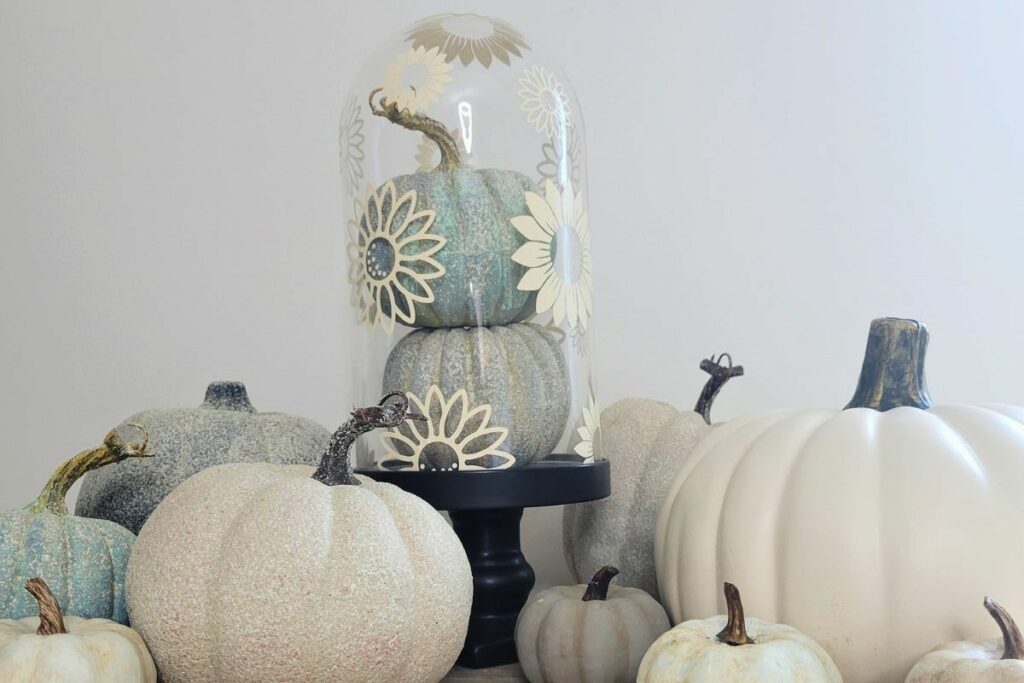
FLOWER POWER CLOCHE
Supplies You Will Need
- Ikea cloche
- *Optional: Rustoleum flat black spray paint
- Candle stand (short) in flat black
- Permanent or temporary vinyl in cream
- Cricut cutting machine
- E600 or Gorilla Crazy Glue
If your cloche comes with a black base, fantastic. The one I went with had a gold base. So I first sprayed it with the flat black spray paint. This would be the same for you candle stand. If it isn’t flat black, spray paint this as well.
Next, using a strong adhesive adhere the cloth base to the top of the candle stand. Let this dry. While the base is setting, download the flower templates. Once you have them converted to an SVG file and you’ve uploaded them to Cricut Maker, have your Cricut cut the decals out. (The number of decals and the varying sizes used in this DIY is included in the download.)
This beautifully decorative cloche is the perfect addition to any table or book shelf decorative arrangement. I love that this would be appropriate for 3 out of 4 seasons. Add faux pumpkins, a candle, twinkle LED lights, or a small faux plant for different display options. Another fun idea would be to pop a skeleton inside for a spooky but cute Halloween arrangement.
OLD FASHIONED CANDLE STAND

Supplies You Will Need
- Ikea white ceramic candle stick
- Permanent or temporary vinyl in cream colour
- Cricut cutting machine
- Cricut green mat
NOTE: This is the only DIY that isn’t in the library. That’s because it’s a free image found on Canva and I didn’t alter it in any way. (Since it’s free anyone can simply download it and the upload it to Cricut Maker.)
This simple, monochromatic candle holder is as cheap as it is elegant. The design is simple to weed and easy to apply. Now, hubby says that he finds the light colour on light colour too subtle and would prefer a bit more punch from a coloured decal. Personally, I am in love with the light look. Who do you think is right? Drop it in the comments below.
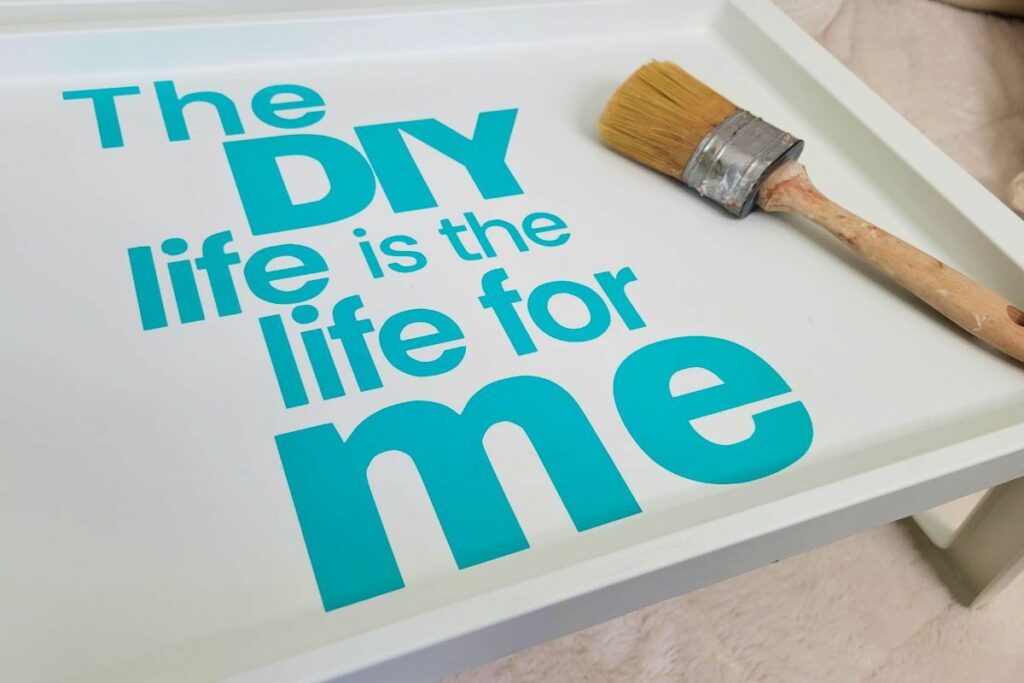
TV / COMPUTER TRAY
Supplies You Will Need
- Ikea bed tray in white
- Permanent or temporary in teal
- Cricut cutting machine
- Cricut green mat
And last but not least, this fantastic serving tray is super easy to create and it is so easy to personalize. I went with the teal decal because I love me some teal but you could really make this in any colour that works with your decor.
This easy DIY really shows how adding a simple decorative decal can really elevate a piece and make it much more personal. I preferred a simple look for the tray put you could always download this design and then adda few decal embellishments if you preferred.
I see myself using this a lot in the craft room. It will be perfect for drying DIYs when I need a little extra space but you could also use it as it is intended.
Jenny’s Finishing Thoughts On DIY Ikea Hacks & Cricut DIYs
So there you have it. It’s amazing how just with just a few simple vinyl decals and a Cricut machine, you can elevate your Ikea home decor in no time. With the help of Cricut decals, your decor pieces will look customized and you’ll have something unique that you can be proud of.
Really these are just a few ways that you can utilize your Cricut to elevate your Ikea purchases. There are endless ways to use Cricut decals to make Ikea furniture, decorative pieces, and fabrics look higher end. With a little imagination and some creativity, your DIY project could be the next trend setter!
What Ikea items have you upcycled and how did you do it? Leave it in the comments below.
Did you find this post helpful or inspirational? Save This Pin to your Ikea Hacks board on Pinterest.
If you liked this post you may also enjoy:
DIY Serving Tray – Cricut To The Rescue