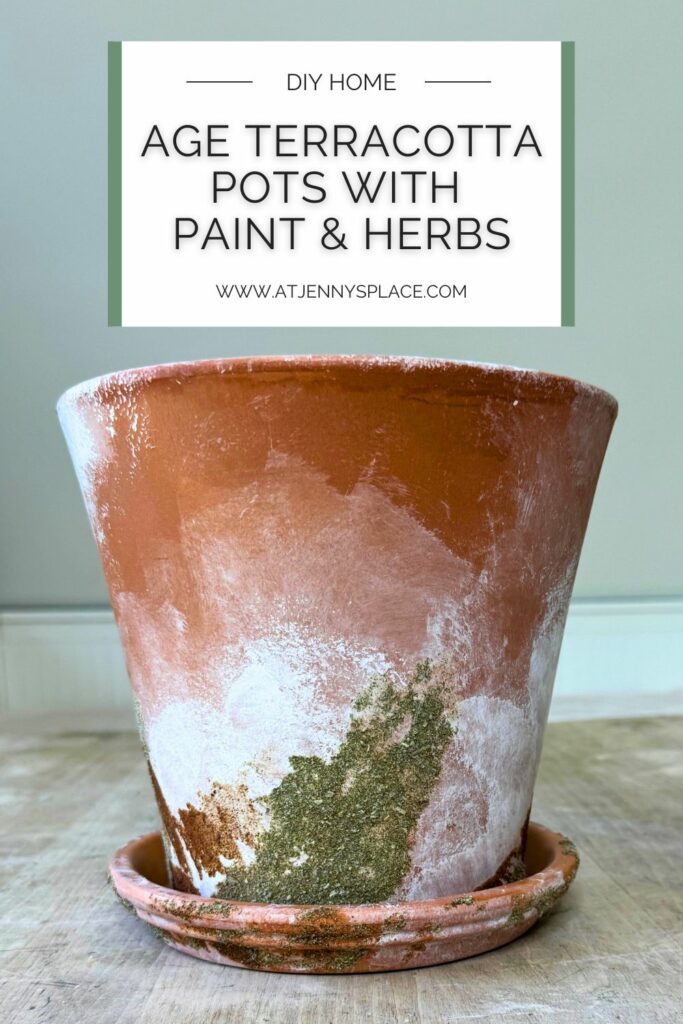
How To Age Terracotta Pots With Paint & Herbs
Learn how to age terracotta pots with paint and a few herbs from the kitchen! Perfect for indoor or outdoor use.
Getting The Look In Less Time
Hey there, beloved gardenistas! I’m about to guide you on a delightful green adventure that will surely awaken your inner green thumbs. This journey involves a humble terracotta pot from your local dollar store. Can you imagine it? Seemingly ordinary, yet bursting with untapped potential. Our mission? To transform this modest item into a magical mossy masterpiece.
Intrigued? Then, take a glance around your kitchen. Do you see any old herbs hiding in a corner? Well, that’s perfect! In our little adventure, those herbs will play a crucial role. Together, we’ll use those arromatic companions to breathe a fresh new life into our boring pots. The goal? To create a bustling, vibrant spot of enchanted forest right within our own craft rooms.
So, gear up that adventurous spirit and get roll up your sleeves. But just warning you- it might get a tad bit messy. Ah, but that’s just all part of the fun.
Watch this DIY PLUS More!
Join me for a fun DIY sesh, where we’ll jazz up terracotta pots with an aged look using paint. Bonus, I’ll share four extra outdoor plant pot makeovers you can do on a dime. Nail that high end vibe, minus the high end price tag! (Note: don’t try the stucco one. Sadly, after a few weeks it ended up being a big flop! Tee tee, my bad!)
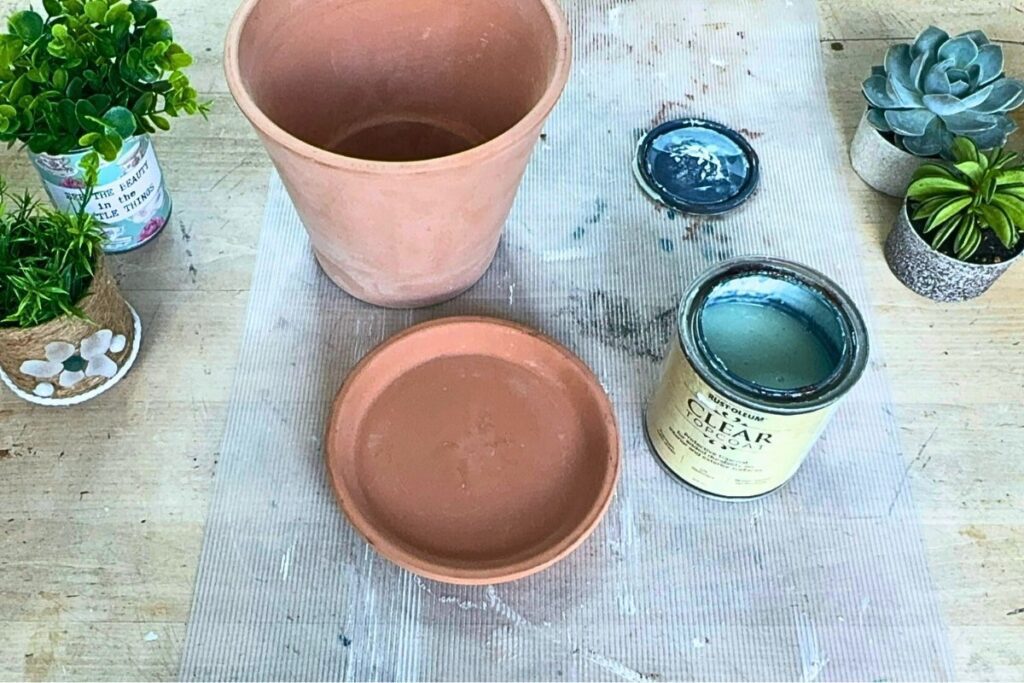
Supplies You Will Need
- Terra cotta with base
- Rustoleum Top Coat in Satin Clear
- White chalk paint
- Paint brush
- Fan brush
- Water
- Outdoor Mod Podge
- Sage
- Cinnamon
- Rust-Oleum Interior/Exterior Ultra Cover Multi-Purpose Paint And Primer in Flat Matte Clear
How To Age Terracotta Pots With Paint & Herbs
Let’s shake things up and give that ordinary dollar store terracotta pot a whimsical mossy makeover! Grab some kitchen herbs, and let’s get our green groove on!
First – a bit of prep
You know those terracotta bases you find at the dollar store? Yeah, they frequently come unglazed. But don’t you fret! We’re going to get them ready for job.
Grab some Rustoleum clear top coat, and let’s get prepping! Now, take a paintbrush, dip it into the top coat and get ready to work some magic on the inside part of that terracotta base. You’ll want to apply a couple of coats to really make it shine. This will help keep the water from penetrating the terra cotta.
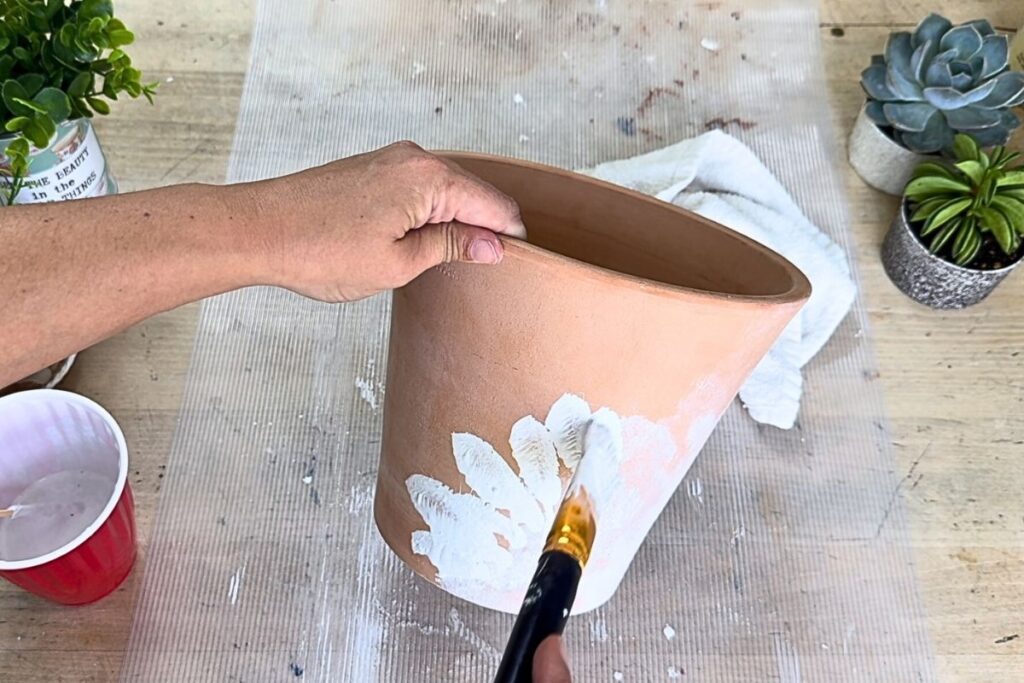
How to age terracotta pots with paint first steps
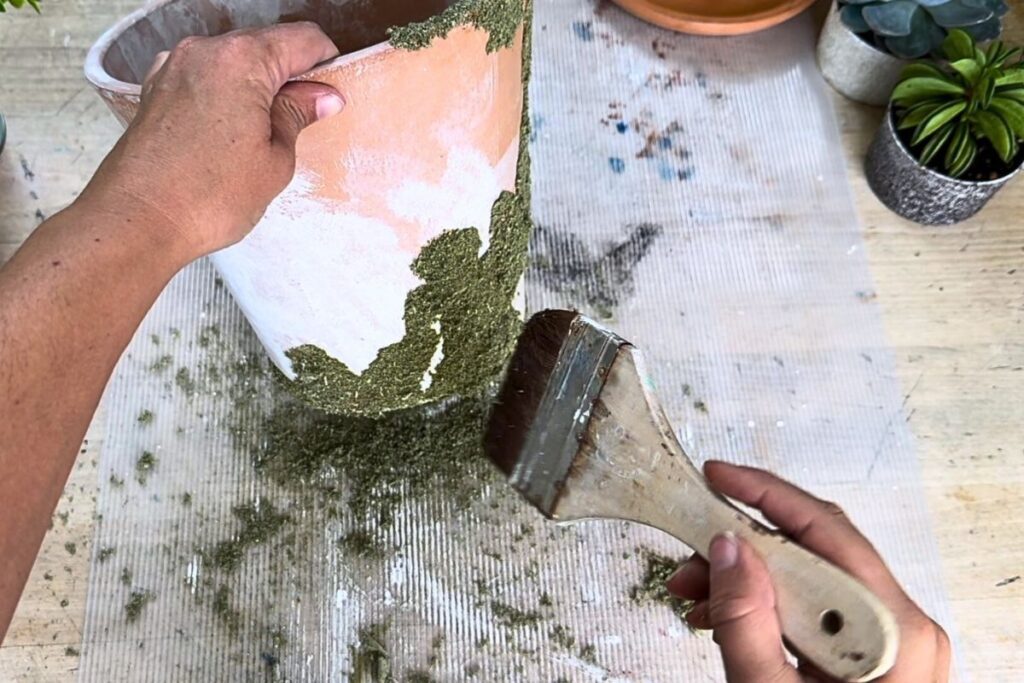
While our base is drying, we’re going to take some white chalk paint that has been watered down by water, Basically, you want to end up with a white wash. Then treat that terracotta pot to this refreshing white wash.
But stop right there, we’re not shooting for a full on chalk painted look! We’re aiming for a worn out look. To achieve this, work in tiny, manageable sections, casually brushing on the paint. Then, grab a slightly damp rag and wet distress the paint.
Join At Jenny’s Place Free Printable Library
Hey there! Fancy jumping the queue and becoming a VIP At Jenny’s Place? All it takes is joining my Free Printable Library and Voila! You’ve landed yourself exclusive access to all of AJP’s fantastic, downloadable printables – all for free! But that’s not all, signing up also means a weekly email treat, bursting with insider scoops, nifty DIY tricks, simple hacks, and a whole lot more. It’s time to glam up your inbox!
Make it mossy
Since you’re giving this pot an al fresco makeover, I’d suggest opting for outdoor Mod Podge instead of the basic kind. Think of it this way, the weather resistant formula is your new best friend. You’ll also need some dried sage.
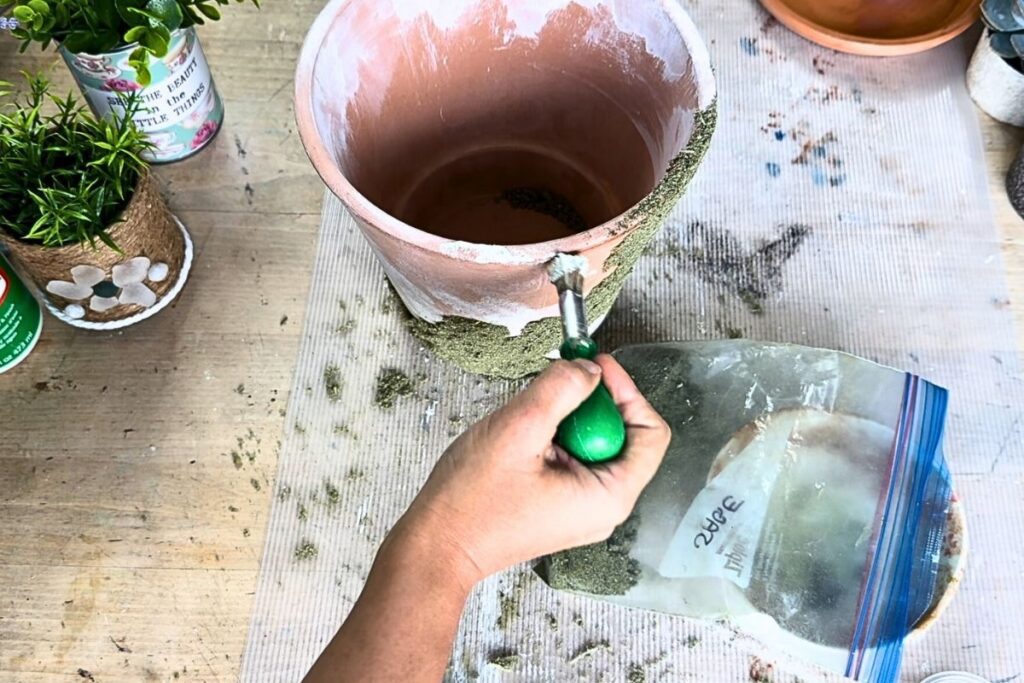
Grab a paint brush and start getting creative with the Mod Podge, apply it in patches where you think moss would naturally grow, like along the base or rim. Don’t overthink it, let your imagination run wild!
Now for the fun part, after you apply the Mod Podge in small patches with a paint brush – follow this up with a sprinkle of sage. Press it down firmly so that it sticks to the adhesive.
Don’t forget that base! Once that has been able to completely dry make sure that you also give that post base some love as well.
Details that matter
Alright, once you’ve got that moss situated exactly where you want it, the next step is simply to let it dry. Yep, you’re going to want to give it a good overnight rest.
Once it’s dry, grab a silky soft paintbrush. Now, ever so gently, sweep away any moss leftovers that didn’t quite stick. And for your next herb trick, you’re going to need a small fan brush…
Adding some cinnamon
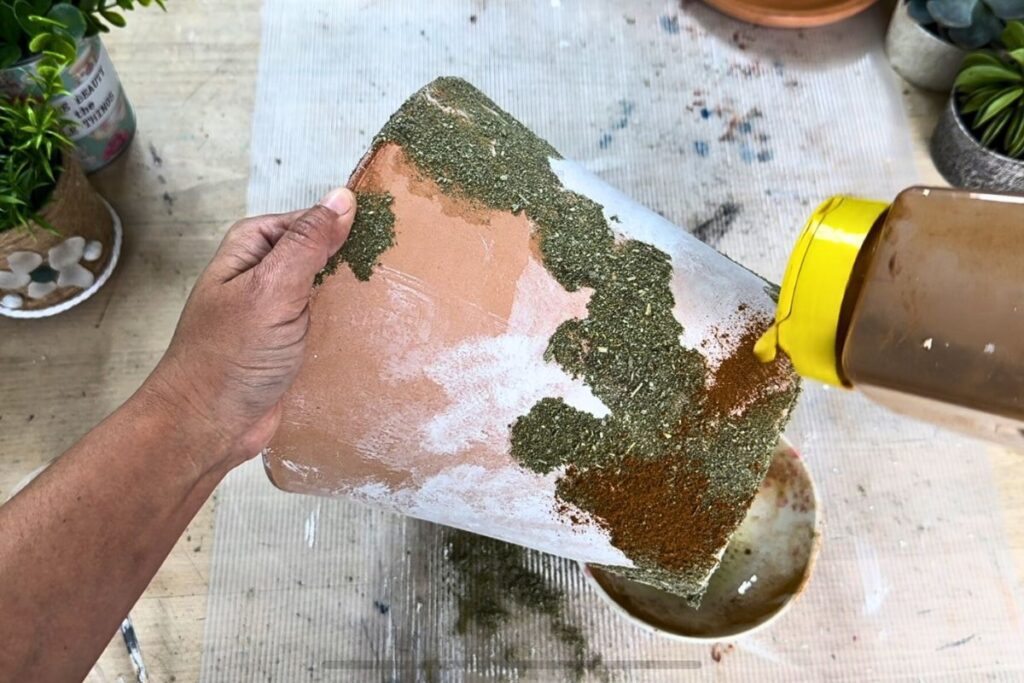
Let’s punch up the style with a bit more decoupage. Feel free to add Mod Podge to various areas on the pot that you believe could use a bit of a rich, darker tone.
Next, let’s add a bit of spice to our pots – bring on the cinnamon! I’ve bought a jumbo sized jar and it has become a stable in my craft room. Just give a good sprinkle over the Mod Podge areas and let it work its magic.
Then, all you have to do is give a gentle tap to shake off any lingering cinnamon. Oh, and one thing to remember – don’t shy away from getting a little messy; that’s where all the fun is!
Wrap it up
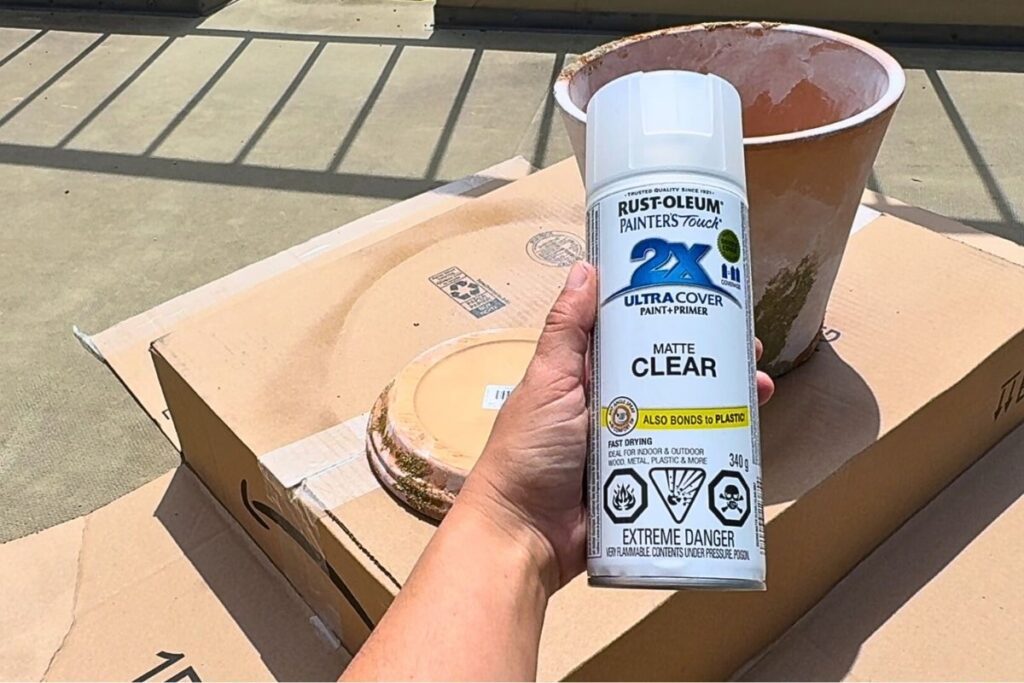
To wrap it all up, we’ll be grabbing our trusty Restoleum finishing spray and give everything a good few layers. Now here’s a little secret: be extra generous with the spray on the mossy areas- we want every bit sticking like a charm!
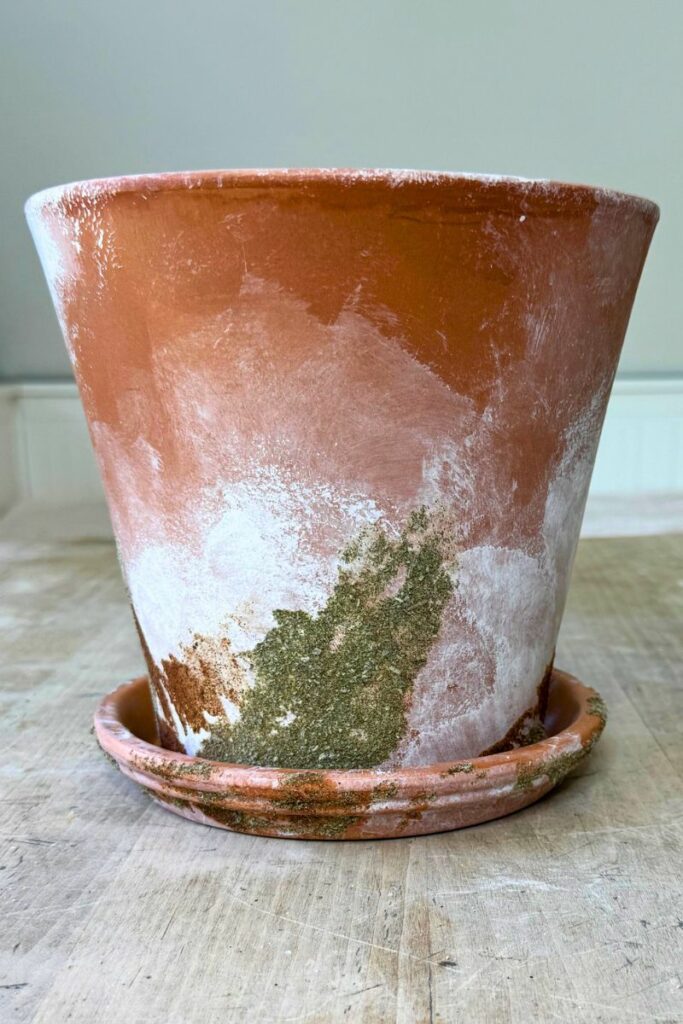
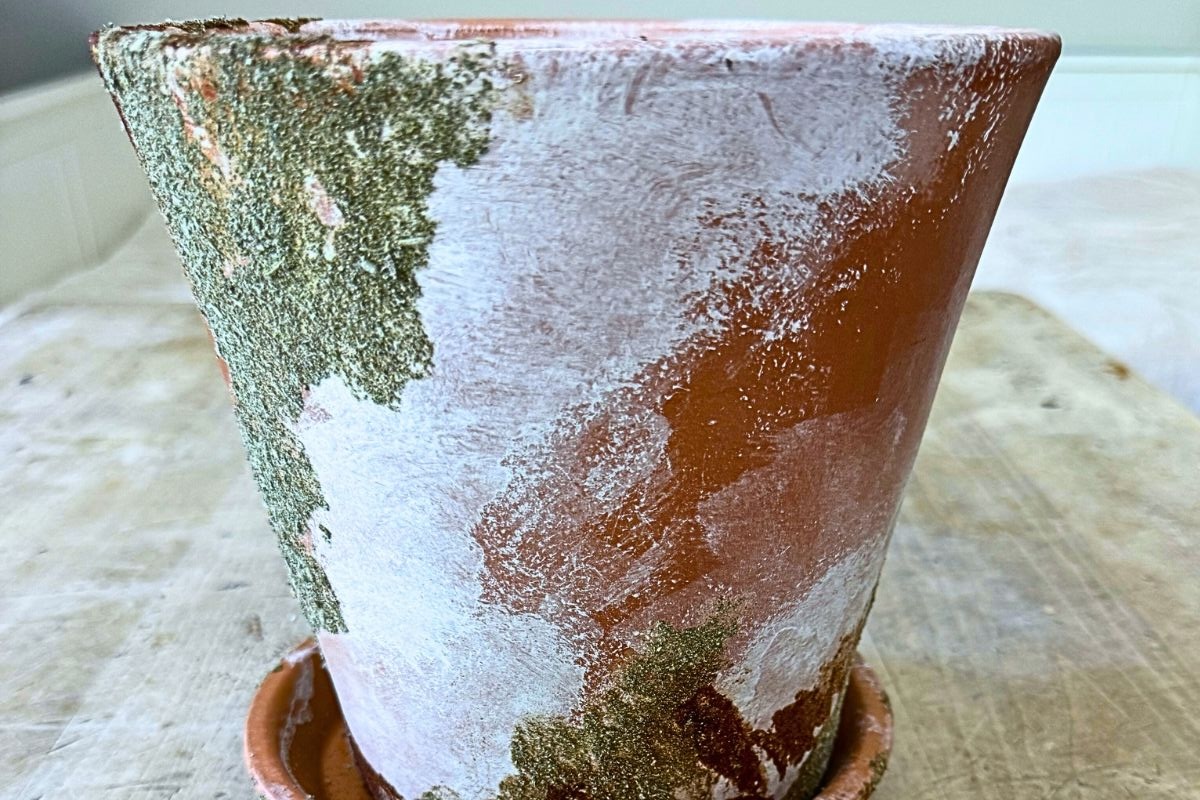
How to age terracotta pots with paint and herb final look
And there you go! You now have a fun and easy way to age your terra pots using items easily found in your home. Now, I suggest you take this idea and run with it.
Jenny’s Finishing Thoughts On How To Age Terracotta Pots With Paint & Herbs
What a rollercoaster of herb madness we’ve had, right? We started with a plain old terracotta pot, added some kitchen herbs, and look what we’ve created!
We’ve brought a little dash of the enchanted forest right into our homes with our faux mossy pots. Now, every time you glance at your masterpiece, you’ll be reminded of the magic you can create with just a little imagination.
So, keep those thumbs green and the spirit of creativity alive, my amazing gardenistas! After all, there’s always a new adventure waiting At Jenny’s Place.
What unusual ingredients have you used to create on of a kind paint techniques? Share in the comments below so that we can try those out too!
Did you find this post helpful or inspirational? Save This Pin to your DIY PLANTERS board on Pinterest!
If you liked this post you may also enjoy: