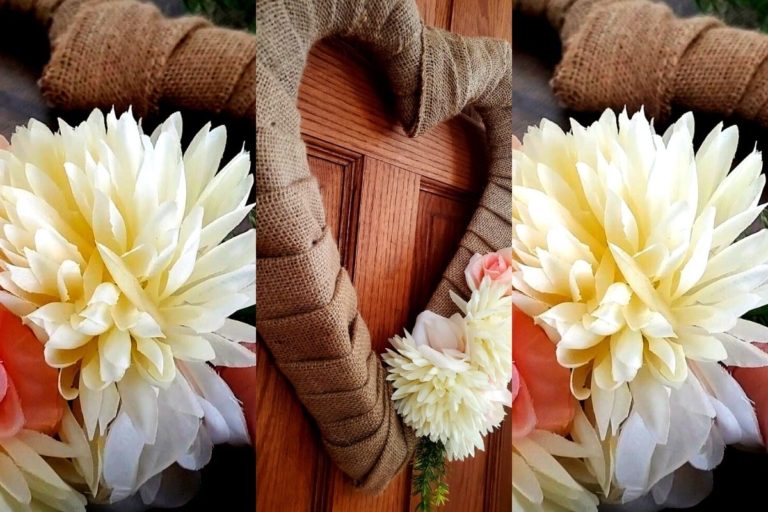
Trash To Treasure Ideas That You Won’t Believe!
Trash to treasure ideas that are as astounding as they are easy to recreate. Don’t throw it away – make it over.
Don’t Trash It! Save It With These Trash To Treasure Ideas
Today, we’re diving deep into the heart of DIY transformations, turning drab into fab right from the comfort of your home. There’s no need for expensive makeovers when you have creativity on your side.
Instead of tossing these items out, we’re going to repurpose and redesign them. The goal: to unlock their previously unseen charm.
The best part? These transformations are not just limited to me. I’m hopeful that they’ll trigger a wave of inspiration in you. Let these DIYs encourage you to search out those forgotten items in your home that with just a few tweaks can be given a whole new lease on life.
Whatcha waiting for? Let’s turn the old into new, together!
Watch Me Makeover Each Of These Trash To Treasure Ideas!
If you want to see how exactly I make over each of these trash to treasure ideas then you are in the right place! Watch as I makeover the items. See the amazing before and afters and get a few DIY tips along the way.
5 Astoundingly Good Trash to Treasure Ideas
Let’s use creativity and imagination to breathe new life into these ordinary household items. Each of these items from my home are in desperate need of a transformation. These are pieces that I don’t want to part with, yet each are begging for a fresh look. Let’s give them that!
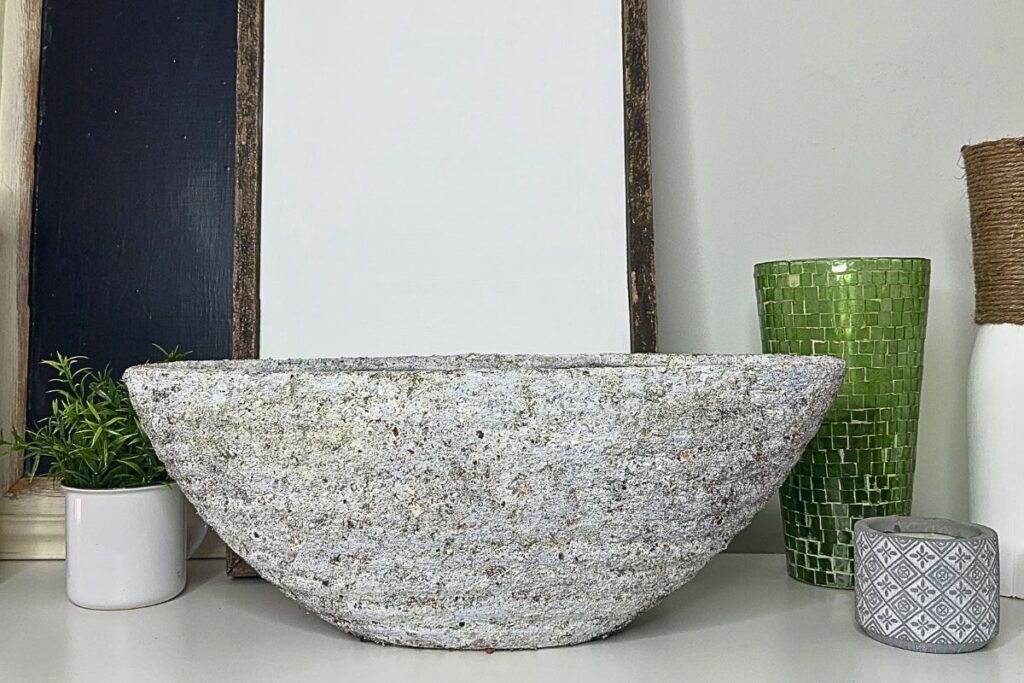
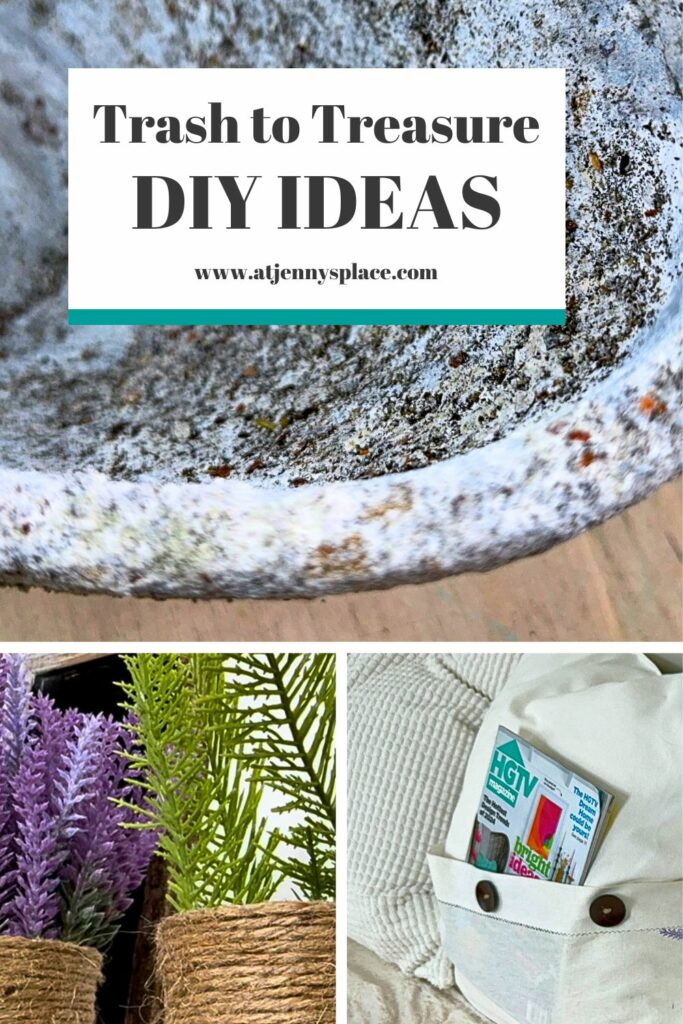
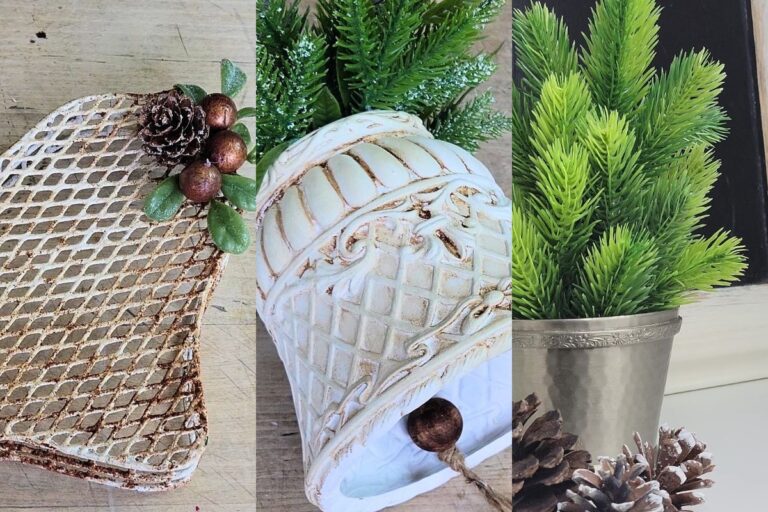
Incredible Faux Stone Vase
I found this vase at the thrift store several years ago. Its original colour was poopy brown. I then spray painted it mustard yellow. After that I applied this grey faux stone technique with baking soda paint. And now it about to get another lease on life with this amazing faux stone paint technique
You’ll need to make a basic baking soda paint for this application. You can do this by simply mixing baking soda with white chalk or acrylic paint until you end up with a look that is similar to that of buttercream icing.
Now, I know this might be a little controversial but I like to go in with some soil to age my pottery. You could totally skip this step if you wanted to but I love the appearance it gives. And really, you put soil in the pot so why not on the pot?
Gather together a bunch of different spices. In this DIY I used sage, garam masala, ground coriander, and chili flakes.
NOTE: I have used cinnamon before to create a faux pottery effect. But I’m going to forgo that spice this time because it gives it a bit of a pinkish hue. This time I’m going for something a bit darker and more textured.
You want to apply a thick coating of the baking soda paint to the vase. Then sprinkle the herbs on top and press into the paint mixture. Keep working between the two mediums until you achieve the look you like.
Voila! A beautiful faux stone paint technique that looks so incredibly high end and you got it for pennies on the dollar. Cheers to that!
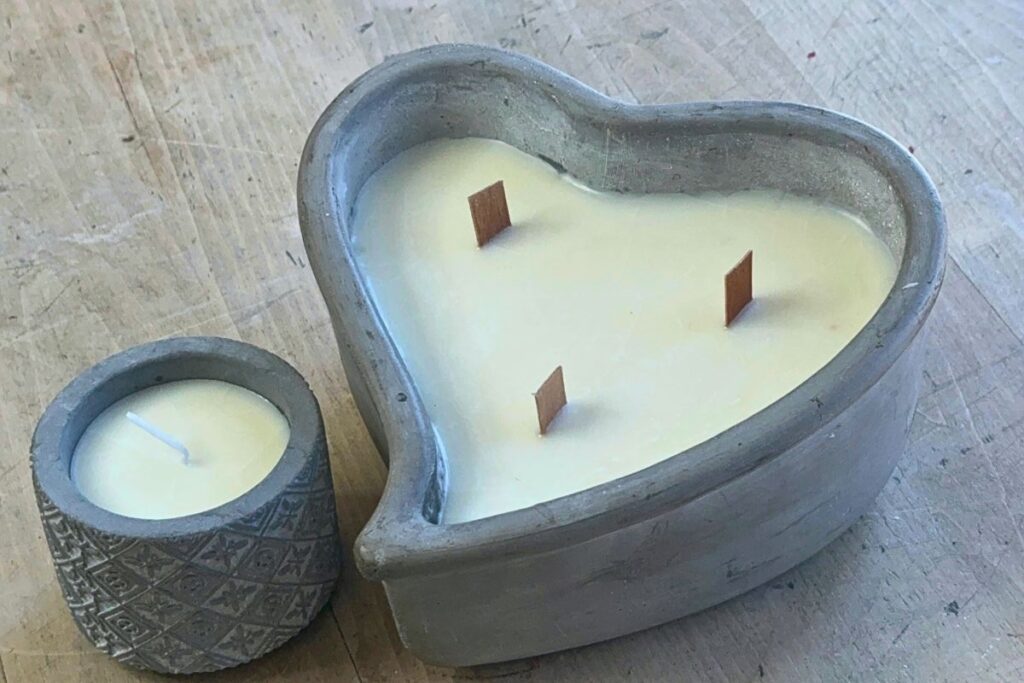
Heart Of Stone
I found this stone heart shaped bowl in the thrift store awhile back and there have been plenty of times where I’ve wanted to upcycle this and just didn’t get around to it.
From the very beginning I knew that this heart shaped bowl wanted to be a candle. So using some basic candle making supplies and melting candle wax, I turned this decorative but pointless cement bowl into a beautiful candle. For an extra special touch I went with wooden candle wicks. After all, what is a heart for if not to melt and crackle?
PRO TIP: If your finished candle has some cracks or crevices in the hardened wax – don’t panic! Just whip out a handy-dandy heat gun and melt the top layers of wax. The newly melted wax will fill those cracks, leaving you with a smooth surface.
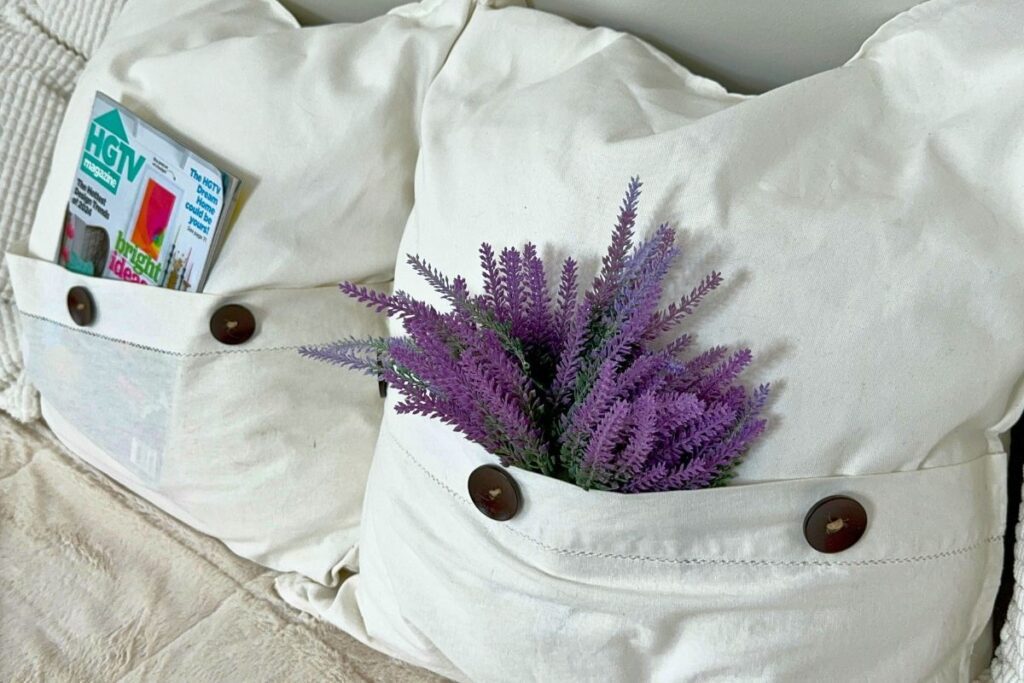
Charming Pocket Pillow Covers
For this next DIY we’re going to make some pillow covers. I had some oversized Ikea pillow covers and some old, off white linen curtains. I loved their understated lace design at the top.
The vision was to create a faux pocket for the bottom portion of the pillow. I did this by cutting out just enough of the curtain material to create the pockets plus a bit on three sides for a hem. Now, I don’t sew so instead I used a bit of fabric glue to create a hem on the three sides.
PRO TIP: Use craft clamps or large paper clips to hold the fabric hem in place until the fabric glue has had a chance to fuse.
Next, using some thin twine I sewed some dark wooden buttons onto the top part of the pocket. I then used some Fabric Fusion Tape to adhere the pocket to the front part of the Ikea pillow case.
And that’s it! The best part about these pocket pillows is that you can use them to store your current book, the TV remote, or just some simple faux flowers.
Get Free Access To At Jenny’s Place Printable Library!
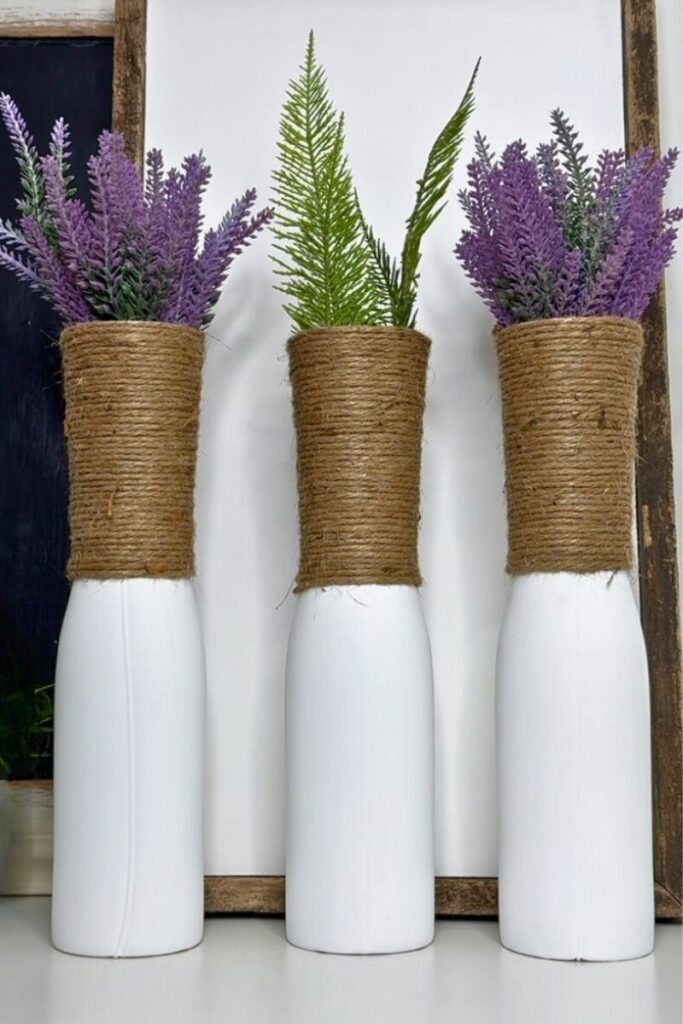
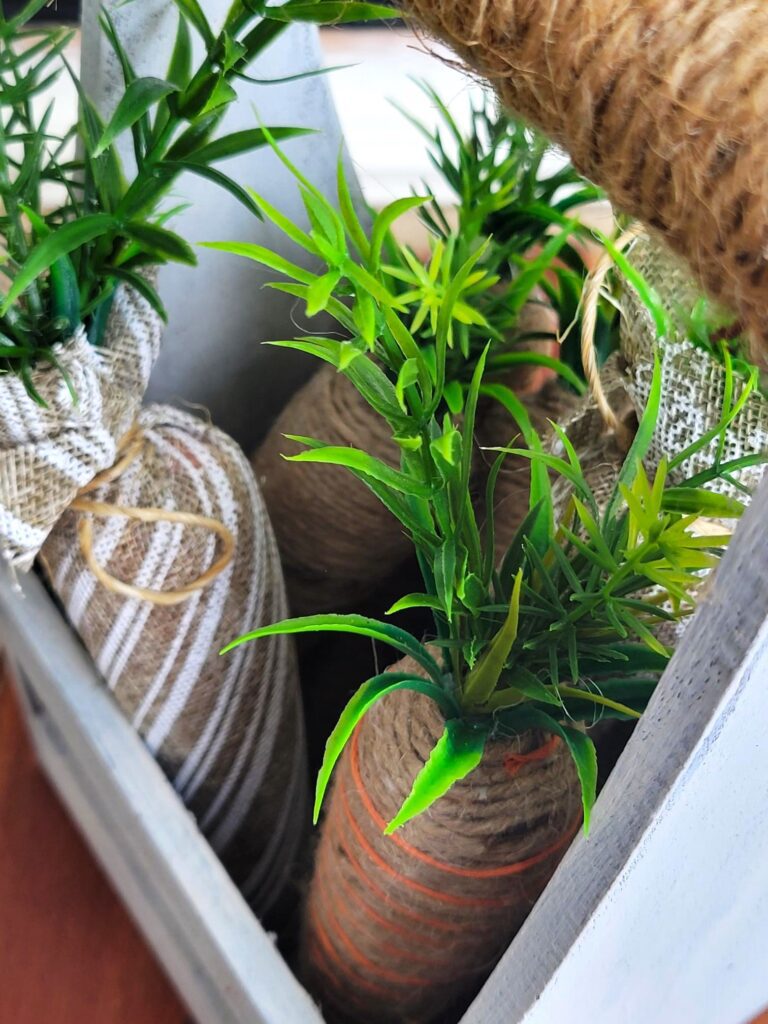
Trio Of Vases
This beautiful vase trio came from my mom’s house. I love the shape of them but my mom’s a bit more modern and our house is definitely farmhouse. So, to work in our home these definitely needed a makeover.
Each of these vases got a coat of white chalk paint, once a day for 3 days. They were allowed to completely dry in between each coat so that the paint would adhere properly.
Once that had dried I went in with some thick twine rope and some hot glue and I simply wrapped the top half of each of the vases in the rope. This gave them that rustic feel I was wanting.
So you see, if you love the shape of an item but not necessarily its appearance you can quickly and easily switch it up so that it better suits your tastes.
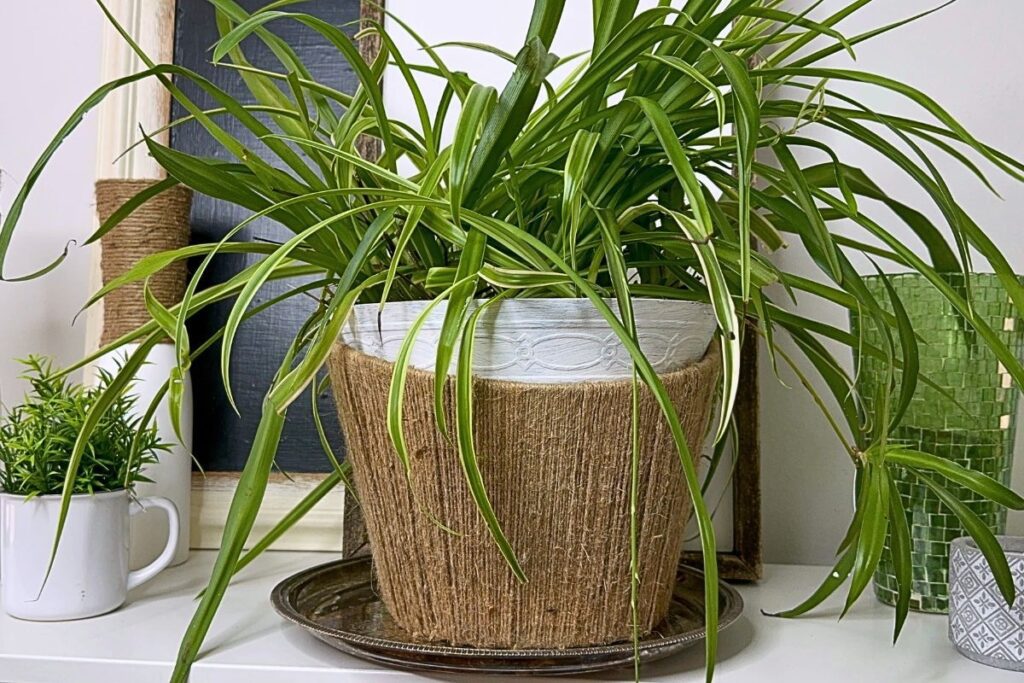
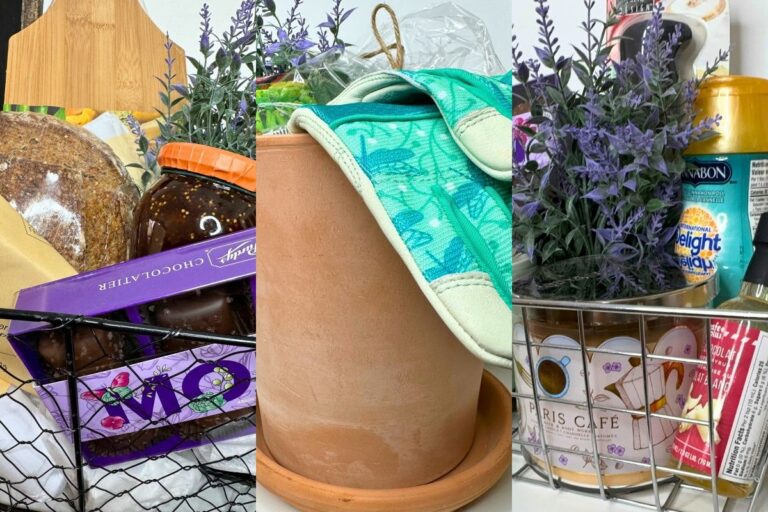
Boho Plant Pot Cover
I had this Dollar Tree basket hanging around the house from when I made a gift basket, It was starting to look a little ratty so I decided to turn it into a plant holder. I started by removing the brown raffia that was wrapped around the wire frame . This was super easy to do with just a pair of basic scissors.
Next, using a roll of twine, tie this to the bottom rim of the basket and then just start wrapping the twine vertically onto the metal frame. You may want to start with small amounts of hot glue to get started but I learned that this isn’t really necessary so you could totally skip this step. Keep wrapping and tying on the twine until the entire basket is covered. Lastly, cut off any of the strands left over at the bottom of the basket and just tuck those knots inside so that you can’t see them on the outside of the basket.
Add your potted plant and there you have it! A rustic, boho inspired plant pot cover.
Jenny’s Finishing Thoughts On Trash To Treasure Ideas
It’s not always about discarding the old to make way for the new. Instead, with a little bit of creativity and some simple DIY techniques, you can transform your outdated items into something you can love again.
I hope that this DIY makeover journey has inspired you to look around and identify things in your own house that you can breathe new life into. Remember, it’s not just about saving money, but also about cherishing memories, getting creative, and doing a bit for our planet.
Which household item of yours needs a bit of a makeover? Let everyone know in the comments below.
Did you find this post helpful or inspirational? Save This Pin to your TRASH TO TREASURE board on Pinterest!