Repurposed Thrift Store Finds For Home Decor
Looking for some new upcycling ideas? These 5 impressive makeovers of repurposed thrift store finds are sure to inspire!
The Thrift Store
Have you ever walked into a thrift store and felt overwhelmed by the endless shelves of knick knacks, the aisle upon aisle of kitchen items, and the piles of old furniture?
It’s easy to get lost in the clutter and simply walk out empty handed. But what if I told you that hidden among those forgotten items are potential home decor treasures just waiting to be discovered? With a little creativity and some basic DIY skills, you can transform thrifted decor finds into unique pieces that will add character and charm to your home.
Today I thought we would take a few thrifted Decor finds and explore how by just making a few simple changes you can easily turn someone else’s trash into your home decor treasures.
Get ready to be inspired and learn how to give a new life to thrifted items with just a few simple changes.
Watch The DIYs!
Want to see exactly how I upcyle each of these thrift store makeovers? Then you are definitely going to want to watch the video too! Get the step by step tutorials PLUS see the before and afters!
5 Repurposed Thrift Store Finds
From cool painting techniques to Cricut DIYs, you’re covered here! These 5 super simple and yet completely high end DIYs made from each of these repurposed thrift store finds is sure to give you a few good ideas for your next thrift store visit.

Crackle Paint Technique
I found these plastic plaques at a thrift store recently and I liked their shape but I wasn’t really a fan of their original colour and the plastic looked cheap. To fix this all that was needed was a bit of white and teal coloured chalk paint. You’ll also need some Elmer’s glue and a heat gun. (Or hair dryer but the heat gun works better.)
I applied a few coats of the teal paint to the plaque and let that dry completely. Once that was dry it’s was time to do the crackle effect. To do this paint on some of the whiteglue and let this dry until just a bit tacky. You’ll want to do this in small-ish patches.
Next, apply the white chalk paint onto of the glue. Apply this thickly because you won’t want to apply a second coat or it won’t work. Allow this to dry on slightly before using the heat gun. Use the heat to quickly dry the paint.
This is when the really magic starts to happen! As the paint dries it will shrink away from the glue and start to create cracks. This adds a ton of texture and interest to any piece. It definitely saved these plaques.
Voila! This painting technique is so easy but the impact is impressive. Feel free to use this technique on anything and everything.

New-al Post Decor Piece
I kept coming across this newal post on my morning walks with our puppy. It didn’t seem to have a home or belong anywhere and so after awhile I decided it was mine.
It had the most appealing aged appearance. The paint was worn and the wood cracked and darkened with age. It was gorgeous! And it also had a very handy screw in its bottom. This was going to come in handy because later it madde it easier to screw the newel post into a scrap piece of wood.
The sides of the scrap wood were freshly cut so they didn’t really match the post. to dic this just go in with a little bit of antiquing wax lightly applied that then went in with some ArtMinds Antique Wax and distressed it.
And there you have it – a charming and rustic decor piece.

Bringing It To Paris
For this next thrifted DIY I found this wood round piece that used to have a cloche on top but was now missing that part.
I wanted to darken this wood piece up so I just went in with some Art Minds Antiquing Wax and applied a couple of coats.
Next, I went into Canva and I created this Cafe De Paris sign. That was downloaded into an SVG file, then uploaded into Cricut. And then the Cricut was allowed to do it’s magic.
Once Cricut had cut out the design, I peeled it away from the back. (Now I should have used a heat transfer vinyl but I’m cheap. I didn’t want to go and buy any.) So instead, I decided to use some permanent vinyl that I already had on hand.
I knew when I decided to use the permanent vinyl I was taking a bit of a risk. So I decided to go in with a top coat to really adhere that vinyl to the wood piece and to give everything a nice safety coat.
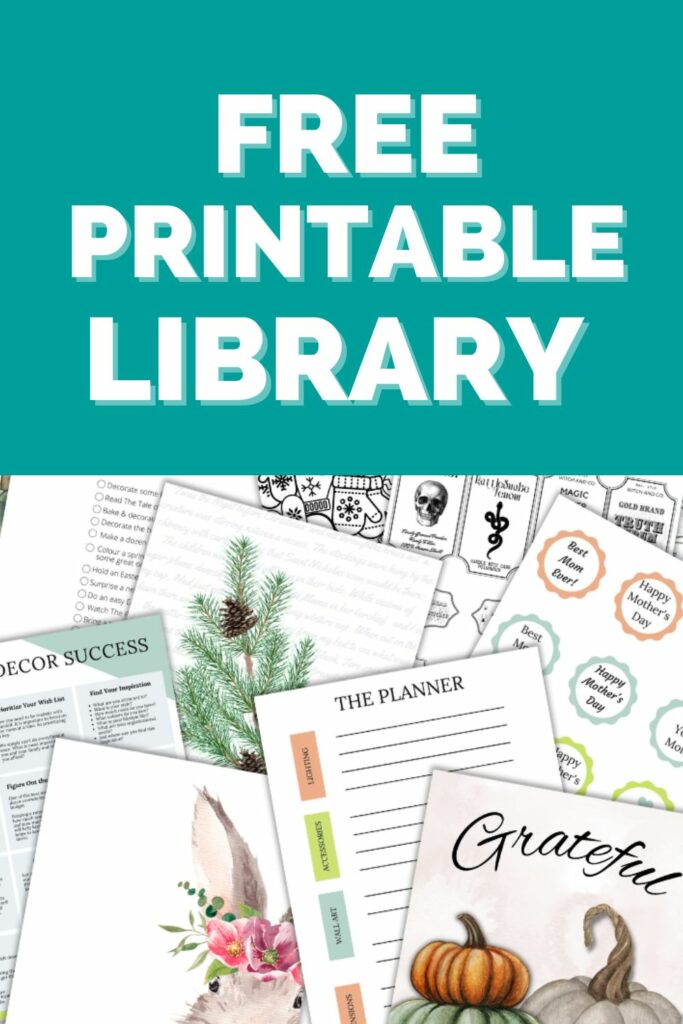
Get FREE Printables!
Join At Jenny’s Place Free Printable Library and get unlimited access to all of my past, present, and future free printables.
You’ll also receive weekly emails with tons of tips, tricks, and printable updates. Simply sign up, pick your printable, download and print.
Time to DIY!

@ Jenny’s Place Sign
I found this @ sign at the thrift store a couple of years ago. This was the perfect sign for At Jenny’s Place studio. I just wasn’t quite sure what I wanted to do with it. So, I let it sit there and waited for the right time to make it over.
Now, At Jenny’s Place – we love us some teal. So the sign was going to need to be done in that colour. The base would remain black.
We’re going in again with that Elmer’s glue technique. Again, working in smaller sections apply the glue and then the teal paint (or whatever colour your top coat is going to be.)
Next, the heat glue needs to come back out. Again, use it to quickly dry these sections of paint. For added texture, in a few areas, try getting up really close to the paint with heat gun. This will bubble up some of the paint and then press the bubbles back down to create this fabulous texture.
Now At Jenny’s Place now has its own sign AND you have yourself another easy paint technique to try out.
Jenny’s Finishing Thoughts On Repurposed Thrift Store Finds
In a world of fast fashion and mass produced items, it’s easy to overlook the potential of thrifted decor finds. But with a little creativity and some DIY know how, you can transform these forgotten treasures into unique pieces that add personality and charm to your home.
So, the next time you’re browsing through a thrift store or garage sale, keep an eye out for items that have the potential to be transformed. You never know what amazing decor you can create until you try.
What is your favourite thrift item to upcycle? Leave it in the comments below.
Did you find this post helpful or inspirational? Save This Pin to your TRASH TO TREASURE board on Pinterest!

If you liked this post you may also enjoy:
DIY Candle Holders Pottery Barn Dupe