How To Make 3 Easy Reusable DIY Spring Wreath
A reusable DIY spring wreath is the best because no hot glue, no storing big wreaths, and super easy to make. Let’s find out how to make one… or three
What is a Reusable DIY Spring Wreath?
A reusable DIY spring wreath is simply a wreath that is created using products that can be assembled without using any hot glue. It doesn’t necessarily need to be a spring wreath. It can be a wreath for any time of year.
The ornaments used to adorn the wreath are affixed using plastic stems so no hot glue is required. This makes the wreath easy to rearrange, can be changed easily, and it saves on storage and money because you can use your wreath form over and over again.
It is truly the DIYers dream solution.
Why Make Reusable DIY Spring Wreath?
Why? Because they are cheap, easy to make, environmentally friendly, and they always look awesome.
Not gluing your decorations down means that you can use your wreath form over and over again. By using stems to attach your decorations instead of directly gluing your decorations to the wreath form you can also reuse them in other projects or future wreaths. I have used the same grape vine wreath for Christmas, fall, Halloween, spring, and summer. I simply switched out the decorations.
Best Tips for Making Wreaths Reusable
Simple Lavender Spring Wreath
Here is the meat of your post. You’ll break down the problem into a list of easy-to-accomplish steps to help your reader.
Supplies You Will Need for Easy Lavender DIY Spring Wreath
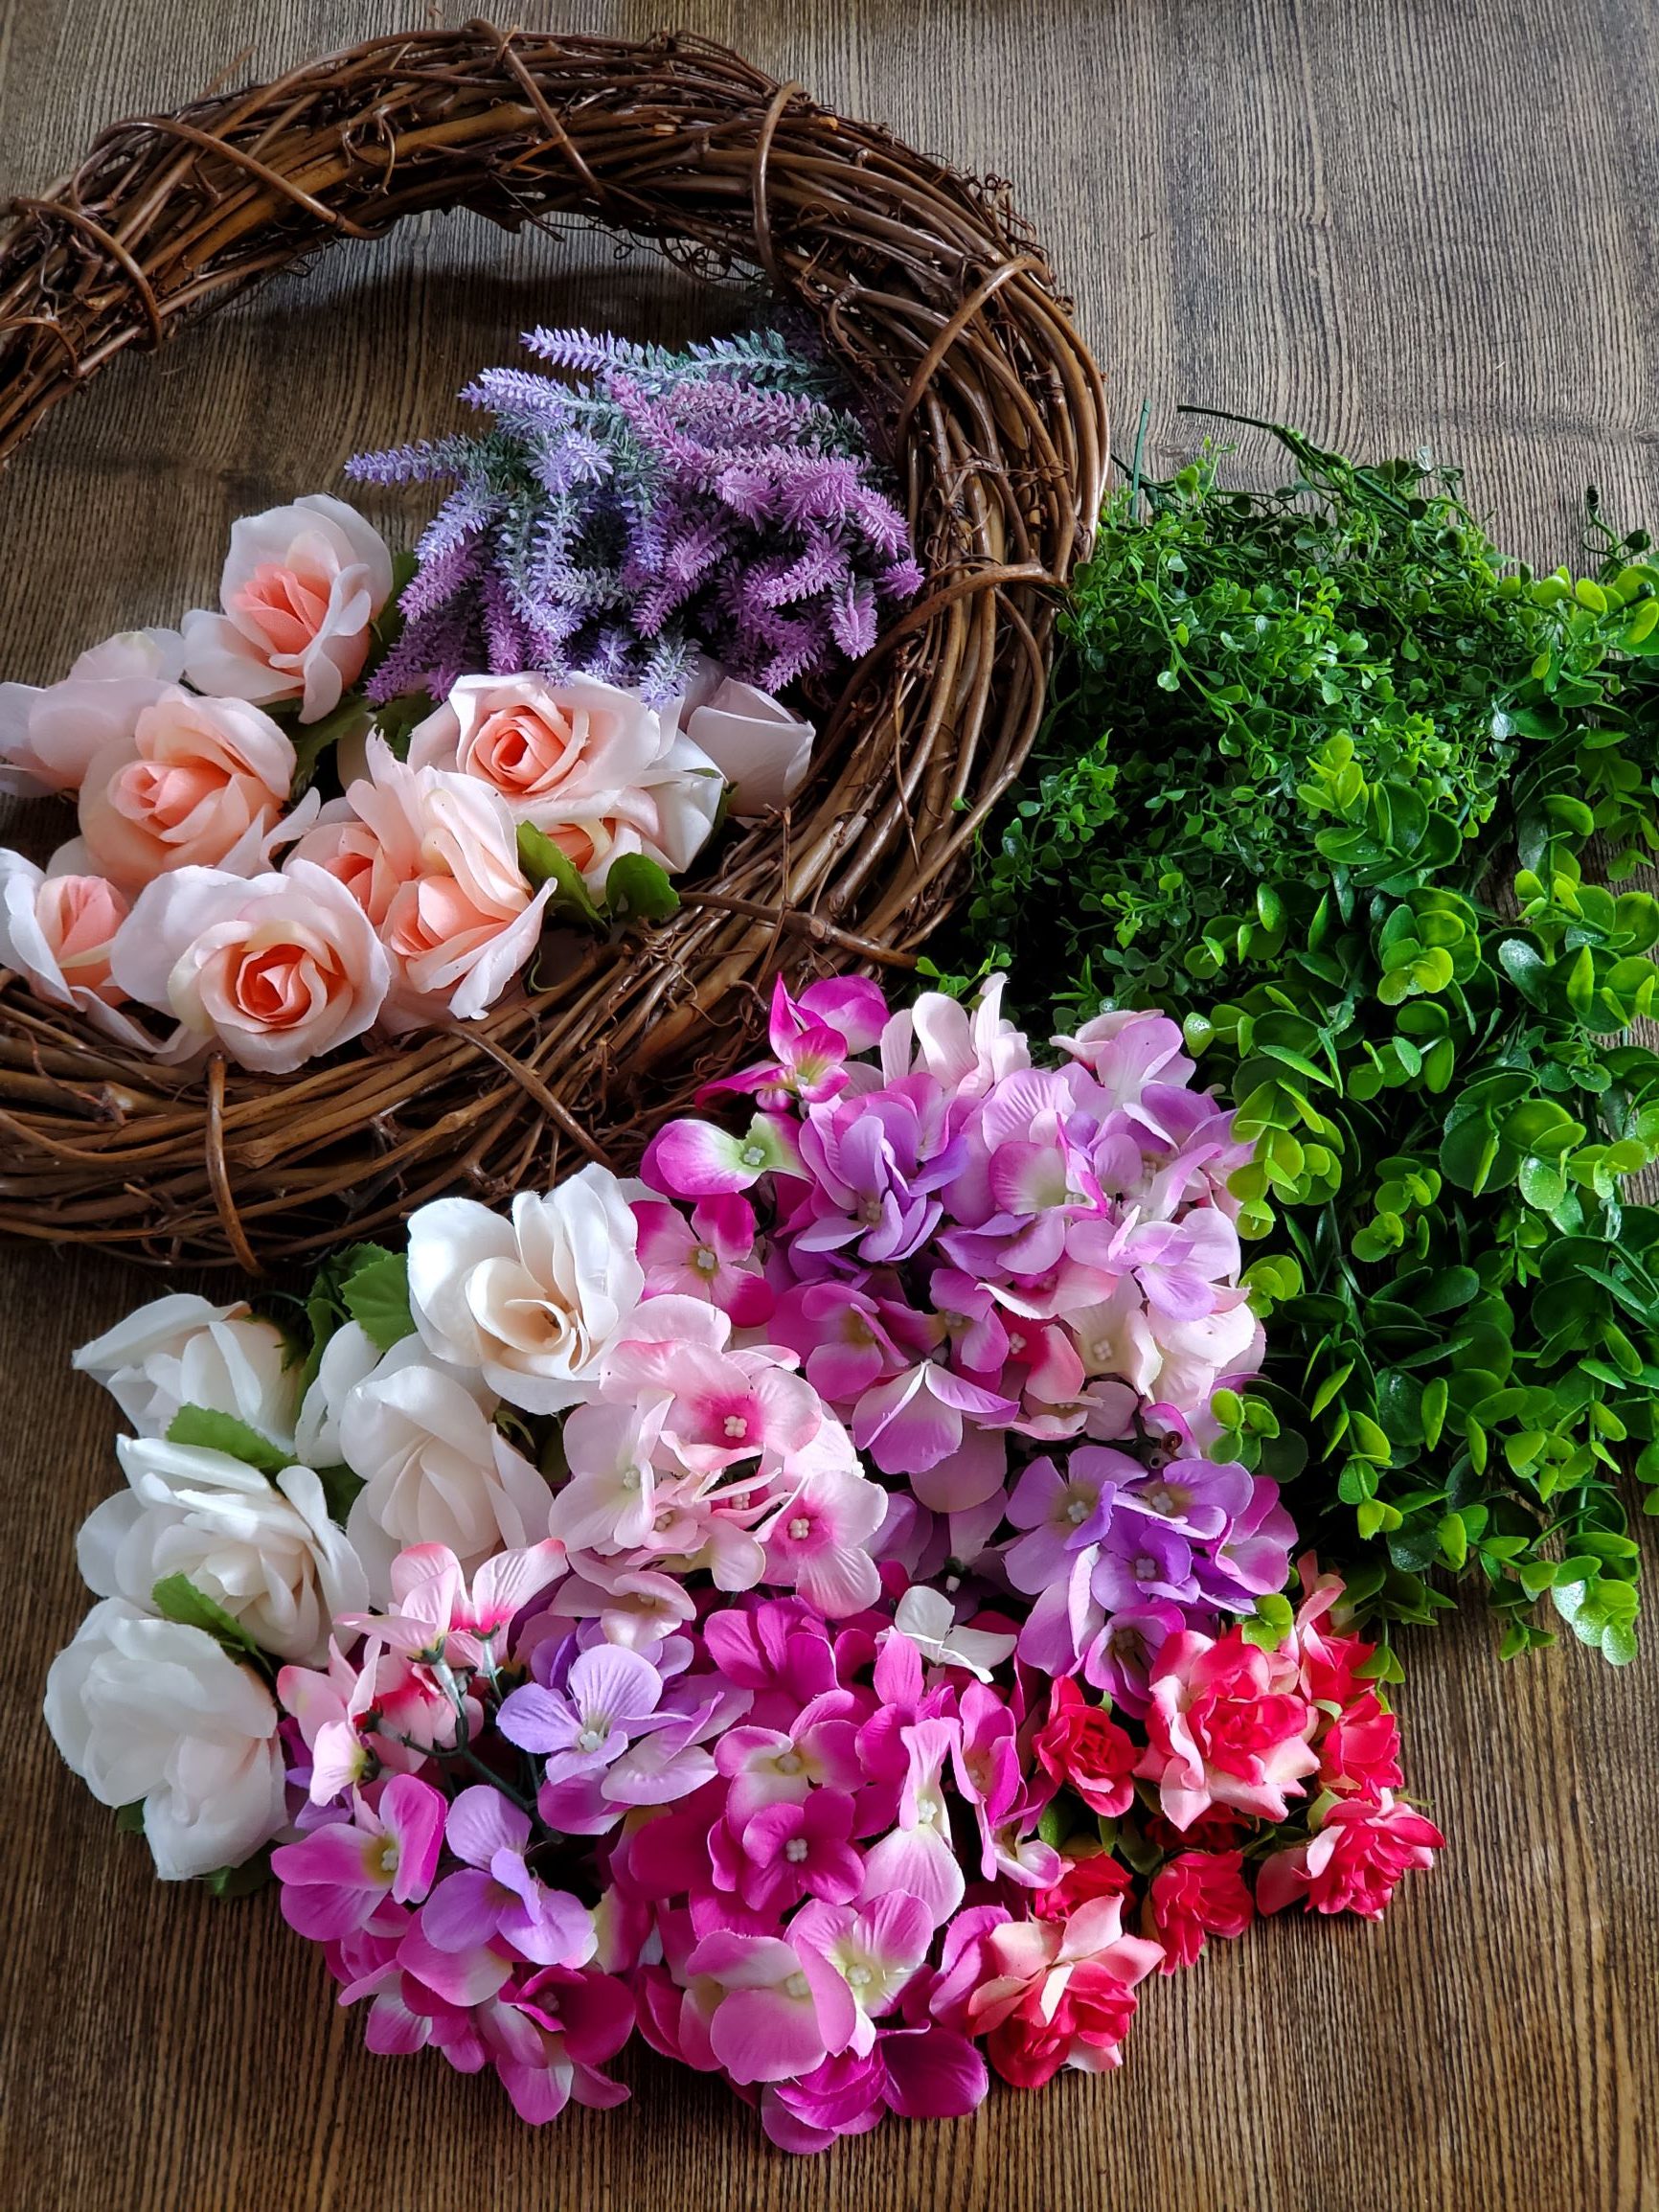
- 10” – 14” Grapevine wreath
- 8 -10 sprigs of lavender in dark and light purple
- Rope (*optional)
How to Make Easy Lavender DIY Spring Wreath
- Cut the lavender stems down so that you end up with several lavender bunches.
- I cut the stems in half. On the top half I slid the blooms up so that they were more tightly bunched at the top end. The I used the bottom part of the stem, again sliding the blooms to the top so that they too had a generous stem showing at the bottom.
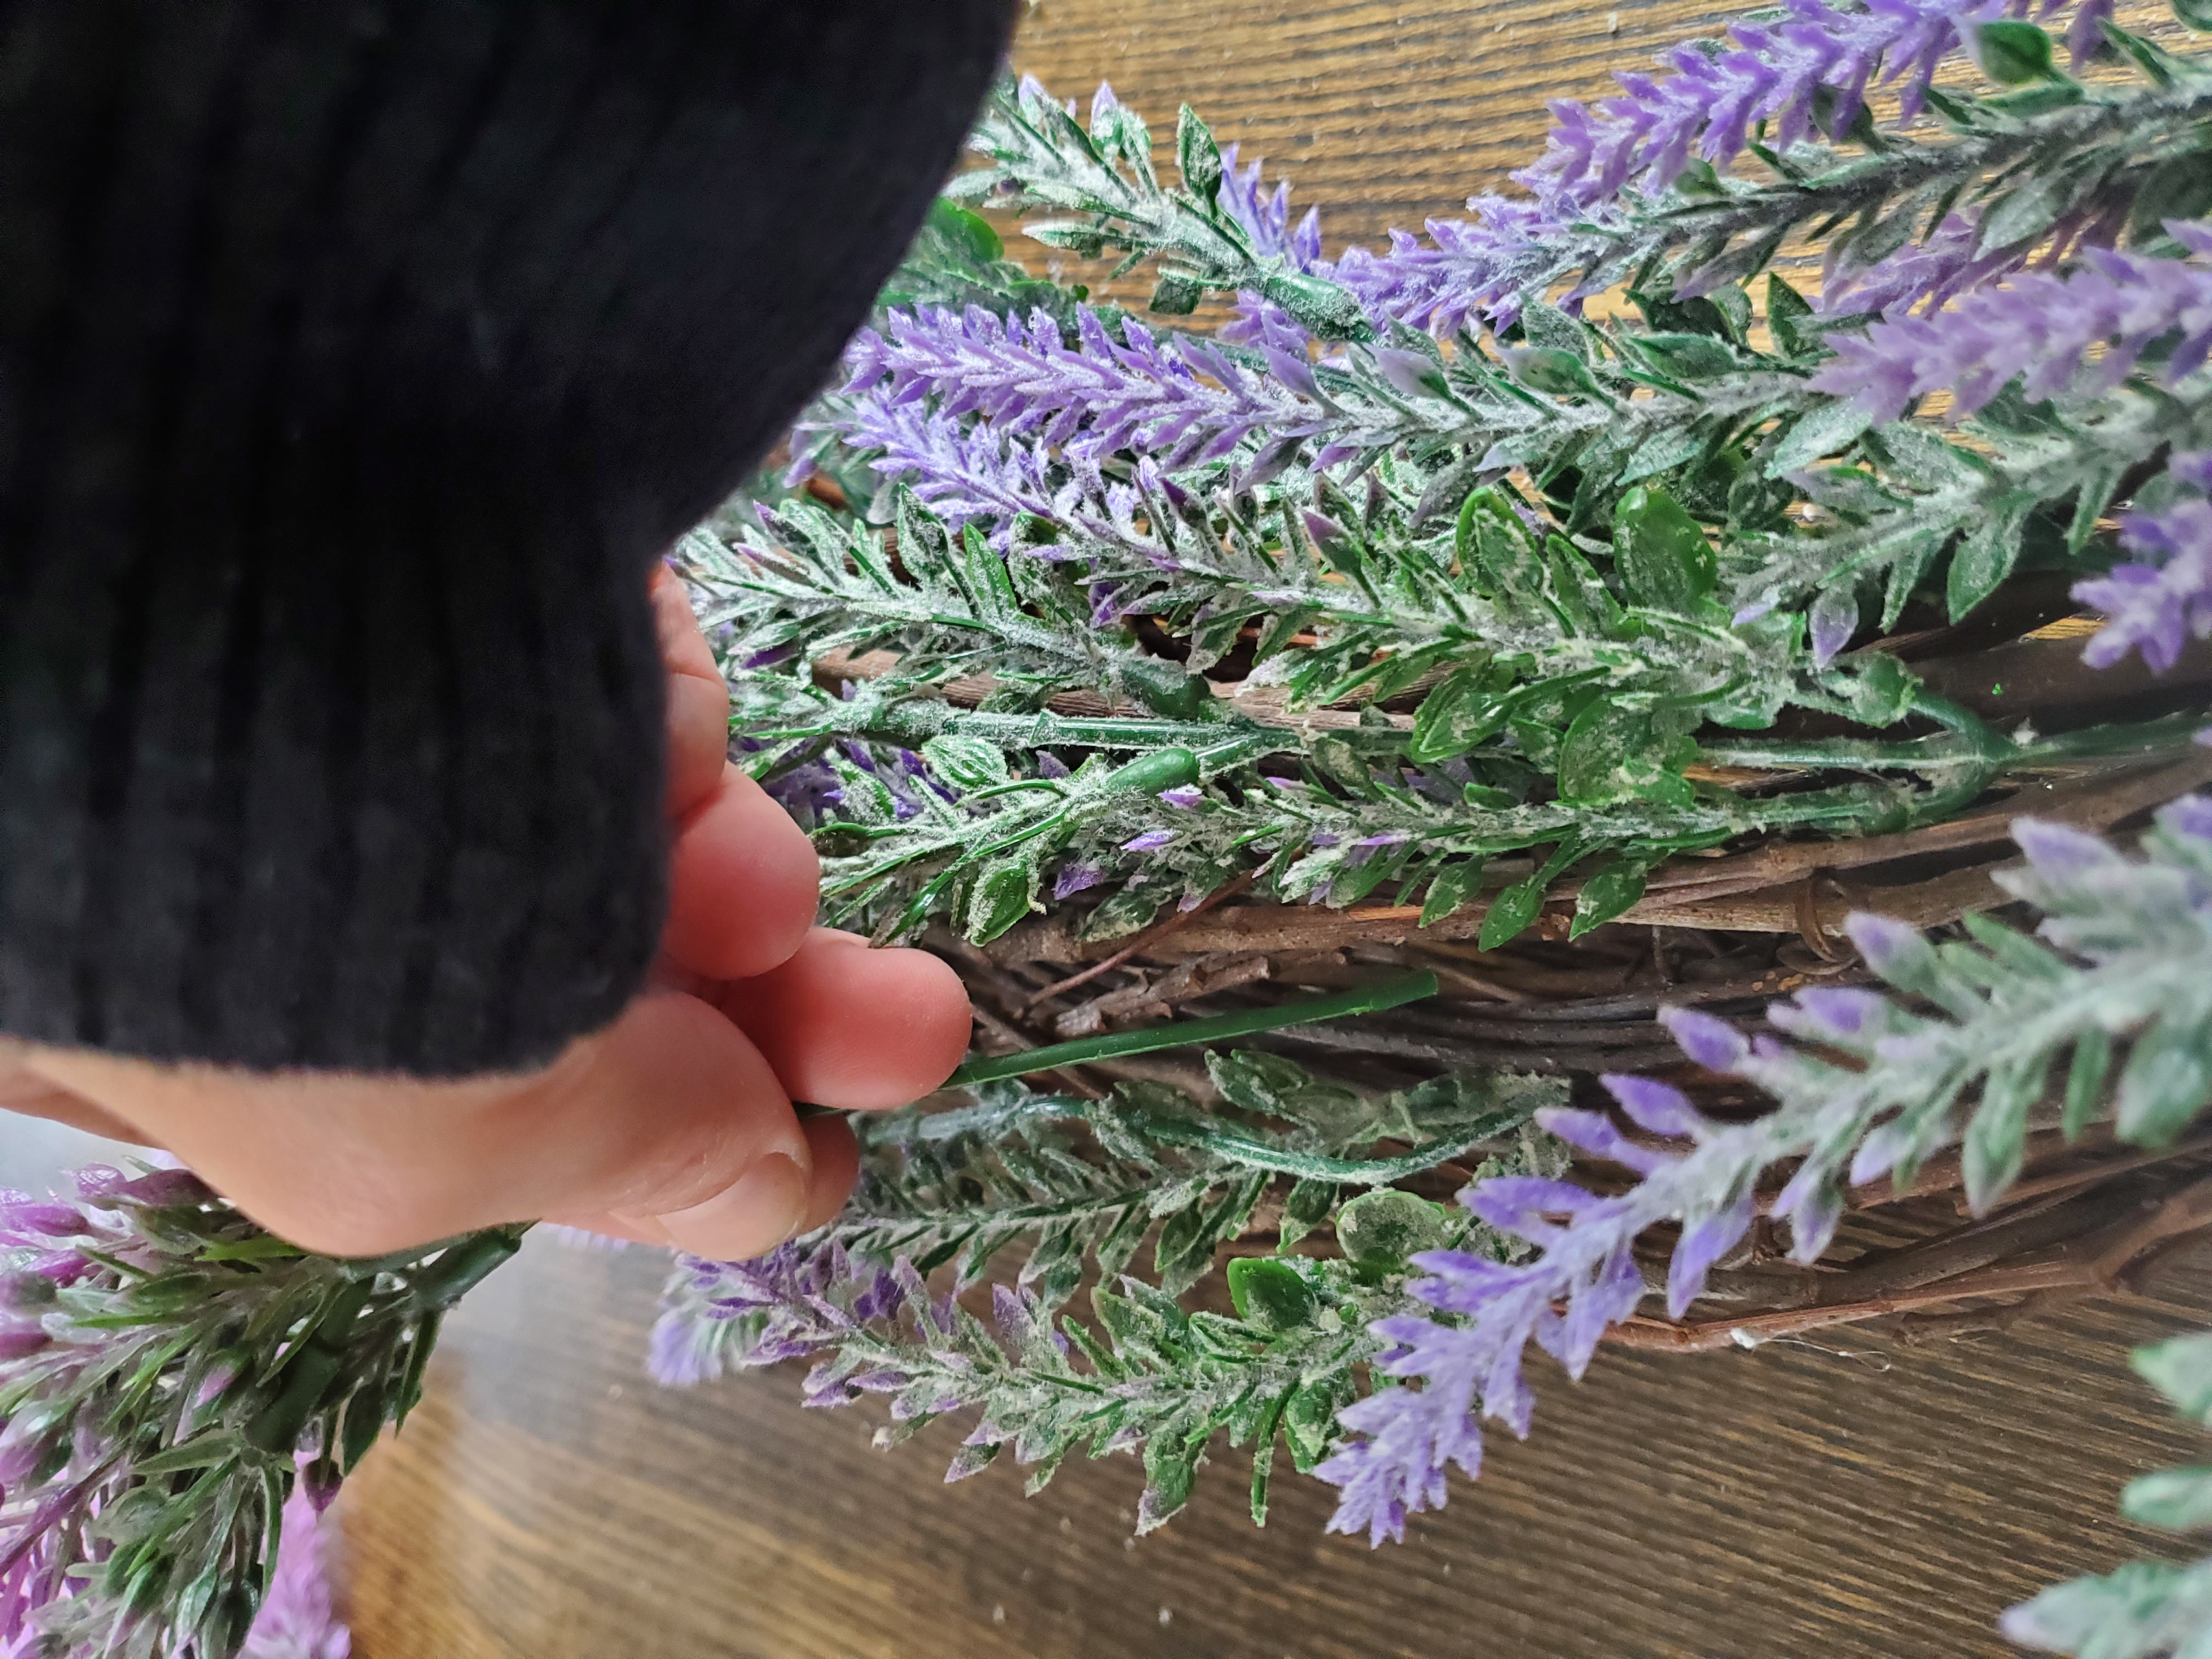
- Start with the light purple lavender bunches. Working from one side to the other arrange the bunches around the wreath, sliding the floral stems in amongst the grape vine stems.
- Then add the dark purple lavender bunches. Again working from one side to the other, arranging the lavender bunches around the wreath, filling in the gaps left by the light purple stems. Slide the floral stems in amongst the grape vine stems. Fluff out the bunches so that you can barely see the grape vine wreath.
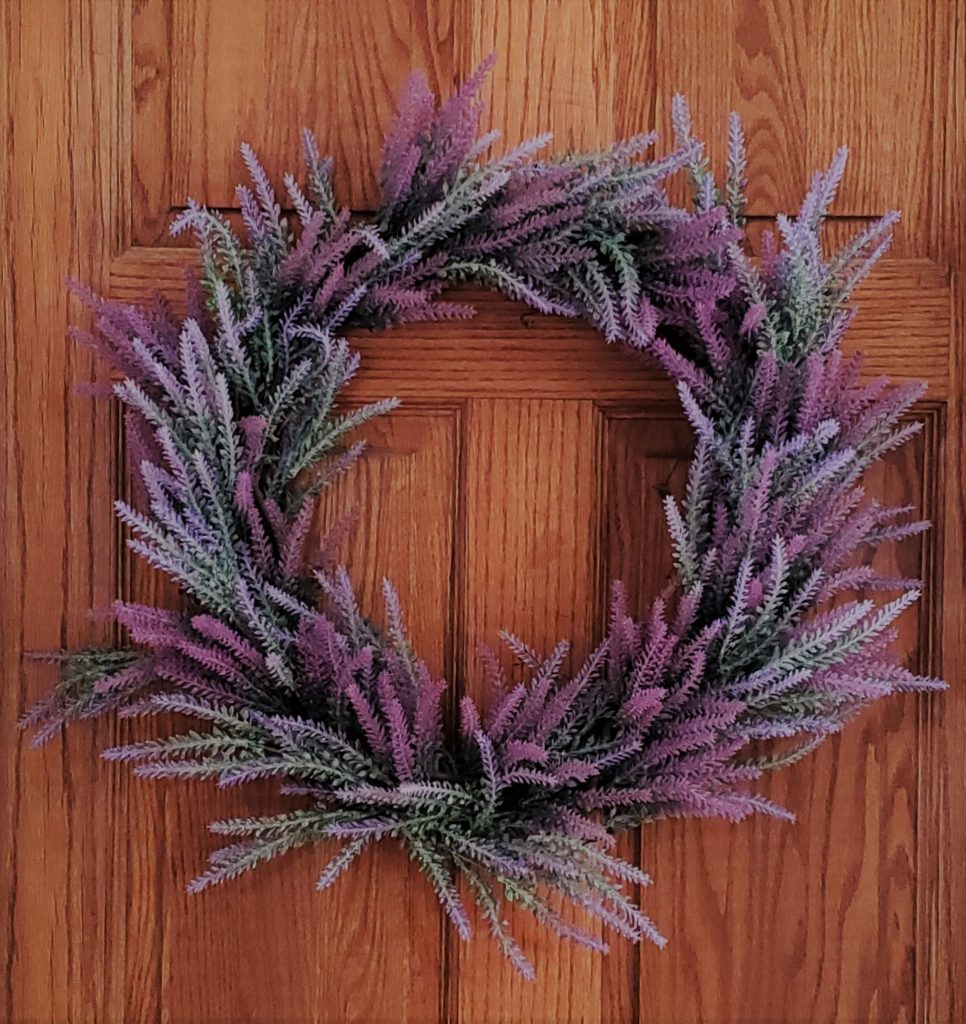
Optional: Tie a ribbon or a rope to the top of the wreath. Hang on the front door.
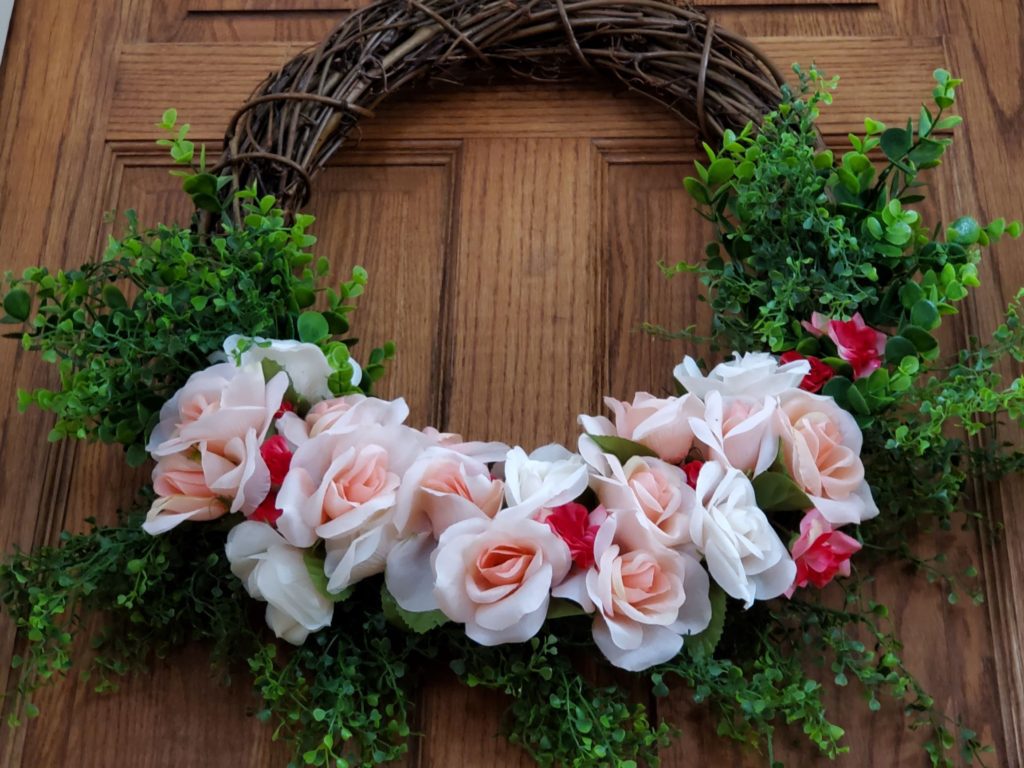
Easy Peaches & Cream Rose DIY Spring Wreath
Supplies You Will Need
- 14” Grape vine wreath
- 3 – 4 stems peach roses
- 3 – 4 stems white/cream roses
- 1 stem small light and dark pink rose buds rose buds (*optional)
- 2 stems sedum greenery
- 2 stems lacey greenery (honestly don’t know the name)
- Rope or ribbon (*optional)
How to Make Peaches & Cream Rose DIY Spring Wreath
- First cut the stems into smaller bunches.
- Starting with the peach roses arrange them among the bottom portion of the wreath. Slide the green stems in among the grape vine stems.
- Next add the white/cream roses amongst the peach roses. Fill in the spots where the grape vine wreath form shows.
- Find any gaps among the arranged roses and using the light and dark pink rose buds fill the gaps.
- On each end of the rose formation add the sedum greenery. Have the sedum greenery pointing upwards on the wreath.
- Then add the lacy greenery. Again have the greenery pointing upwards on the wreath.
- Now, you can stop here. This is a very elegant and traditional looking wreath.
Optional: However, I decided to add some of the lacy greenery stems to the bottom of the wreath as well. This gives the wreath a more casual, farm house appearance, which I just love!

Easy Lush DIY Spring Wreath

Supplies You Will Need for Easy Lush DIY Spring Wreath
- 14” Grape vine wreath
- 3 – 4 Peach roses stems
- 3 – 4 White/cream roses stems
- 1 – 2 Hydrangea stems
- 1 – 2 Light pink hydrangea stems
- 3 – 4 Light purple lavender stems
- 3 – 4 Dark purple lavender stems
- 3 – 4 Lacy greenery stems
- Rope or ribbon (*optional)
How to Make Lush DIY Spring Wreath
- First cut the stems into smaller bunches.
- Start with the peach roses. Place them, equally dispersed, around the grape vine wreath form. Again, slide the green stems in between the grape vine stems.
- Add the white/cream roses next. Filling in the spots between the peach roses.
- Next, add the hydrangea stems. Start with white/cream stems.
- Then add the pink hydrangea stems.
- Now, starting on one side of the wreath and working you way back and forth, add the light purple stems.
- Now, repeating the same order, add the dark purple stems.
- Again, working back and forth across the wreath form, add the lacy greenery.
- Lastly, fluff out the flowers and greenery and ensure that all the stem ends are tucked into the wreath form. Add a ribbon or rope to hang, if you wish.
Jenny’s Finishing Thoughts on DIY Reusable Spring Wreaths
I just love making DIY reusable spring wreaths or any reusable wreath, for that matter. The lack of commitment lets me create freely. If I don’t like how it looks I simply rearrange things. Plus, I love that I can easily and cheaply change up my front door wreath every time the mood strikes.
Which wreath was your favourite? Do you think you’ll give reusable wreaths a try?
Did you find this post helpful or inspirational? Save This Pin to your Spring Wreath or Wreath board on Pinterest
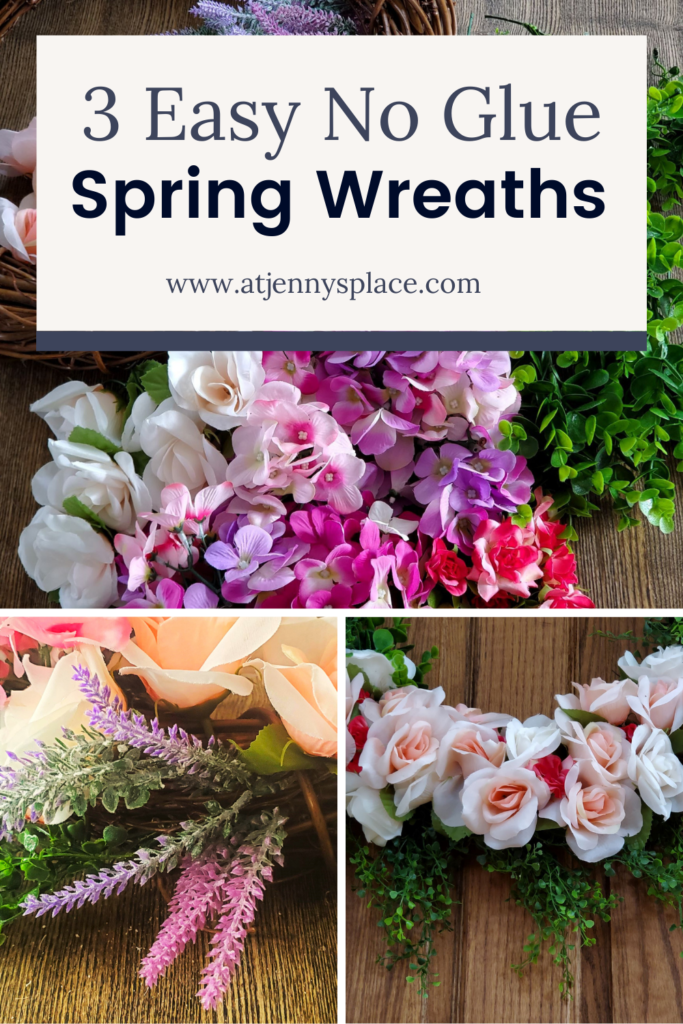
How To Make 3 Easy Reusable DIY Spring Wreaths
Gorgeous DIY Easter Egg Wreath
DIY Baking Soda Paint: Stunning Stone Bird and Bunny Home Sense Dupes