Blue Christmas Decorations Ideas: So Stylish
Are you also dreaming of a blue Christmas? Bring a bit of holiday cheer into your home with these 5 blue Christmas decorations ideas.
5 Blue Christmas Decorations Ideas
Are you getting ready for the holiday season and want to go beyond the typical red and green decor? Are you dreaming of a blue Christmas? If so, you’re in luck! This is the perfect place to start. Let me show you a few ways that you can bring a touch of frosted elegance to your home.
Whether you want to spruce up your front door, hang some art on the walls, or even add a unique festive touch to your mantle, I’ve got you covered with these inspired ideas. So, get ready to turn your home into a winter wonderland and welcome your guests with a touch of frosty blue magic!
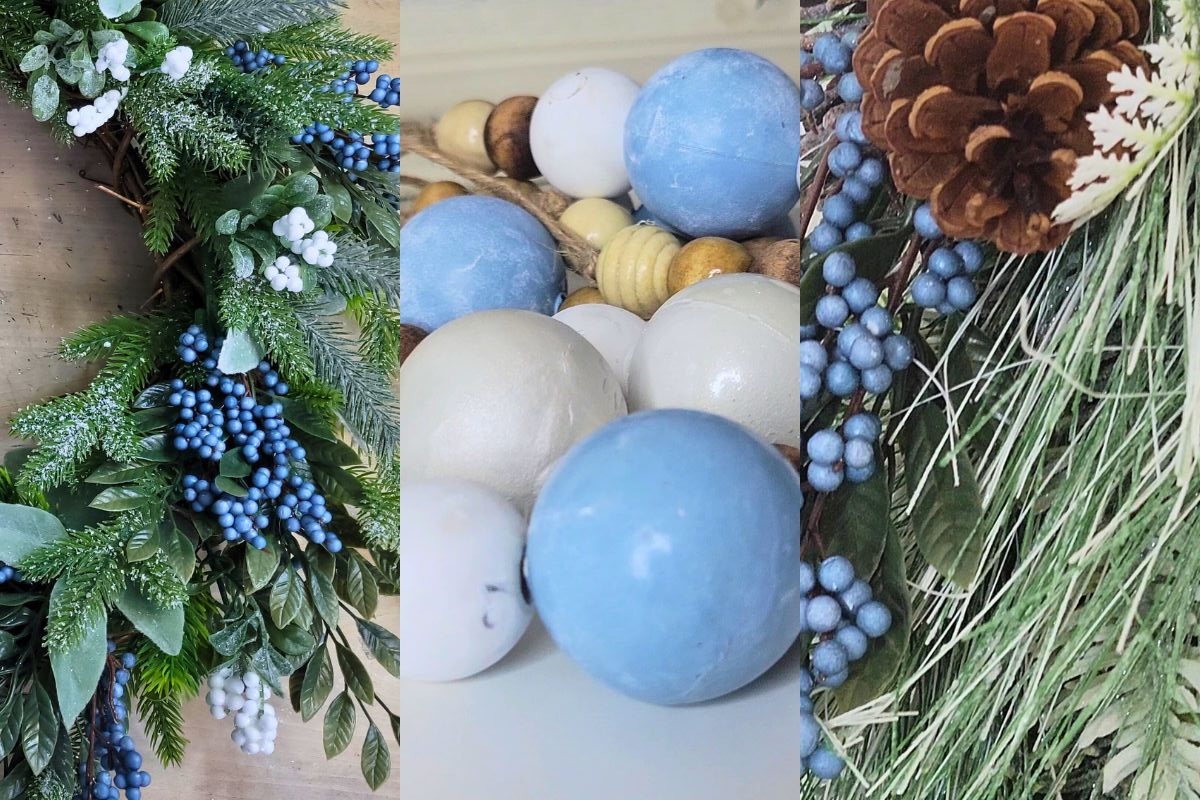
Icy Blue Holiday Wreath
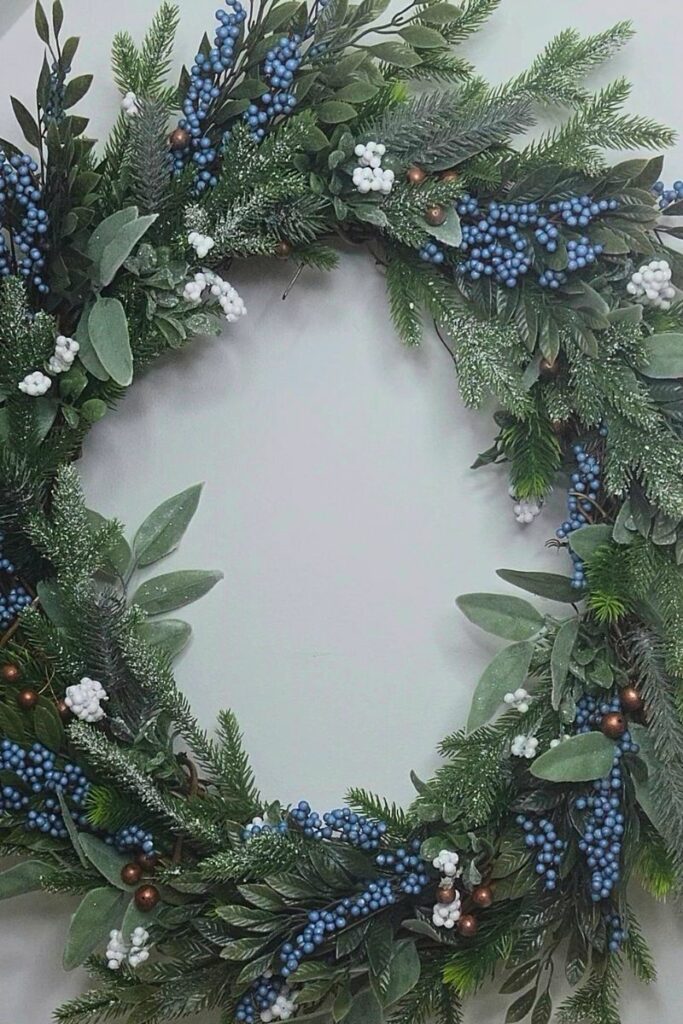
This simple, icy blue wreath is simply stunning. The combination of green pine, frosty white, icy blue, and warm copper just works so well together. You end up with a stylish wreath that is perfect for any home decorating style.

Supplies You Will Need
- Grape Vine Wreath
- Blueberries picks (about 8 picks)
- White frosted berry picks (about 2 picks)
- Dollar Tree pine picks (about 4 bags worth)
- Any other faux Christmas greenery that you would like to add
- (*Optional) red berries spray painted copper
How To Recreate
This no hot glue needed – frosted blue holiday wreath is the perfect addition to your holiday decor. Dollar Tree came out with these beautiful blueberry picks. Although these were meant for the summer months they also work perfectly for Christmas.
This holiday year icy blue is having a big moment and this is one way to bring a touch of the trend into your Christmas decor. Mix it with a touch of white, and some lightly frosted winter greenery. Add a bit of matte greenery to balance everything out and to keep it from getting too sparkly. (Unless you’re going for the blingy look.)
Now again, you won’t need hot glue for this wreath. Simply slide the pick ends in between the grape vine twigs. Layer the greenery in one direction. Make sure to mix up the variations of green and textures in the greenery when adding it to the wreath. Stager the picks to give everything a lush, full look.
For a finishing touch add a few white berry sprigs and a couple of copper coloured berry clusters and you have yourself a beautiful, stylish, and trendy holiday wreath.
Stylish Holiday Swag
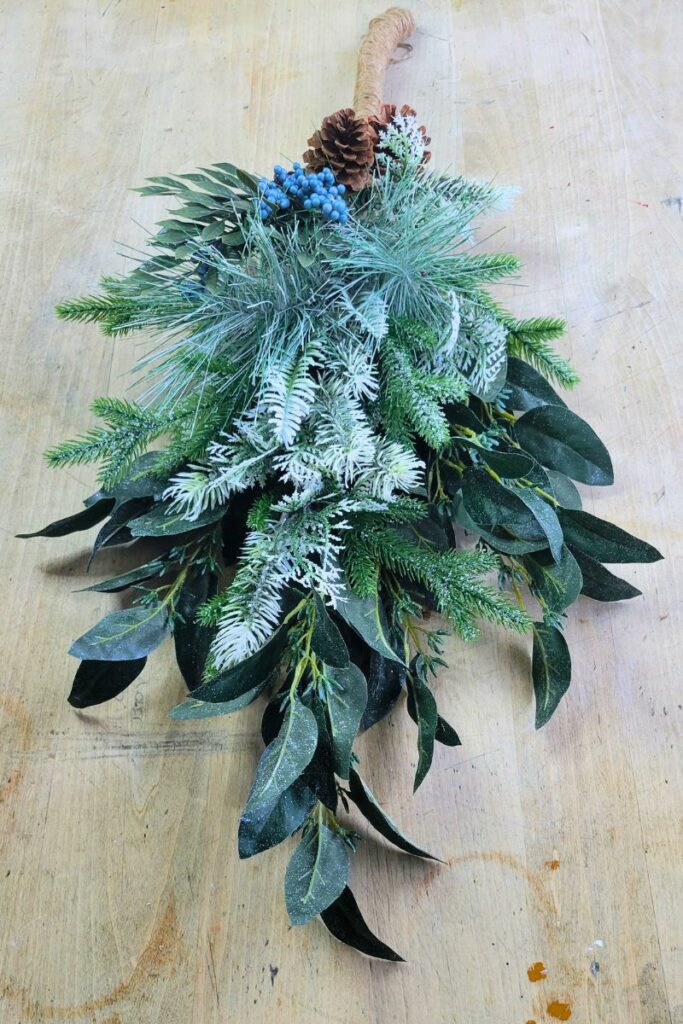
This swag was so easy to make and yet it looks like I paid over $100 for this thing. To recreate you will need to make a quick trip to a craft store but it will be well worth it. (Take your coupons to keep the cost down or wait for a great sale on faux holiday greenery.)

Supplies You Will Need
- 3 full dark green, slightly frosted faux floral stems
- A full, pinecone and pine Christmas bush
- Twine
- Brown, twine rope
- 1 bag Dollar Tree pine picks
How To Recreate
To recreate this beautiful holiday swag you will need a few, full holiday bushes from your craft store. During Michael’s end of season sale last year I had picked up a pinecone and pine, holiday bush and a few stems of frosted, flat leaf greenery. So this year, I tied these together with the flat leaf stems behind and the fuller bush in front. A few additional picks of pine from Dollar Tree were used to make the arrangement look even fuller. Lastly, a sprig of faux blueberries was added. To cover the stems and koto keep them tied together a fat, twine rope was wrapped around and then hot glued in place.
And that is all it will take to recreate this stunning holiday swag.
Beaded Christmas Tree Ornaments
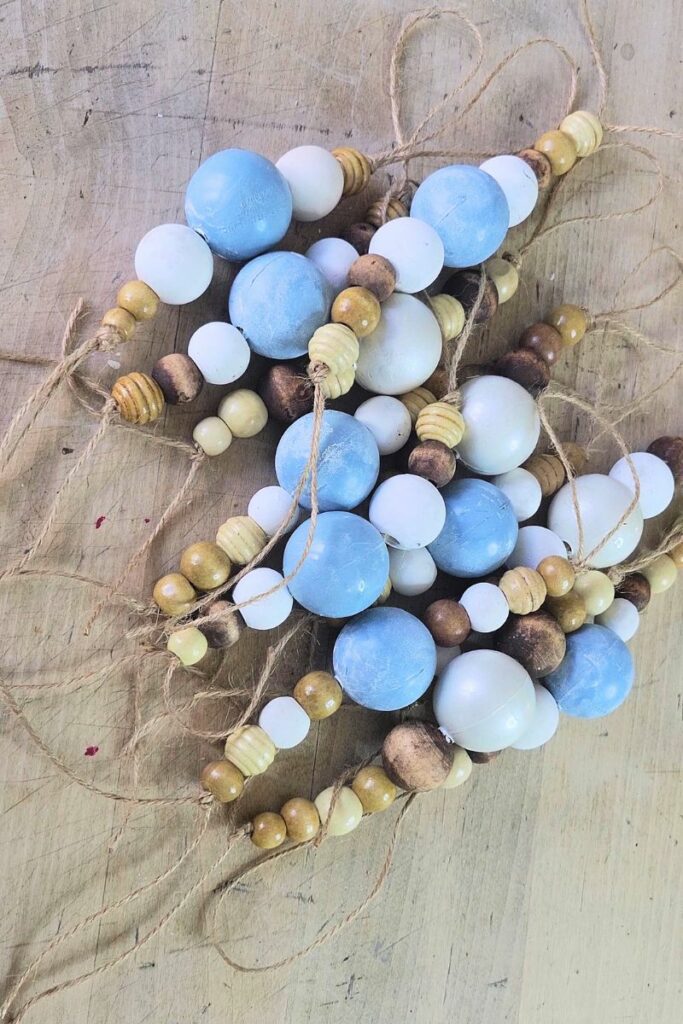
You will not believe what these Christmas ornaments are made of! These beautiful, rustic wood bead ornaments will work perfectly on any holiday tree. Easy, cheap, and charming – ya can’t beat that.

Supplies You Will Need
- Various wooden beads
- Halloween plastic eyeballs
- Rustoleum spray paint Satin French Blue
- Twine
- Hot glue gun with a fine tip
- Large, straight sewing needle with a wide eye
How To Recreate
Start by using a fine tip, hot glue gun to poke holes into each end of the Halloween plastic eyeballs. Next, stick a wooden skewer into each eyeball and then pop onto some floral foam. This will keep them standing up right and will make it easier to spray paint them.
Once the spray paint has dried cut some twine and fold it in half. Tie one end into a loop. Then thread the twine and using the sewing needle thread the wood beads and spray painted, plastic eyeballs. Once you have the beads arranged the way you want them tie the ends in a double knot.
Et Voila! You have yourself some beautiful, beaded ornaments that will look lovely on any Christmas tree.
Two Tiered Ornament Wall Art
The picture doesn’t do DIY justice so make sure that you also hit the link to the video (at the top of this post) to get the full effect. It’s stunning. It came out perfectly. I am so happy with how this turned out. It might be my favourite DIY so far.
Supplies You Will Need
- 2 long rectangle picture frames (I got mine from Dollarama)
- 14 mini Christmas ornaments (I got mine from Dollar Tree. I got the blush pink and light gold ones)
- Rustoleum spray paint Satin French Blue
- ArtMinds Antique Wax
- Makeup sponge
- Wooden skewers
- Floral foam
- FolkArt chalk paint in Milk Jug
- ArtMinds chalk paint in Pure White
- Paint brush
- Wood glue
- Clamps
How To Recreate
Start by painting removing the backing and glass to the frames and then paint them with a couple coats of the Milk Jug chalk paint. Wet distress. Add 7 small eyelets to the top, inside of each of the frames.
Next, remove the tops of a few the pink ornaments and stick them on the skewers. Pop these into the floral foam and then head outdoors to give ’em a couple good coats of spray paint. Once dried, use the Antique Wax and/or white chalk paint to add some interest to some of the blue ornaments. Leave some in the solid colour.
For the light gold ornaments use a makeup sponge and some Antique Wax to darken the ornaments and give them an aged appearance.
Using some wood glue and the clamps attach the two frames together. Let dry completely. Lastly, attach the mini ornaments with the gold ties that come with the ornament packs.
And there you have it! A stunning, decor piece that looks like it came from a high end decor store but really it cost you only a couple of dollars to recreate.
Winter In A Jar
This simple DIY decor idea is so quick and easy to recreate you won’t hardly believe it. But it looks so good. So good.
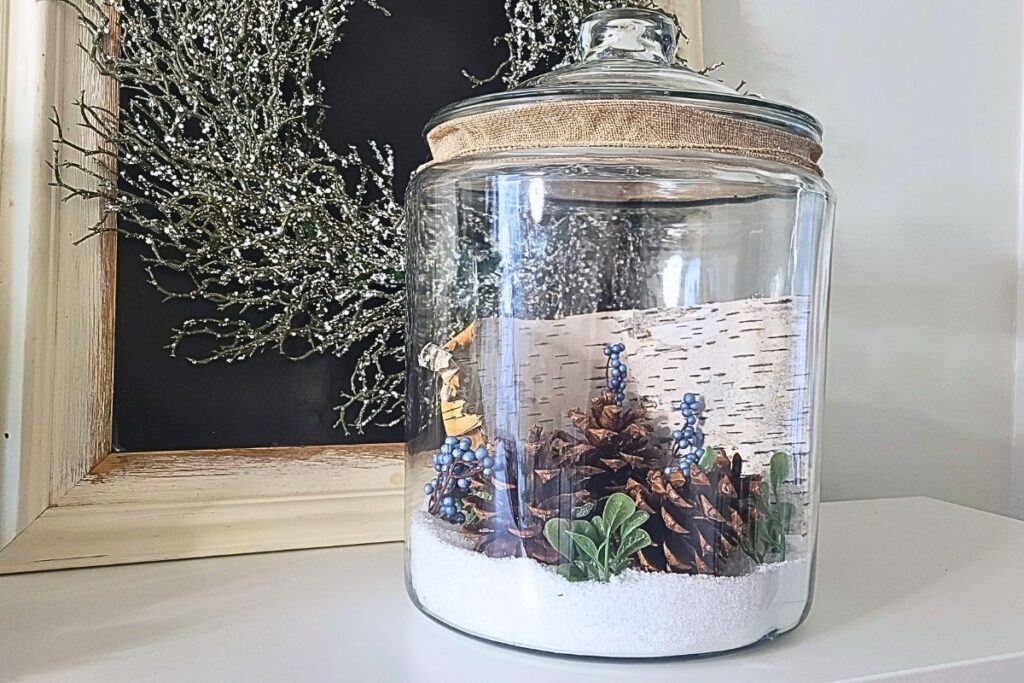

Supplies You Will Need
- Over sized glass jar with lid
- Epson salt
- Large pinecones
- Blueberry sprig (from Dollar Tree)
- Frosted faux greenery (Mine was from the white berry pick from Dollar Tree)
How To Recreate
Fill the bottom of the jar with epson salt. Arrange a few pine cones inside. Add a few springs of blueberry, and a few of the frosted faux greenery. Replace the lid and presto! Christmas in jar. Definitely the simplest of all of my blue Christmas decorations ideas.
Jenny’s Finishing Thoughts On These Blue Christmas Decorations Ideas
Whether you want to make a wintry themed winter wonderland for your living room or just add a few sprinkles of blue around your home, these five easy DIY projects will help you get the job done.
Christmas is the perfect season for adding cheery decorations to your home. With these easy and creative DIY decor ideas, you can turn your home into a magical winter wonderland in no time. From the front door to the table tops, you’ll have your home looking like a holiday postcard in no time. With these decor ideas, you can have a Christmas that’s as frosty and blue as you’d like. So, this holiday season, don’t forget to take a few moments to craft something festive for yourself and your loved ones, and enjoy the beauty of the season.
Did you find this post helpful or inspirational? Save This Pin to your Christmas Decorating board on Pinterest!


If you liked this post you may also enjoy:
Thrifted Christmas Decor That’ll Amaze

