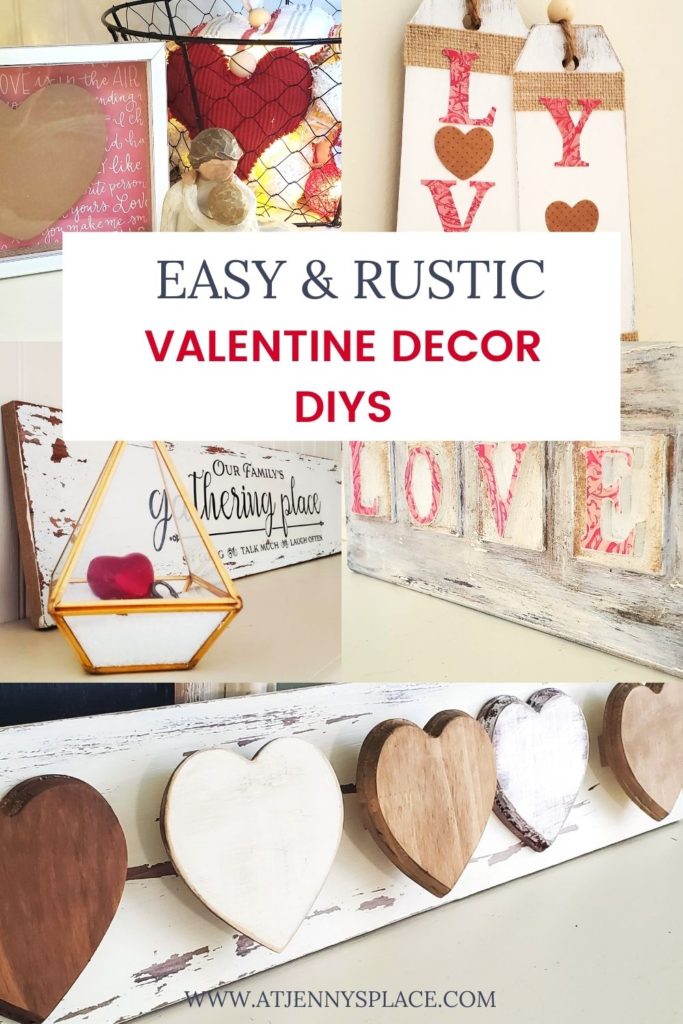
Farmhouse Valentines Decor That’s Not Cheesy
These farmhouse Valentines decor DIYs are perfectly charming and rustic. They make the ideal holiday decor for those of you who want just a touch of classic Valentines.
In Love With Valentine’s Day… Decor
Valentine’s is one of those holidays that you want to decorate for but you may not want to go all out for it. A few simple touches here and there provides just enough heart themed decor without it becoming overtly sweet. We want to avoid tacky and aim more for charming.
That is why I am so excited to share these DIY farmhouse Valentines decor ideas with you. They are whimsical enough to titillate the little ones while being classic enough to fit into your everyday decor.
When Should You Start Decorating For Valentine’s Day?
February 1st is definitely the ideal date to start decorating for Valentines day. It gives you just enough time enjoy your post Christmas winter decor before you are switching things up again.
I also like to leave my decor up for the whole month of February. It’s a short month and if you go with classic, understated decorations then they shouldn’t scream VALENTINES. They will look lovely right up until it’s time to start decorating for spring.
And hey, it’s never too early to start thinking about spring decor. You may want to get a bit of inspiration from these fabulous DIY ideas or this stunning spring centerpiece.
How Can I Decorate My Home For Valentine’s Day?
There are so many simple and elegant ways to decorate your home for Valentine’s. Any of the following farmhouse Valentines decor ideas will work beautifully. But because sharing is caring and this is the holiday of love here are a few additional ideas for decorating your home:
- Add decorative throw pillows
- If your decor permits add a touch of red with blankets, pillows, towels, table linens, and rugs
- Hang a Valentine wreath on your front door
- Bring in some fresh flowers
- Scent your home with a romantic essential oil
- Decorate a love themed tiered tray
- Add a few Valentine touches to the fireplace mantle or dining room buffet
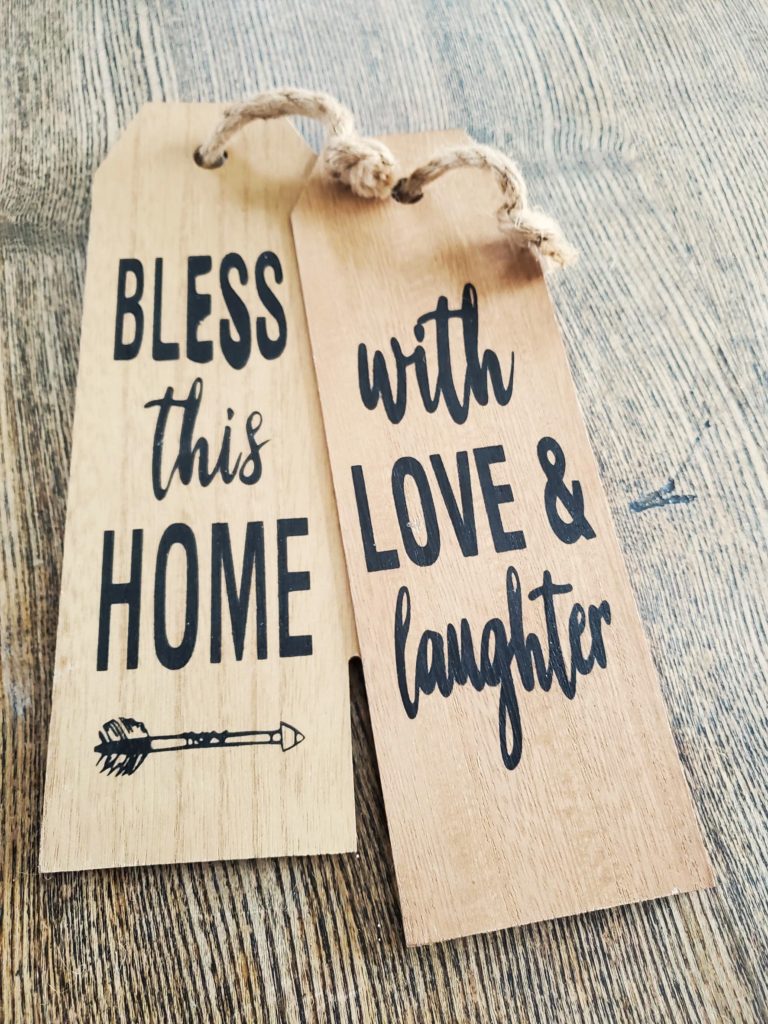
Farmhouse Valentines Decor #1: I Love You Tag
Confession: We have an outdated and ugly kitchen. When we remodeled the house the kitchen was the one room we just couldn’t financially tackle. So I live with it.
On the side of one of the cupboards is an ugly, white plastic hook. I don’t want to remove it because it will leave a hole that I won’t be able to fix. So, instead I hang decor from it. If you can’t beat it: embrace it.
Supplies You Will Need to Make I Love You Tags
- Wood Tags from the Dollarama
- Artminds Chalk Paint in Porcelain
- Paint Brushes
- Adhesive Burlap Ribbon
- Heart Dye Cuts from Dollarama
- Craft Paper
- Glue Stick
- Sticker Letters (*Optional)
- Wood Beads
- Twine Rope
How To Make I Love You Tags
- Start by painting both of the wood tags with the white chalk paint. This will take a couple of coats to completely cover the black words. Let dry. Apply the paint lightly around the edges and the bottom to give the tags a bit of a distressed look. To further distress the tags use some sand paper and further lighten the ends and edges.
- Cut the burlap ribbon so that you can fit it at the top and the bottom of each tag. Place the top ribbon just below the holes. The adhesive is pretty sticky but if you want to ensure that the burlap ribbon doesn’t move add a tab of hot glue.
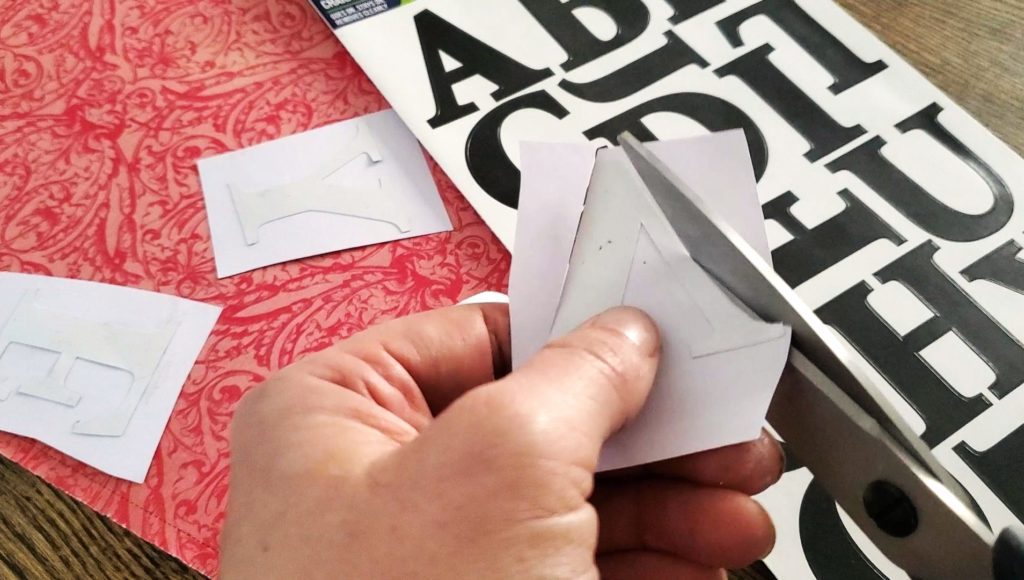
- Using sticker letters from Dollar Tree, glue the letters on to the back of the craft paper. Cut the letters out and then glue the letters to the tags.
- Add the heart dye cuts for the O in each of the words with a bit of the glue stick.
- String the wood beads on to some twine. Cut the twine to length and slide the ends through each hole at the top of the tags. Front to back.
- Hot glue each of the wood beads to the top of the wood tags.
- Tie the twine at the back of the tags and then for a little extra security hot glue the knot and the ends of the twine to the back of the tags.
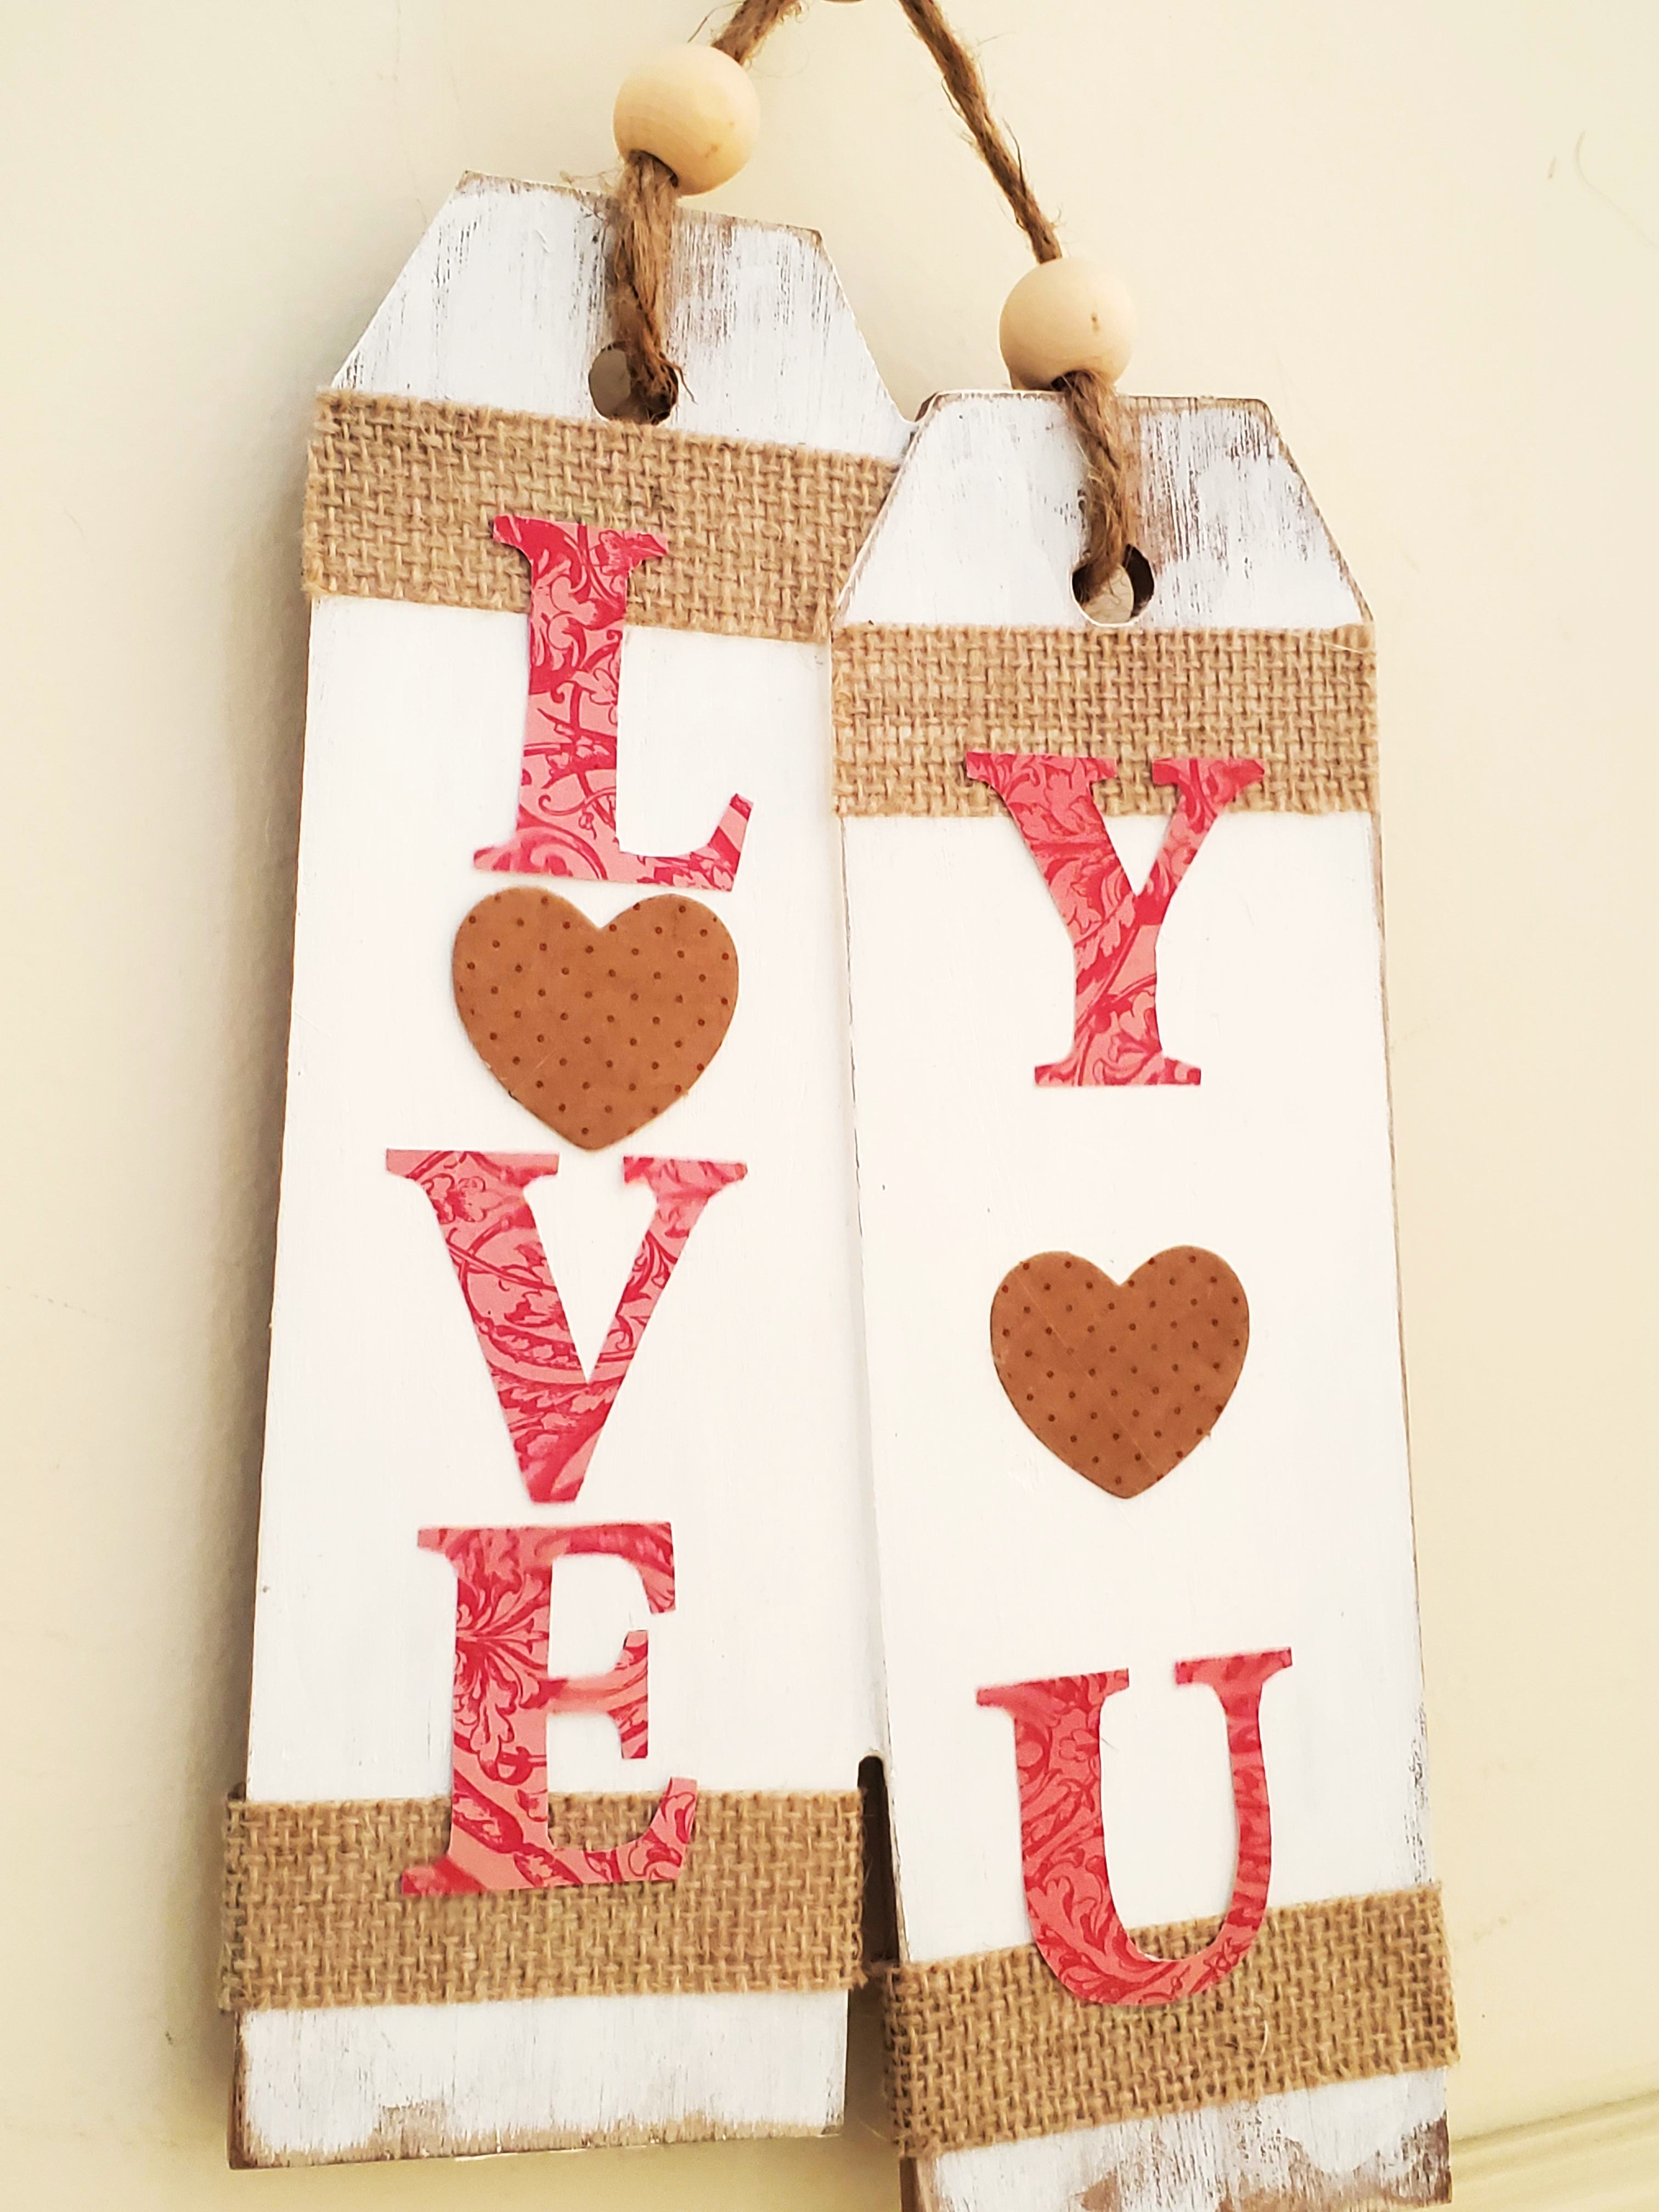
Simple and pleasant. This would look great added to a Valentine wreath, hanging on a door, or as a simple wall art piece.
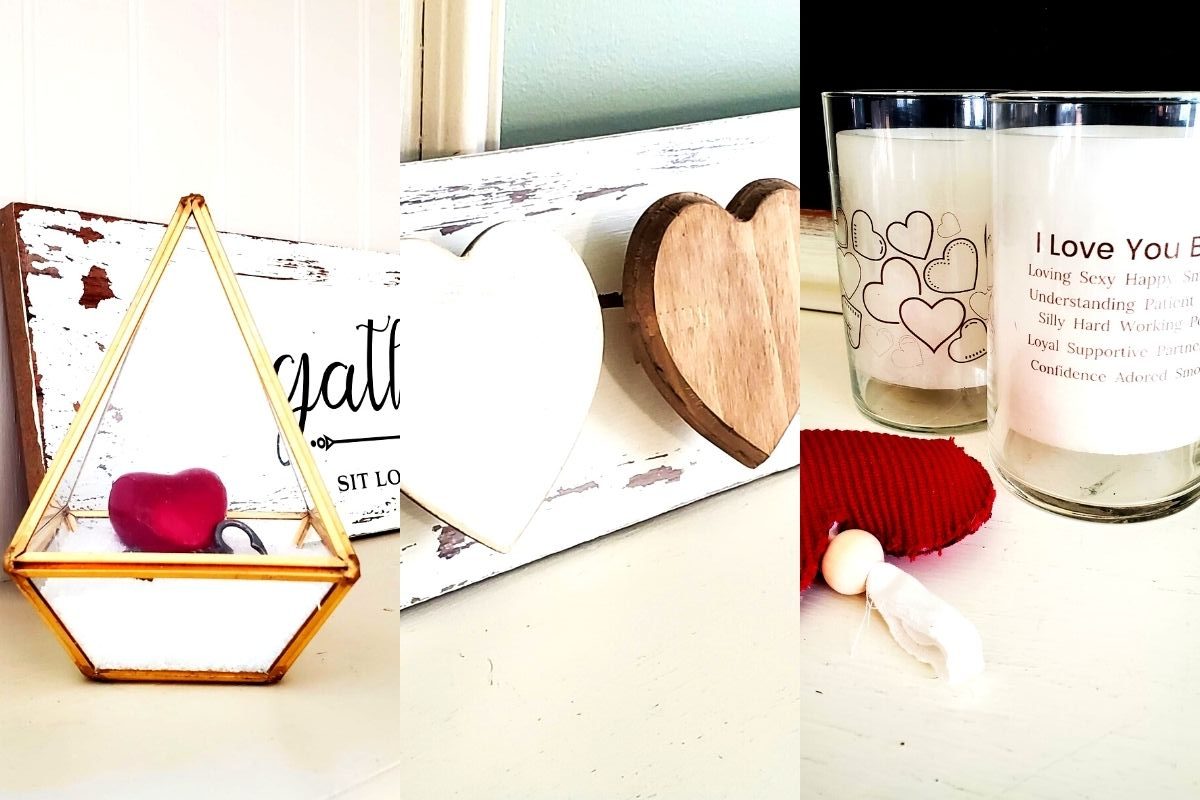
Farmhouse Valentines Decor #2: Key To My Heart Terrarium
I used these gorgeous and inexpensive glass terrariums for Christmas tree ornaments this past holiday that were simply divine. Now I’ve reused one of them in this Valentine’s decor. This is ridiculously simple but I love the end result.

Supplies You Will Need to Make Key To My Heart Terrarium
- Mini Glass Terrarium from Dollarama
- Epsom Salt
- Heart Embellishment
- Key
How To Make Key To My Heart Terrarium
Fill the bottom of the glass terrarium with a bit of Epsom salt. Add a little red 3D heart and a key to the top.
And that’s it! Gorgeous.
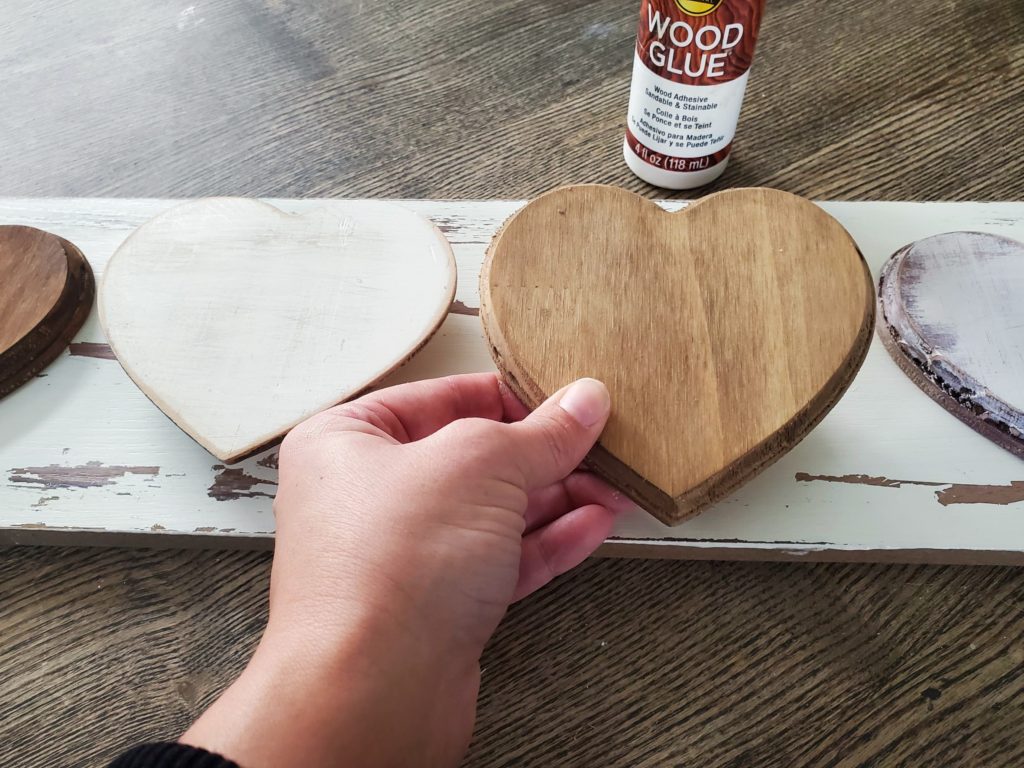
Farmhouse Valentines Decor #3: Rustic Heart Sign
This rustic heart sign is so unbelievably charming. It reminds me of something that you would find for a lot more money at Michael’s.
Supplies You Will Need to Make Rustic Heart Sign
- Faux or Real Wood Board
- 5 Wood Hearts from Dollar Tree
- Artminds Chalk Paint in Porcelain
- Artminds Antique Wax
- Chip Brush
- Artminds Chalk Paint in True Red
- Sand Paper
- Jenga Blocks from Dollar Tree
- Wood Glue
Note: I lucked out and I had a couple of faux wood boards that I was able to use for this project. But if you don’t have an extra board laying around you could use the same method that I used in my fall winter pumpkin sign with dollar store items.
How To Make Rustic Heart Sign
- Start by painting the wood board with the white chalk paint.
- Distress the edges and the ends of the boards. Give a little sanding to the center of the board too focusing around the spots where the wood hearts will be placed.
- Use the antique wax to stain a couple of the wood hearts.
PRO TIP: Add a bit of water to thin out the wax. This creates a lighter stain. Stain one of the hearts darker and another in the lighter colour for variation in the finished product.
- For one of the hearts I stained it first, then I applied a bit of the red chalk paint and then topped this with a bit of white chalk paint. I sanded this down a bit to distress it.
- Any of the wood hearts that had been painted with chalk paint received a light sanding. Sand side to side and up and down. Focus around the edges and the areas where it would likely be more worn.
- Use wood glue to adhere a Jenga block to the back center of a couple of the hearts. Play with this a bit. I wanted a variation in the hearts so some received the regular blocks. While others had the thinner blocks or no block at all attached to the back.
- Space the wood hearts out along the front of the board. You can measure this if you like but I just eyeballed it. Affix these with wood glue. Attach each one of the wood hearts to the front of the board making sure that they are aligned.
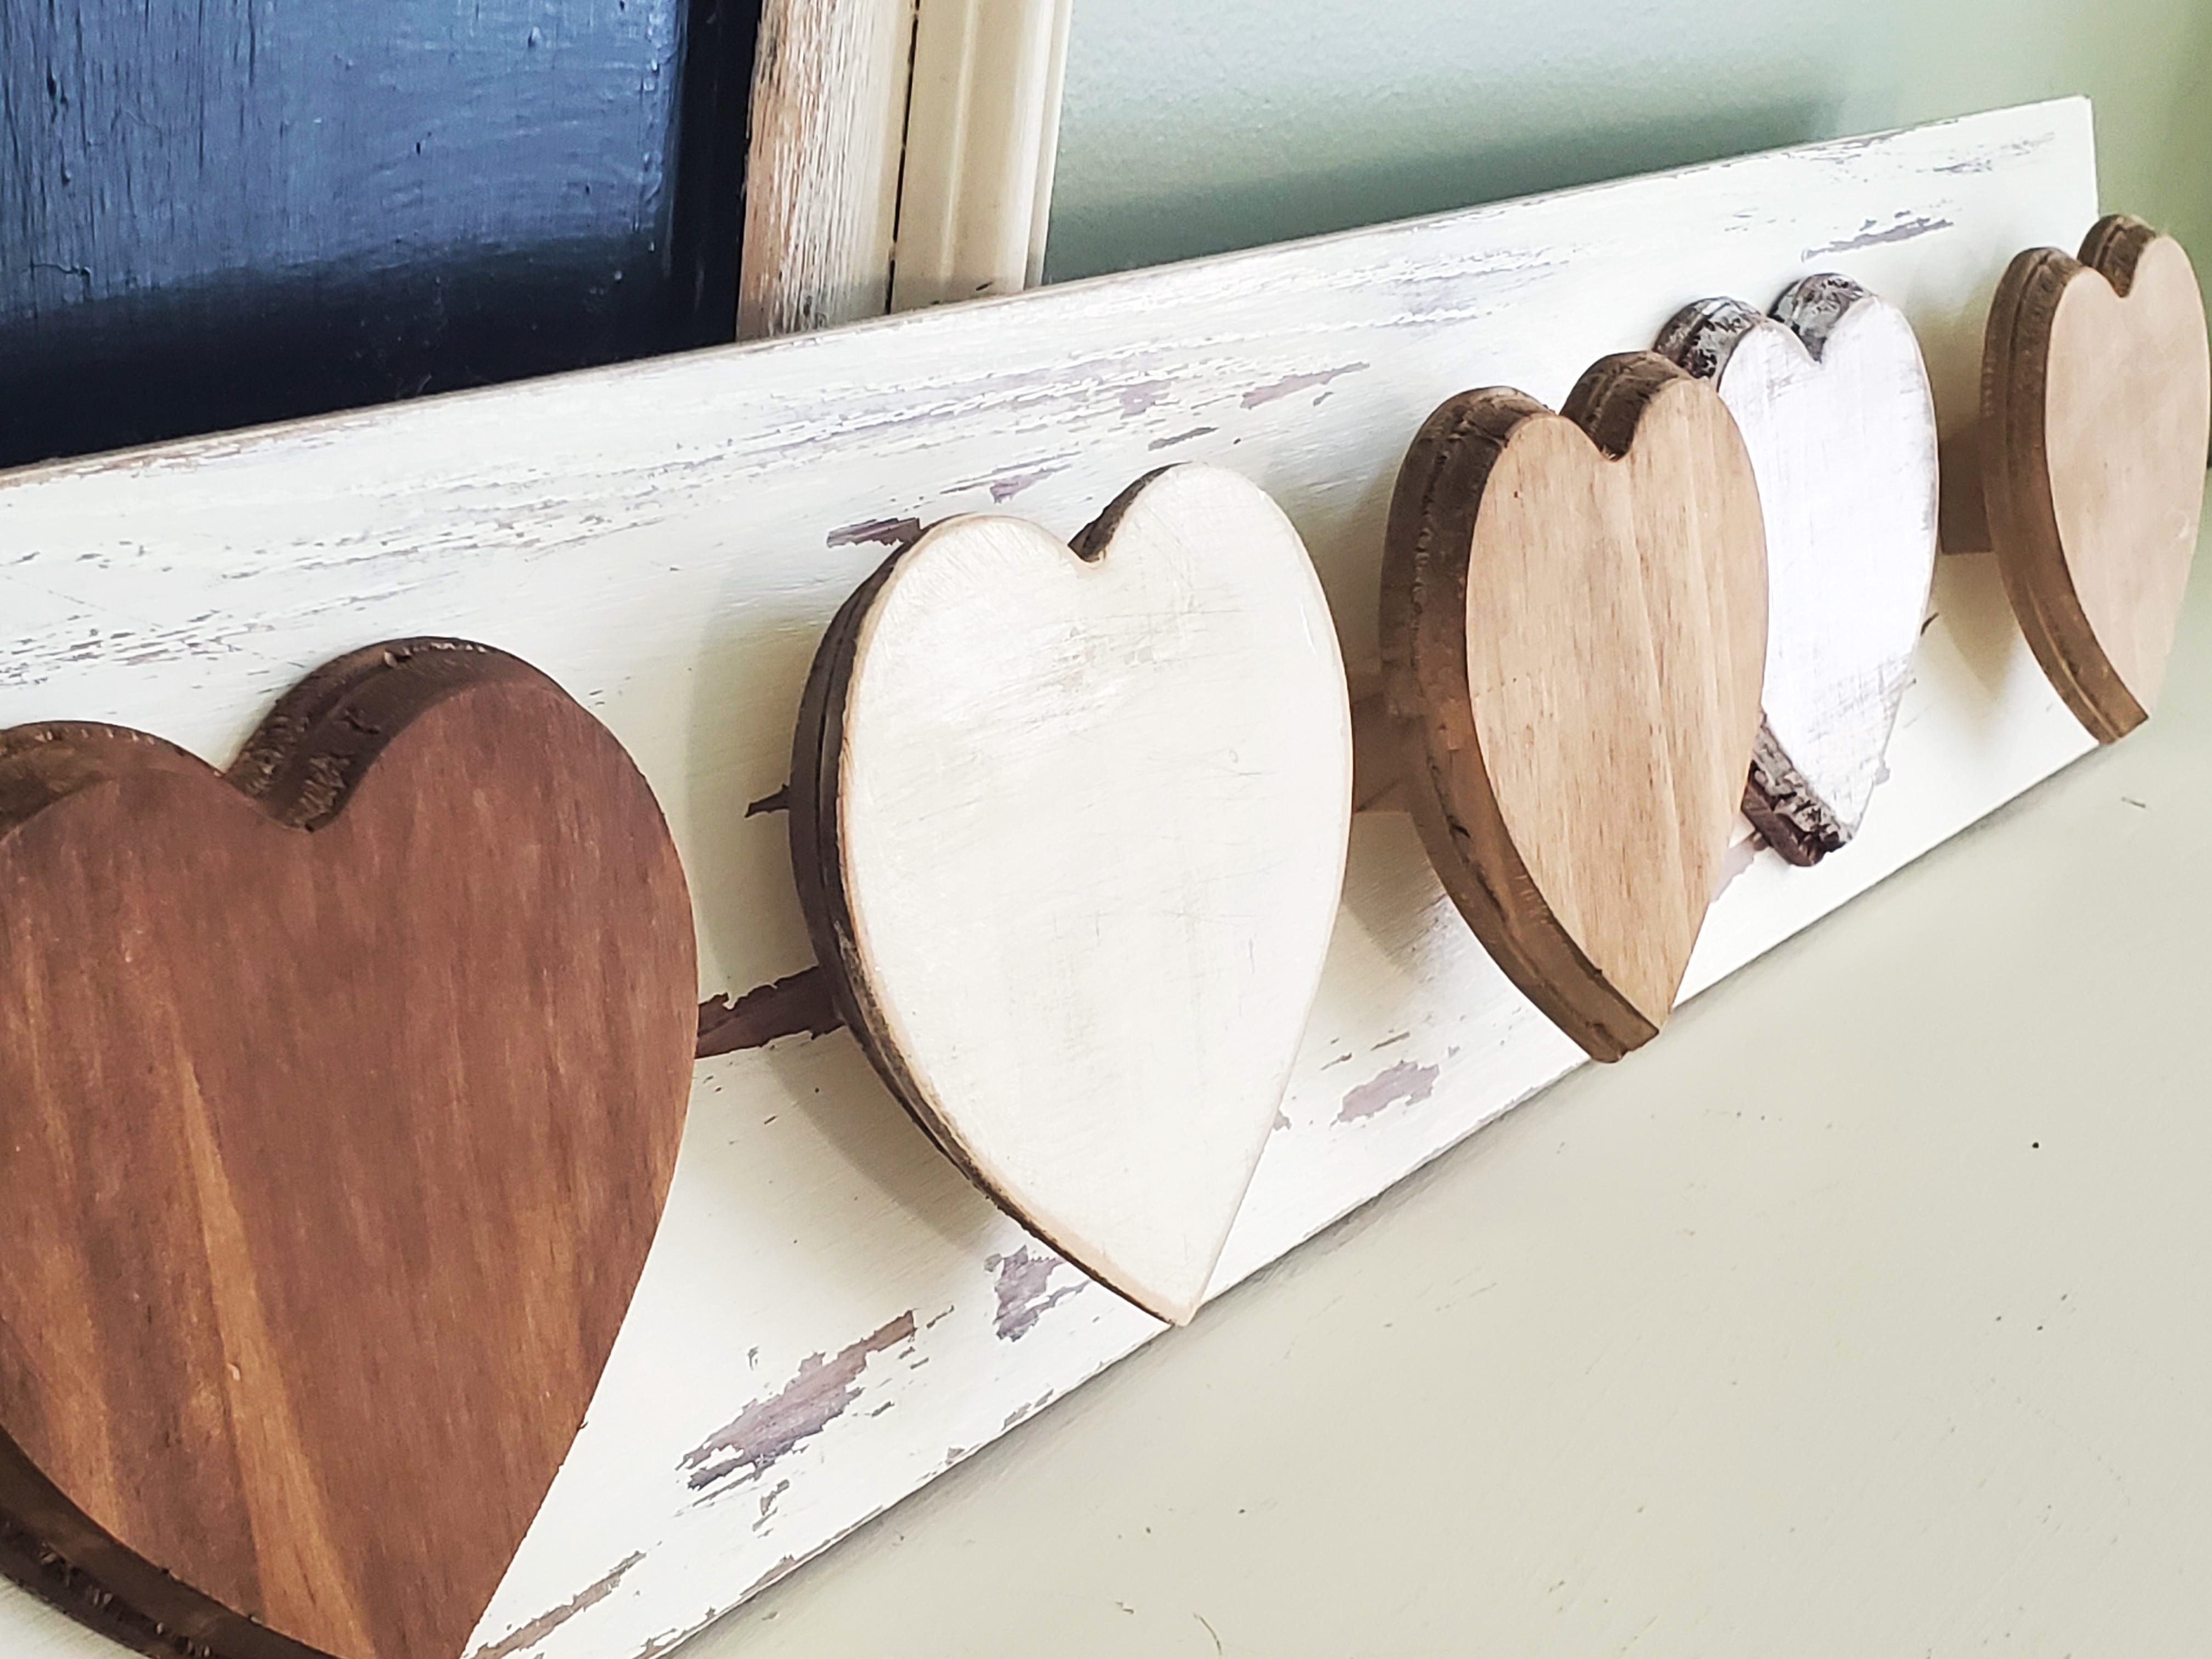
And Voila! I am absolutely in love with this sign. I want to ask it to be my Valentine.
Farmhouse Valentines Decor #4: Valentine Candle Decor and Free Printable
This past Halloween I used this exact same method to create potion bottles. This method is awesome for those of you who don’t have a Cricut or like me, those who don’t want to waste expensive vinyl to make such an easy DIY.

How To Make Valentine Candle Decor
- Begin by downloading my free At Jenny’s Place Farmhouse Valentine’s Decor Printable.
- Now that you have the free PDF Valentine printable downloaded, print it out onto a sheet of the Avery clear labels.
- Make sure the the class surface is prepped by wiping it down with the cotton ball and a little bit of rubbing alcohol. Let dry.
- Peal the backing off of the label and carefully lay it flatly down on the front of the glass vase. Place a white candle in each.
PRO TIP: If you are using an inkjet printer place the labels right side up. If you are using a laser printer place the labels with the front facing down.
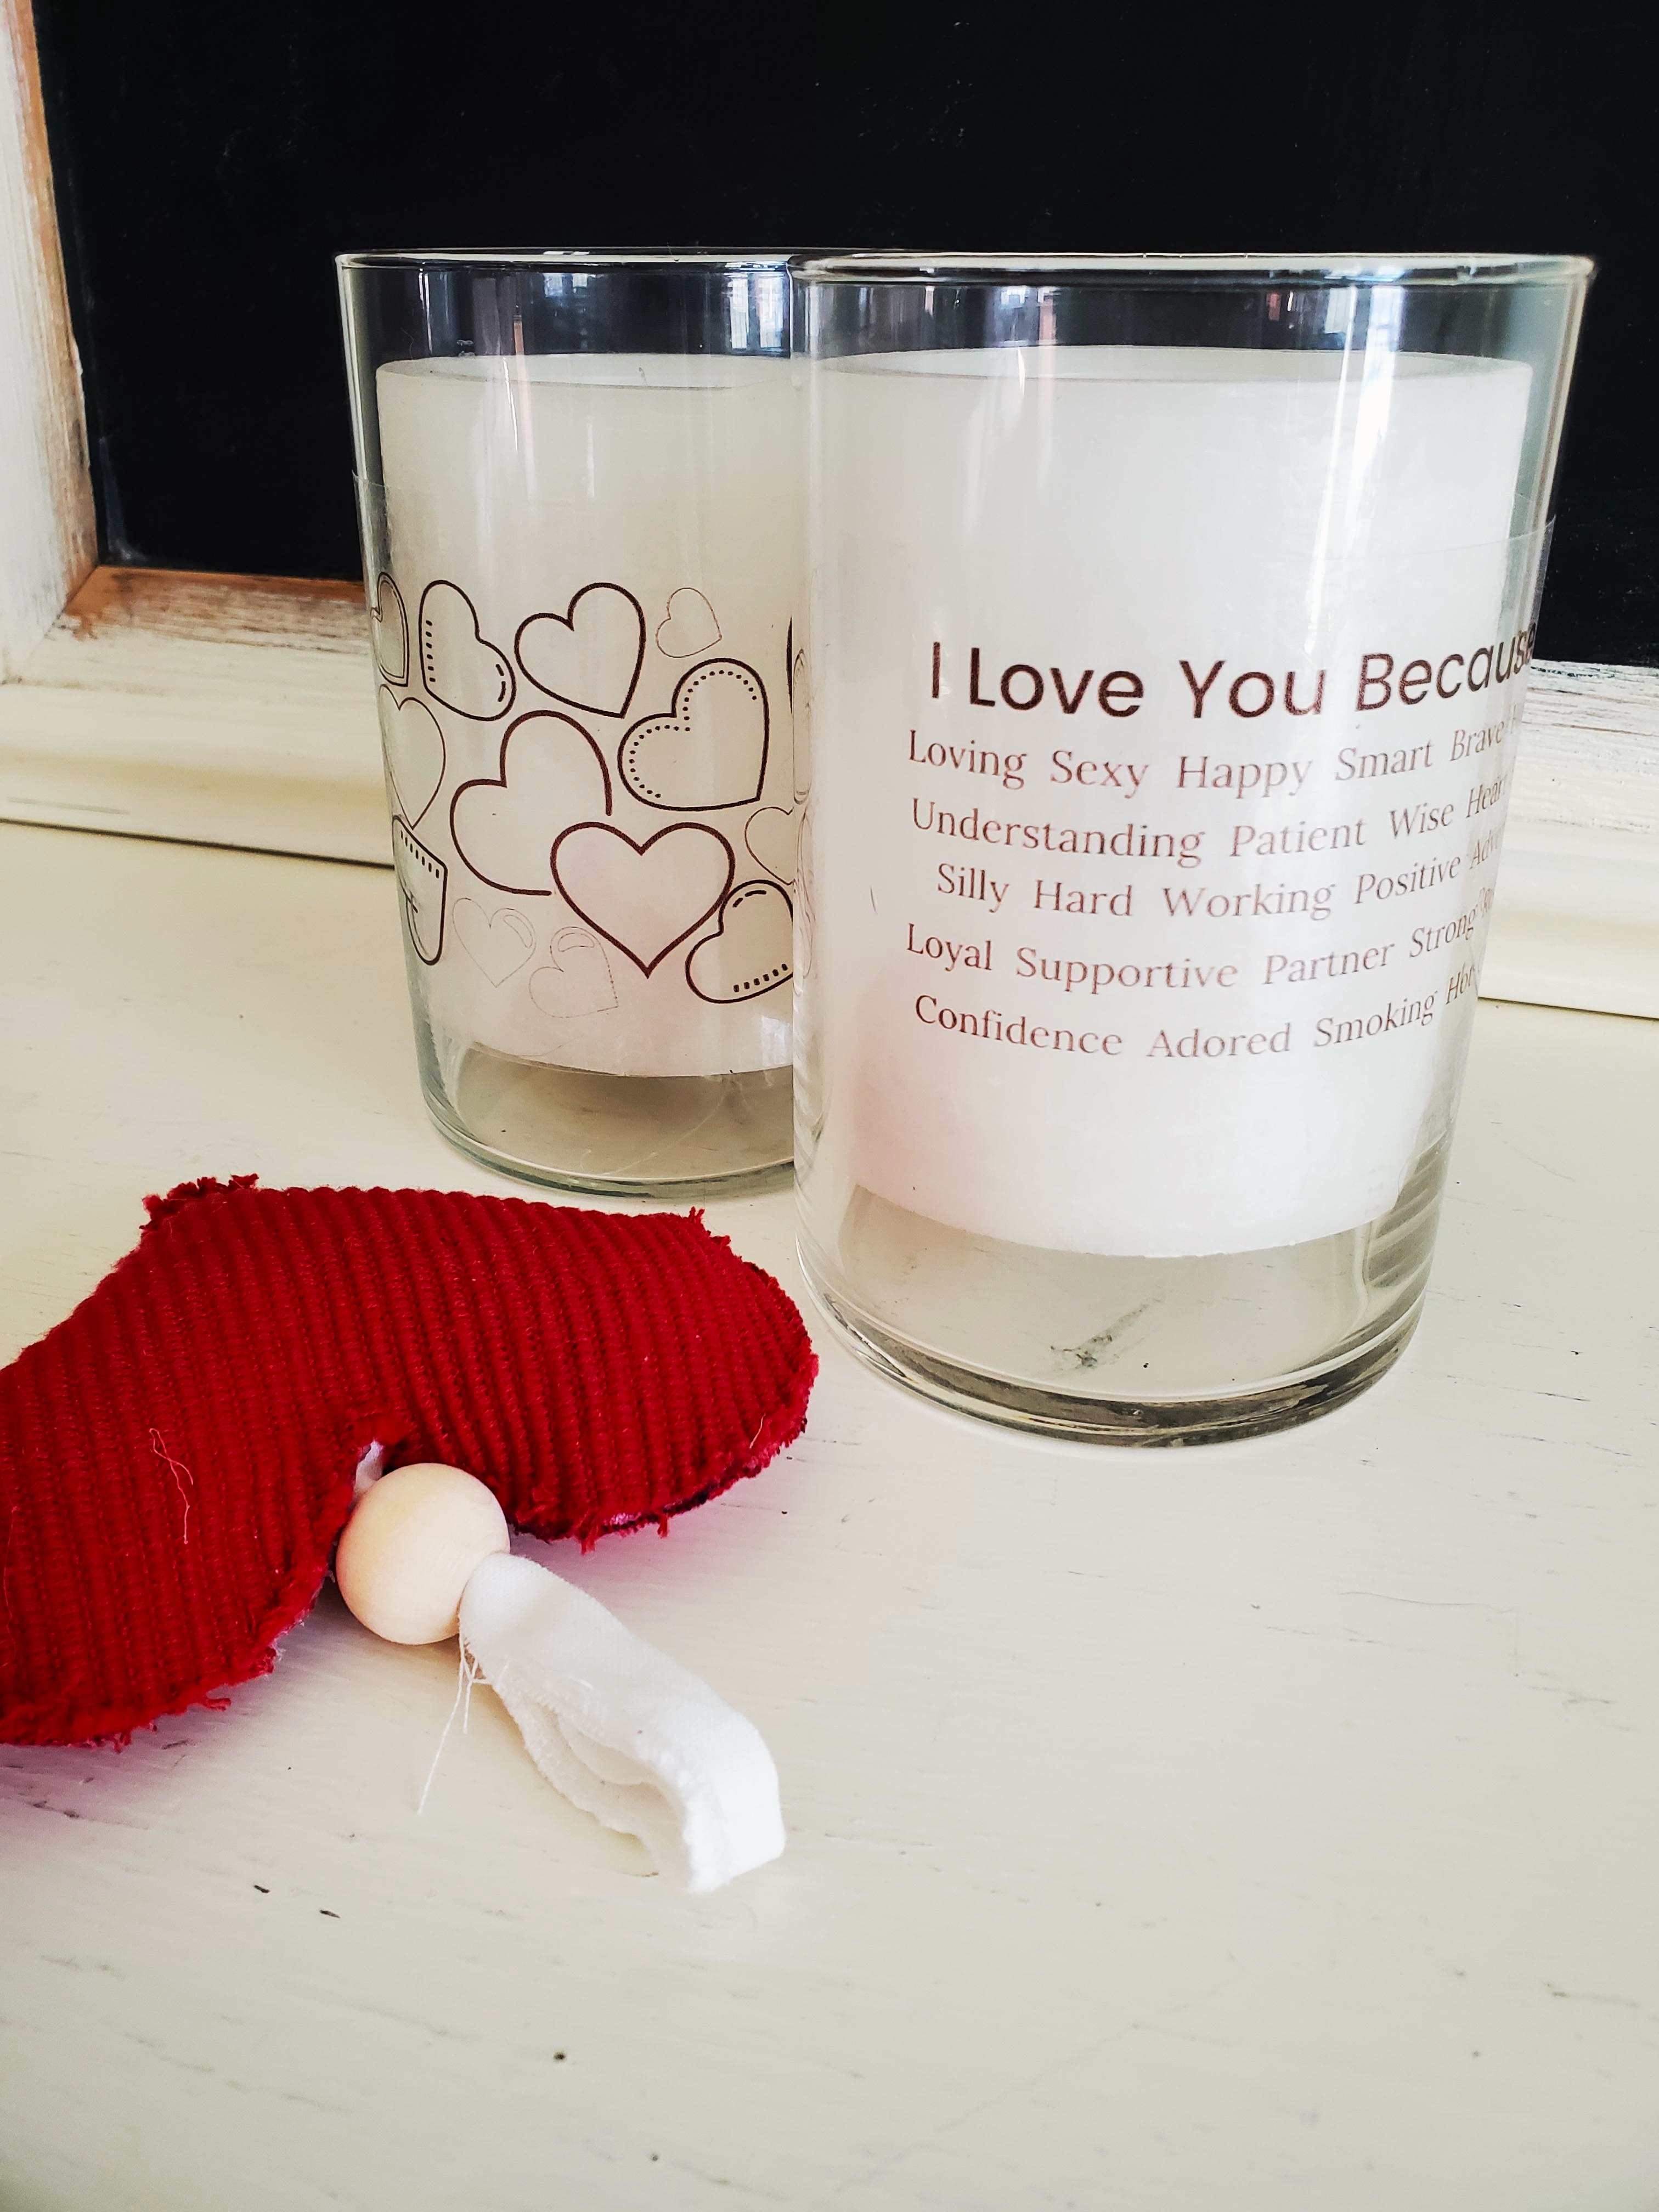
And there you have it! Cute, inexpensive, and holiday appropriate candles that are delightful in their simplicity.
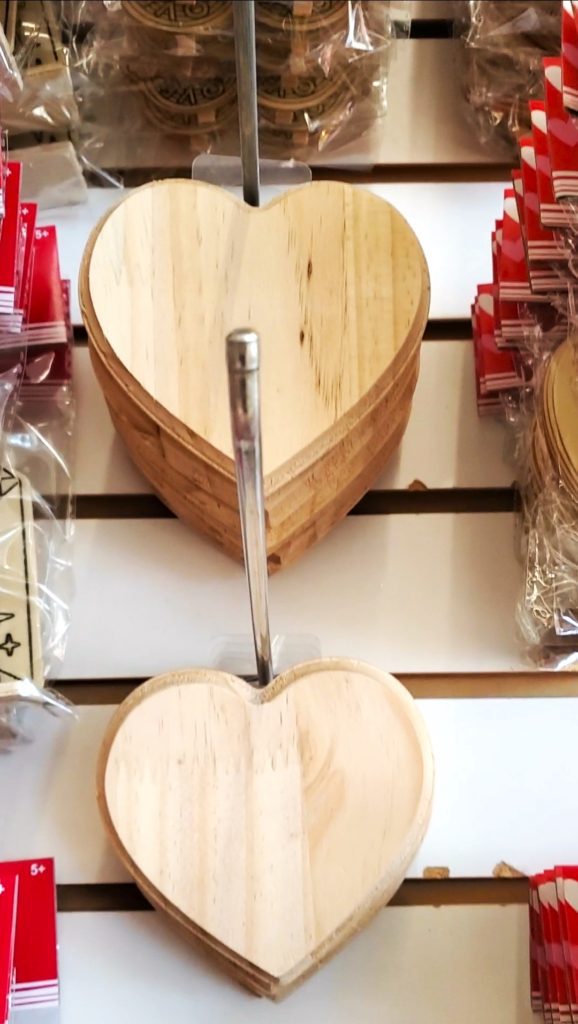
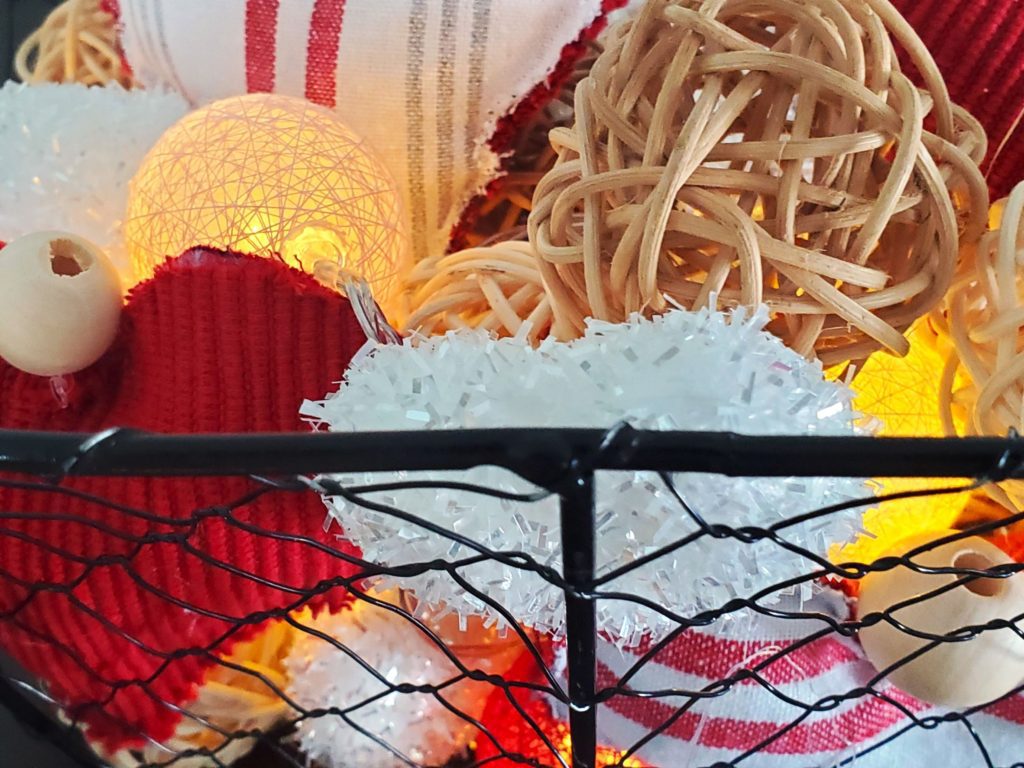
Farmhouse Valentines Decor #5: Valentine In A Basket
This DIY takes no time at all to assemble but in order to make this Valentine decor you will need to head on over to one of my Christmas posts where I explain how to make the fabric hearts.
Supplies You Will Need to Make Valentine In A Basket
- Wire or Wicker Basket (I prefer wire for this project.)
- Cloth Hearts (See link just above picture)
- White Tinsel Hearts from the dollar store
- Wicker Balls from the dollar store
- Red, Pink , and White Coloured LED Mini Light Balls
How To Make Valentine In A Basket
- Add the batteries to the LED battery pack and position it so that the on/off switch is facing outward. This will make it easy to turn the lights on later on.
- Add the wicker balls, white hearts, LED light balls, and fabric hearts. Make sure to disperse everything so that you avoid creating a cluster of one item. Also make sure that you cover as much of the LED light wires as possible.
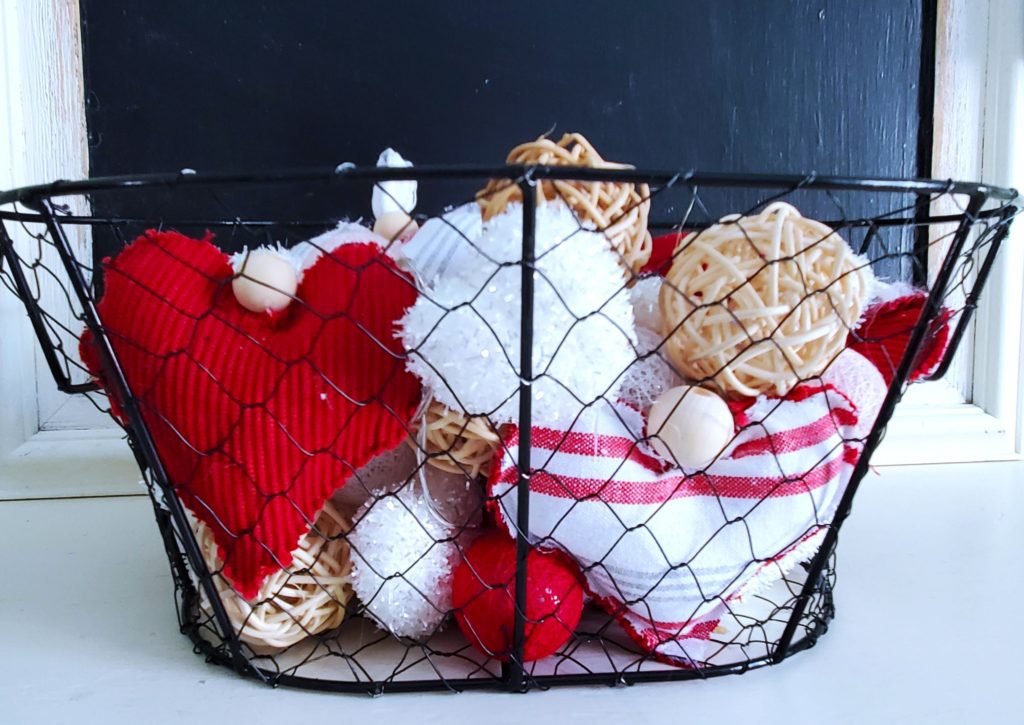
I just love how this basket turned out. In the day time it looks perfectly charming and in the evening when the lights are turned on it looks absolutely magical.
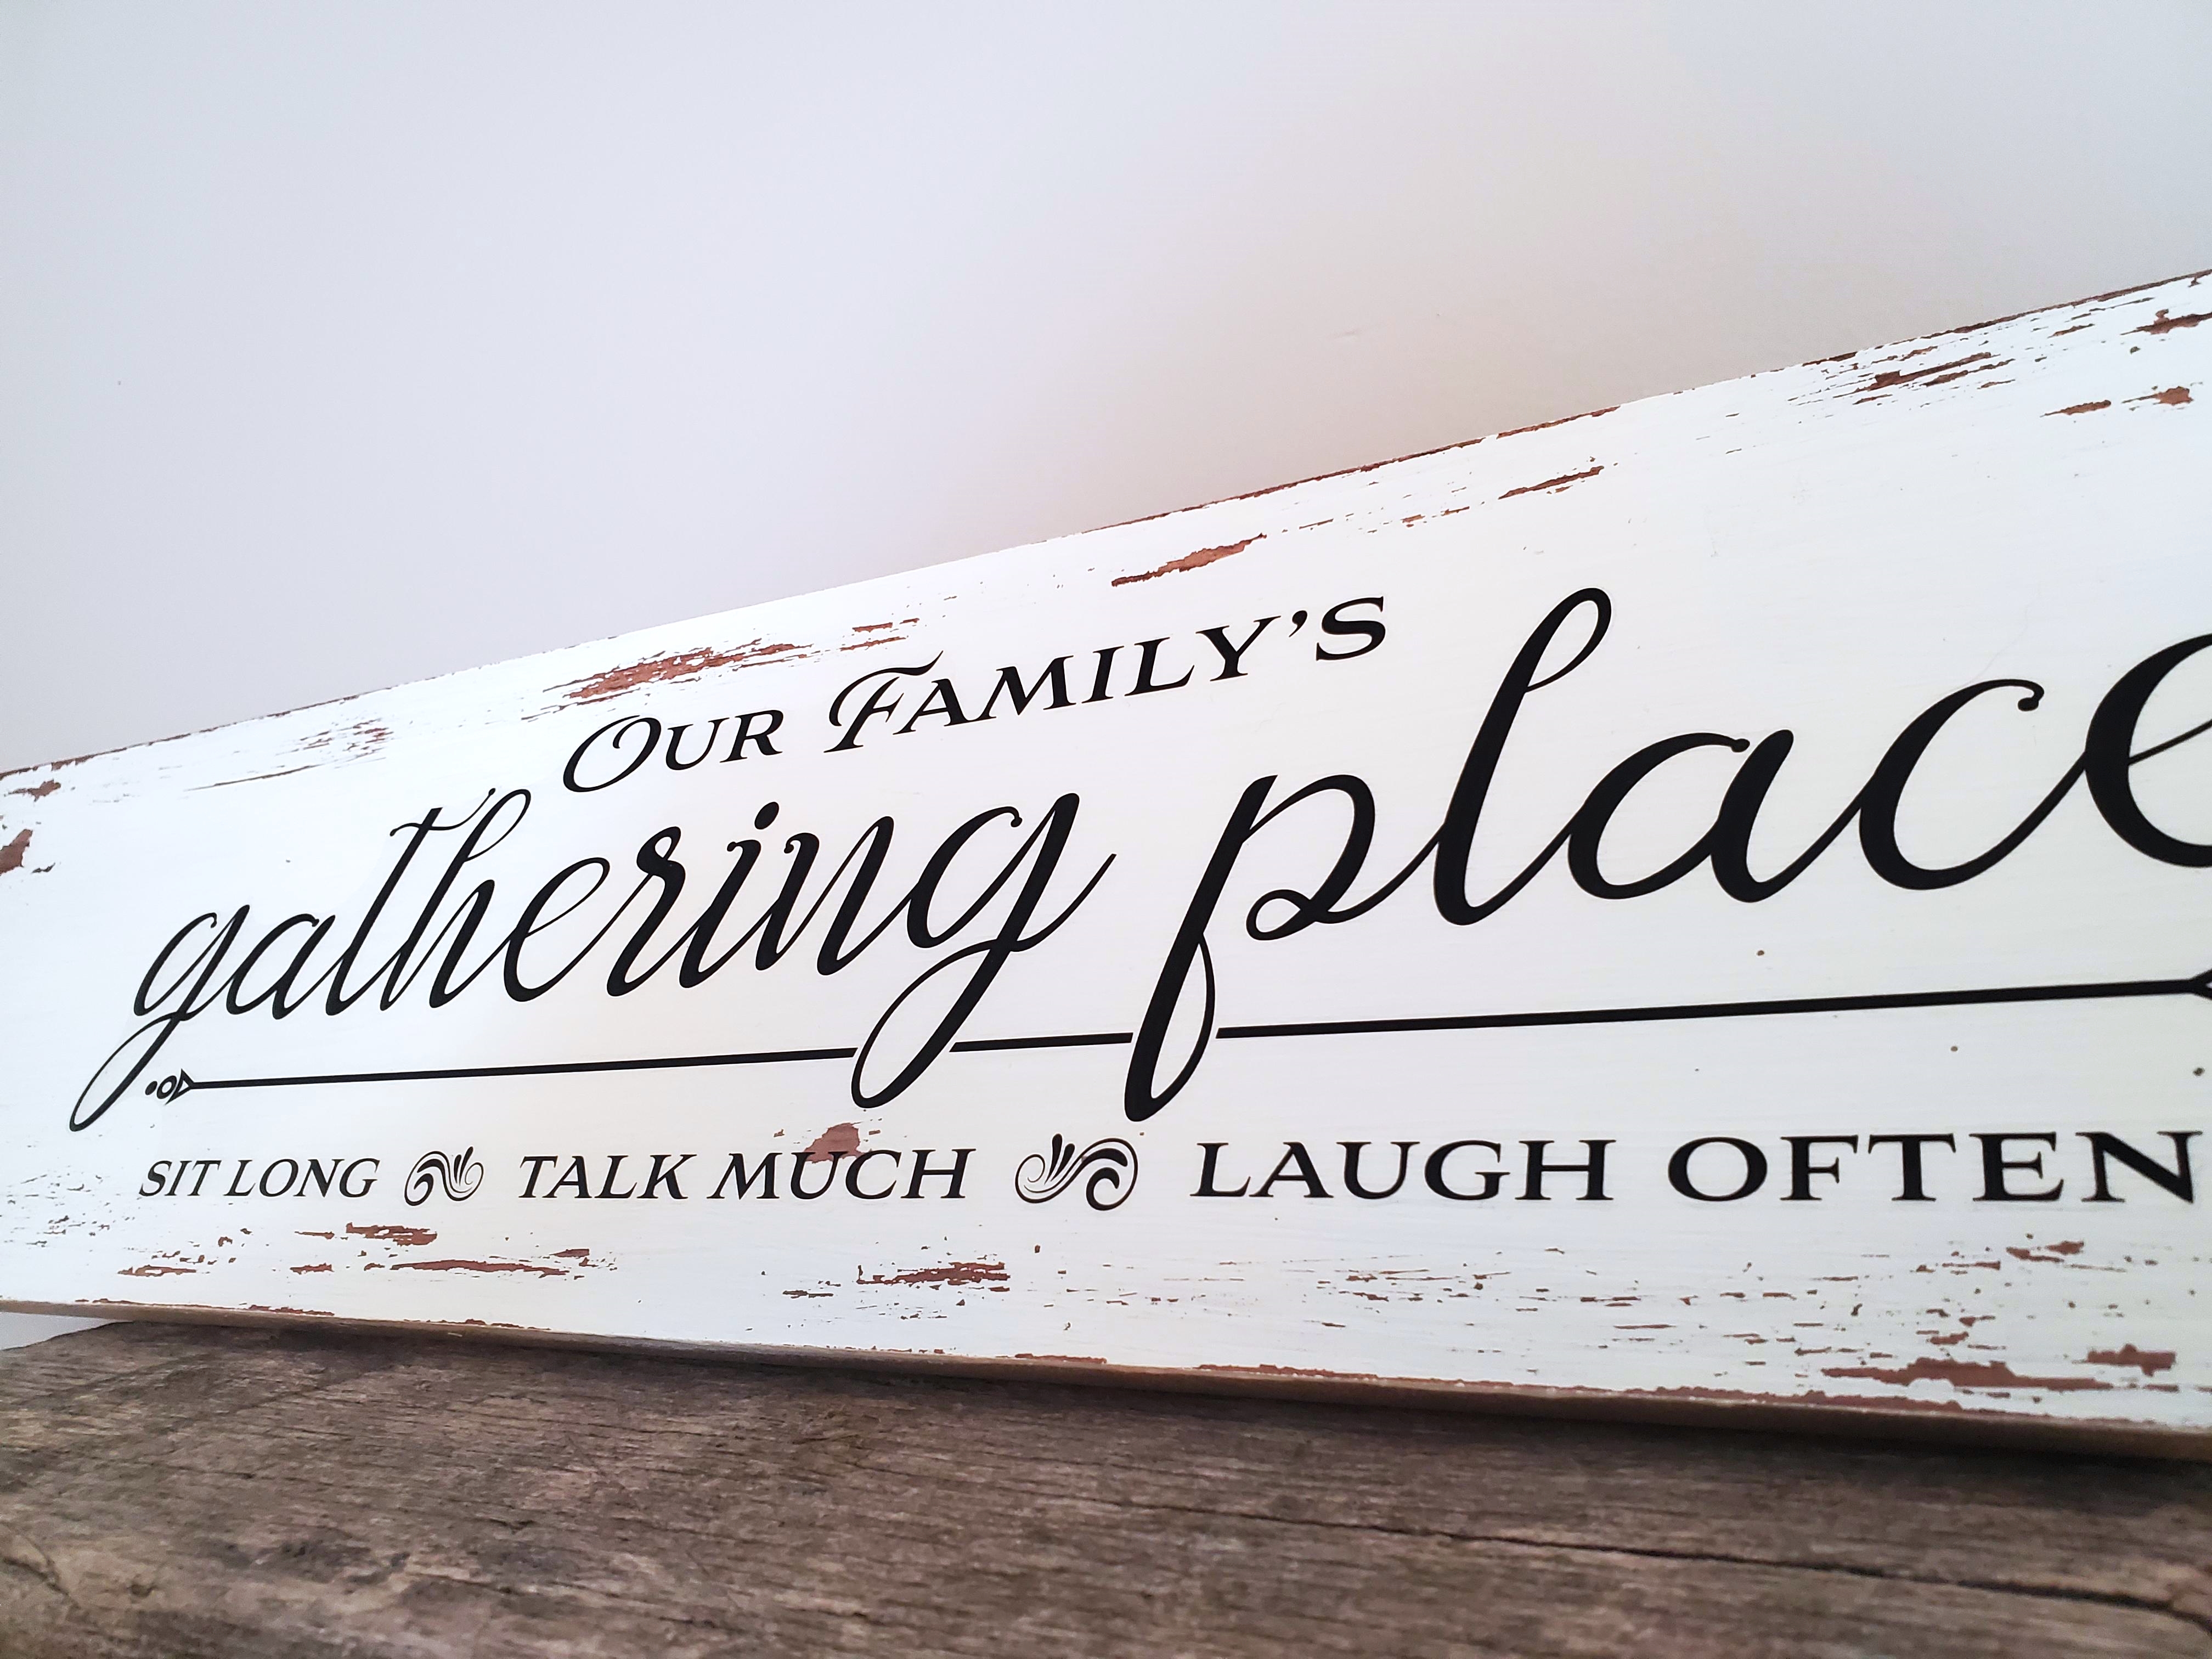
Farmhouse Valentines Decor #6: Dollar Tree Family Time Sign
I made this sign for our family room. It is simple but it is delightful. Although, I am a huge fan of the message on this particular wall decal I do love that you can tailor this DIY simply by choosing a different decal message that resonates with your family.
Supplies You Will Need to Make Dollar Tree Family Time Sign
- Faux or Real Wood Board
- Artminds Chalk Paint in Porcelain
- Sandpaper
- Wall Decal from Dollar Tree
How To Make Dollar Tree Family Time Sign
- Paint the wood board with the white chalk paint. Let dry.
- When completely dry distress it with a damp cloth and sand paper. Focus most of the distressing on the sides but add a little to the center of the board too.
- Peal the wall decal off of it’s backing and carefully place it onto the center of the board. You can measure this but I just eyeballed it.
- Smooth the decal down. I used my Cricut scraper but you can just use your fingers or a credit card if you don’t have a scraper.
And that is it. Like I said, simple but really neat and it looks great in the den. Best part? I can leave it up all year long because it doesn’t scream Valentines but it will make the prefect gift for hubby.
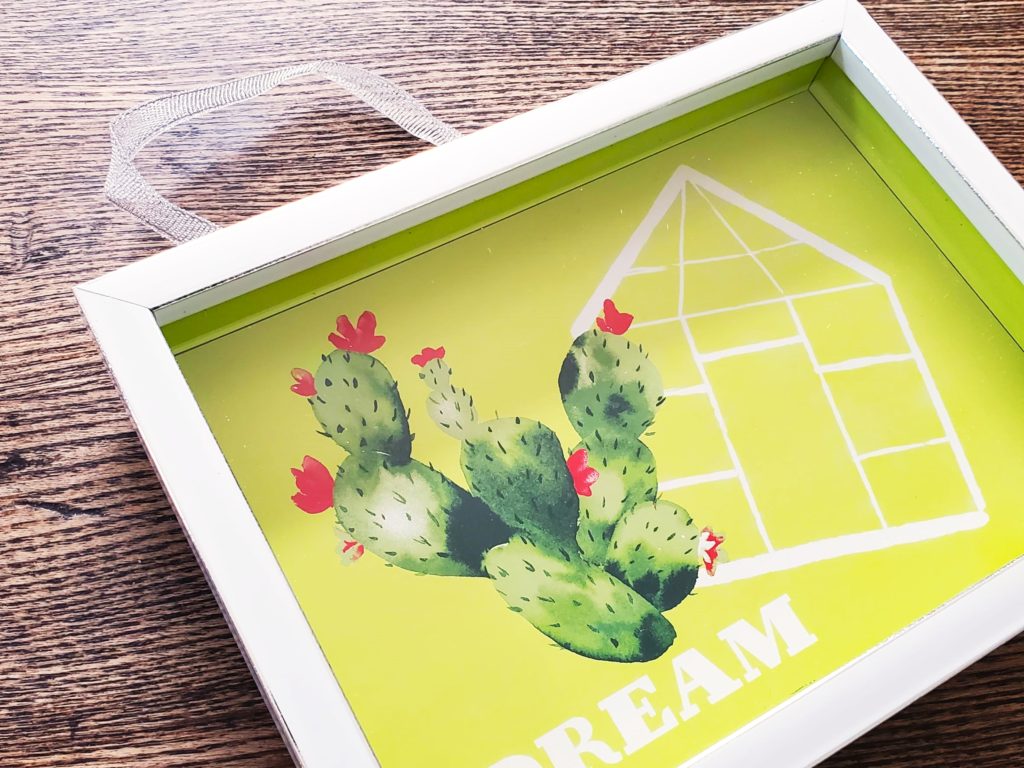
Farmhouse Valentines Decor #7: Simple Heart Art
I have had this silly frame for awhile now but I had no idea what to do with it. I am very pleased with how it turned out. This whimsical Valentine picture was super easy to create and once I am done with it I can always switch up the back and use the frame again.
Supplies You Will Need to Make Simple Heart Art
- Box Frame With Removable Backing from the dollar store
- Adhesive Burlap Ribbon
- Scissors
- Craft Paper
- Glue Stick
- Thin Wood Piece
- Heart Dye Cut
- Wood Heart Cut Out (*Optional)
NOTE: I used these wooden blocks that came in a dollar store game. The blocks are about half the depth of a Jenga block.
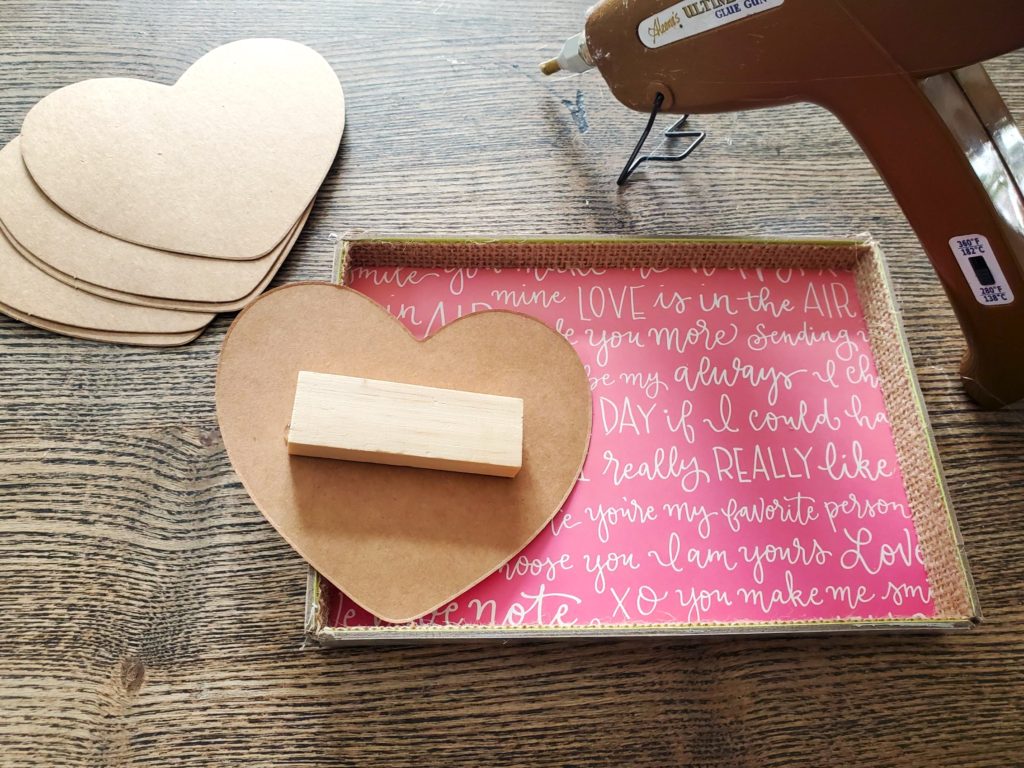
How To Make Simple Heart Art
- Start by removing the backing from the frame. Then remove the glass, the insert, and the ribbon.
- Next, measure the center part of the frame and cut this size out of the craft paper. I used my paper cutter but you could always use scissors. Just cut carefully and straight.
- Measure the sides of the frame insert and then cut out strips of the adhesive burlap to fit.
- Peal off the backing to the burlap ribbon and carefully adhere this to the sides of the picture insert.
- Next, use the glue stick to glue the craft paper onto the back of the picture insert. Make sure that you lay the paper so that it is straight and fills the entire backing.
- Hot glue a small piece of wood to the back of the heart.
- Attach the heart to the craft papered backing with a bit of hot glue.
- Put the picture back together.
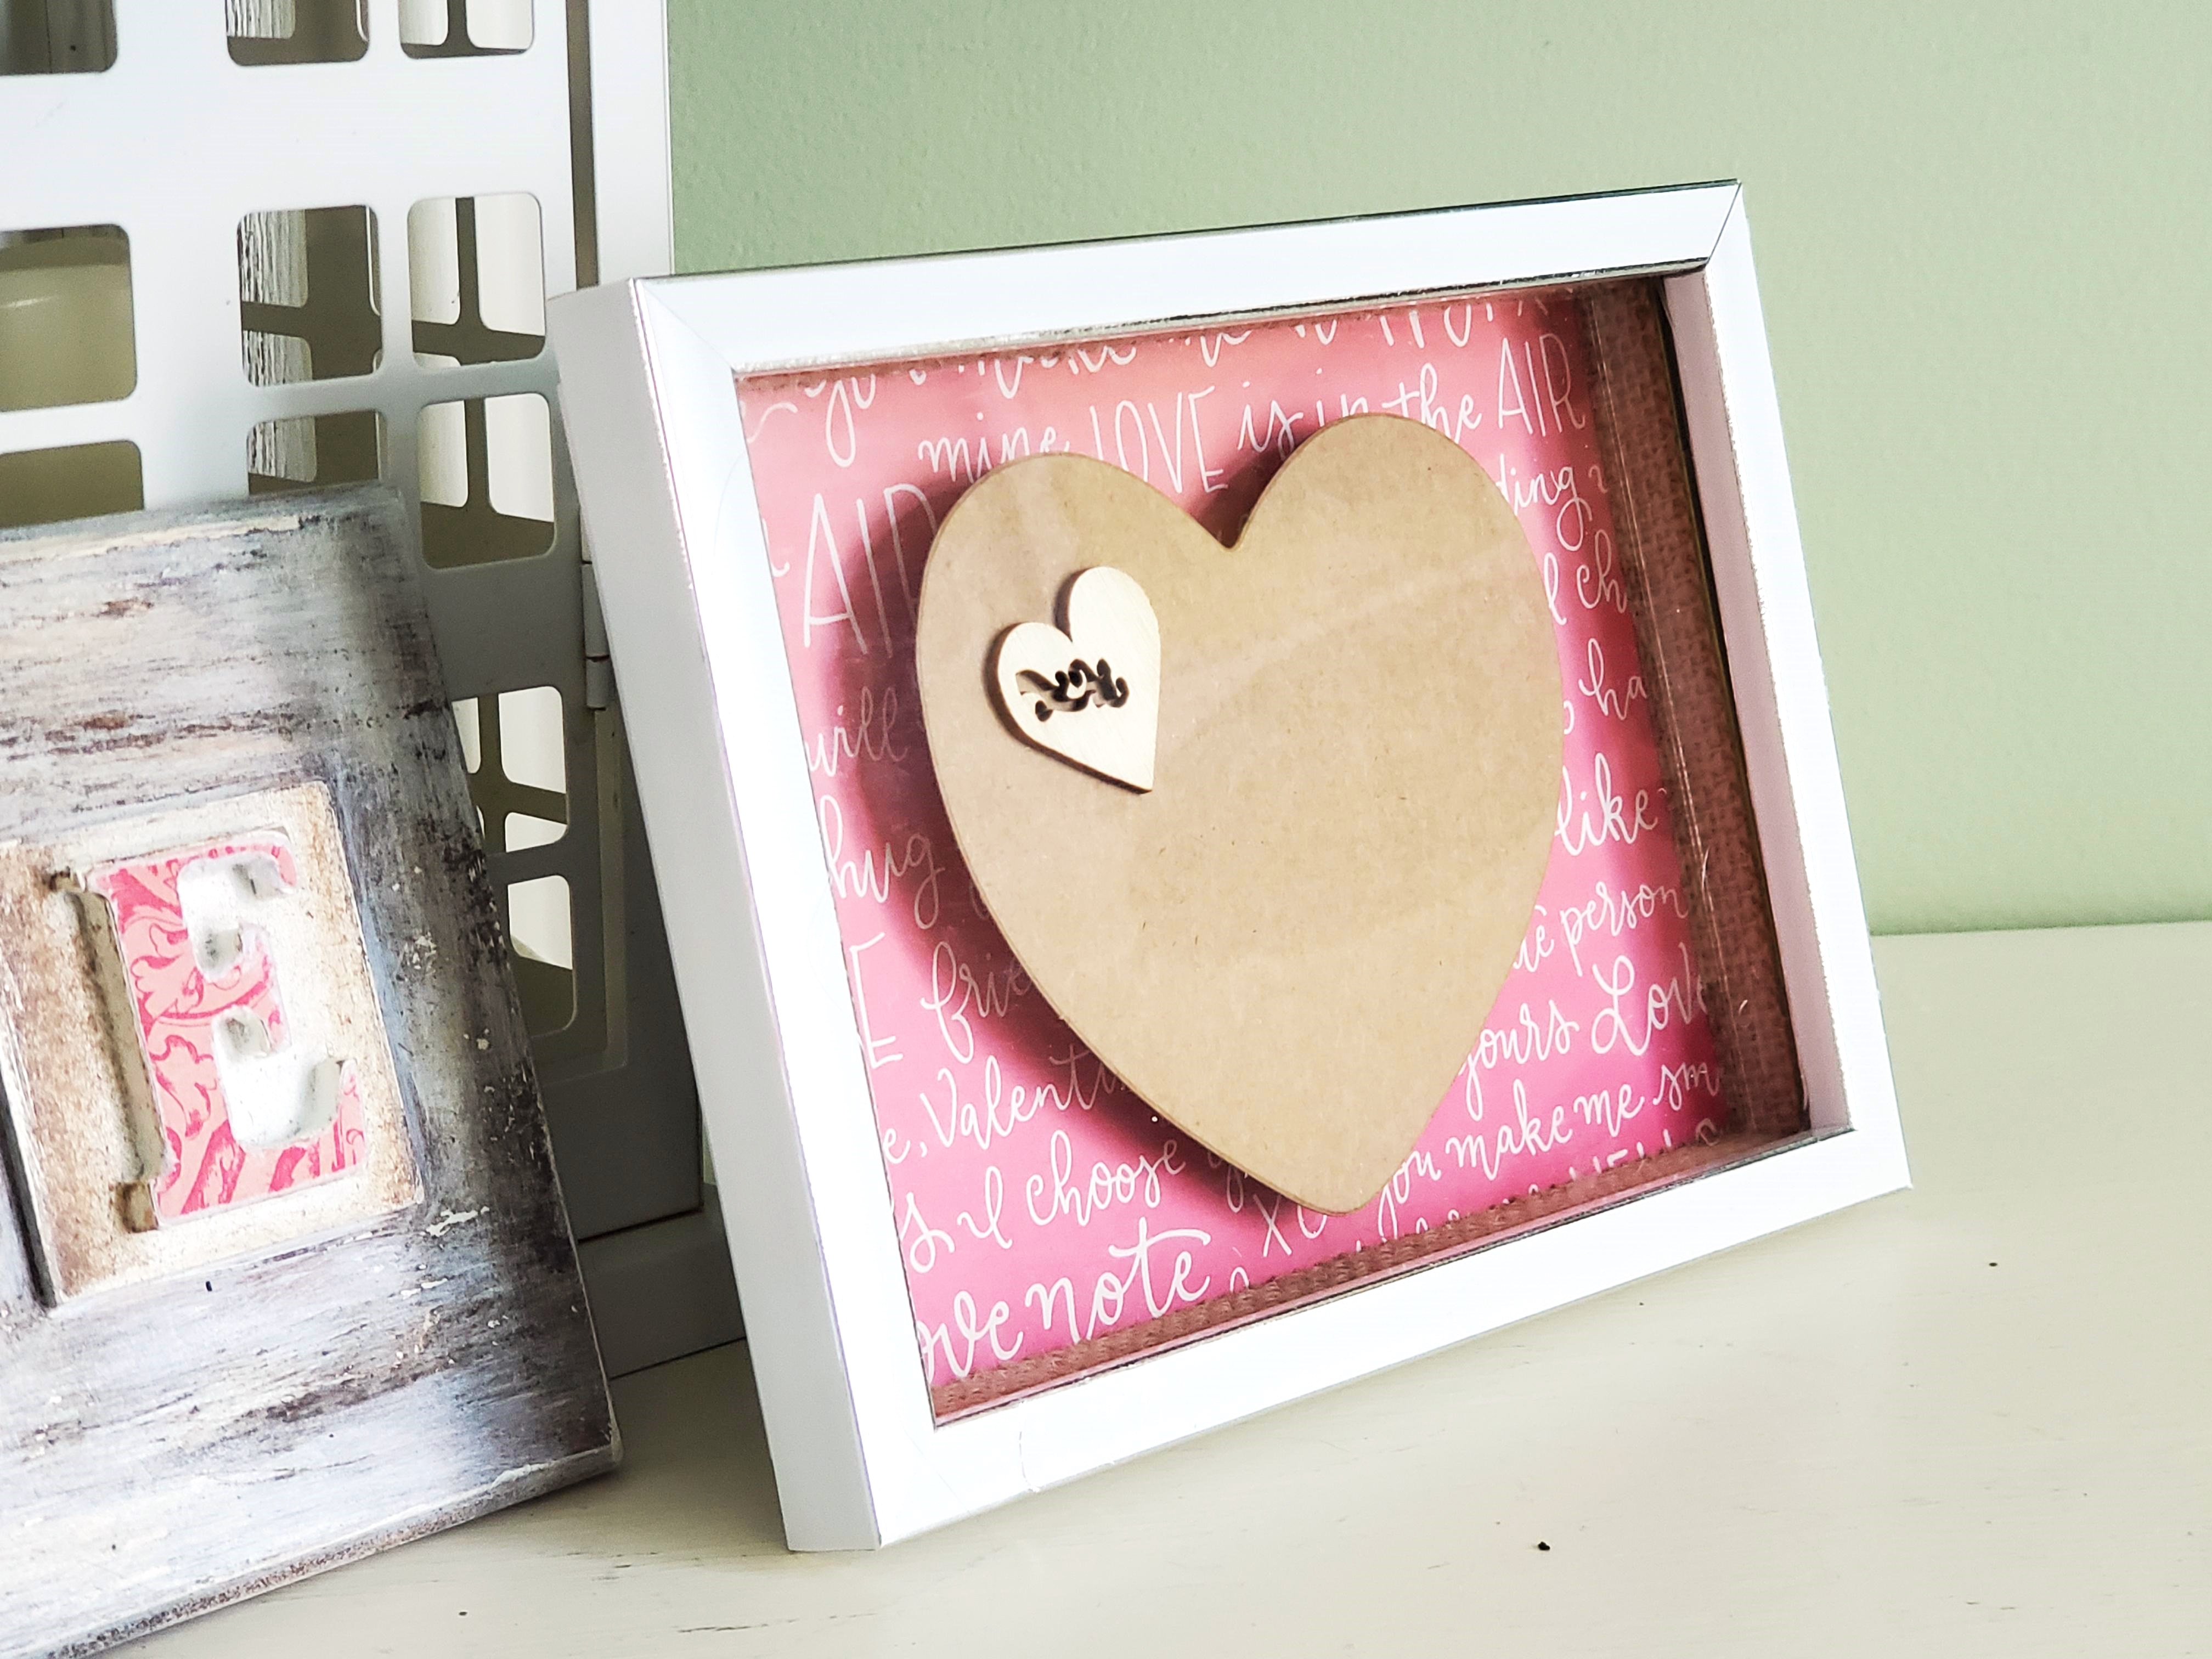
This is so lovely. I just think that this would look so pretty on a buffet clustered with other holiday decor, on a fireplace mantle, or in a large tiered tray arrangement.
But what do you think?
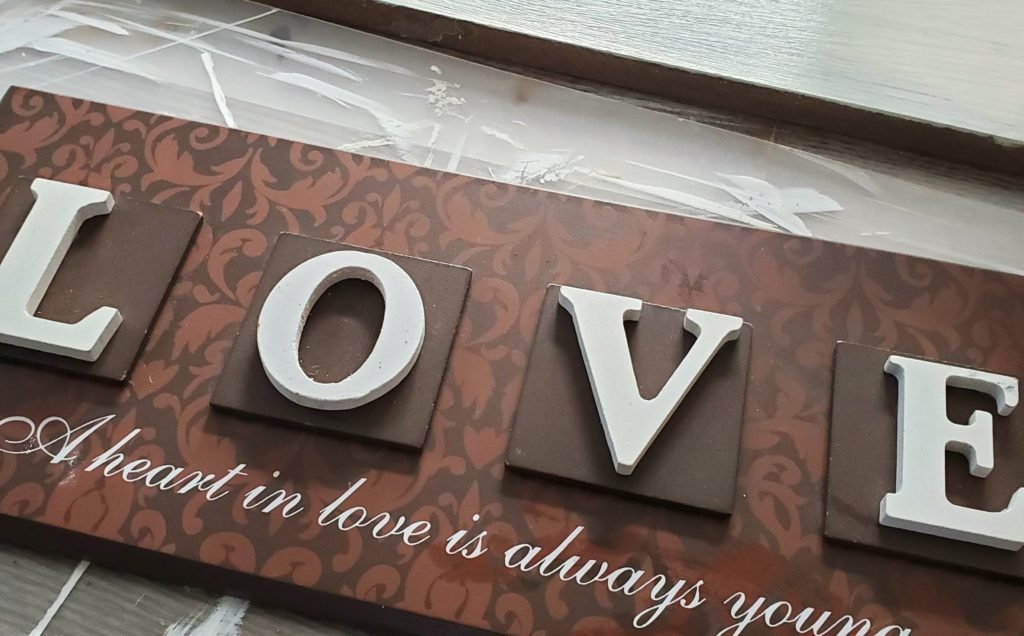
Farmhouse Valentines Decor #8: I Love You Plaque
I was given this plaque by someone I adore. However, although I loved the message I wasn’t the biggest fan of the colour. But now that I have given it a bit of an upcycle I now think it is just perfect.
Supplies You Will Need to Make I Love You Plaque
- I Love You Plaque
- Artminds Chalk Paint in Porcelain
- Folk Art Chalk Paint in Milk Jug
- Artminds Antique Wax
- Paint Brush
- Chip Brush
- Craft Paper
- Glue Stick
- Emory Board
NOTE: You can often find these plaques at the dollar store.
How To Make I Love You Plaque
- Start by painting the whole plaque in the Milk Jug chalk paint. Let this dry completely.
- Make sure that you paint the sides as well and each of the letters. It will take a few coats of paint to completely cover the original dark colour.
- Using a chip brush and the antique wax, swipe on some of the wax in long straight lines. You are trying to mimic the look of wood grain. Do this lighter in some areas and darker in others. Let this dry completely.
- Add a bit of dimension to the piece I allowed some of the antique wax to get onto the edges of the letter “boxes”.
- Once the wax is dry, using a chip brush or a stencil brush paint on the white chalk paint. You are going for a distressed look so add this sparingly and then wipe away the access. You want this to end up looking like an old plank of wood that has been painted and then repainted and then repainted again.
- Use a slightly dampened cloth to remove some of the layers of paint and wax. Just make sure that you don’t go down to the original dark colour.
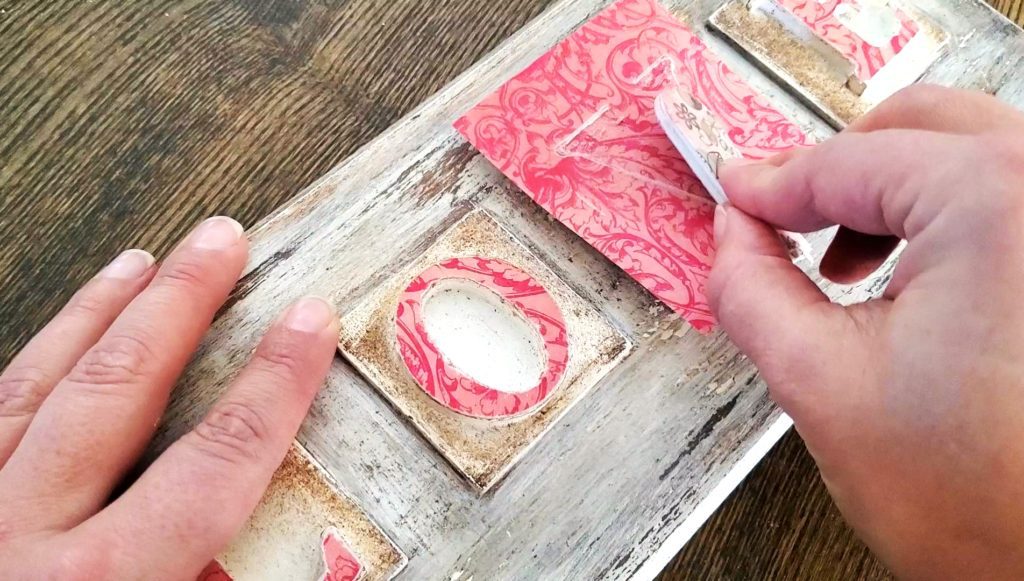
- Next, using a glue stick, add a nice layer of glue to the top of each of the raised letters on the plaque. Add a square piece of the craft paper to each of the letters. Smooth this down.
- Now, using an emery board rub at the paper at the edges of the letters. This will ensure a clean cut on the letter and it adds to the shabby chic look.
Pro tip: When doing the inside of the O just keep lightly working on the edges with the emery board. The paper will loosen and you will be able to get a clean edge.
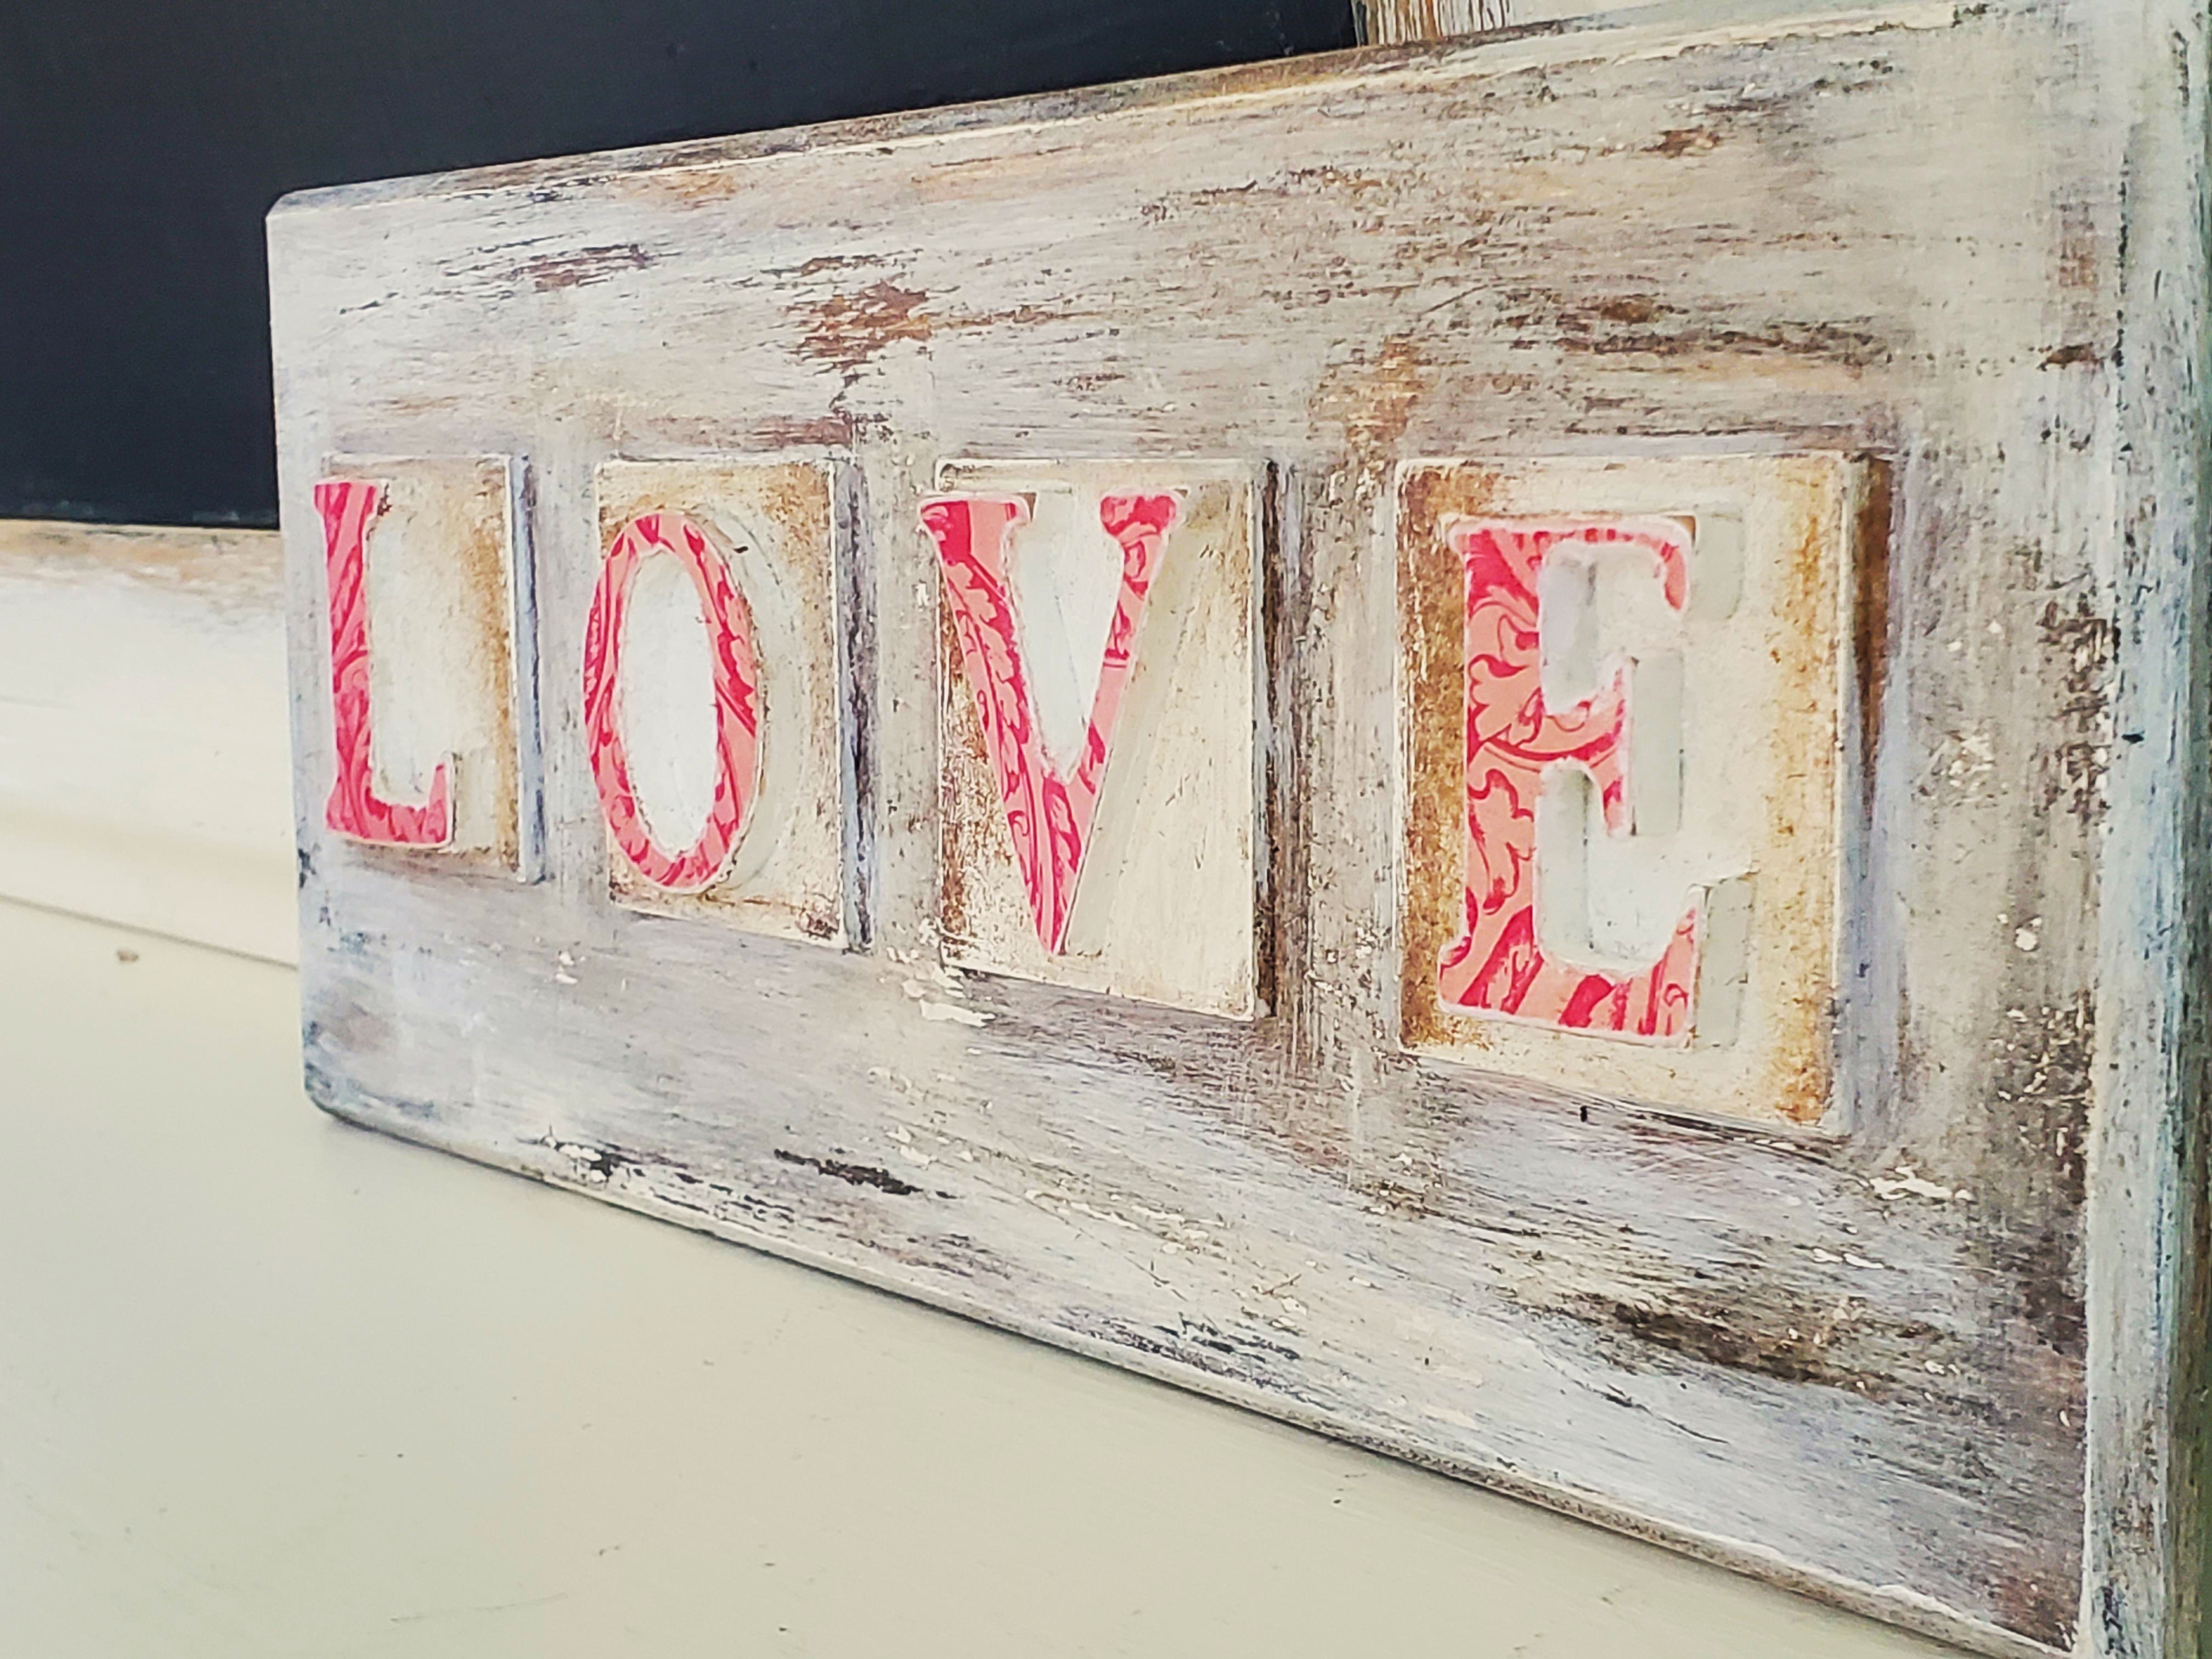
C’est fini! And it just goes to show that a little bit of paint and some creativity can turn any object into a decor piece you are proud to show off.
Jenny’s Finishing Thoughts On Farmhouse Valentines Decor
When my kids were younger I would go all out decorating with them for Valentines. We had red heart garlands, pink candles, giant heart balloons, and signs with heart felt messages on them.
Now the kids are grown and they just don’t get as excited as they once did. That isn’t enough to deter me. I still love to add touches of Valentines to the home. I’m a crafter and a decorator. It’s what I do.
That is why these farmhouse Valentines decor pieces are so perfect. They celebrate the holiday but are subtle, attractive, and fit in perfectly with the rest of the house decor.
Do you decorate for Valentines? Let me know in the comments below and go ahead and share some pictures of your holiday decor. I would love to see them.
Did you find this post helpful or inspirational? Save This Pin to your Valentine Decor board on Pinterest.